What you will have
By the end of this guide you will install Coolify on a VPS from nothing: a bare Ubuntu 24.04 slice becomes your own platform-as-a-service, the same push-to-deploy experience people rent from Heroku, Render or Netlify, except it runs on a box you own and nothing leaves it. Coolify is an open-source PaaS you self-host. It talks to Docker on your slice, wraps a friendly dashboard around it, and lets you deploy apps, databases and services with a few clicks instead of a stack of shell scripts.
That is the reason to bother. A managed platform bills per seat and per app, holds the environment variables your apps run on, and decides where your data sits. Running Coolify yourself puts all of that back in your hands: no per-seat pricing, no per-app metering, and the credentials and data stay on Indian hardware if that matters for you under the DPDP rules.
Here is the destination. The screenshot below is the real dashboard from the instance we stood up for this guide, with a project and the server Coolify manages, and further down you will see a first app deployed through it and answering over HTTPS. The shots here were all taken on that running box, so the versions and the screens are what you will land on.
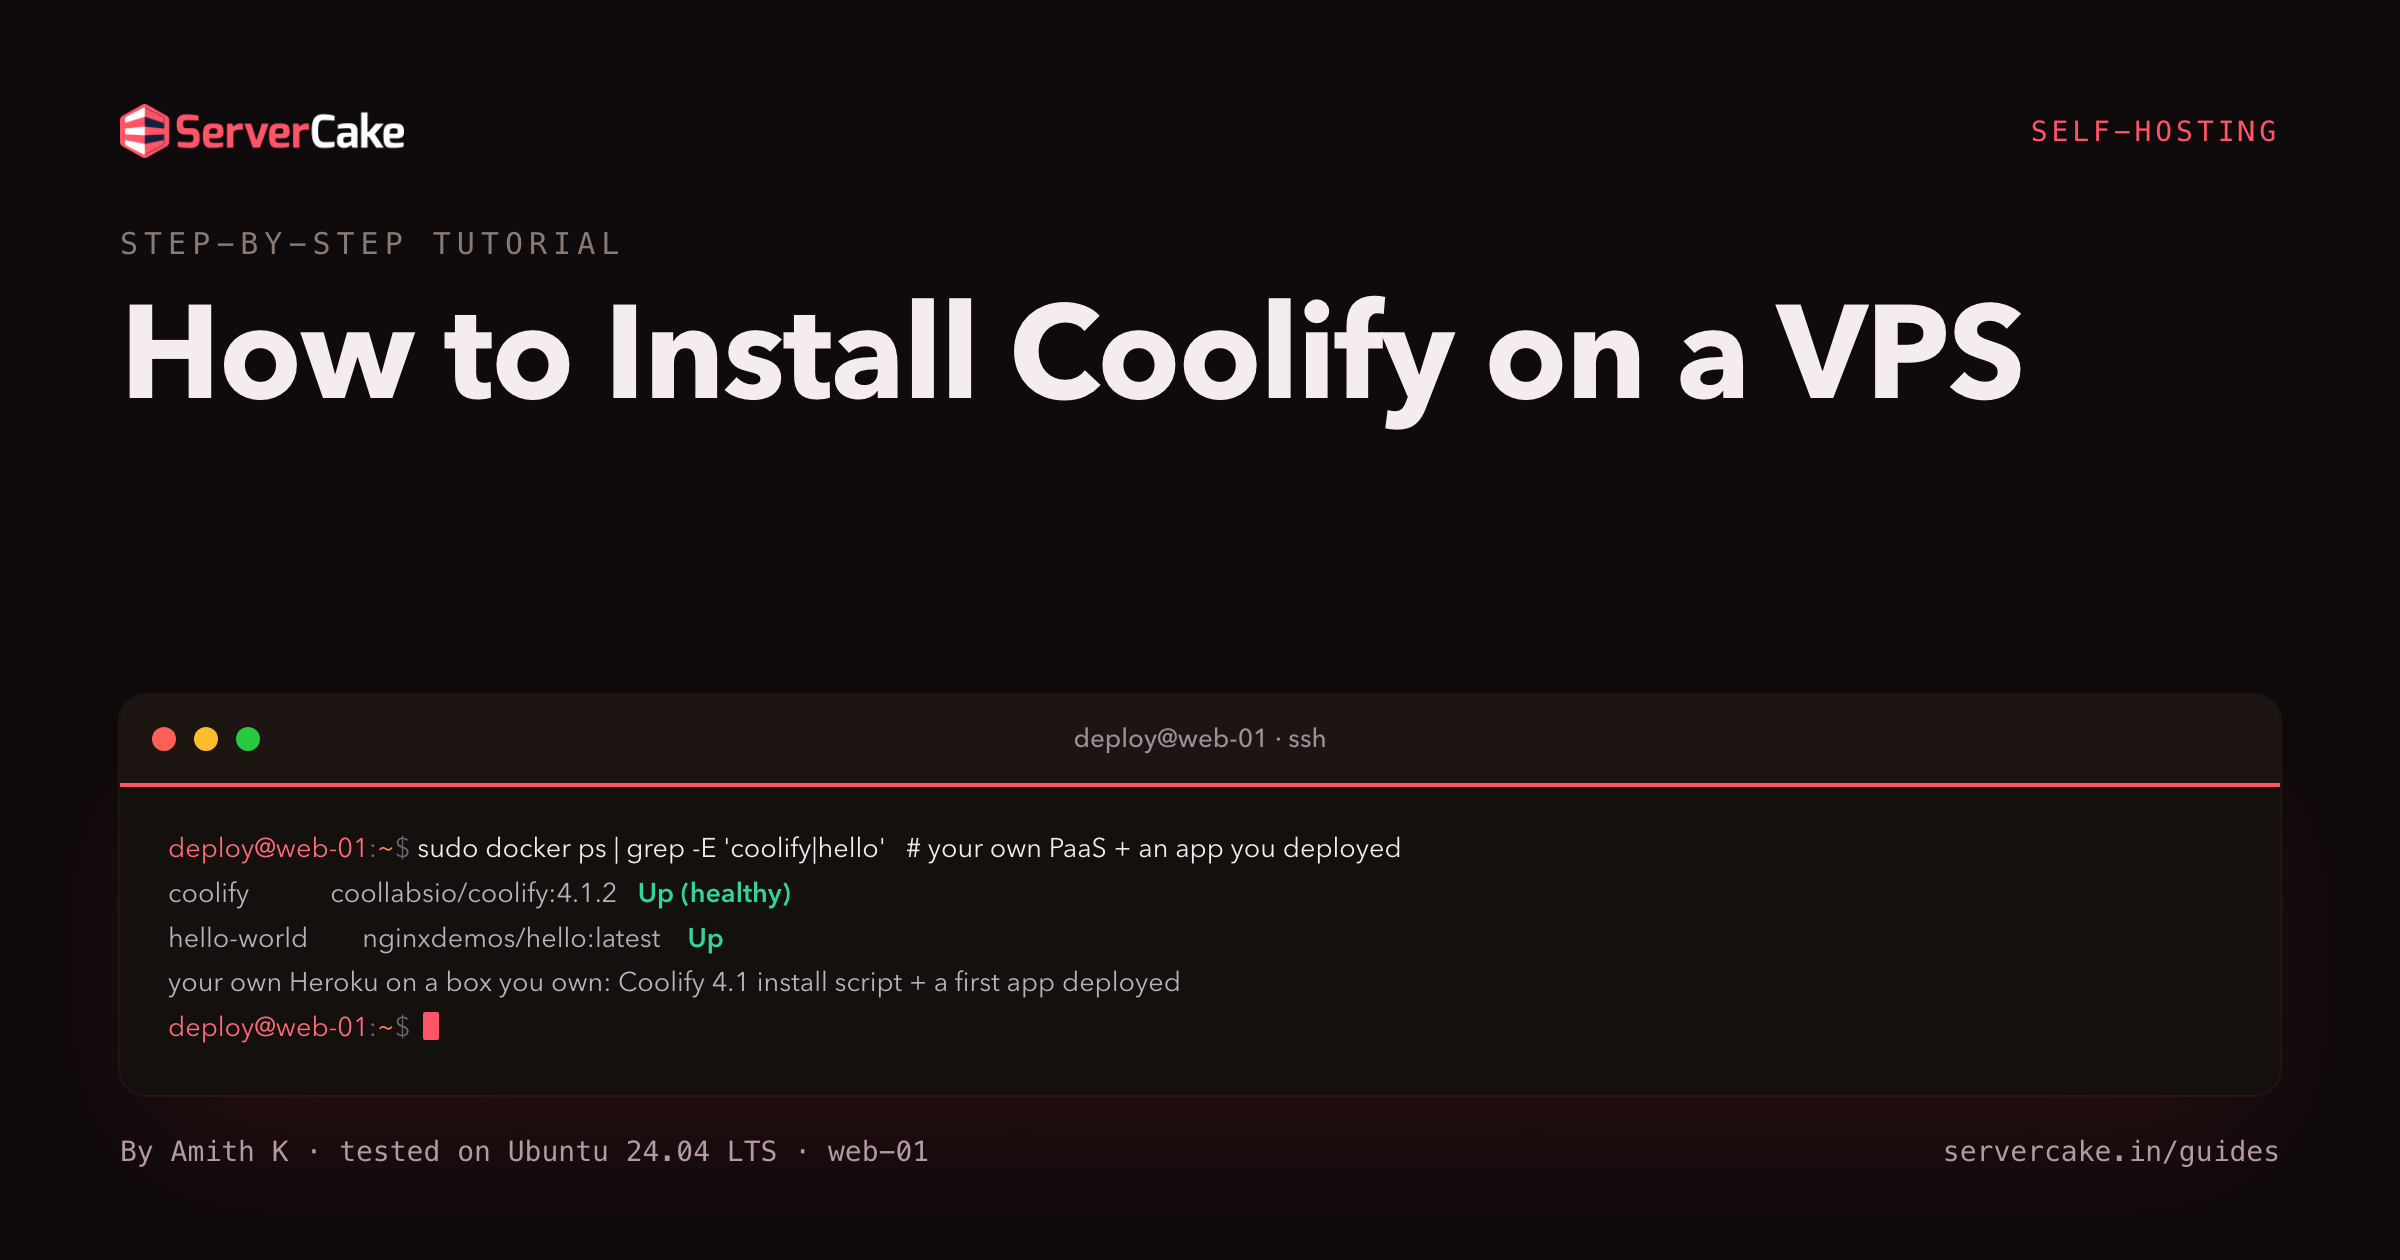
sudo docker ps | grep -E 'coolify|hello'
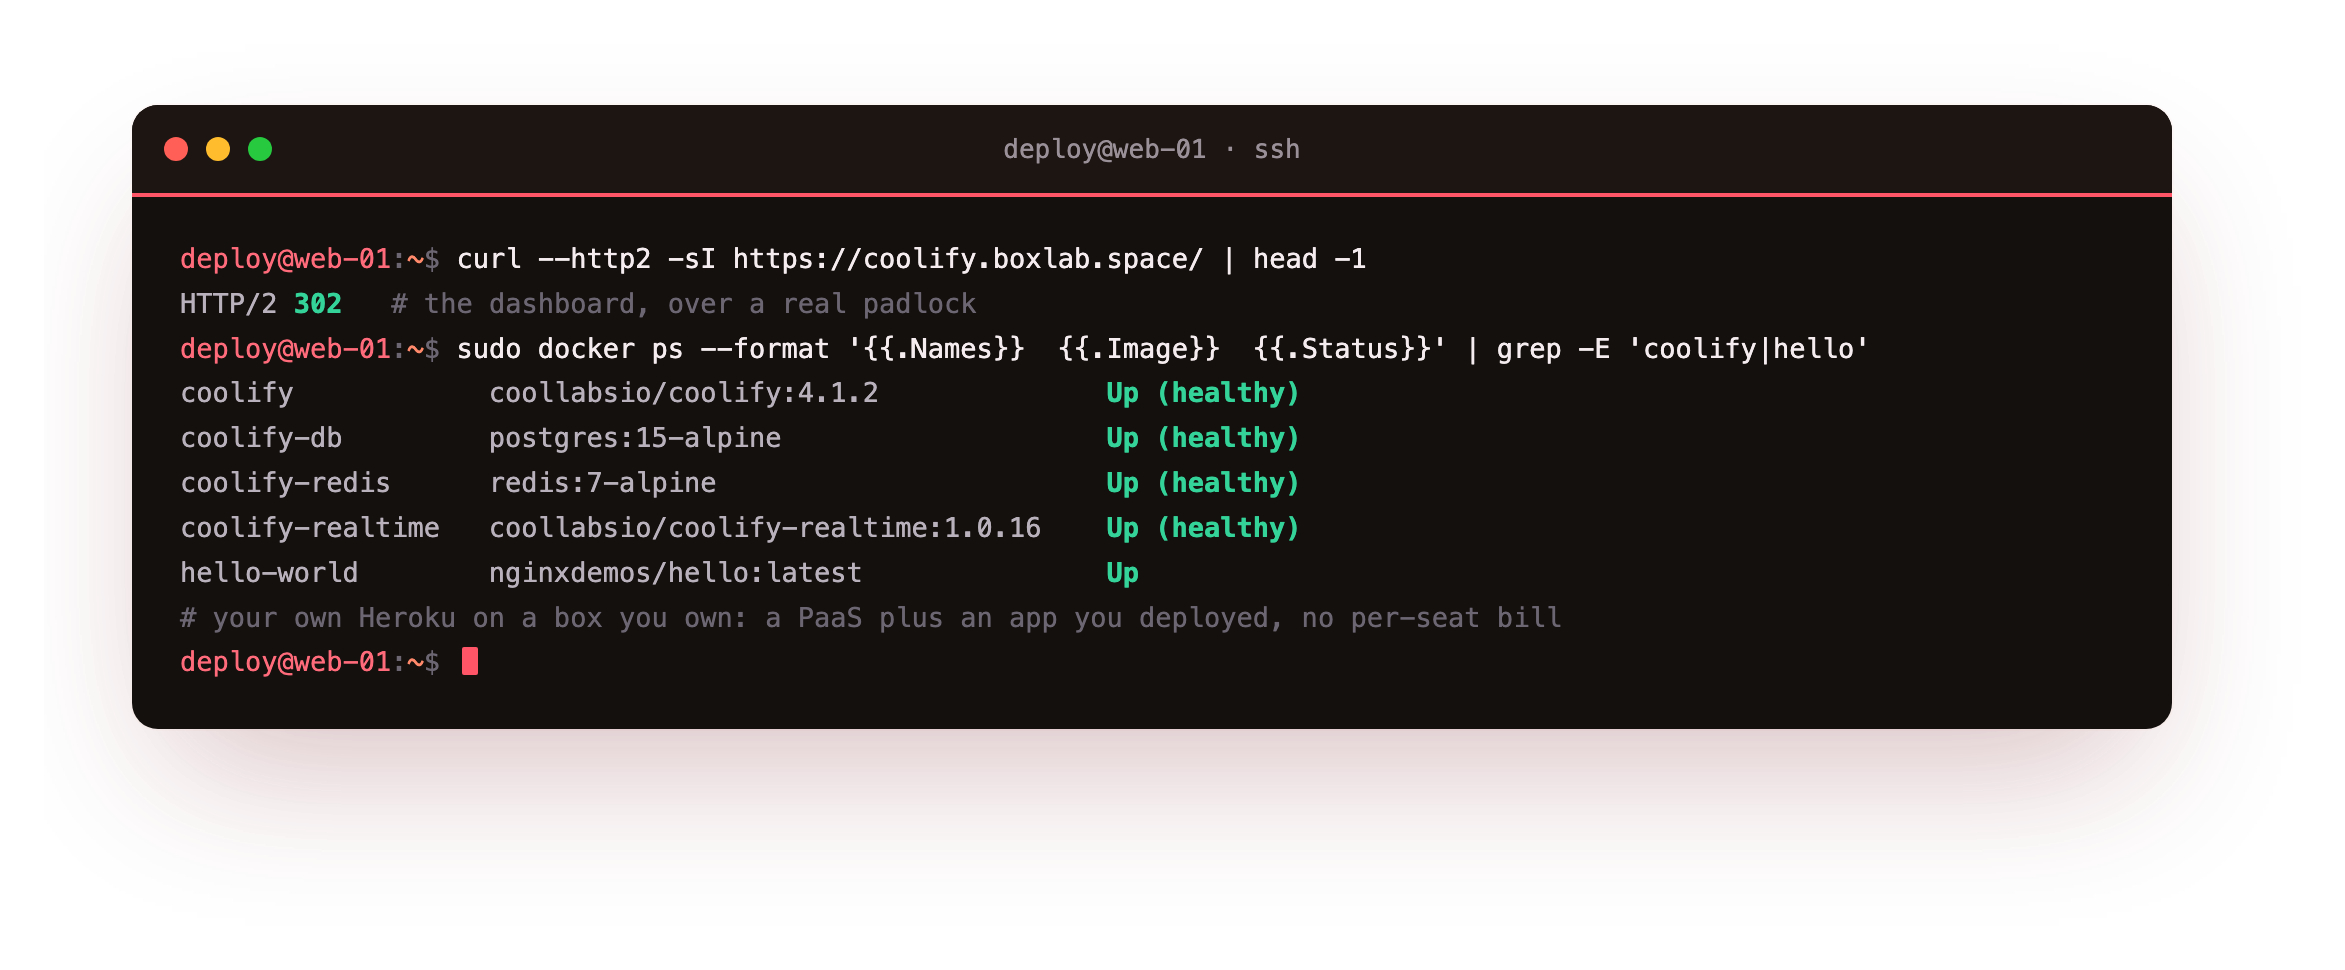
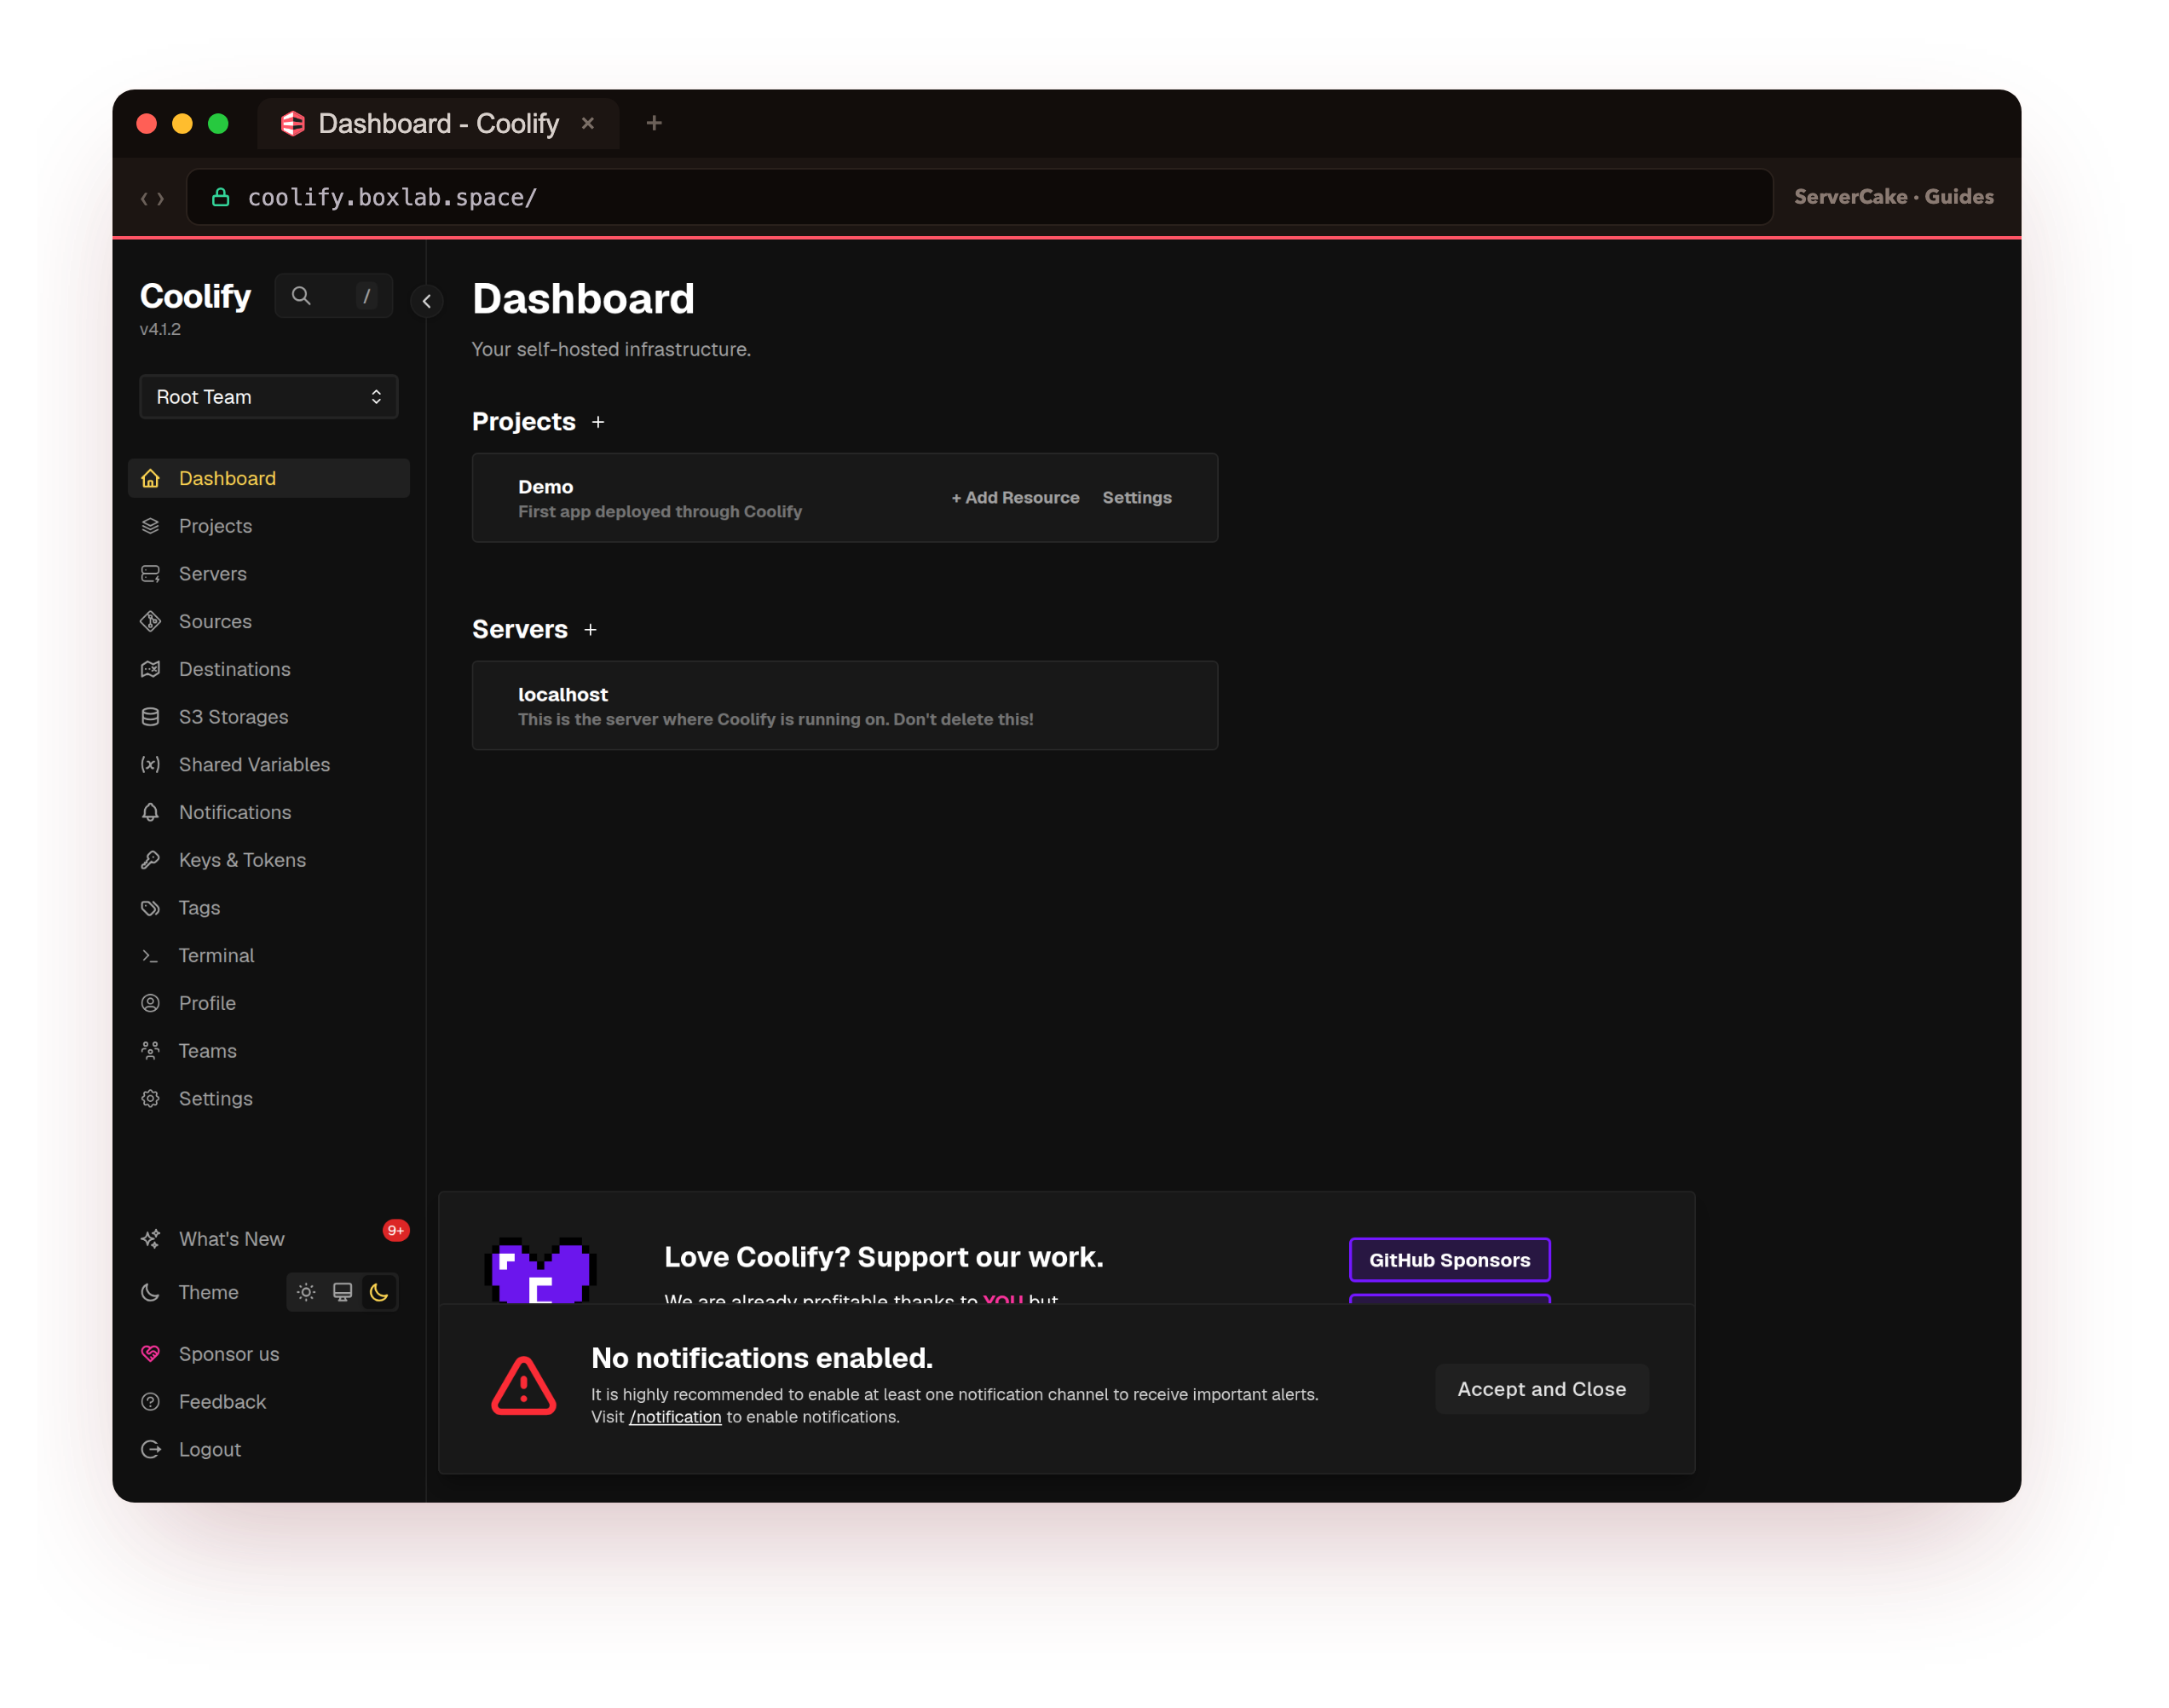
Five containers: Coolify itself, its database, its cache, its realtime server, and the one app we deployed through it. That is the whole platform, running on a single slice, answering to nobody but you.
- Sizing a slice that meets Coolify's real minimum, honestly stated.
- The official one-command install, and what it actually sets up (the app, Postgres, Redis, Soketi and a proxy).
- Registering the first admin the moment the install finishes, and the localhost server Coolify manages.
- Deploying a first app through Coolify and watching it come up and serve.
- Securing the dashboard and keeping Coolify and Docker updated.
Before you begin
You build this yourself from the command line, and a few things need to be in place first. One of them is a hard requirement, so read the sizing line closely.
- A slice running Ubuntu 24.04 LTS that you reach over SSH as a sudo user. Coolify's published minimum is 2 GB of RAM, 2 CPUs and 30 GB of disk, and that floor is real, not a suggestion. The whole Coolify stack plus the apps you deploy has to fit inside it. A 1 GB slice will thrash, so do not attempt it there.
- A fresh box with nothing else important on it. Coolify wants to own Docker on the machine, so give it a slice of its own rather than one already running other services.
- A domain or subdomain whose DNS you can edit. Coolify uses it for the dashboard and to hand each deployed app a real address of its own.
- Your slice's public IPv4 address, so you can point DNS at it and reach the dashboard for the first login.
A quick look at the box before you start tells you whether it is the right size. Read the numbers back rather than assuming.
lsb_release -d && nproc && free -h && df -h /
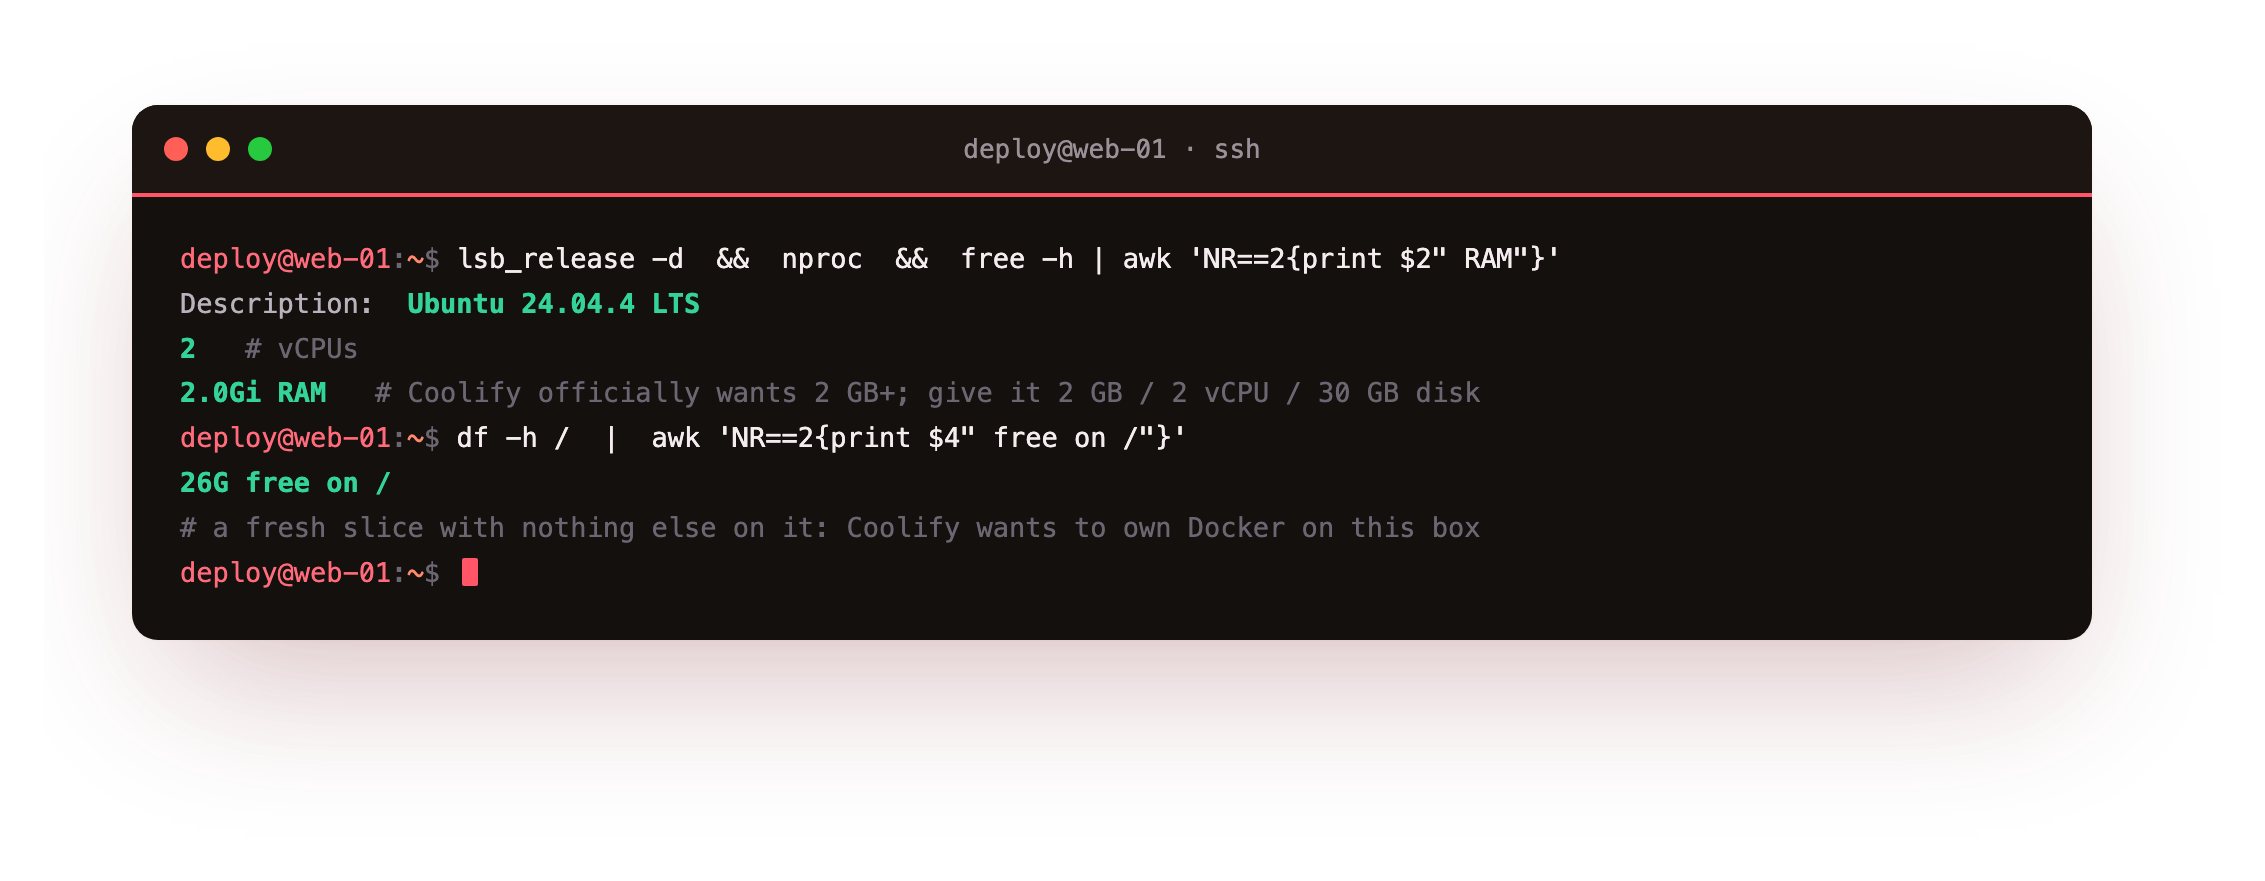
On our lab slice this reports Ubuntu 24.04 LTS, 2 vCPUs and 2 GB of RAM, with plenty of free disk. That is honestly the low end for Coolify, and this guide flags where memory gets tight. If you plan to run more than one or two small apps, give it 4 GB and you will have a far smoother time.
Install Coolify on a VPS with one command
The reason this section is short is that Coolify does the heavy lifting for you. To install Coolify on a VPS you run a single script, and it sets up everything: it installs Docker if the box does not have it, pulls the Coolify images, and starts the whole stack. Run it as root or with sudo on your fresh slice.
curl -fsSL https://cdn.coollabs.io/coolify/install.sh | sudo bash
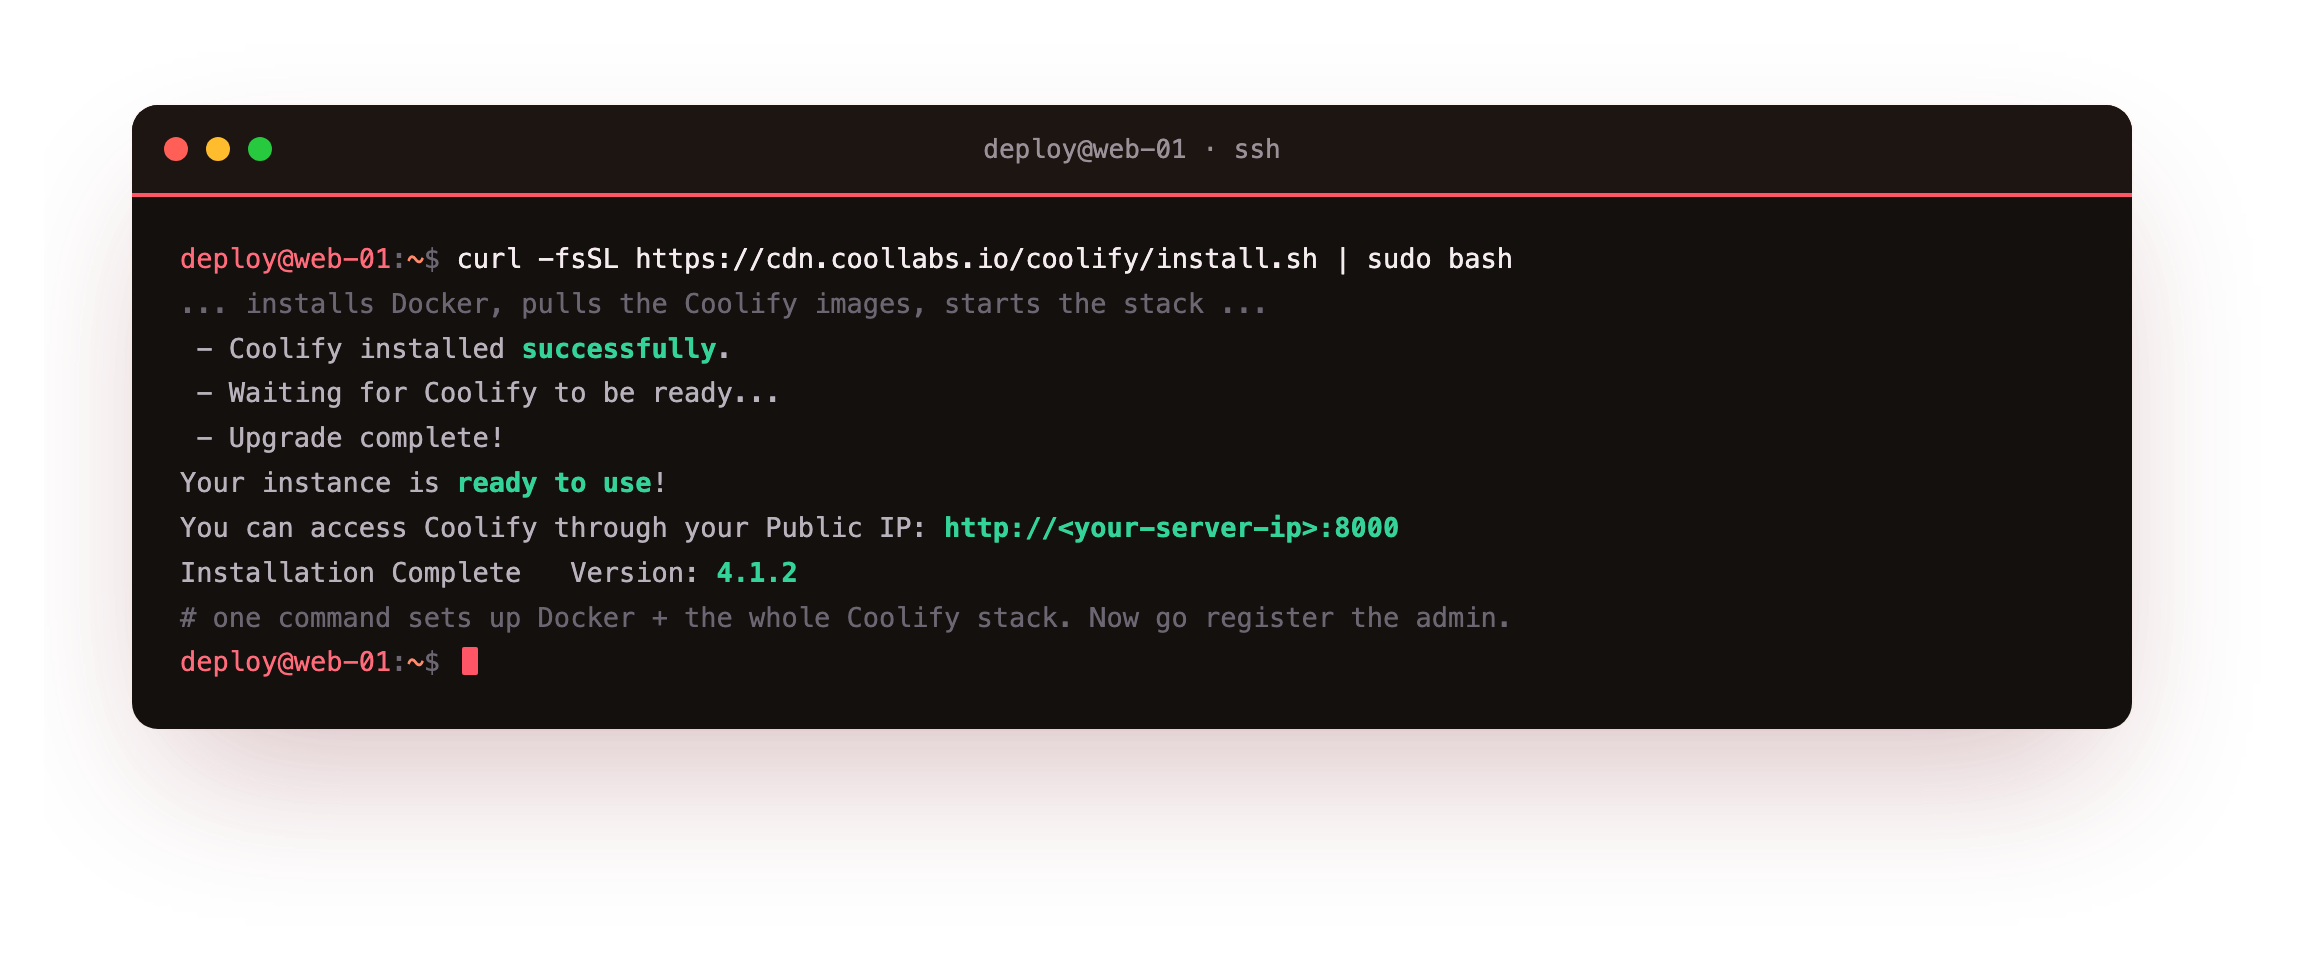
Piping a script from the internet straight into a shell is worth a moment's thought, and the honest advice is to read what you are about to run. Open https://cdn.coollabs.io/coolify/install.sh in a browser first if you want to see it; it is Coolify's official installer, published by the project. When it runs it prints its progress and finishes by telling you the dashboard is ready and where to reach it.
The installer configures Docker, downloads Coolify's own Compose files into /data/coolify, generates the secrets it needs, and brings the containers up. On our box it settled on Coolify 4.1.2. When it is done it points you at the dashboard on port 8000 of your server's IP.
http://your-server-ip:8000. If it stops earlier, the usual cause is too little memory or disk; check free -h and df -h / before rerunning.Take a look at what it stood up. Coolify is not one container but a small stack working together, and it helps to know what each part is for.
sudo docker ps --format '{{.Names}} {{.Image}} {{.Status}}'
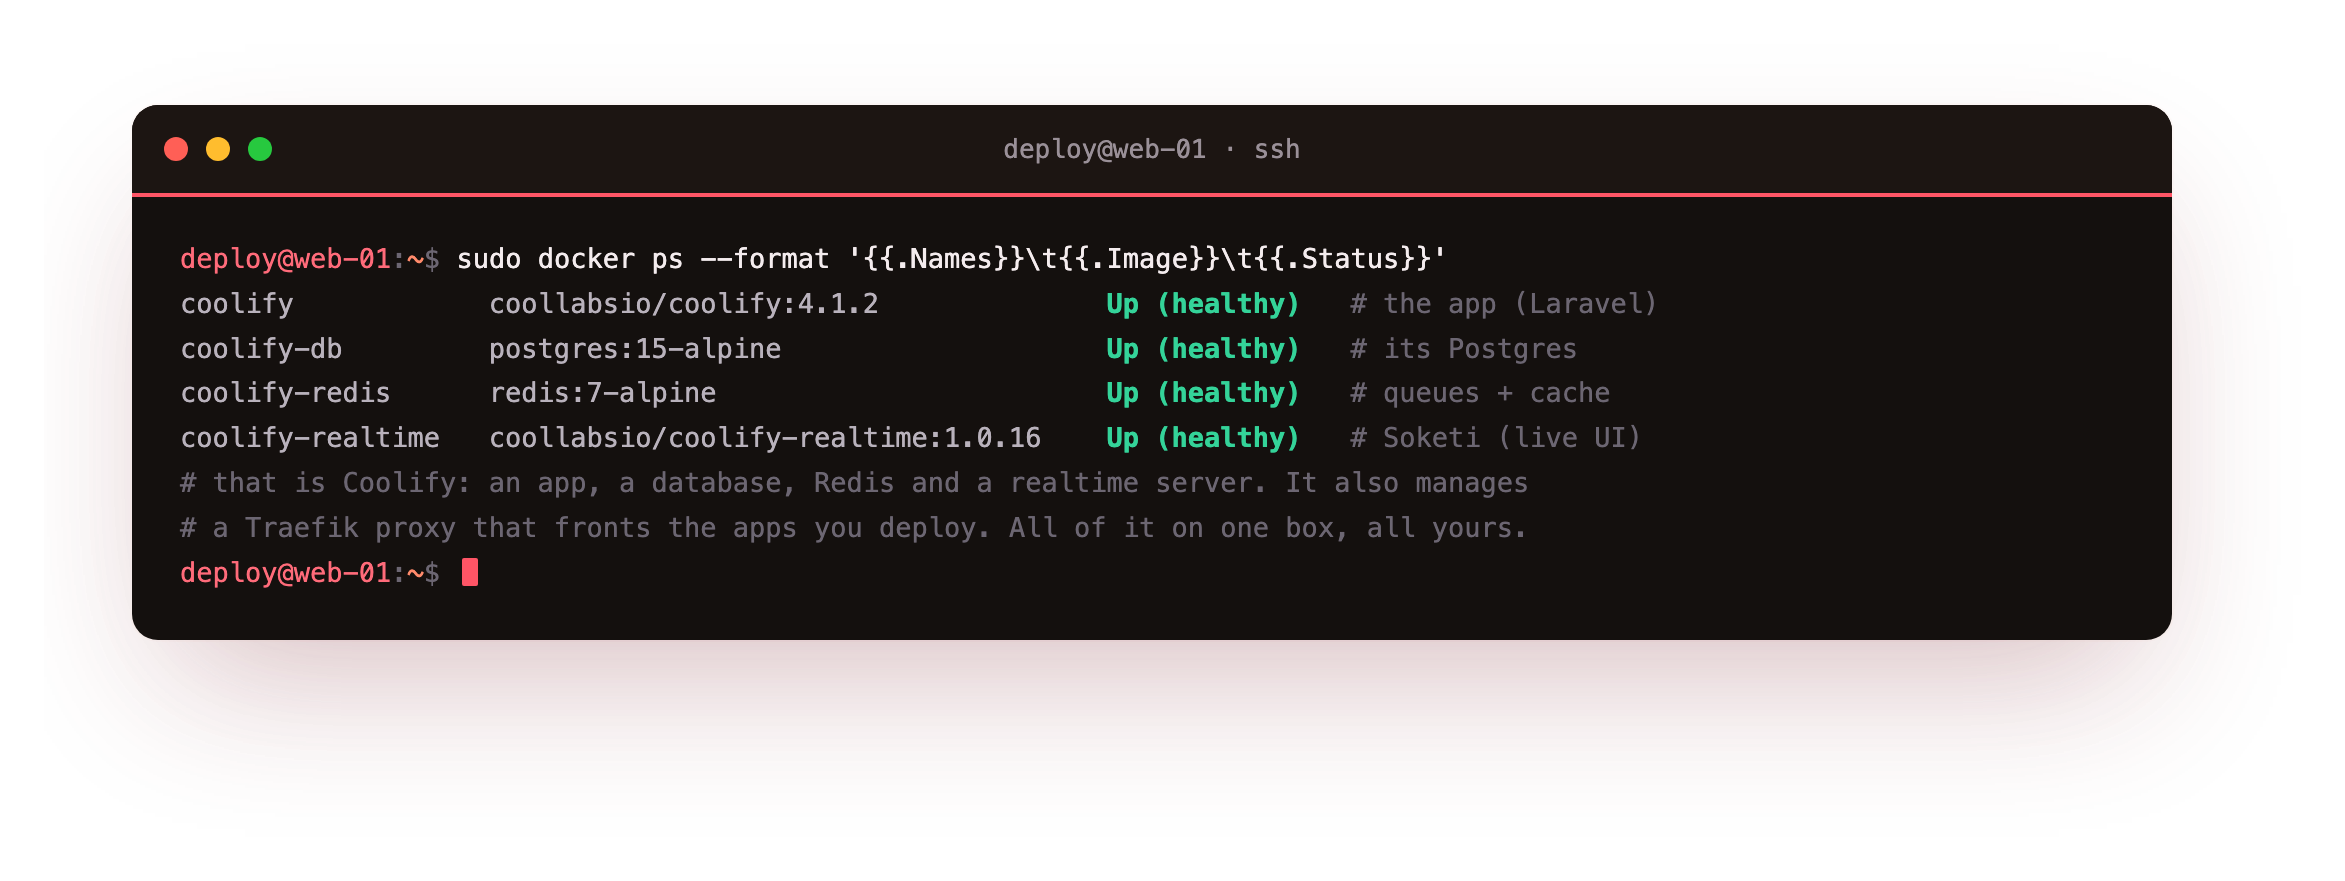
You will see four Coolify containers. The coolify app is the dashboard and the brains, a Laravel application. coolify-db is its PostgreSQL database, where your projects, servers and settings live. coolify-redis handles its queues and cache. coolify-realtime is a small Soketi server that pushes live updates into the dashboard so deploy logs and status change in front of you.
Coolify also manages a Traefik proxy that sits in front of the apps you deploy and routes traffic to them. That is the shape of a real PaaS: a few moving parts, but all of them on your box and all of them yours.
First login and onboarding
Now open the dashboard in a browser at your server's address on port 8000. The very first thing to understand about Coolify is that the first person to reach a brand-new instance becomes the admin, and until that first account exists, the sign-up form is open. So do this immediately after the install finishes, not later.
Create the admin account with your email and a long, random password. The moment you do, Coolify closes open registration on its own, so nobody else can walk in and enrol. You can confirm that from the shell: the register page no longer serves a form and redirects away instead.
curl -s -o /dev/null -w '%{http_code}\n' https://coolify.example.com/register
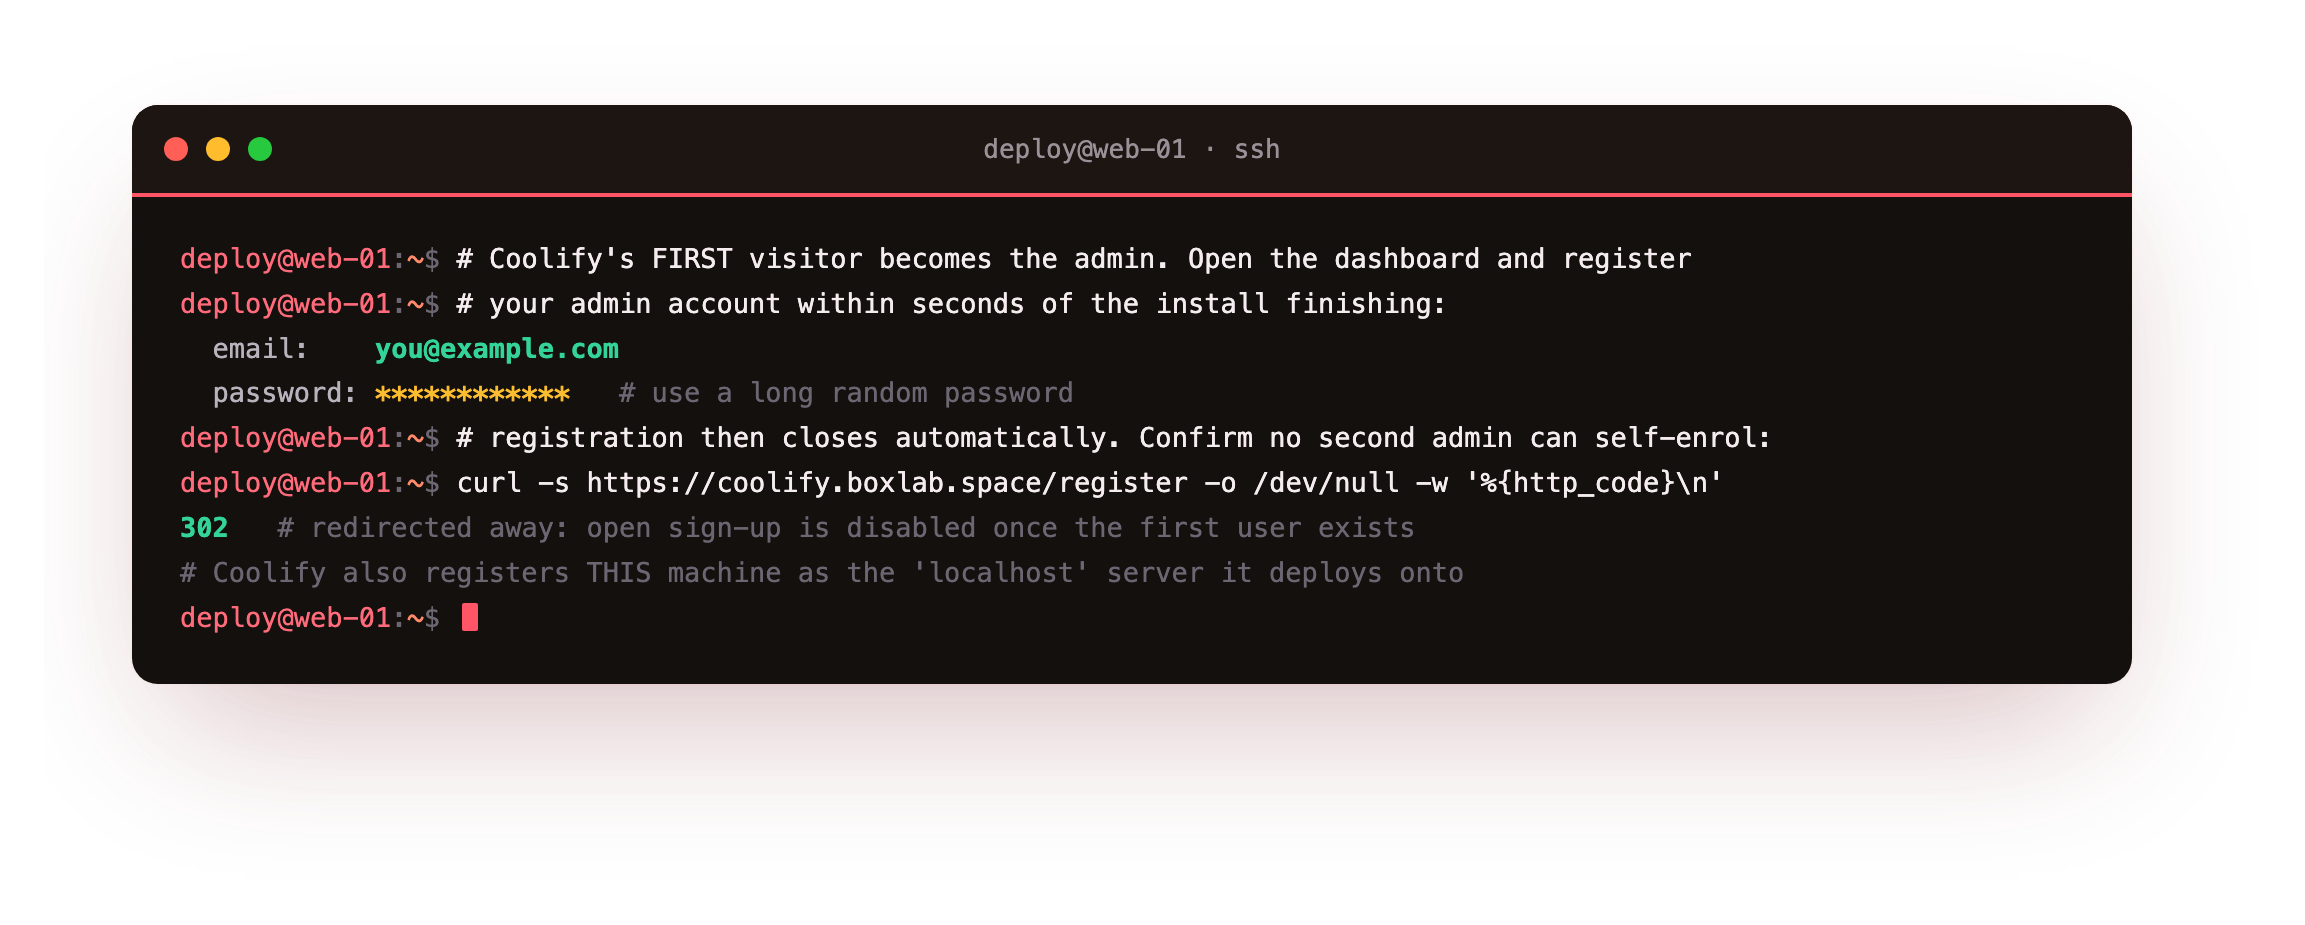
A redirect here means open sign-up is off, which is exactly what you want on an instance that faces any network. With the admin created, Coolify walks you through a short onboarding.
The important step is the server. Coolify registers the machine it is running on as a server called localhost, the box it will deploy your apps onto, and sets up the proxy on it. For a single-slice setup that is all you need. You can add more servers later and deploy to them from the same dashboard, which is where Coolify starts to feel like your own cloud.
Deploy your first app
This is the payoff, so let us deploy something real. In the dashboard, create a project, then add a resource to it. Coolify can build from a Git repository, from a Dockerfile, or straight from a prebuilt Docker image.
That last option is the quickest way to see the whole flow work end to end without waiting on a build. Choose New Resource, then Docker Image, and give it a small public image such as nginxdemos/hello, a tiny web server that renders a page showing which container answered.
Point it at your project's environment, set the port it listens on, and deploy. Coolify pulls the image, starts the container on the localhost server, and streams the deployment log into the dashboard as it goes. When it settles, the application page shows a green Running status, and you can confirm the same thing from the shell: the container is up, and it answers.
sudo docker ps | grep hello
curl -s -o /dev/null -w 'app -> HTTP %{http_code}\n' http://127.0.0.1:8090/
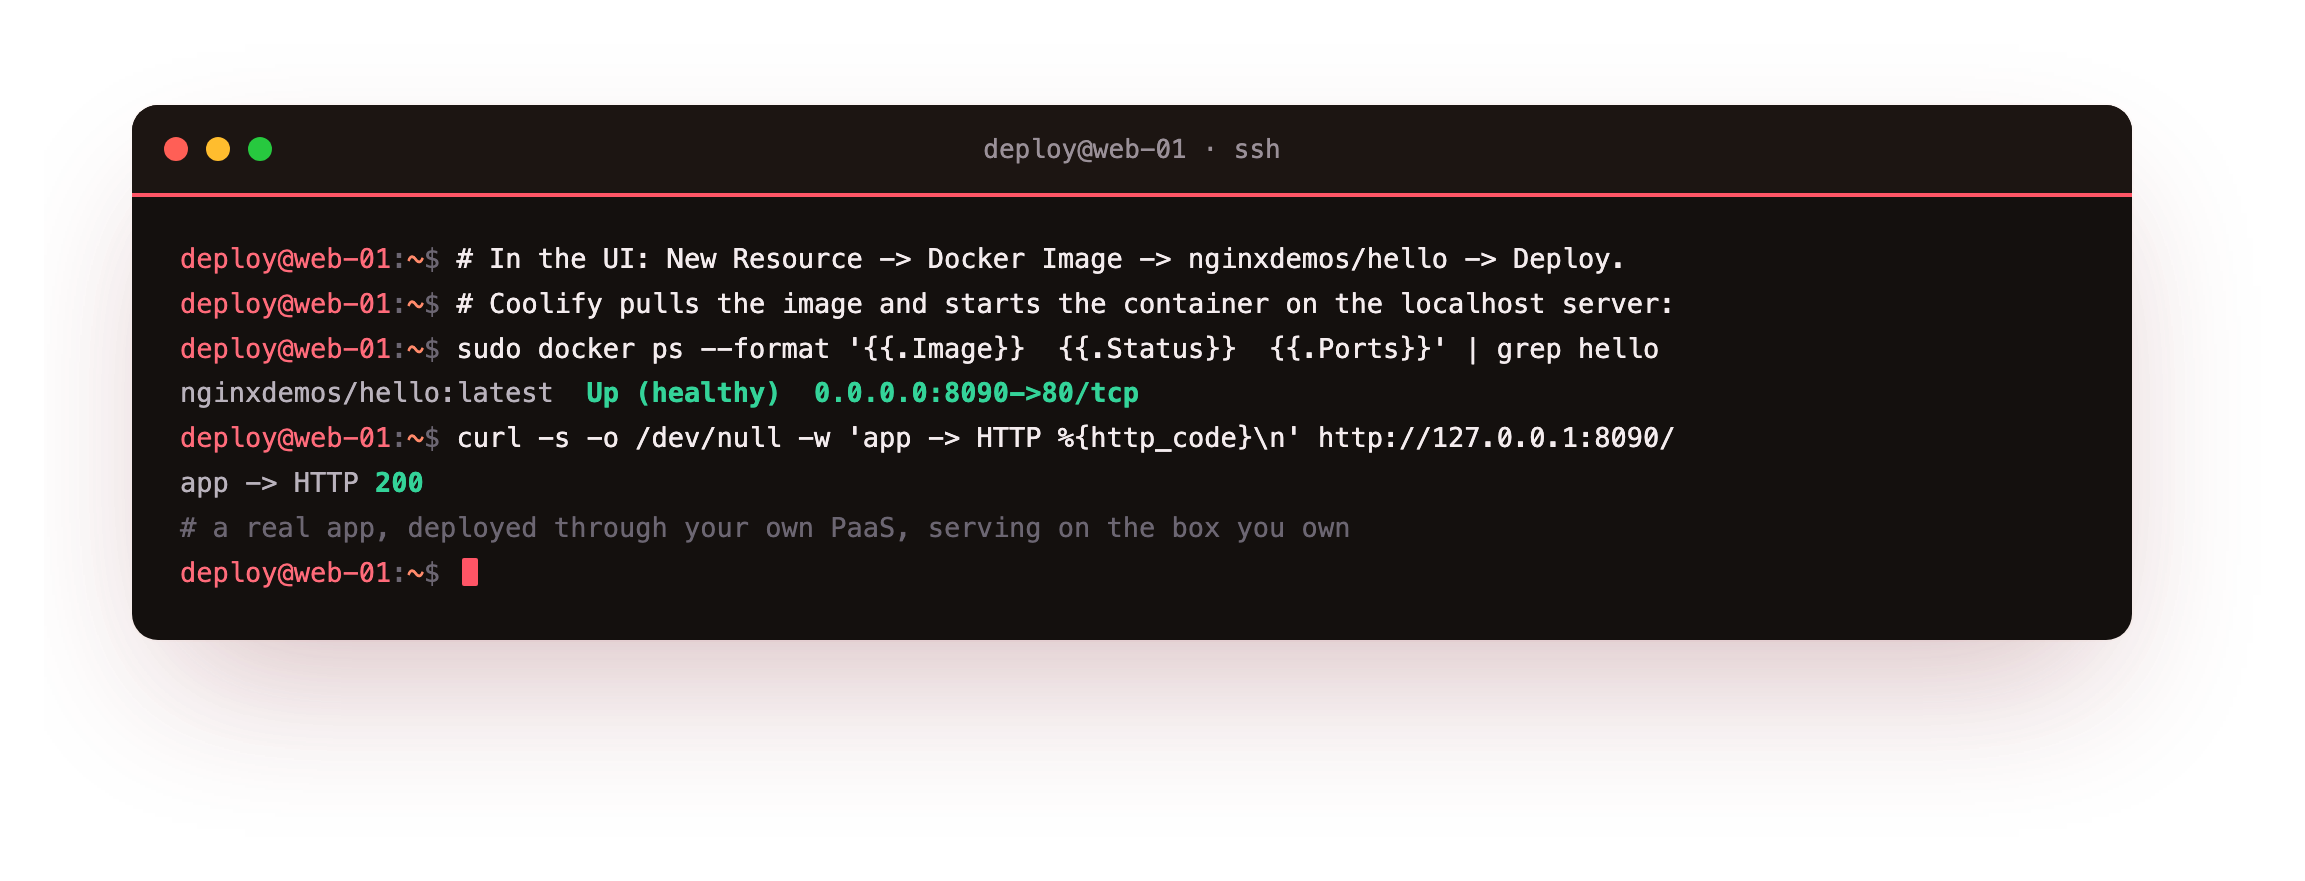
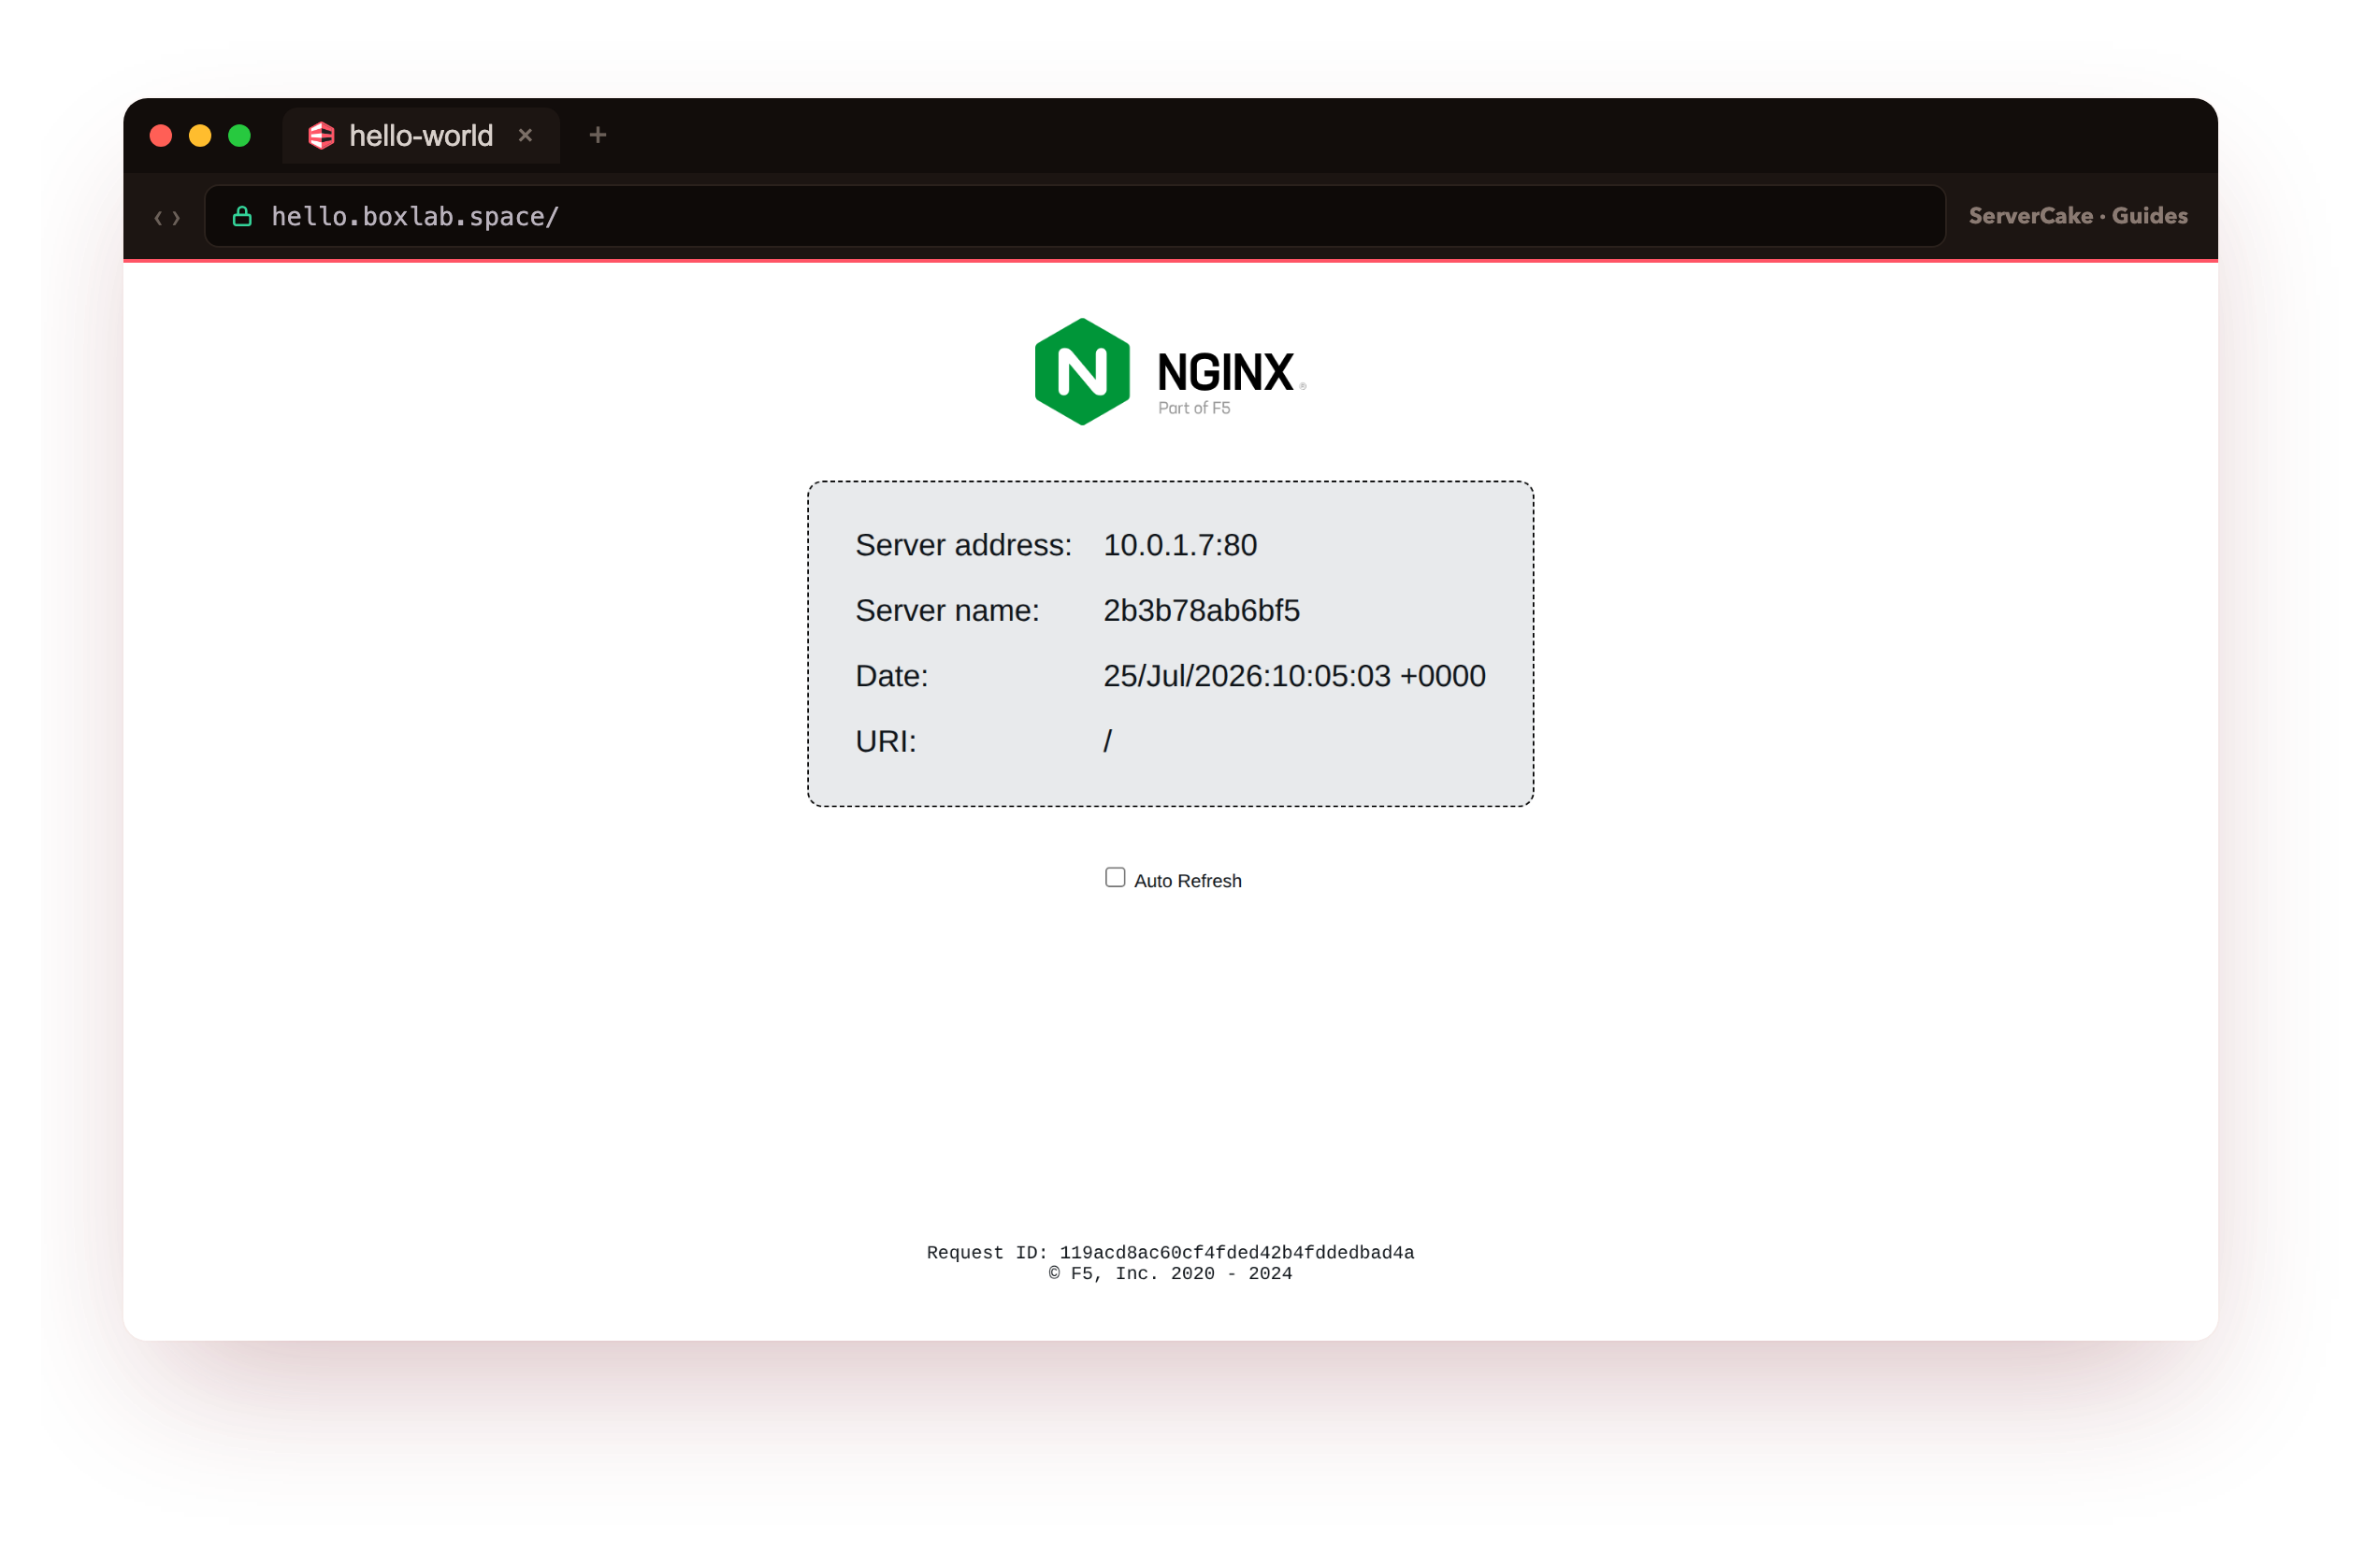
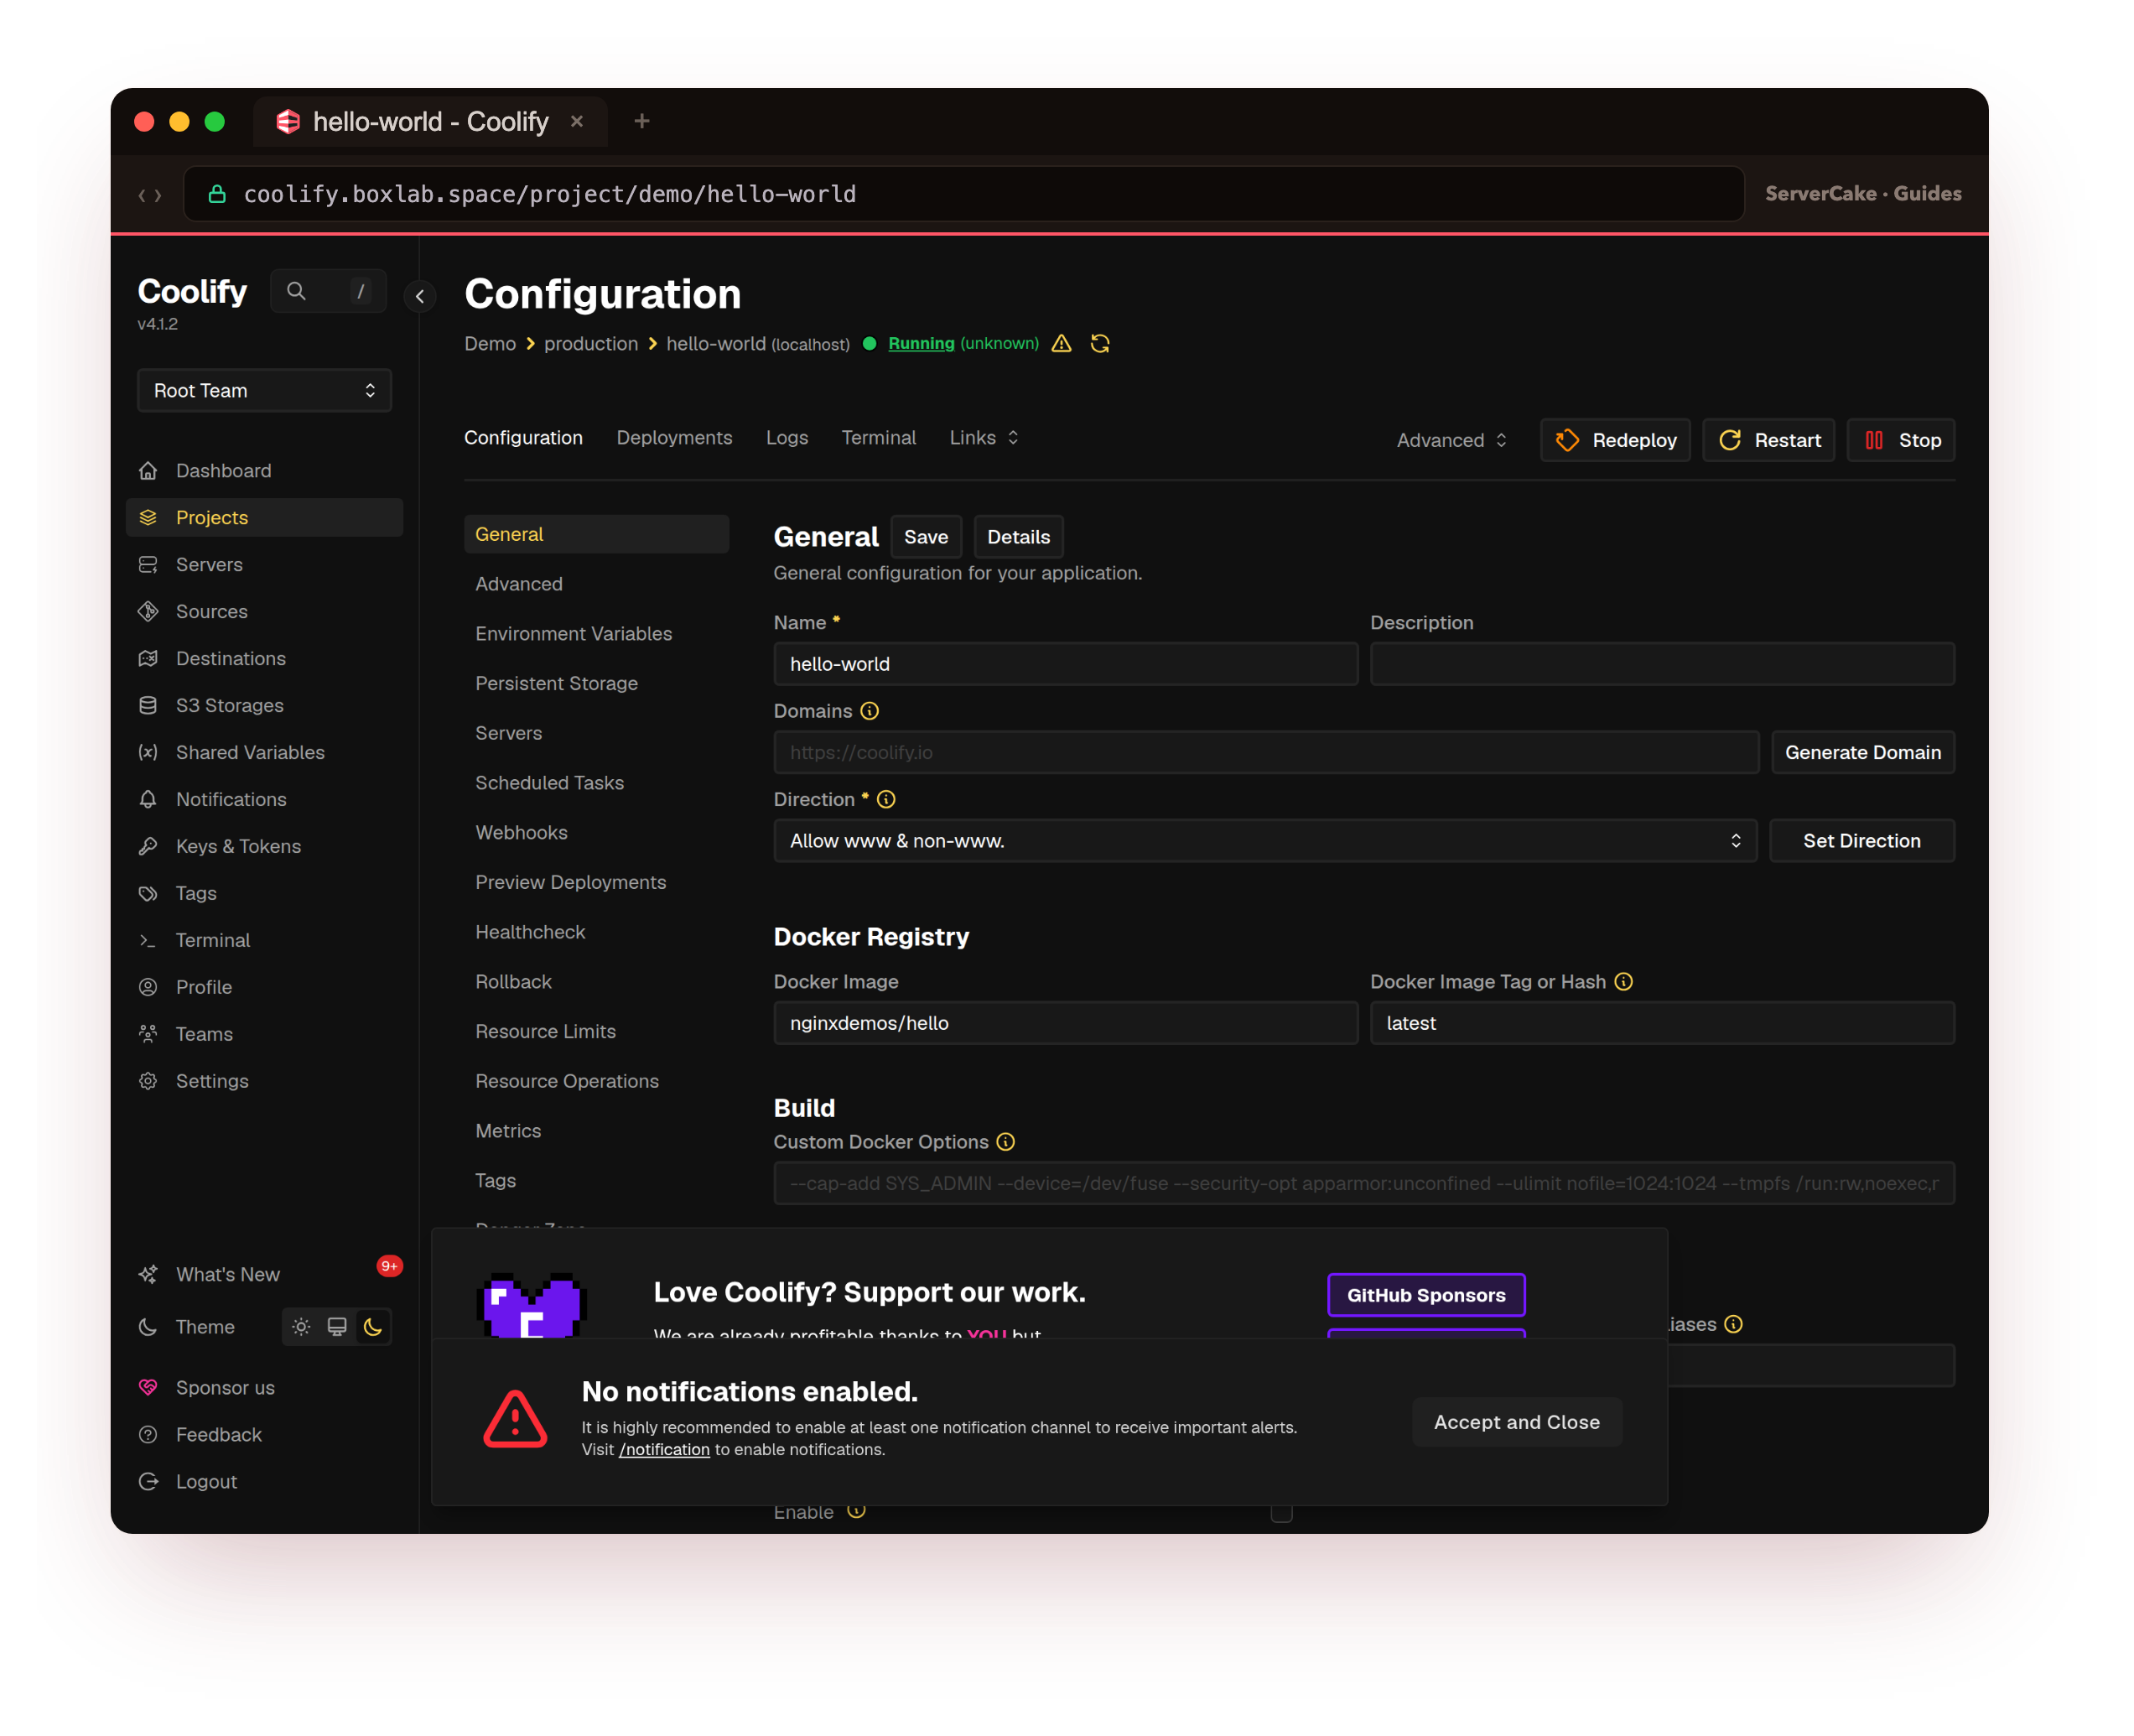
A 200 there is your proof: a real app, deployed through your own PaaS, serving from the box you own. Give the app a domain in its settings and Coolify's proxy will route a real address to it with an automatic certificate, exactly as a managed platform would, except the platform is yours. Swap nginxdemos/hello for your own image, or point Coolify at a Git repository, and the same deploy button ships your actual project.
200. If the deploy fails, open the Deployments tab and read the log; a wrong port or an image that needs environment variables is the usual cause, and the log names it.Secure the dashboard and lock it down
Coolify is powerful precisely because it can start and stop containers and hold your apps' secrets, which is the same reason its dashboard must not sit open on the public internet. A few habits keep it safe.
First, keep Coolify's own port off the open web. The dashboard belongs behind your domain over HTTPS, not exposed as a raw port to the world. Put it behind the proxy with a real certificate, and let your firewall allow only what needs to be public.
sudo ufw default deny incoming
sudo ufw allow OpenSSH
sudo ufw allow 443/tcp
sudo ufw --force enable
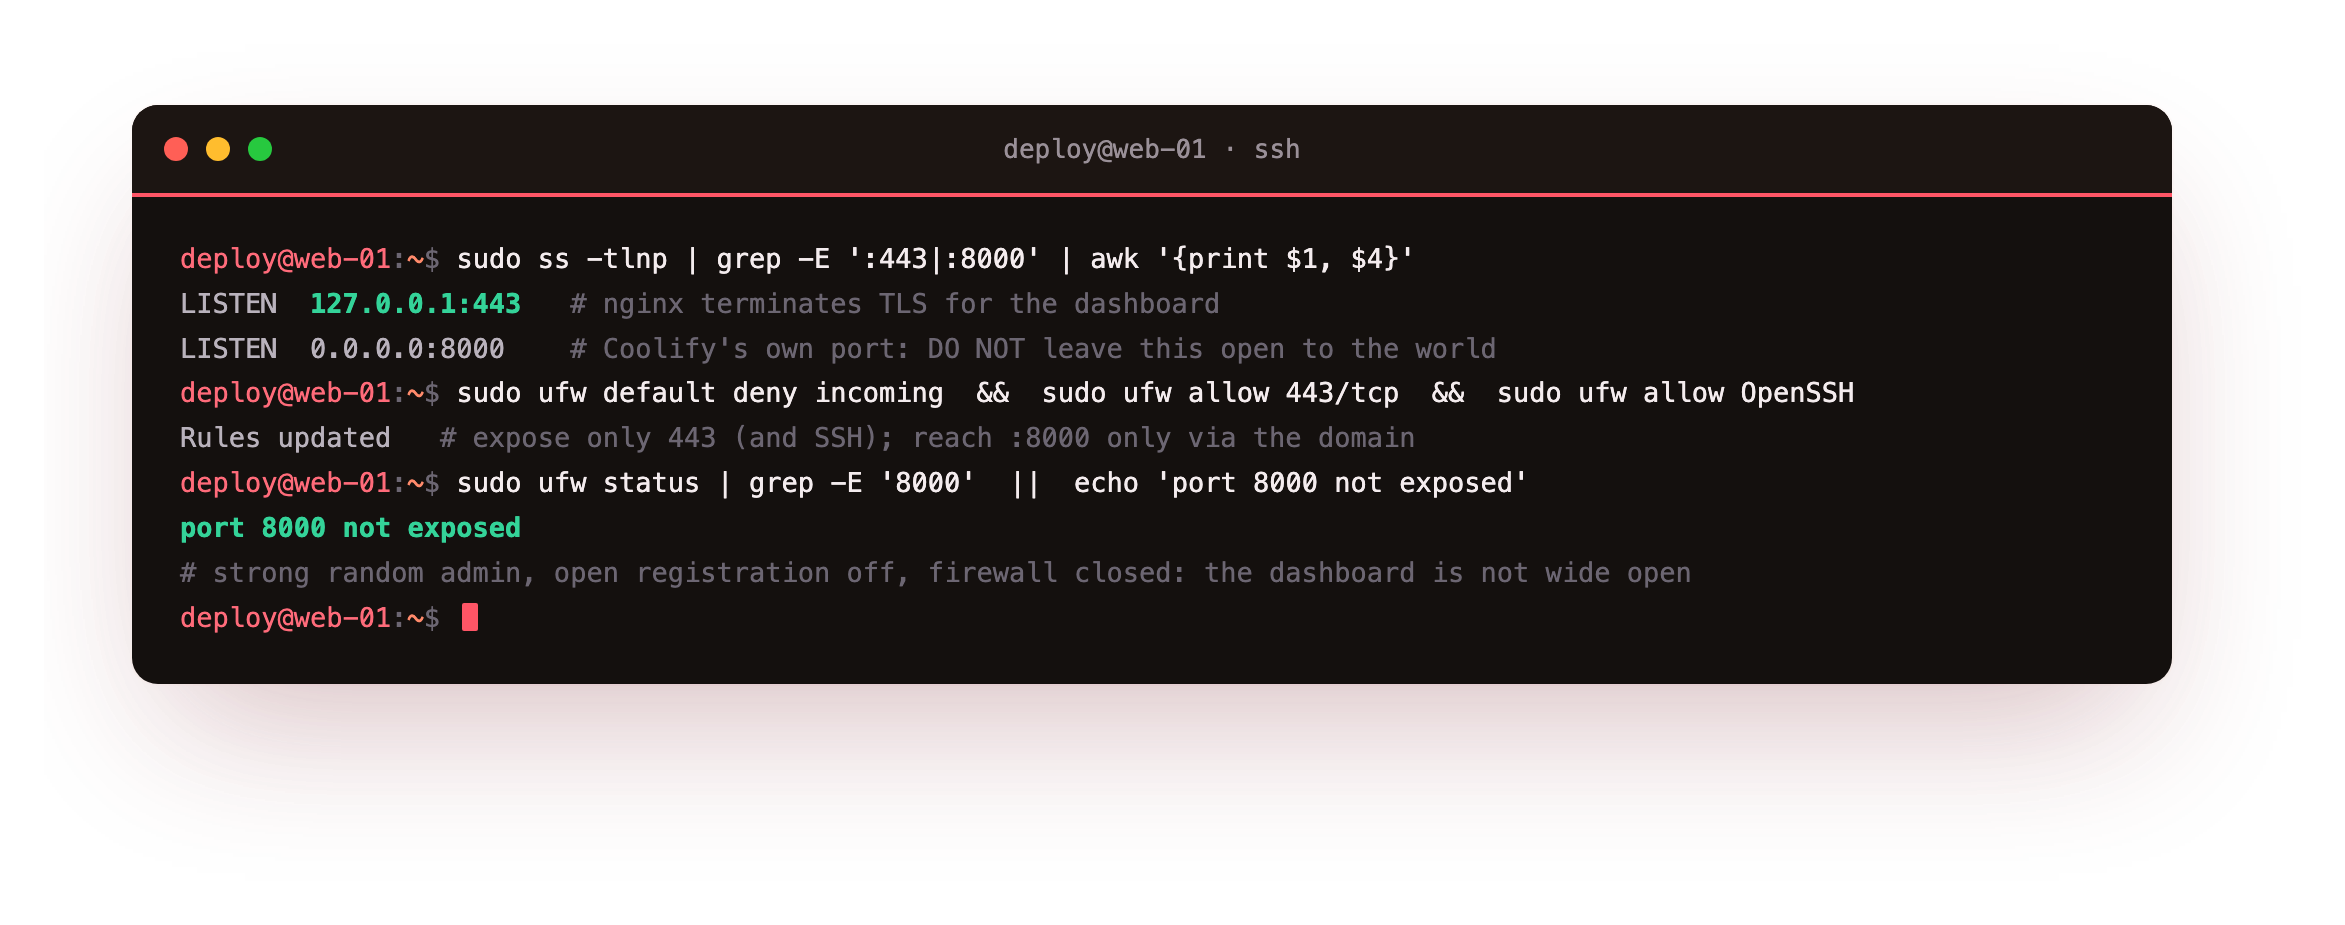
That leaves SSH and HTTPS reachable and closes everything else, including port 8000, from the outside. Confirm the certificate path is genuine end to end while you are here; the dashboard should answer over a real, publicly trusted certificate.
echo | openssl s_client -connect coolify.example.com:443 \
     -servername coolify.example.com 2>/dev/null | openssl x509 -noout -issuer
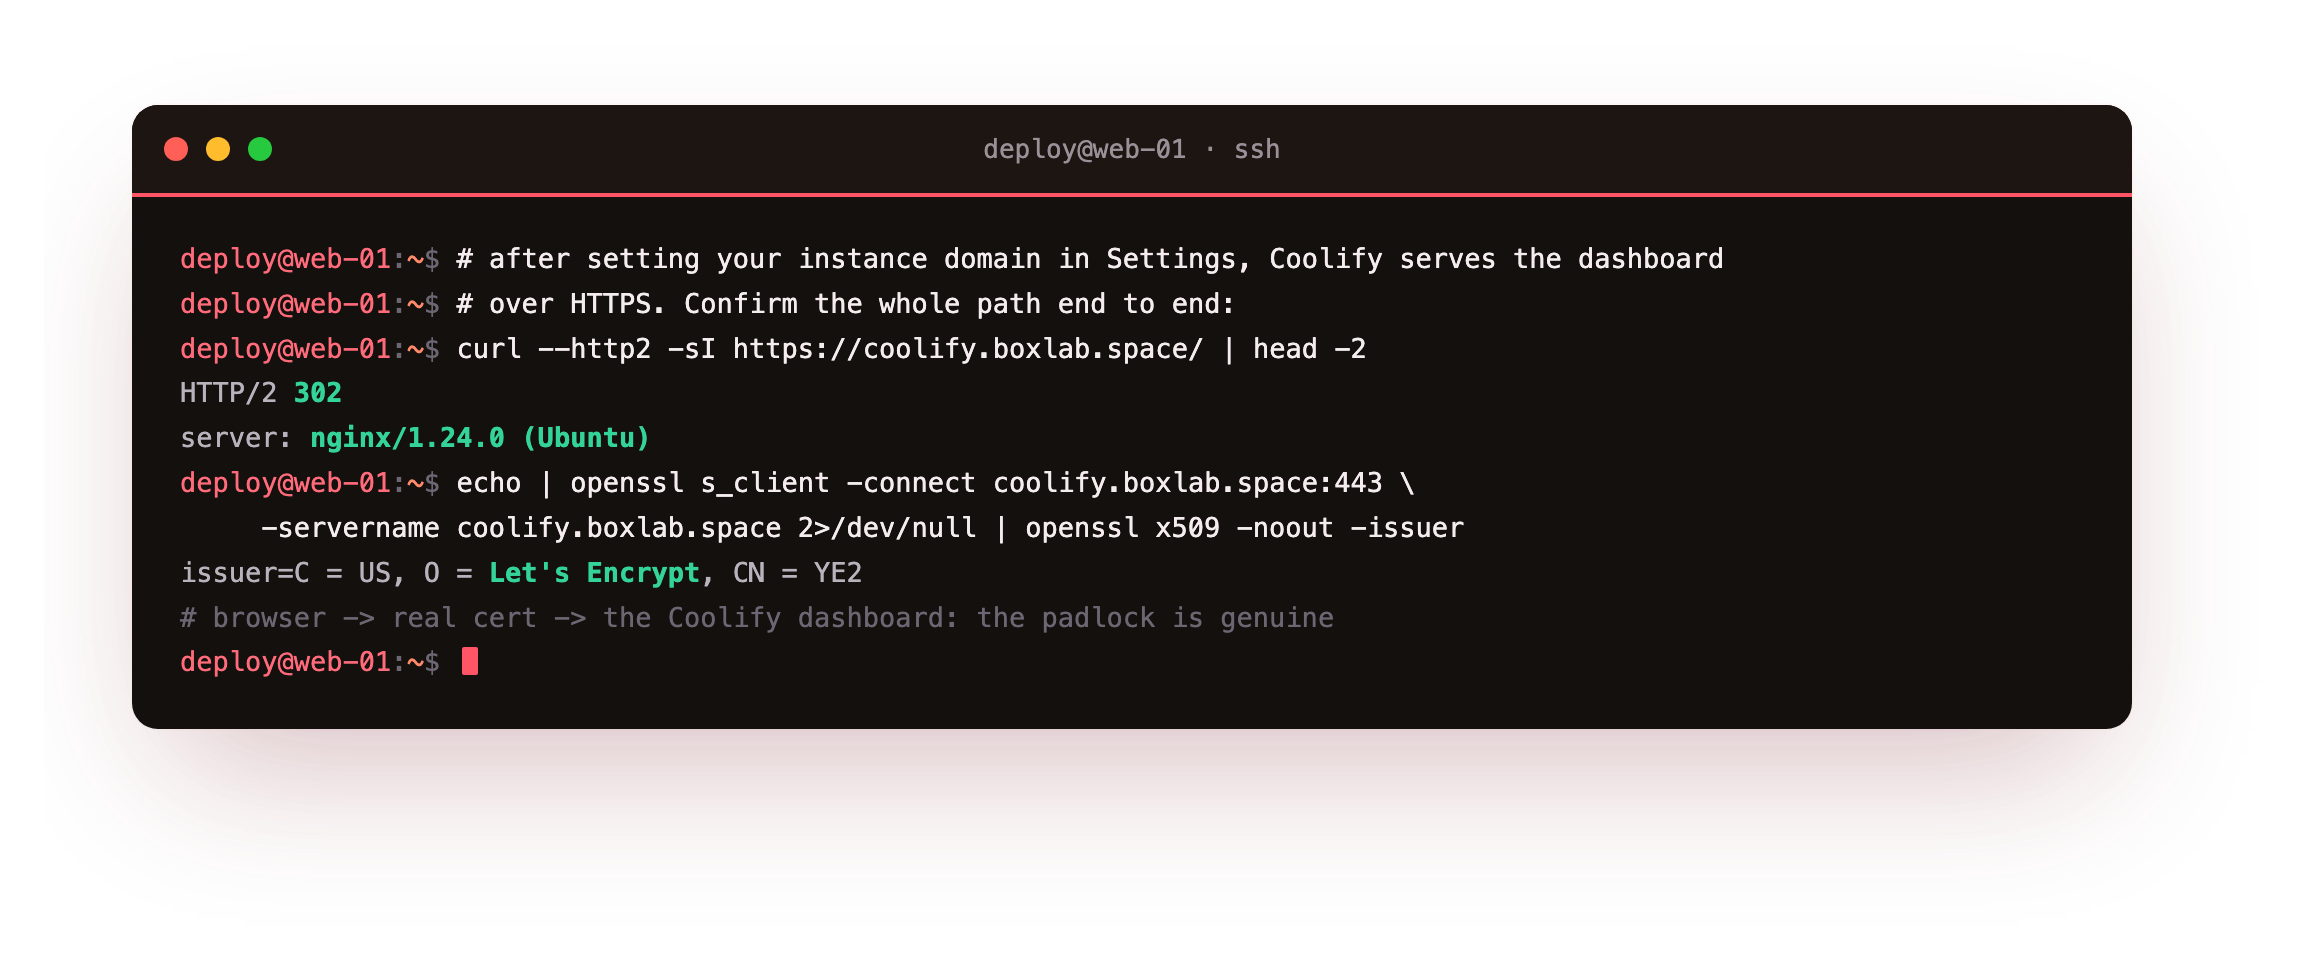
An issuer of Let's Encrypt (or your own CA) means the padlock in the browser is real, not self-signed. Beyond the network, the basics still apply: a strong random admin password, open registration off (Coolify did that for you after the first user), and, on an instance more than one person uses, keeping the dashboard reachable only over a VPN or an allow-listed set of addresses. Coolify holds the keys to every app it runs, so treat access to it as seriously as access to the server itself.
Keep it running and updated
The nice thing about a self-hosted PaaS is that once it is up, keeping it healthy is light work. Coolify updates itself: there is an Update button in Settings, and it can also be driven from the shell with the project's upgrade script, which pulls the new images and recreates the containers without touching your projects.
curl -fsSL https://cdn.coollabs.io/coolify/upgrade.sh | sudo bash
Because Docker keeps the app containers and their volumes separate from Coolify itself, an update to Coolify does not disturb the apps you have deployed. Read the release notes before a major jump, the same as you would for any platform you depend on.
Backups are the habit that matters most, and for Coolify there are two things to capture: its PostgreSQL database, which holds every project, server, application and secret, and the /data/coolify directory, which holds the environment file and the SSH keys Coolify uses to reach its servers. Lose the database and you lose the map of everything; lose the keys and Coolify cannot talk to its own servers. Back both up together and copy them off the slice.
sudo docker exec coolify-db pg_dump -U coolify coolify | gzip > coolify-db.sql.gz
sudo tar czf coolify-data.tar.gz /data/coolify/source/.env /data/coolify/ssh
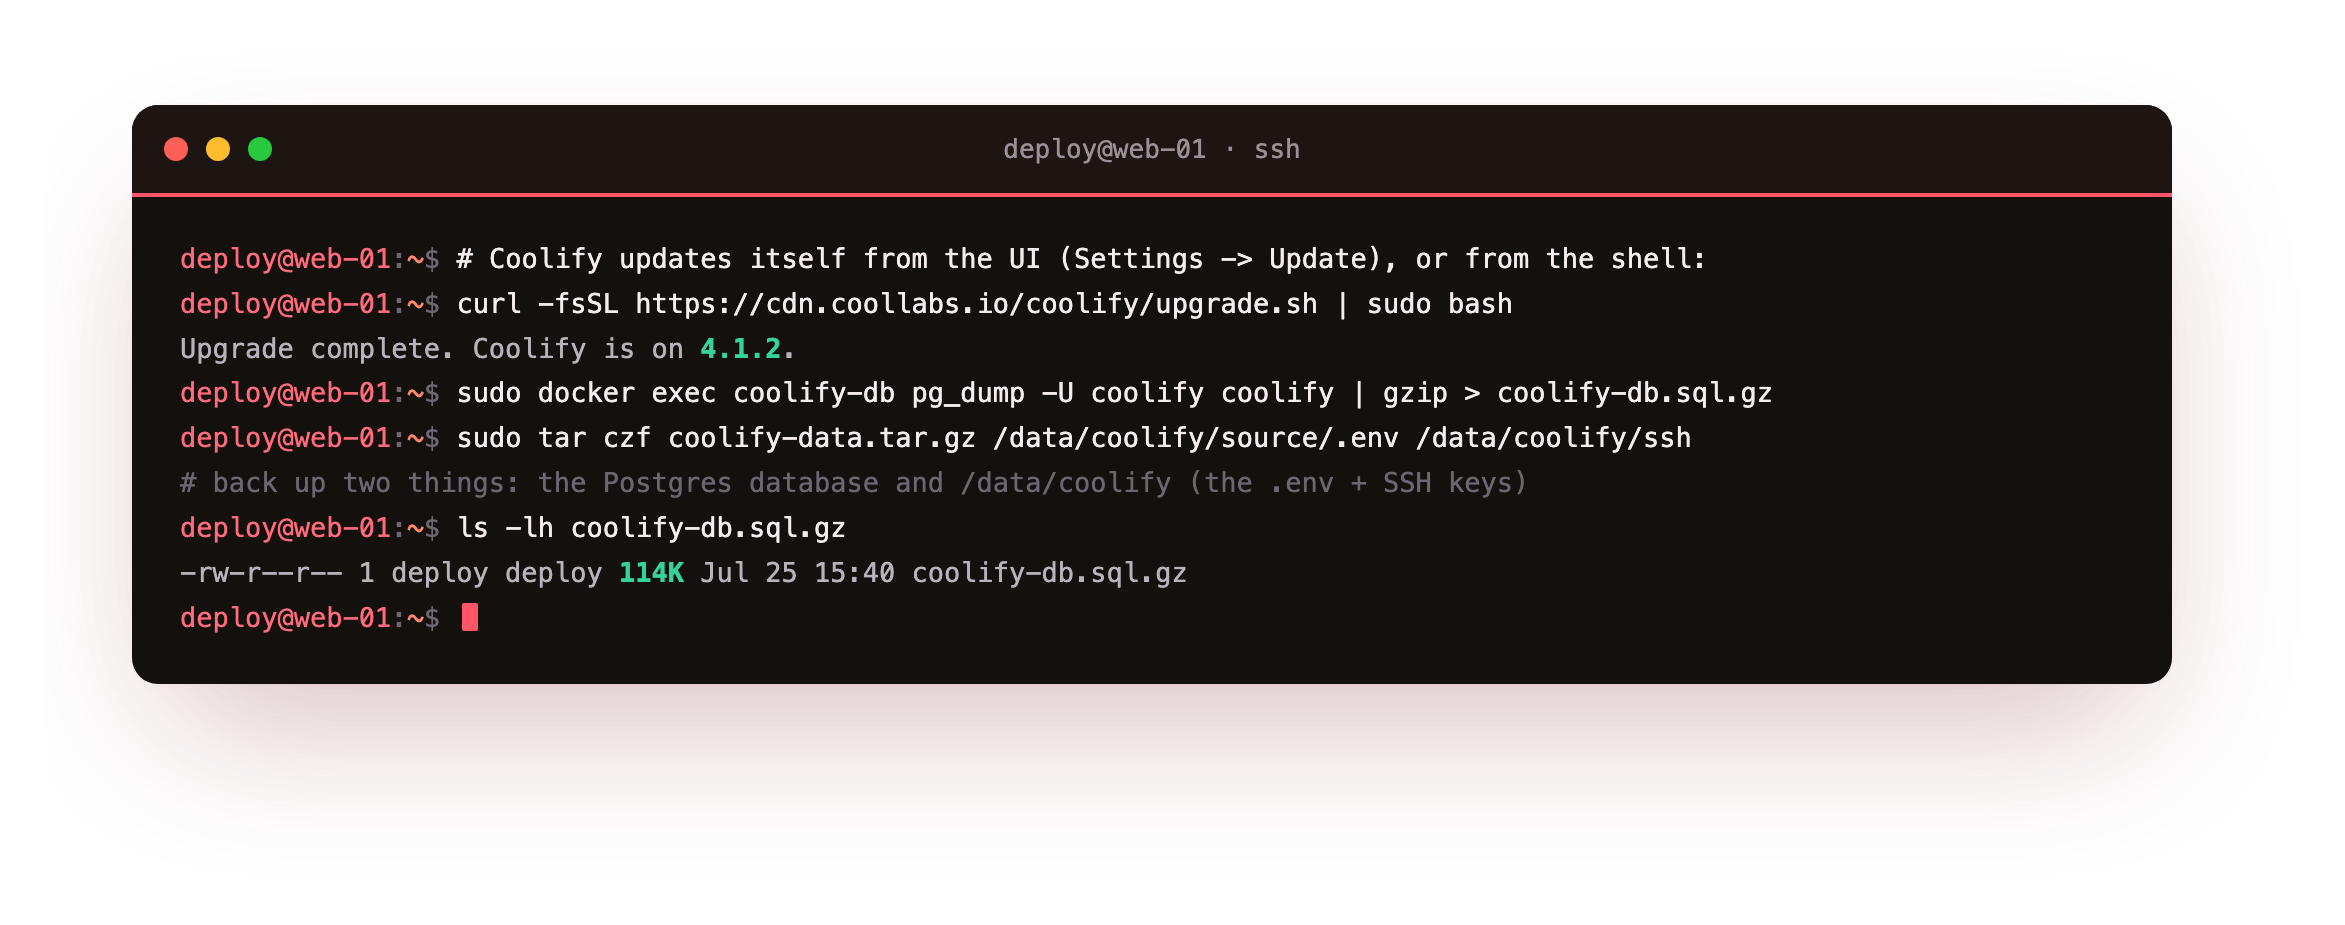
Copy both off the slice afterwards, since a backup sitting on the same machine it protects is no backup at all.
Keep an eye on resources as you add apps, too. Every app you deploy is another container sharing the slice's memory and CPU with Coolify's own stack, so watch free -h and docker stats, and add RAM before the box starts swapping hard rather than after.
This is the honest limit of a small slice: Coolify's stack alone wants its 2 GB, and each app you add asks for more. On a 4 GB or larger box you will run a handful of small services comfortably; on the 2 GB floor, keep it to one or two and watch the numbers.
That is a complete, self-hosted Coolify install: the one-command setup, the admin account created and open sign-up closed, a first app deployed and serving, the dashboard behind real HTTPS and a firewall, and a backup you can actually restore from. You now have your own deploy-anything platform on hardware that answers only to you.
Frequently asked questions
How much RAM do I really need to install Coolify on a VPS?
Coolify officially asks for 2 GB of RAM, 2 CPUs and 30 GB of disk, and that floor is genuine, not a soft suggestion. The stack itself, meaning the app, its Postgres database, Redis and the realtime server, uses a good part of 2 GB before you deploy anything, and every app you add shares what is left. A 1 GB slice will thrash and is not worth attempting. For anything real, plan for 4 GB and you will have room to breathe.Do I need to install Docker before running the Coolify installer?
No. The official install script checks for Docker and installs it for you if the box does not already have it, along with the Compose plugin. That is one reason the install is a single command. It is also why Coolify wants a fresh slice of its own: it expects to manage Docker on the machine, so a box already running other Docker workloads can lead to surprises. Start from a clean Ubuntu 24.04 slice and let the installer set Docker up the way Coolify expects.Is it safe to leave the Coolify dashboard open on the internet?
No, treat this as a hard rule. Coolify can start and stop containers and holds the secrets of every app it manages, so its dashboard is as sensitive as root on the server. Put it behind your domain over real HTTPS, close its raw port with the firewall, keep a strong random admin password, and leave open registration disabled (Coolify turns it off after the first admin). For a team instance, restrict access with a VPN or an allow-list of addresses.What exactly do I back up, and how do I restore Coolify?
Two things, always together: the PostgreSQL database and the/data/coolify directory. The database holds every project, server, application and secret; the directory holds the environment file and the SSH keys Coolify uses to reach its servers. Dump the database with pg_dump from its container and tar the data directory, then copy both off the slice. To restore onto a fresh install, put the /data/coolify files back and load the dump, and Coolify returns with its projects and server connections intact.
Running Coolify on your own slice means the whole platform is yours: the projects, the apps, the secrets they carry, and the bill, with no per-seat pricing and no black box between you and your own deployments. To put it into service, take a ServerCake slice, a clean Ubuntu 24.04 box hosted in India and billed in rupees with GST, and follow the steps above on hardware that answers only to you.