What you will have
This guide takes a bare Ubuntu 24.04 slice and turns it into your own photo cloud. You will self-host Immich on a VPS, the open-source stand-in for Google Photos, so the timeline, the albums and the phone auto-backup all run in Docker on a machine you own. Every photo and video stays on your slice, in India if that is what your situation calls for, with no storage tier to bump into and nobody else able to see what is in the frame.
One thing to say plainly before the first command. Immich asks for 4 GB of RAM or more, and nearly all of that goes to its machine-learning service, the part behind face grouping and search-by-content.
This guide runs the Immich core instead, the server with its database and Redis, which is what the timeline and uploads rely on, and leaves machine-learning switched off so the whole thing fits a smaller slice. Turning it back on is a one-line change once you are on a 4 GB box, and this guide shows you where.
Here is where you are headed. The screenshot below is the actual timeline from the instance we built for this guide, a handful of photos sorted under the day they were taken. Nothing here is a mock-up: the shots were taken on that live box, so the version and the layout are what you will see too.
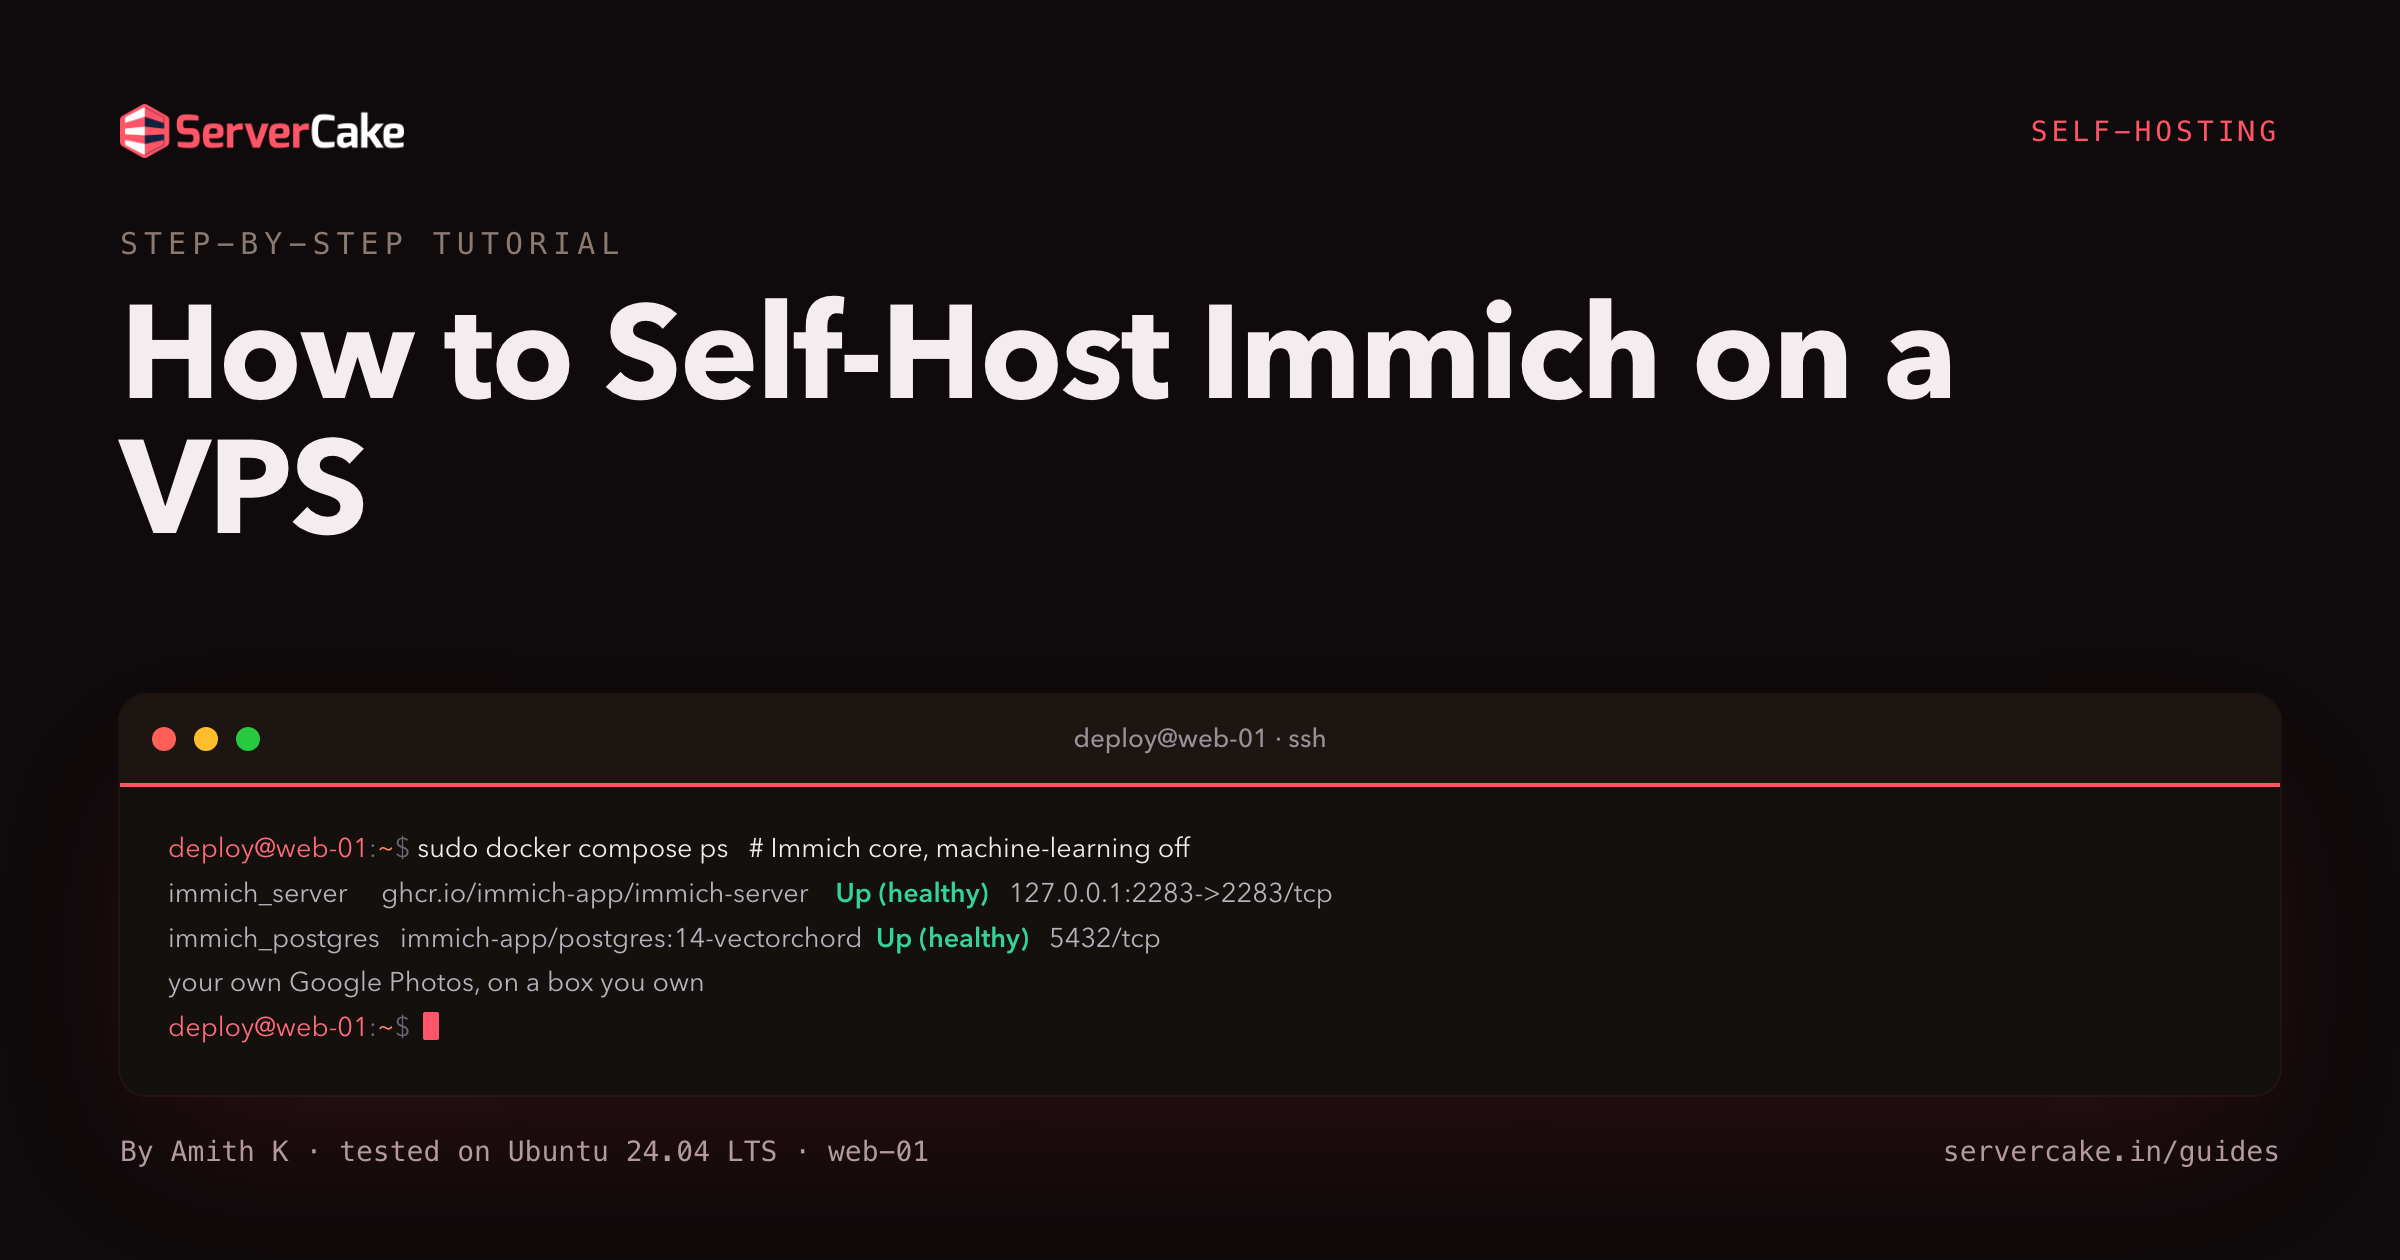
sudo docker compose ps
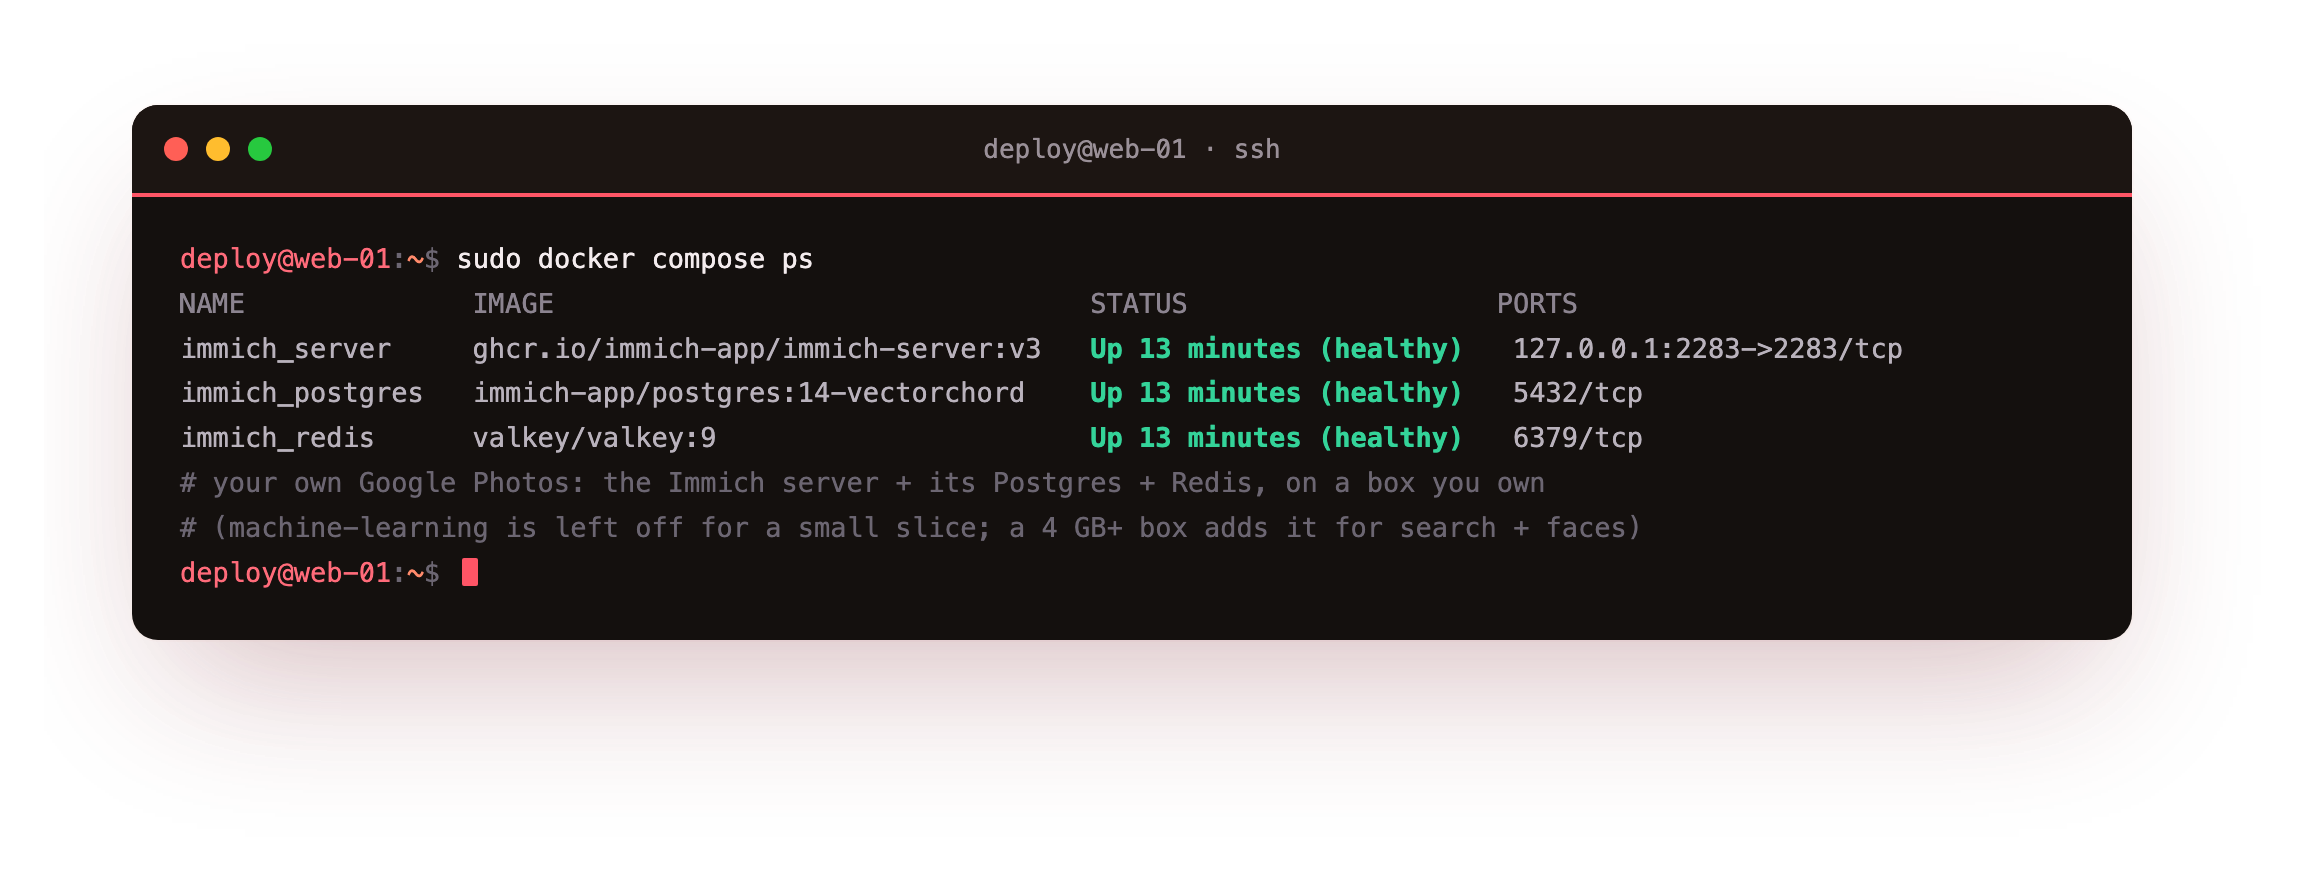
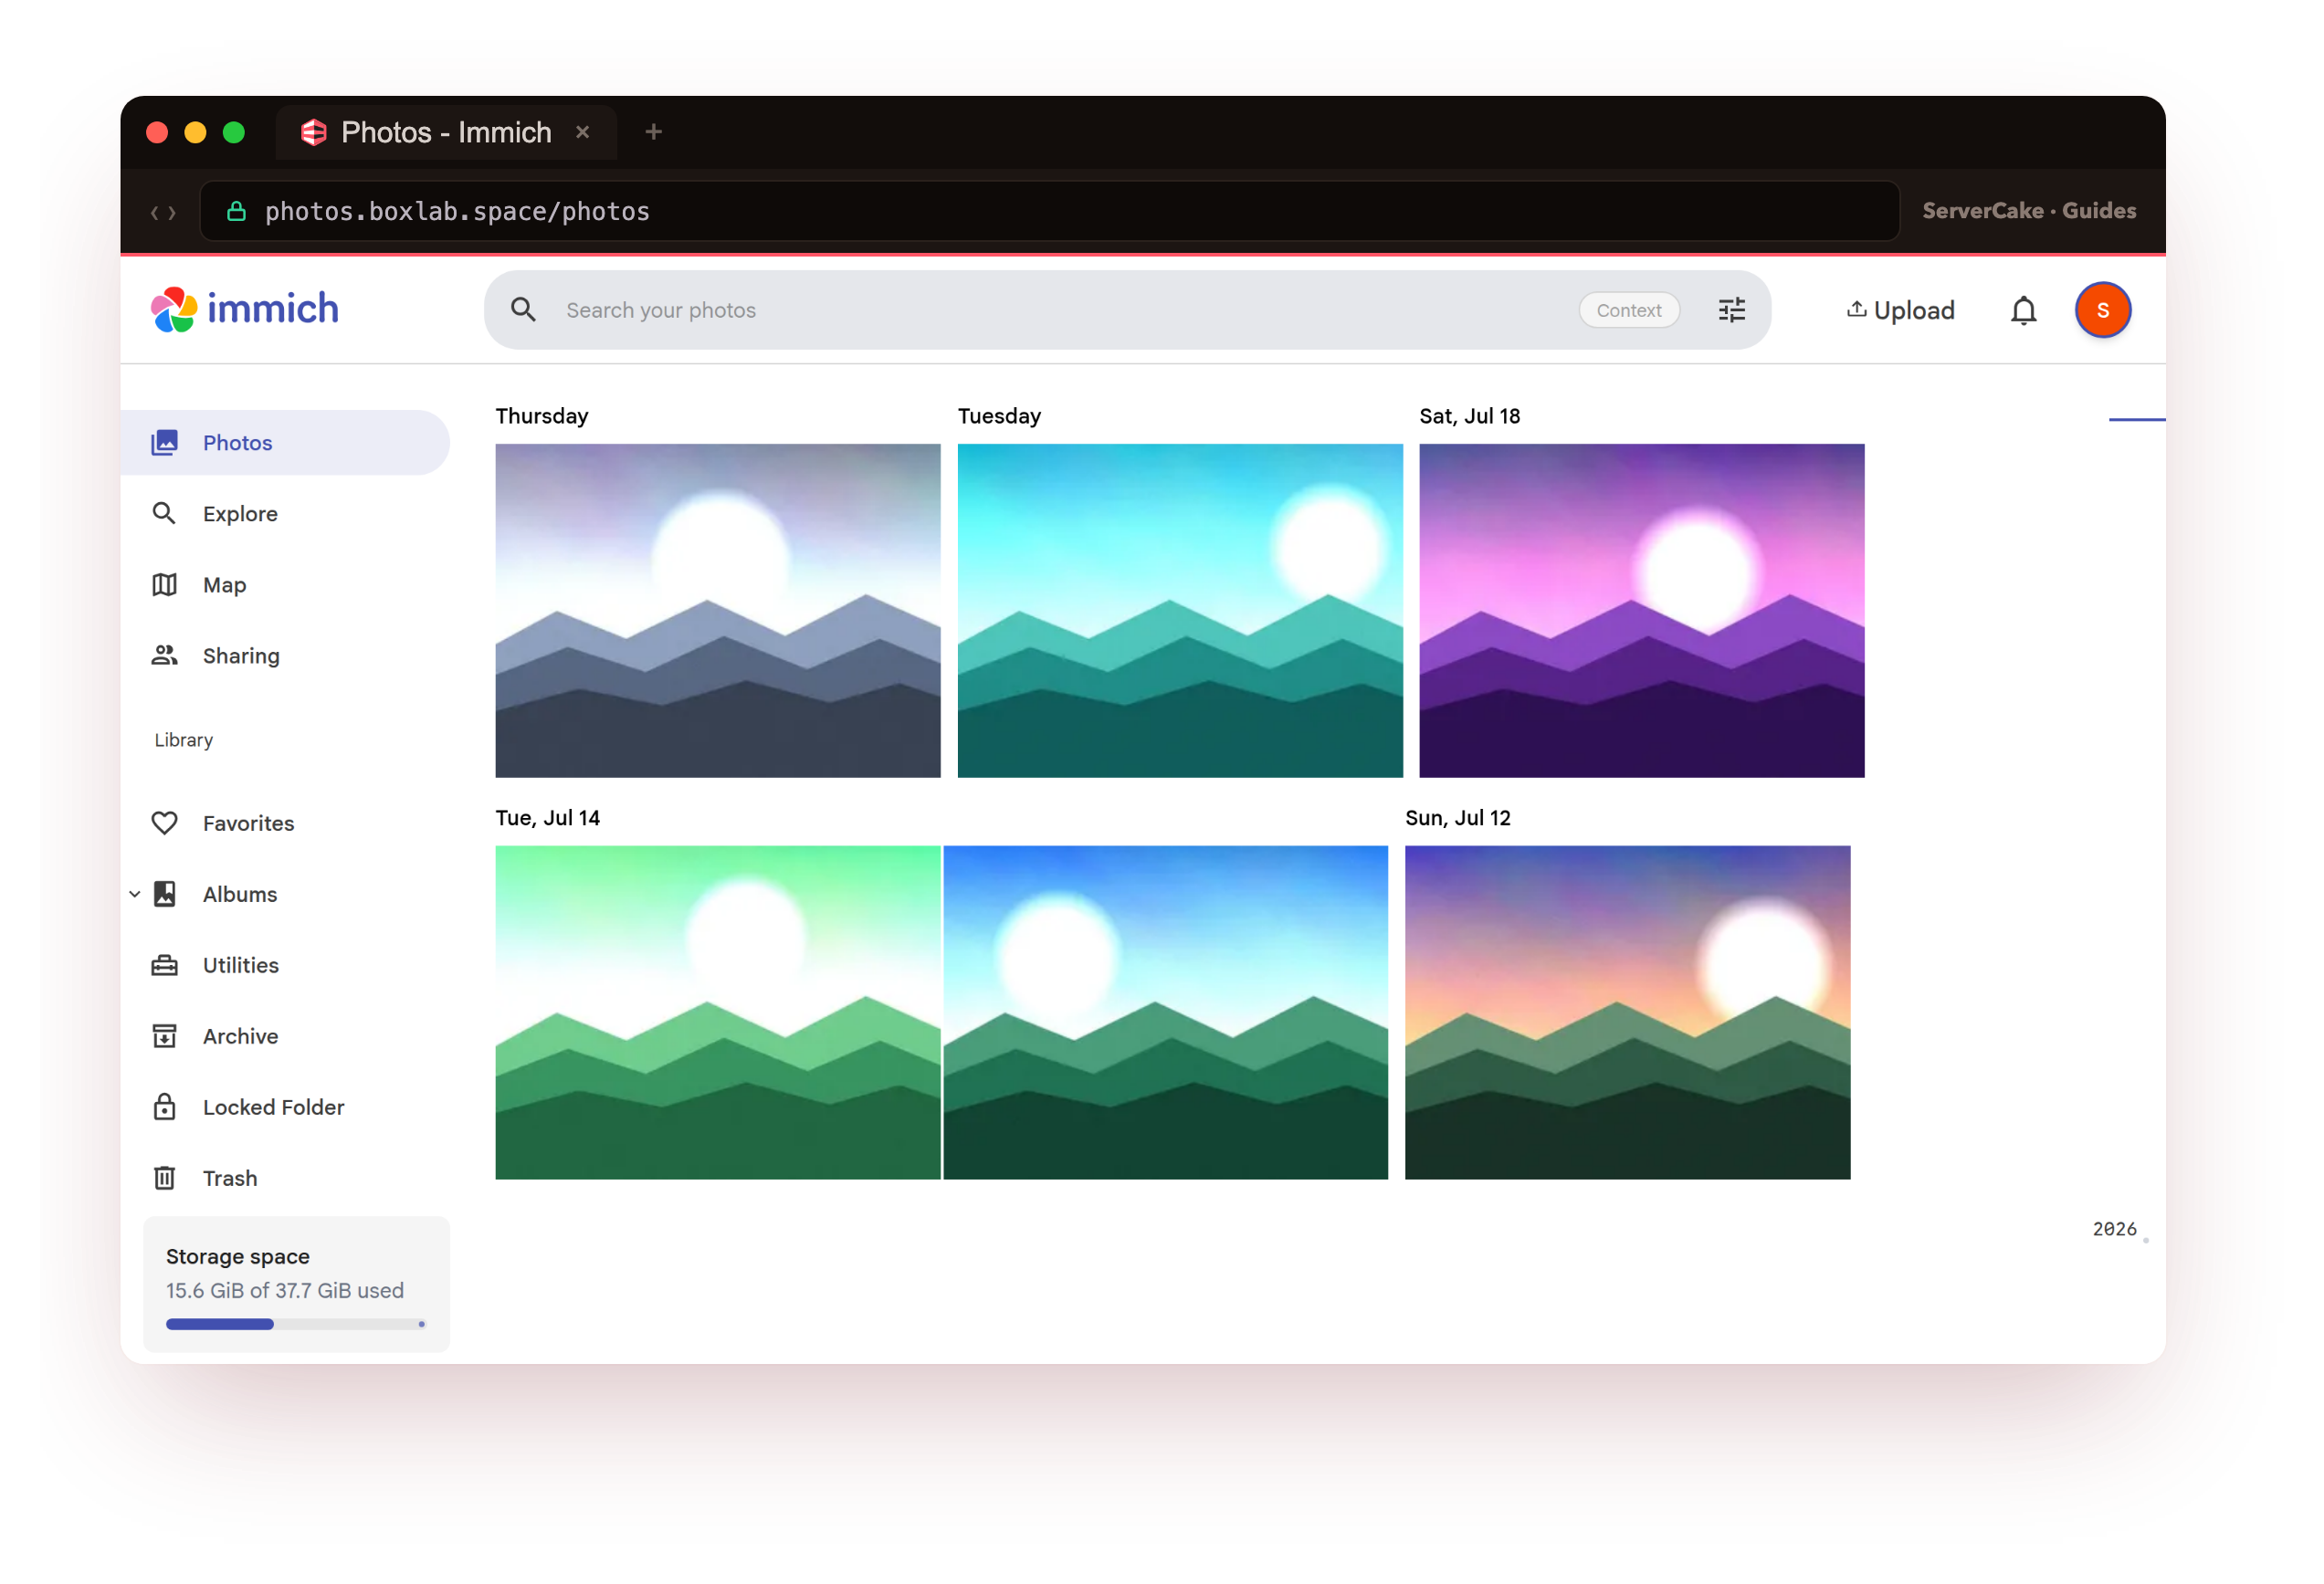
Three containers, the Immich server and its Postgres and Redis, all healthy. That is the whole core: no subscription, no storage cap, no third party between you and your own photos.
- Getting Docker and the Compose plugin onto a fresh Ubuntu 24.04 box.
- The official Immich Compose stack, run memory-conscious with machine-learning left off for a small box.
- Putting Immich behind nginx over a real HTTPS certificate, with room for large photo and video uploads.
- Creating the admin account, uploading real photos, and seeing them on the timeline.
- Keeping it running: restart policy, updates, disk, and when to give it more RAM.
Before you begin
Before the build, a short list of what you are expected to have in place. None of it is exotic.
- A slice running Ubuntu 24.04 LTS that you can SSH into as a sudo user. Immich suggests 4 GB of RAM or more; this guide runs the core on a smaller box and flags where the memory goes.
- A domain or subdomain you can point where you like, since you will add a DNS record for it. A dedicated subdomain such as
photos.example.comis the usual choice. - The public IPv4 address of your slice, which the DNS record will point at.
- Enough disk for the photos you plan to keep, since your whole library lives on this box. Start with a size you can grow.
Every command below is run as an ordinary sudo user over SSH. The Docker commands carry sudo because the daemon is root-owned; drop it if your user is in the docker group.
Install Docker and Compose
Immich is distributed and supported as a set of Docker images, which is why this guide runs it in containers rather than from source. Containers pin the exact runtime each piece expects, upgrades become a one-line image pull, and the whole stack, server plus database plus cache, is described in a single file you keep in version control. Already have Docker on the box? Skip ahead; docker --version will tell you.
Starting from nothing, pull Docker Engine and the Compose plugin straight from Docker's own repository. The script sorts out the repository and signing keys on your behalf.
curl -fsSL https://get.docker.com | sudo sh
docker --version
docker compose version
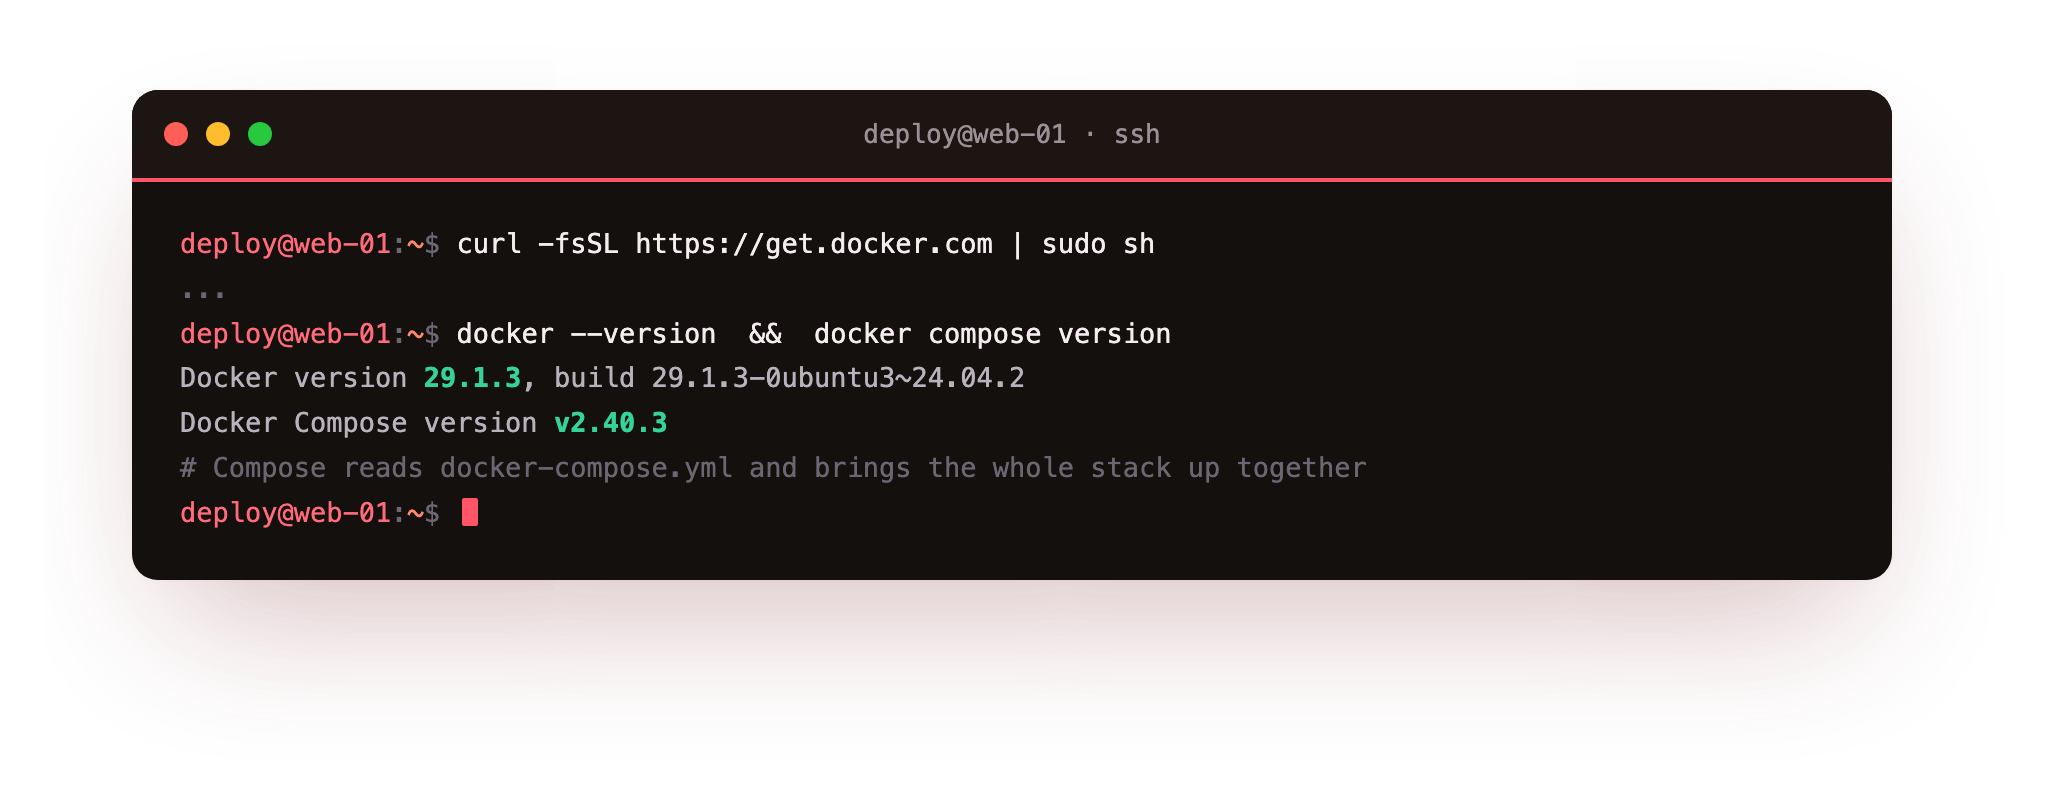
Read both versions back so you know what you are running. On our lab box those come back as Docker 29.1.3 and Compose plugin 2.40.3. Compose is the tool that reads a docker-compose.yml and starts a whole multi-container stack together, which is what Immich is once you look under the lid.
docker --version and docker compose version. If docker compose says it is not a docker command, you are on the old standalone docker-compose binary; add the Compose plugin so the v2 syntax below works.Self-host Immich on a VPS with Docker Compose
Immich ships an official Compose file and an example environment file, and the right way to self-host Immich on a VPS is to start from those rather than hand-write your own. Make a working directory, pull both down, and rename the example to .env.
sudo mkdir -p /opt/immich && cd /opt/immich
sudo curl -fsSL -o docker-compose.yml \
  https://github.com/immich-app/immich/releases/latest/download/docker-compose.yml
sudo curl -fsSL -o .env \
  https://github.com/immich-app/immich/releases/latest/download/example.env
Now the one secret that matters. Immich stores your database password in .env, and the default is the literal word postgres. Replace it with a strong random value, then lock the file so only root can read it.
echo "DB_PASSWORD=$(openssl rand -hex 24)" >> .env
sudo chmod 600 .env
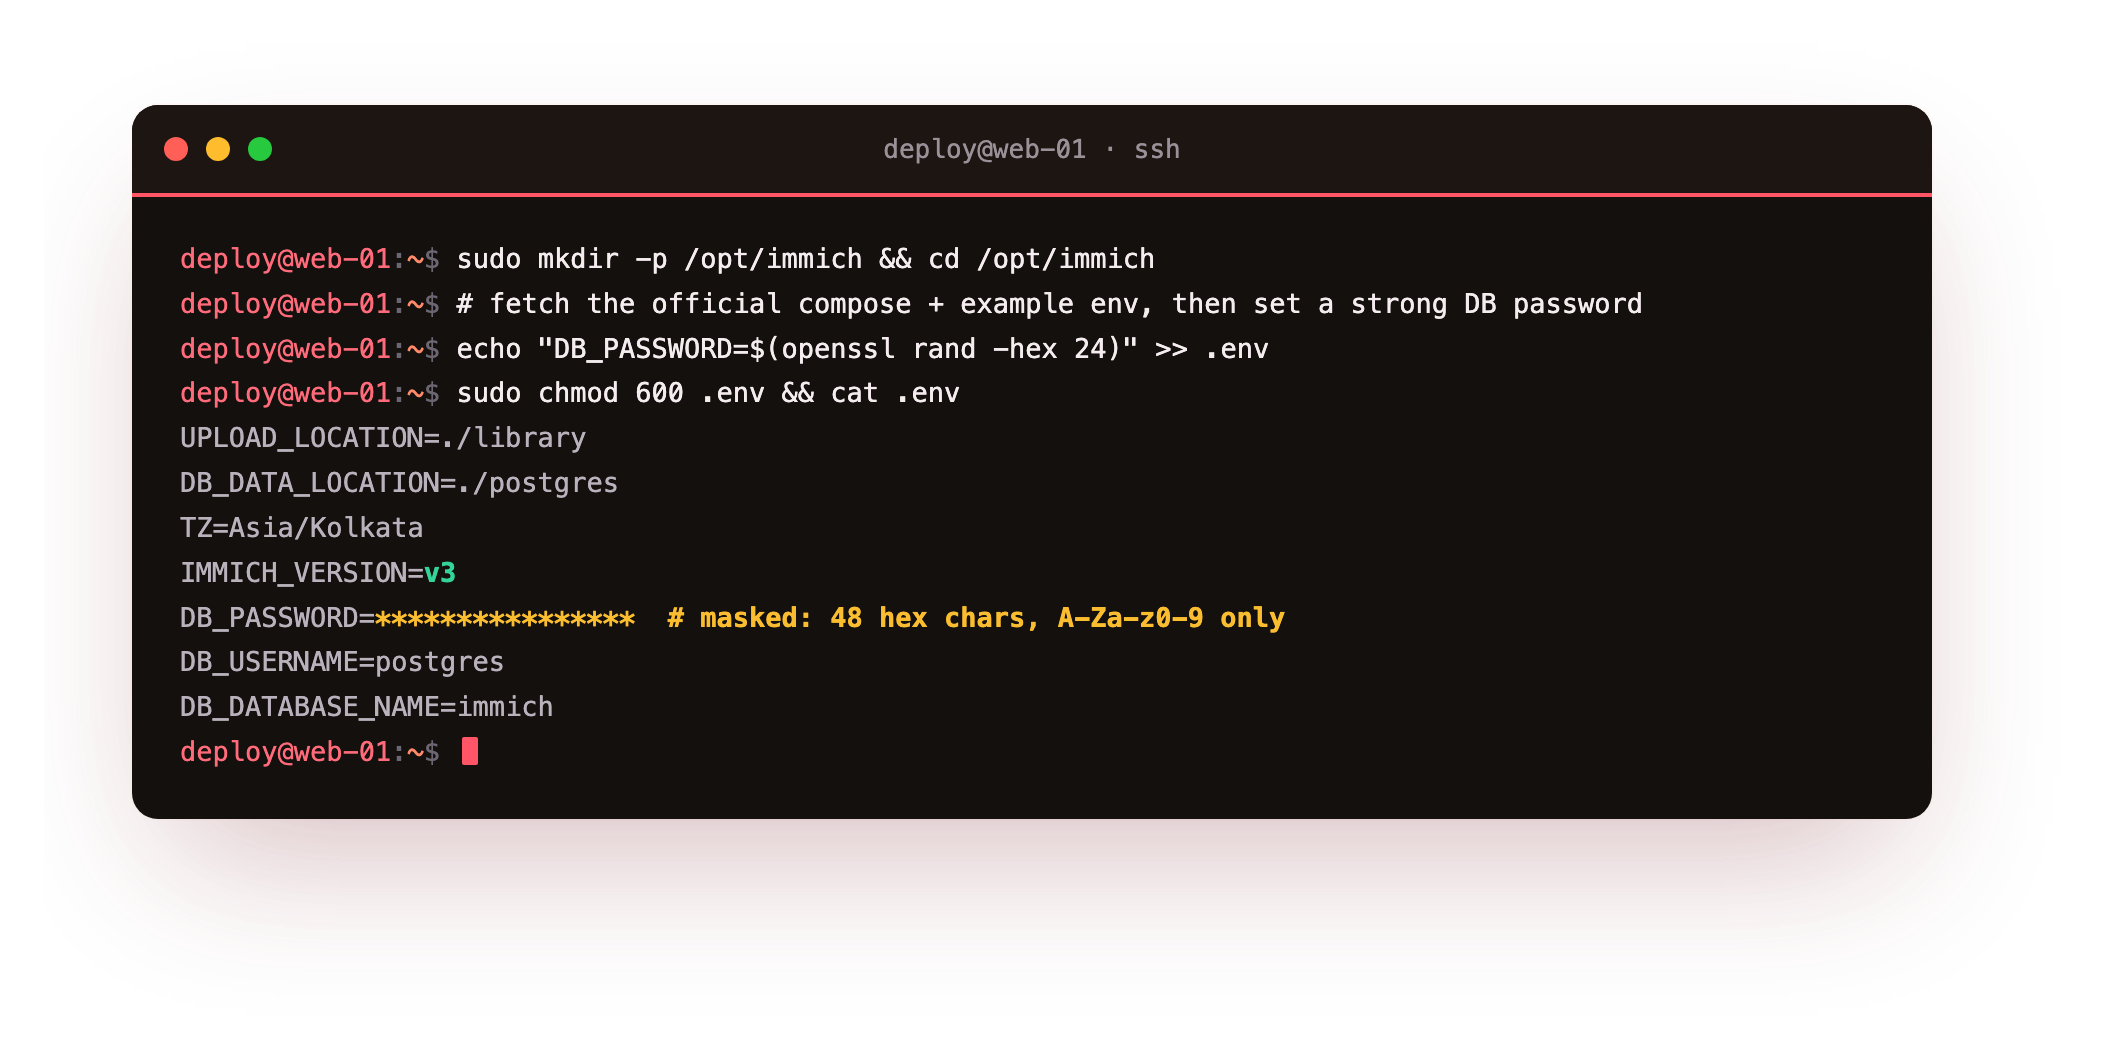
Open .env and set two more things: UPLOAD_LOCATION, the folder your photos are written to, and the timezone. The defaults keep both the library and the database under /opt/immich, which is fine to start. The finished file reads like the one below, with the password masked.
The .env decides where your data lives and which Immich version you run. IMMICH_VERSION pins the release line so an unattended pull cannot jump you onto a breaking change; on our box this is the v3 line, which resolved to Immich v3.0.3.
Now the stack itself. The default compose file defines four services: the server, machine-learning, Redis and the database. We change two things for a small, safe deployment. First, we comment out the whole immich-machine-learning service, because on its own it wants 2 to 4 GB of RAM and the timeline does not need it. Second, we bind the server to loopback so nginx is the only thing in front of it.
# /opt/immich/docker-compose.yml  (trimmed to the parts you edit)
services:
  immich-server:
    image: ghcr.io/immich-app/immich-server:${IMMICH_VERSION:-release}
    volumes:
      - ${UPLOAD_LOCATION}:/data
      - /etc/localtime:/etc/localtime:ro
    env_file: [.env]
    ports:
      - '127.0.0.1:2283:2283'     # loopback only; nginx sits in front
    depends_on: [redis, database]
    restart: always
    mem_limit: 1400m              # a safety cap for a small box

  # immich-machine-learning is DISABLED here (it wants 2-4 GB on its own).
  # On a 4 GB+ slice, uncomment the upstream service to get search and faces.

  redis:
    image: docker.io/valkey/valkey:9
    restart: always

  database:
    image: ghcr.io/immich-app/postgres:14-vectorchord0.4.3-pgvectors0.2.0
    environment:
      POSTGRES_PASSWORD: ${DB_PASSWORD}
      POSTGRES_USER: ${DB_USERNAME}
      POSTGRES_DB: ${DB_DATABASE_NAME}
    volumes:
      - ${DB_DATA_LOCATION}:/var/lib/postgresql/data
    restart: always
A couple of lines are worth understanding rather than copying blind. The server port publishes to 127.0.0.1:2283, loopback only, so Immich is never exposed to the internet directly. The database is not a plain Postgres: it is Immich's own image with the VectorChord vector extension baked in, which is what makes search possible later, so do not swap it for a stock postgres image. With machine-learning commented out and the cap in place, the core fits comfortably on a small slice. Bring it up.
sudo docker compose up -d
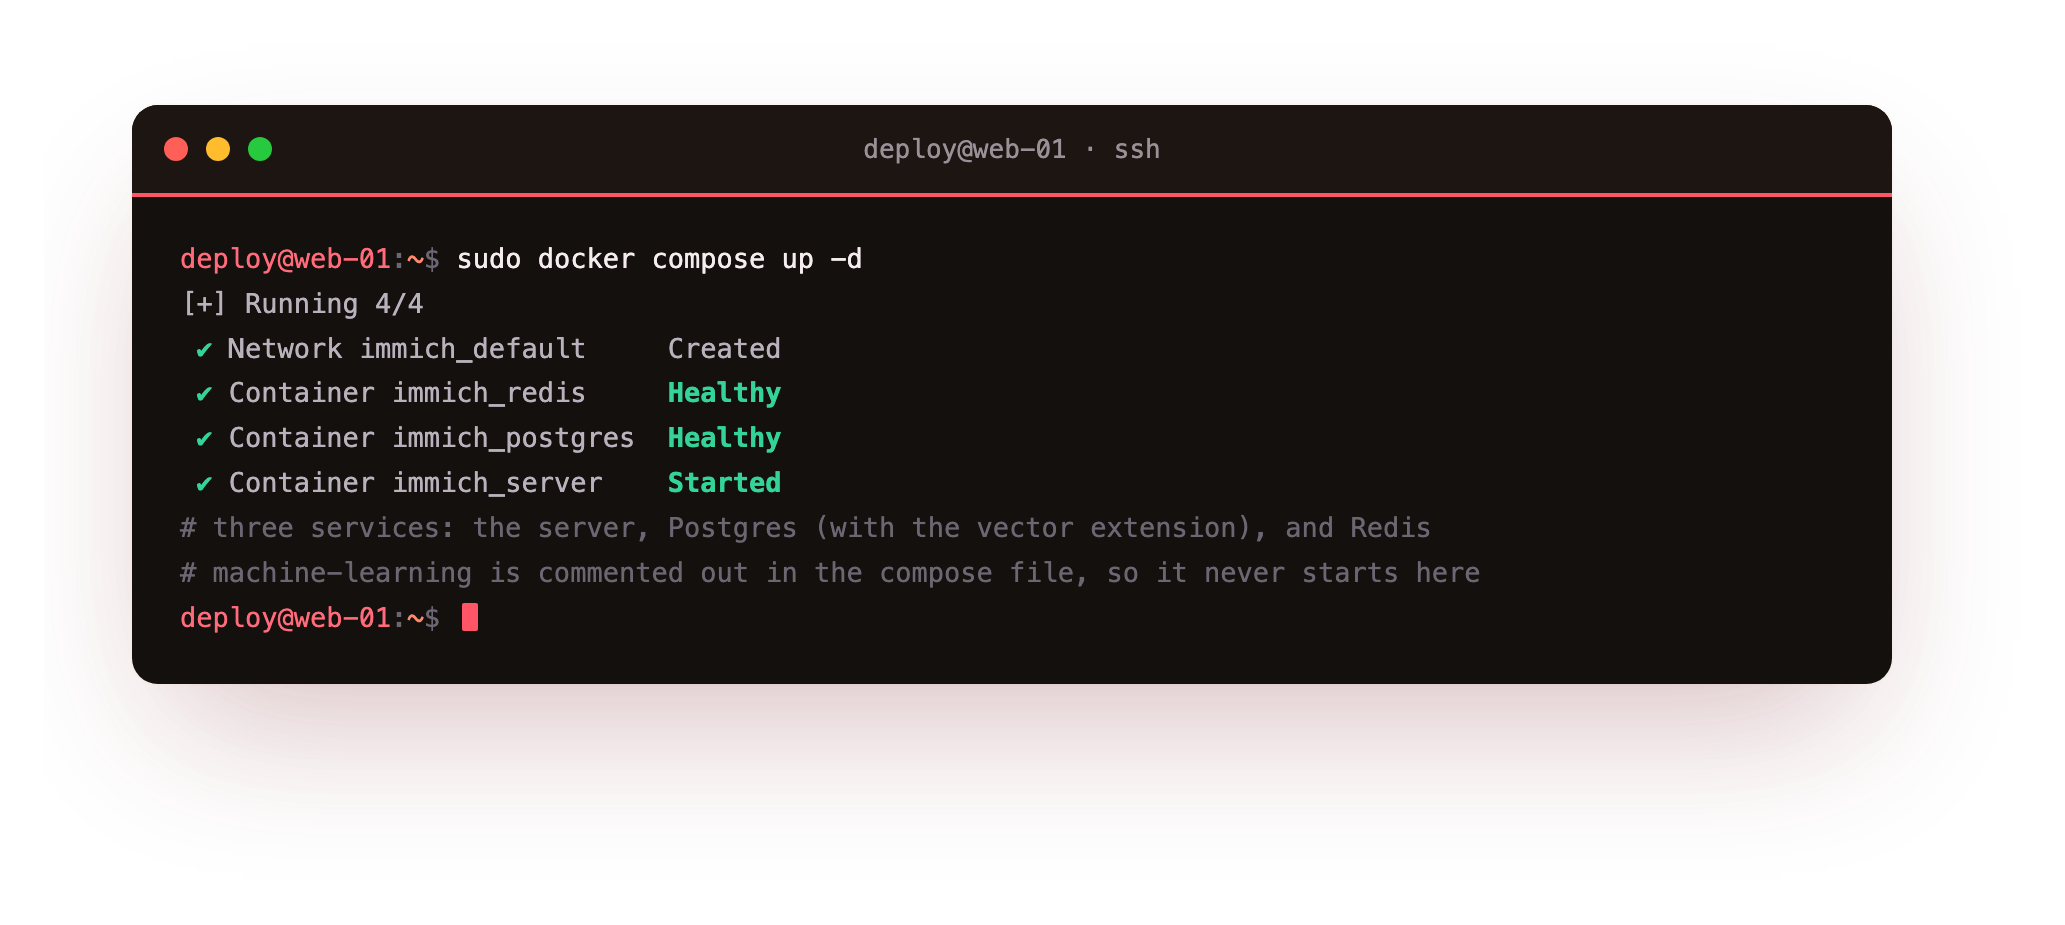
Compose pulls the images, creates the network and the two data locations, waits for Postgres and Redis to report healthy, and only then starts the server. The server image is large, so the first pull takes a few minutes. When it settles, confirm the server is answering on loopback.
curl -s http://127.0.0.1:2283/api/server/ping
curl -s http://127.0.0.1:2283/api/server/version
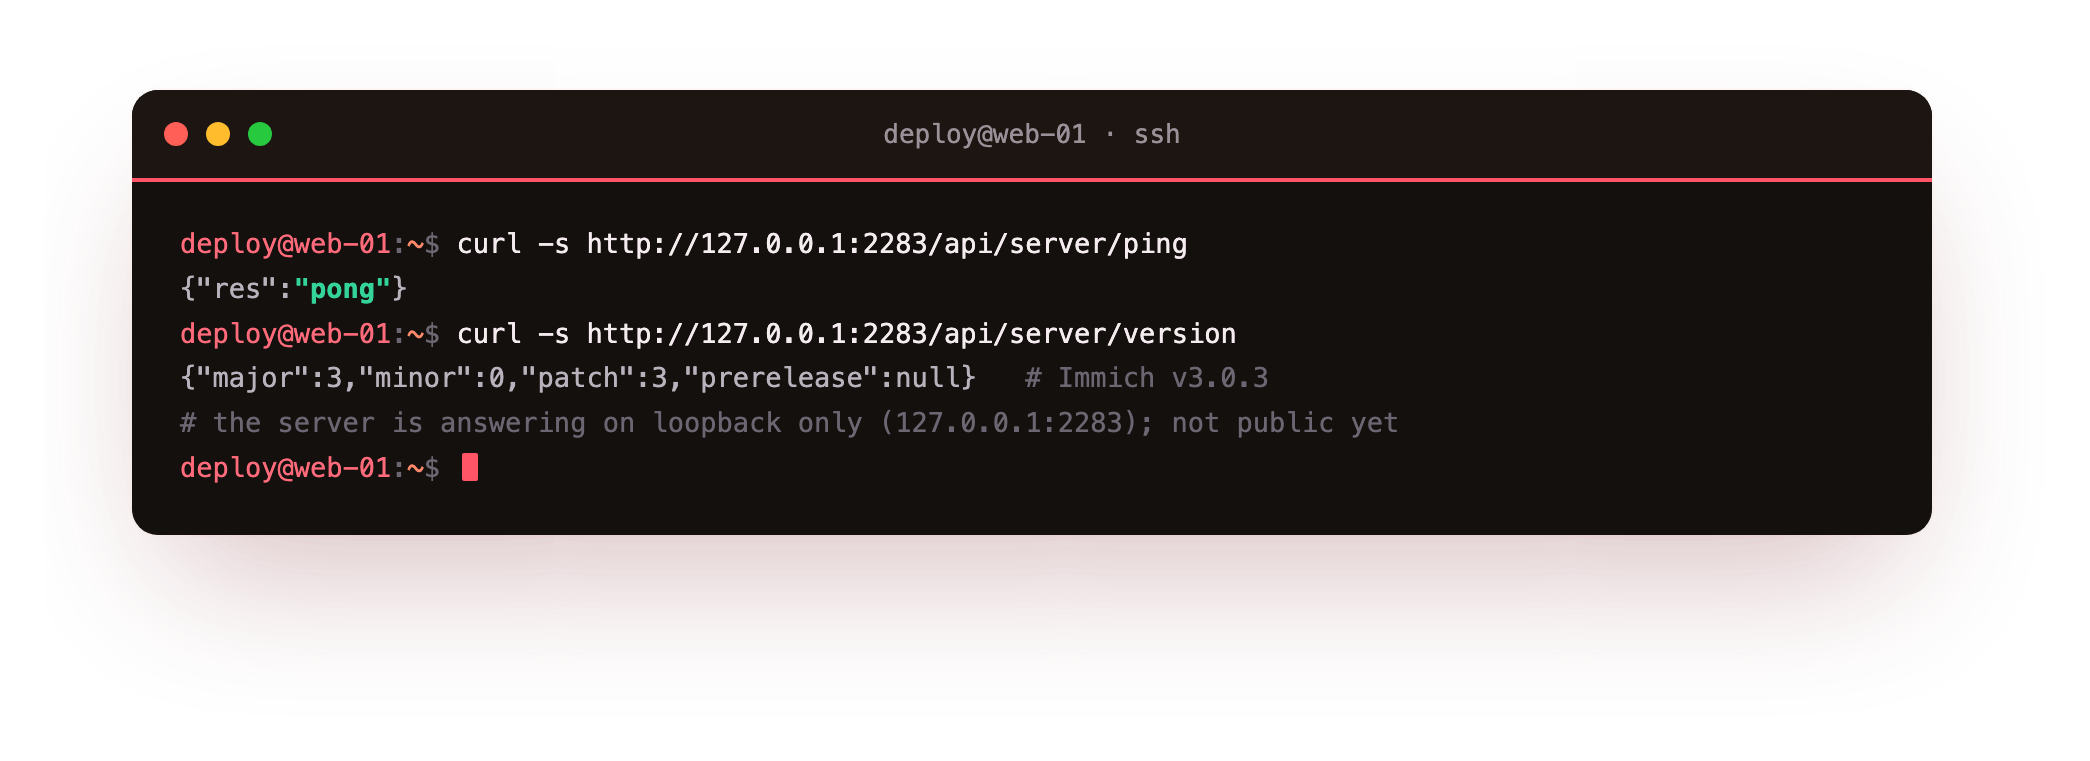
A {"res":"pong"} and a version number mean the server is running and connected to its database. From the outside it is still invisible, and that is the point until HTTPS is sitting in front.
docker compose ps should show immich_server, immich_postgres and immich_redis all healthy, and the ping should return pong. If the server keeps restarting, check docker compose logs immich_server; a wrong DB_PASSWORD or a swapped database image is the usual cause.nginx and real HTTPS
Immich is on the slice but only on loopback. To reach it from a browser you put nginx in front as a reverse proxy that terminates HTTPS and passes requests to the container. Two details matter for a photo app. The proxy has to allow large request bodies, because you will upload full-resolution photos and videos, and it has to upgrade the websocket the app uses for live updates like upload progress.
Over in DNS, create an A record for your chosen hostname aimed at the slice's public IP. Then drop the websocket upgrade map into its own small file, since it lives in the http context.
# /etc/nginx/conf.d/immich-upgrade.conf
map $http_upgrade $connection_upgrade {
    default upgrade;
    ''      close;
}
Now the server block. It listens on 443 with a real certificate, allows large uploads, and proxies everything to 127.0.0.1:2283.
# /etc/nginx/sites-available/photos.example.com
server {
    listen 443 ssl http2;
    server_name photos.example.com;

    ssl_certificate     /etc/letsencrypt/live/photos.example.com/fullchain.pem;
    ssl_certificate_key /etc/letsencrypt/live/photos.example.com/privkey.pem;

    add_header Strict-Transport-Security "max-age=15768000; includeSubDomains" always;
    client_max_body_size 50000M;          # room for large photo and video uploads

    location / {
        proxy_pass http://127.0.0.1:2283;
        proxy_http_version 1.1;
        proxy_set_header Upgrade $http_upgrade;
        proxy_set_header Connection $connection_upgrade;
        proxy_set_header Host $host;
        proxy_set_header X-Forwarded-For $proxy_add_x_forwarded_for;
        proxy_set_header X-Forwarded-Proto $scheme;
        proxy_request_buffering off;
        proxy_read_timeout 600s;
    }
}
That client_max_body_size is the line people forget, and it shows up as a failed upload of anything past the default one megabyte. The proxy_request_buffering off streams big files straight through instead of spooling them to disk first. The certificate paths come from Certbot: install it with sudo apt install -y certbot python3-certbot-nginx and run sudo certbot --nginx -d photos.example.com to issue a free certificate that renews itself. Then enable the site, test the config, and reload.
sudo ln -s /etc/nginx/sites-available/photos.example.com \
     /etc/nginx/sites-enabled/
sudo nginx -t
sudo systemctl reload nginx
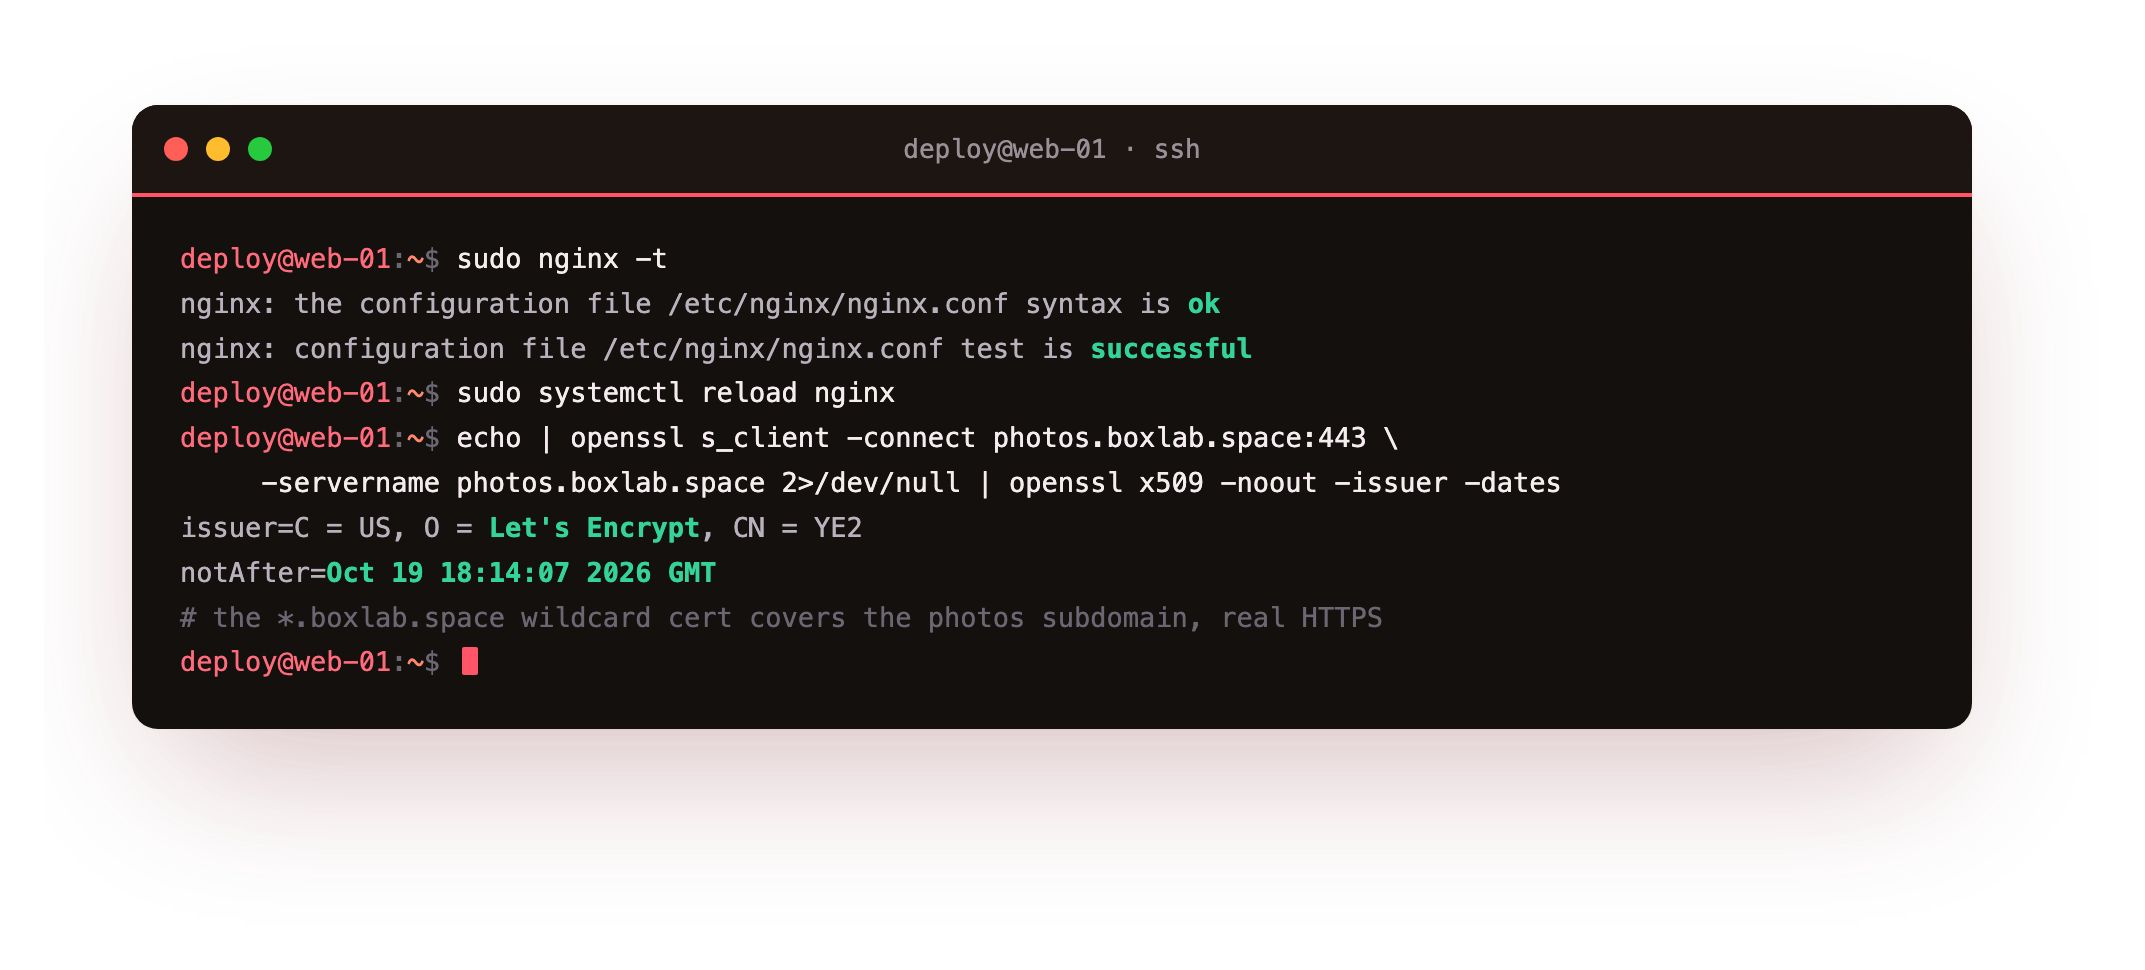
Treat nginx -t as a seatbelt: nginx will not reload a config that fails to parse, so run it ahead of every reload. With the certificate in place, confirm the whole path end to end over HTTP/2.
curl --http2 -sI https://photos.example.com/api/server/ping
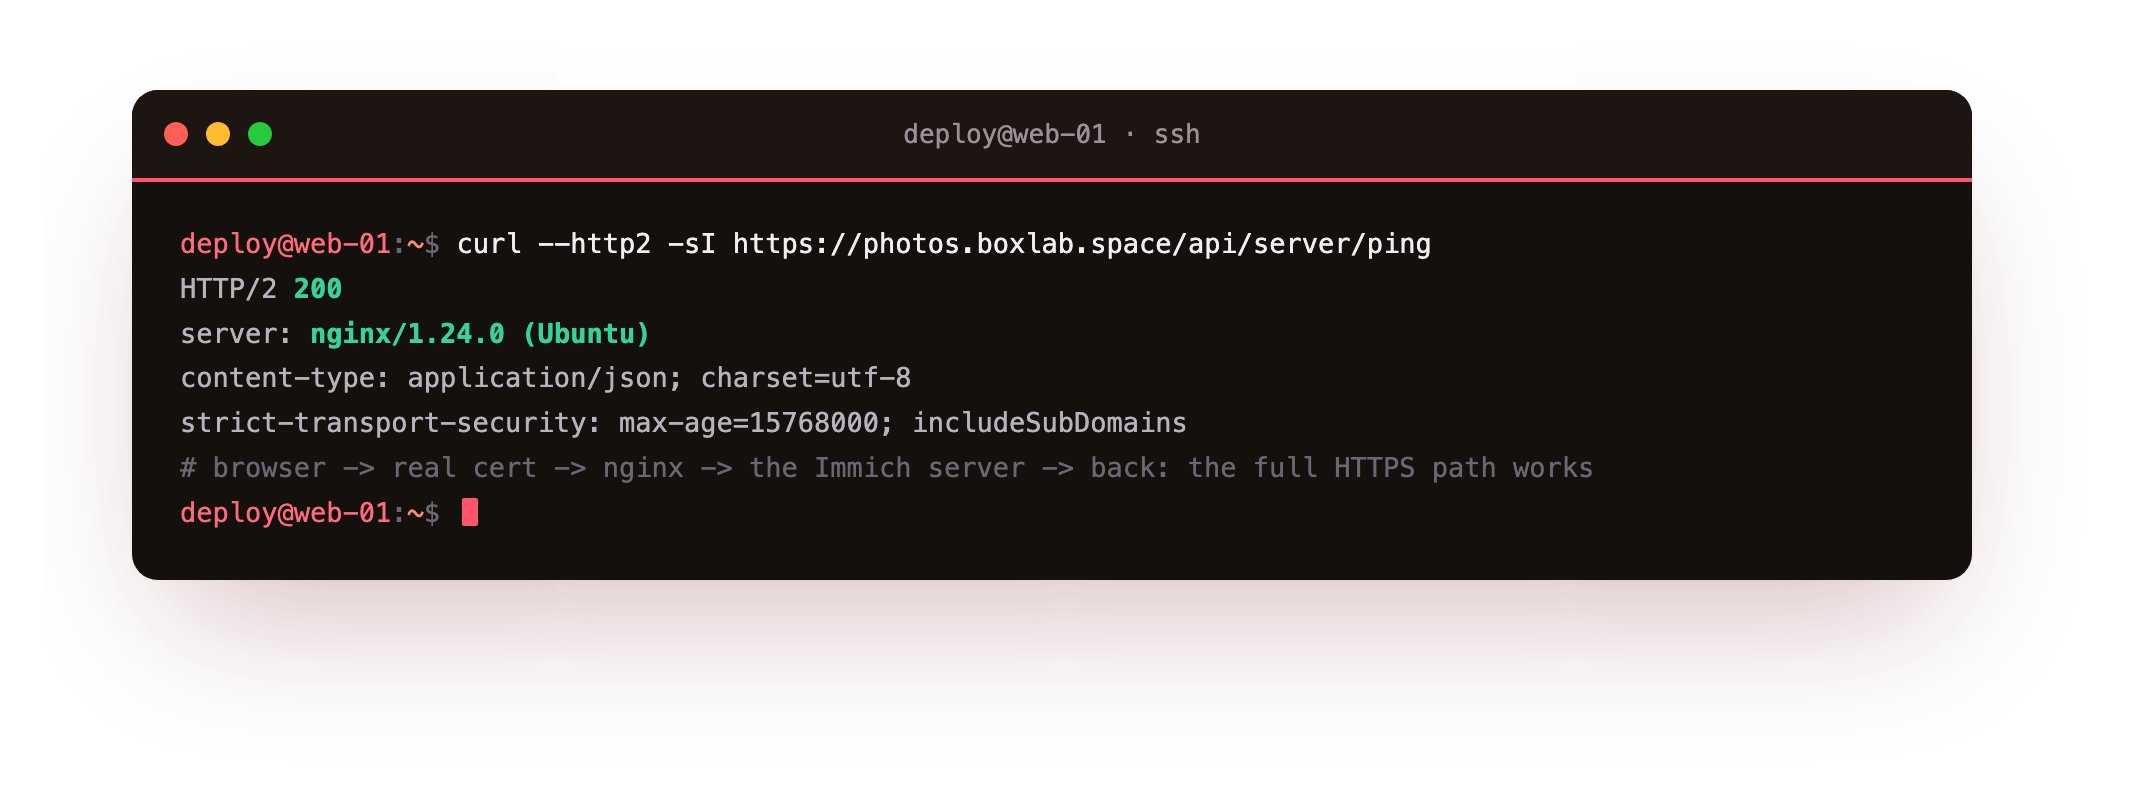
An HTTP/2 200 here traces the full round trip: a browser request over a real certificate, through nginx, into the container, and out again. That padlock is the real thing, signed by a public authority and trusted everywhere.
https://photos.example.com in a browser and land on the Immich sign-in screen over a valid padlock. If the page loads but never settles, the websocket upgrade is missing; recheck the map block and the Upgrade and Connection proxy headers.First run: your admin account
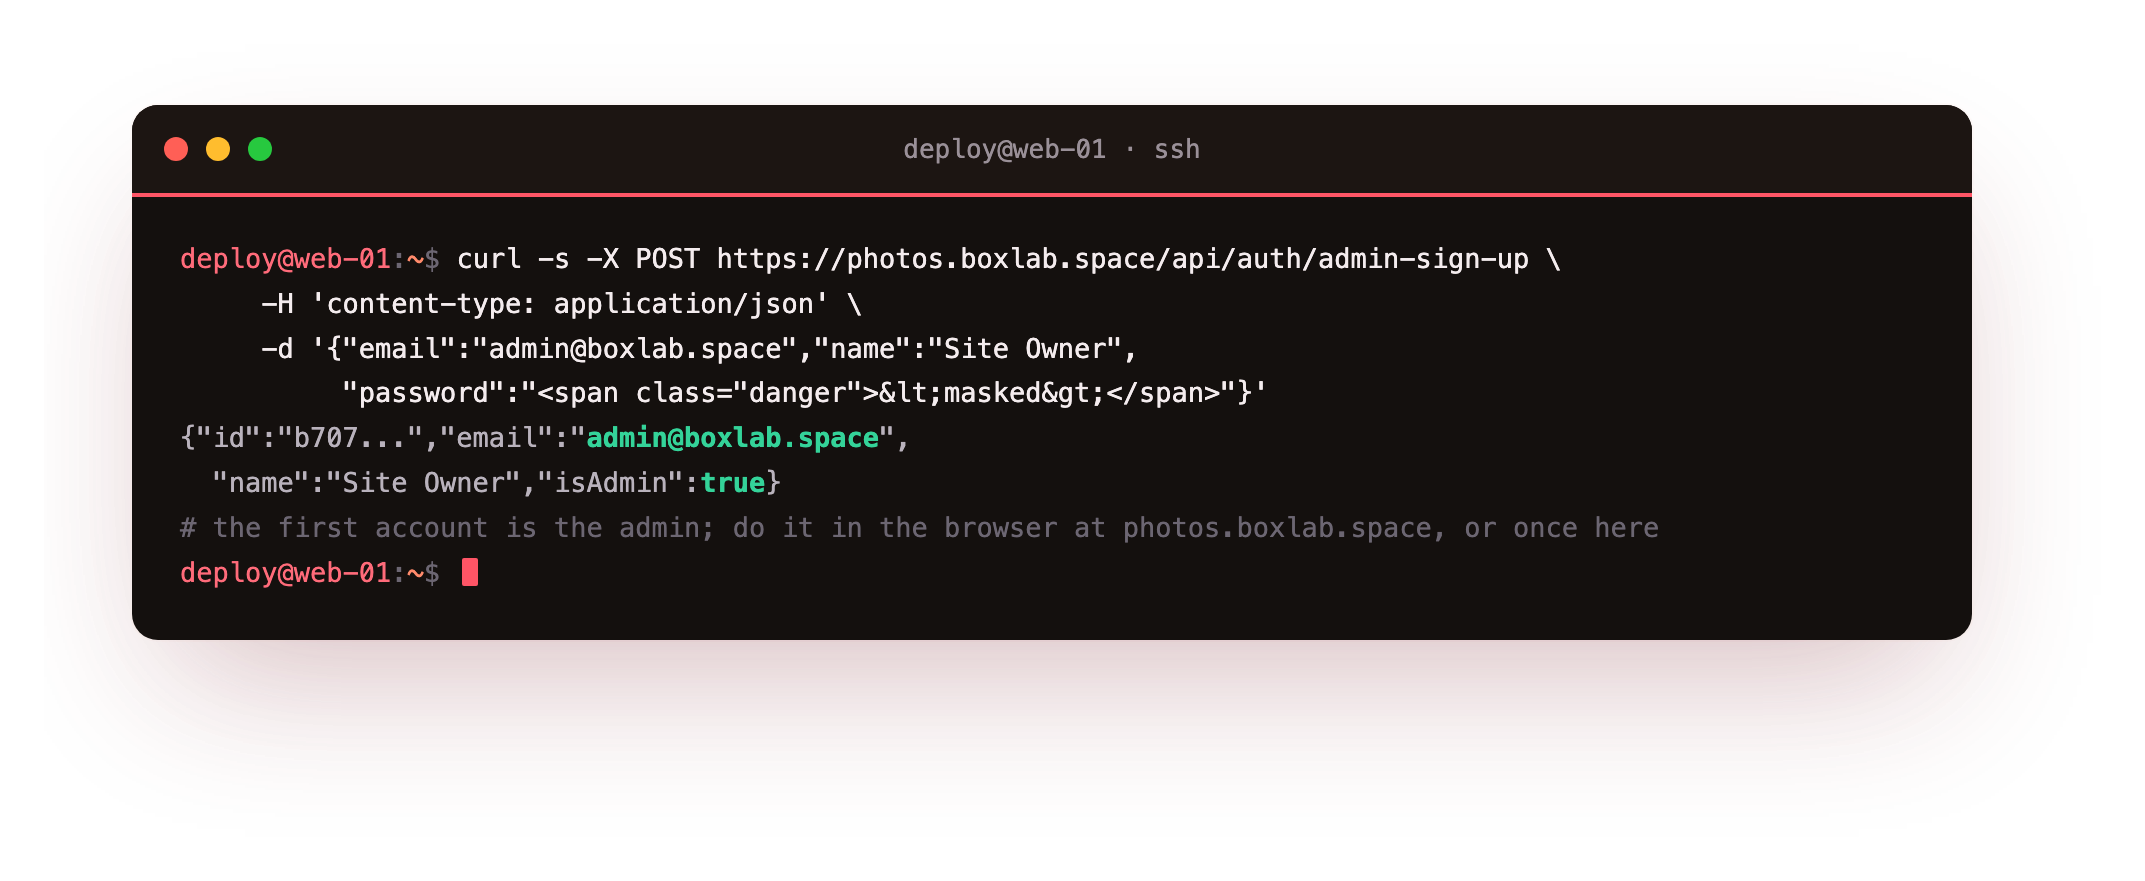
Open your domain in a browser. On a fresh instance Immich asks you to create the admin account, the first user, who administers everything. Set it up with your email and a strong password. Do it in the browser, or run it once from the shell against the same setup endpoint, which pays off when you want to script a rebuild later.
curl -s -X POST https://photos.example.com/api/auth/admin-sign-up \
     -H 'content-type: application/json' \
     -d '{"email":"[email protected]","name":"Site Owner",
          "password":"<a-strong-password>"}'
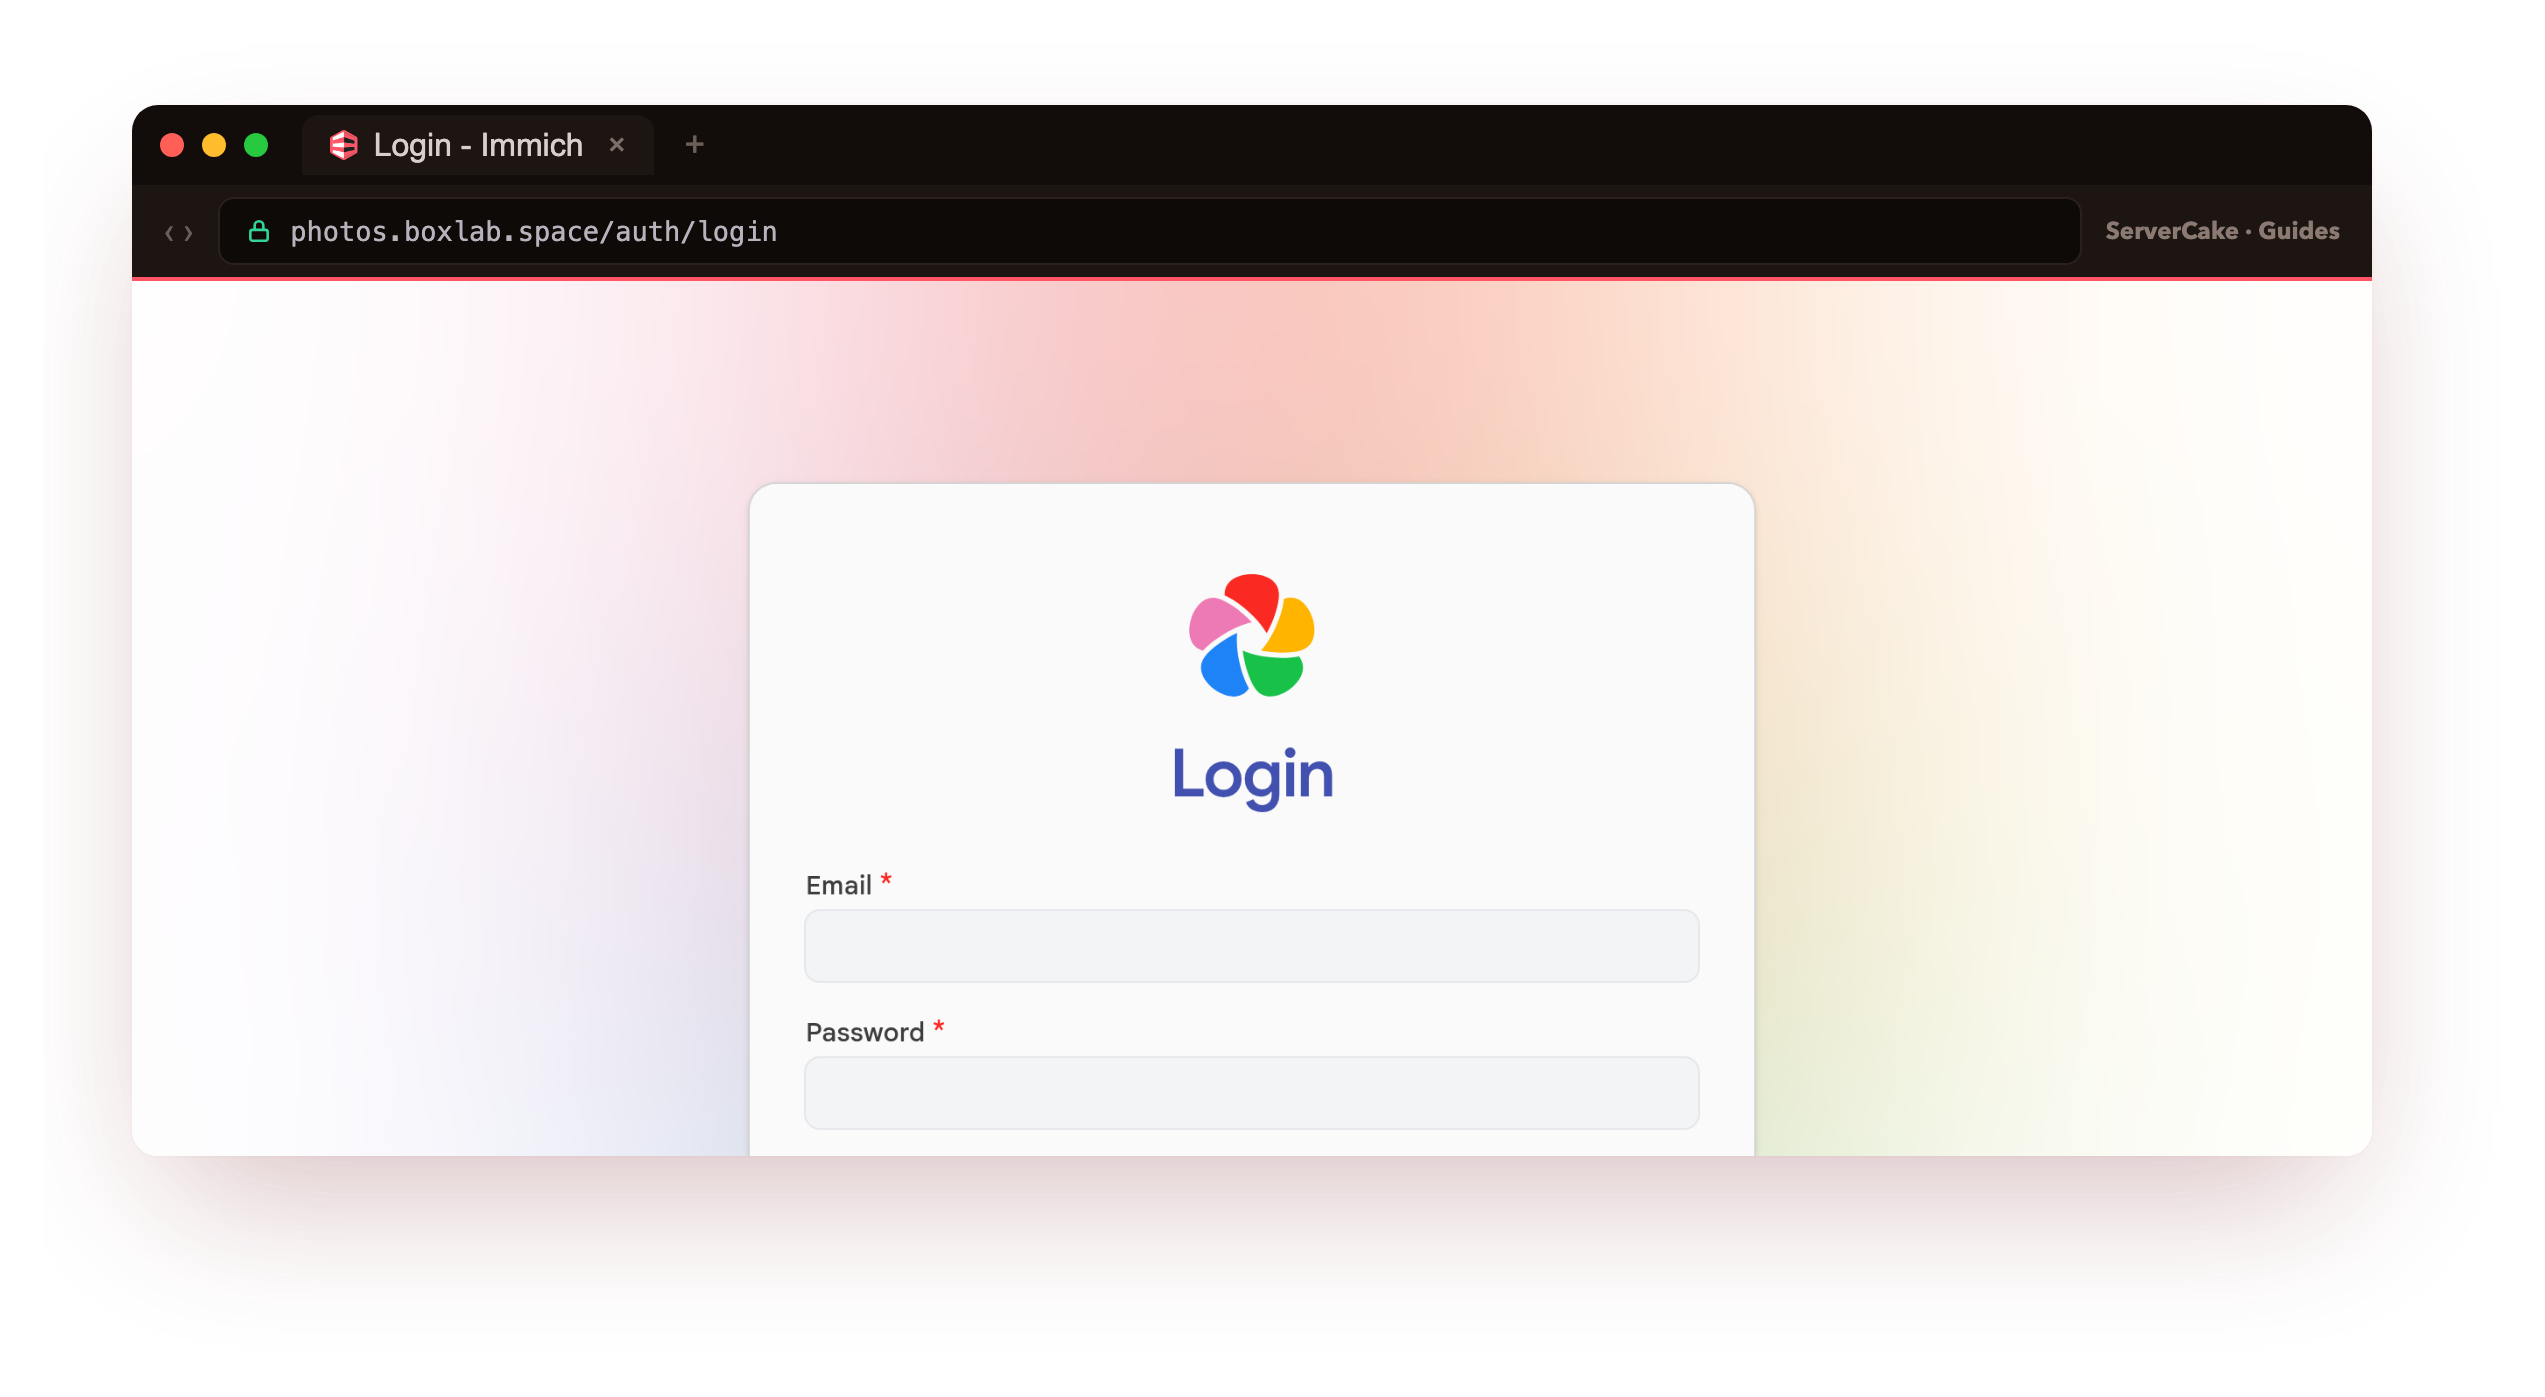
Once the admin exists, the sign-in screen is where you and your family come back to. Sign in, click through the short onboarding, and you land on an empty timeline waiting for its first photos.
Upload your photos
The payoff is your own photos on your own hardware, so put a few there. The simplest way is right in the web app: click Upload in the top bar, or drag a folder of images onto the window, and Immich ingests them, reads the date each photo was taken, and generates thumbnails. For bulk imports there is also the official immich command-line tool, which walks a directory and uploads everything, handy for moving an existing library across in one go.
Uploads are recorded the moment they land. You can confirm the library from the shell with an API key (create one under Account Settings), which is also how you would script a check.
# after uploading a few photos in the web app, count them from the API
curl -s -X POST https://photos.example.com/api/search/metadata \
     -H "x-api-key: $KEY" -H 'content-type: application/json' -d '{}' \
     | jq '.assets.total'
curl -s -o /dev/null -w '%{http_code}\n' \
     https://photos.example.com/api/assets/$ID/thumbnail -H "x-api-key: $KEY"
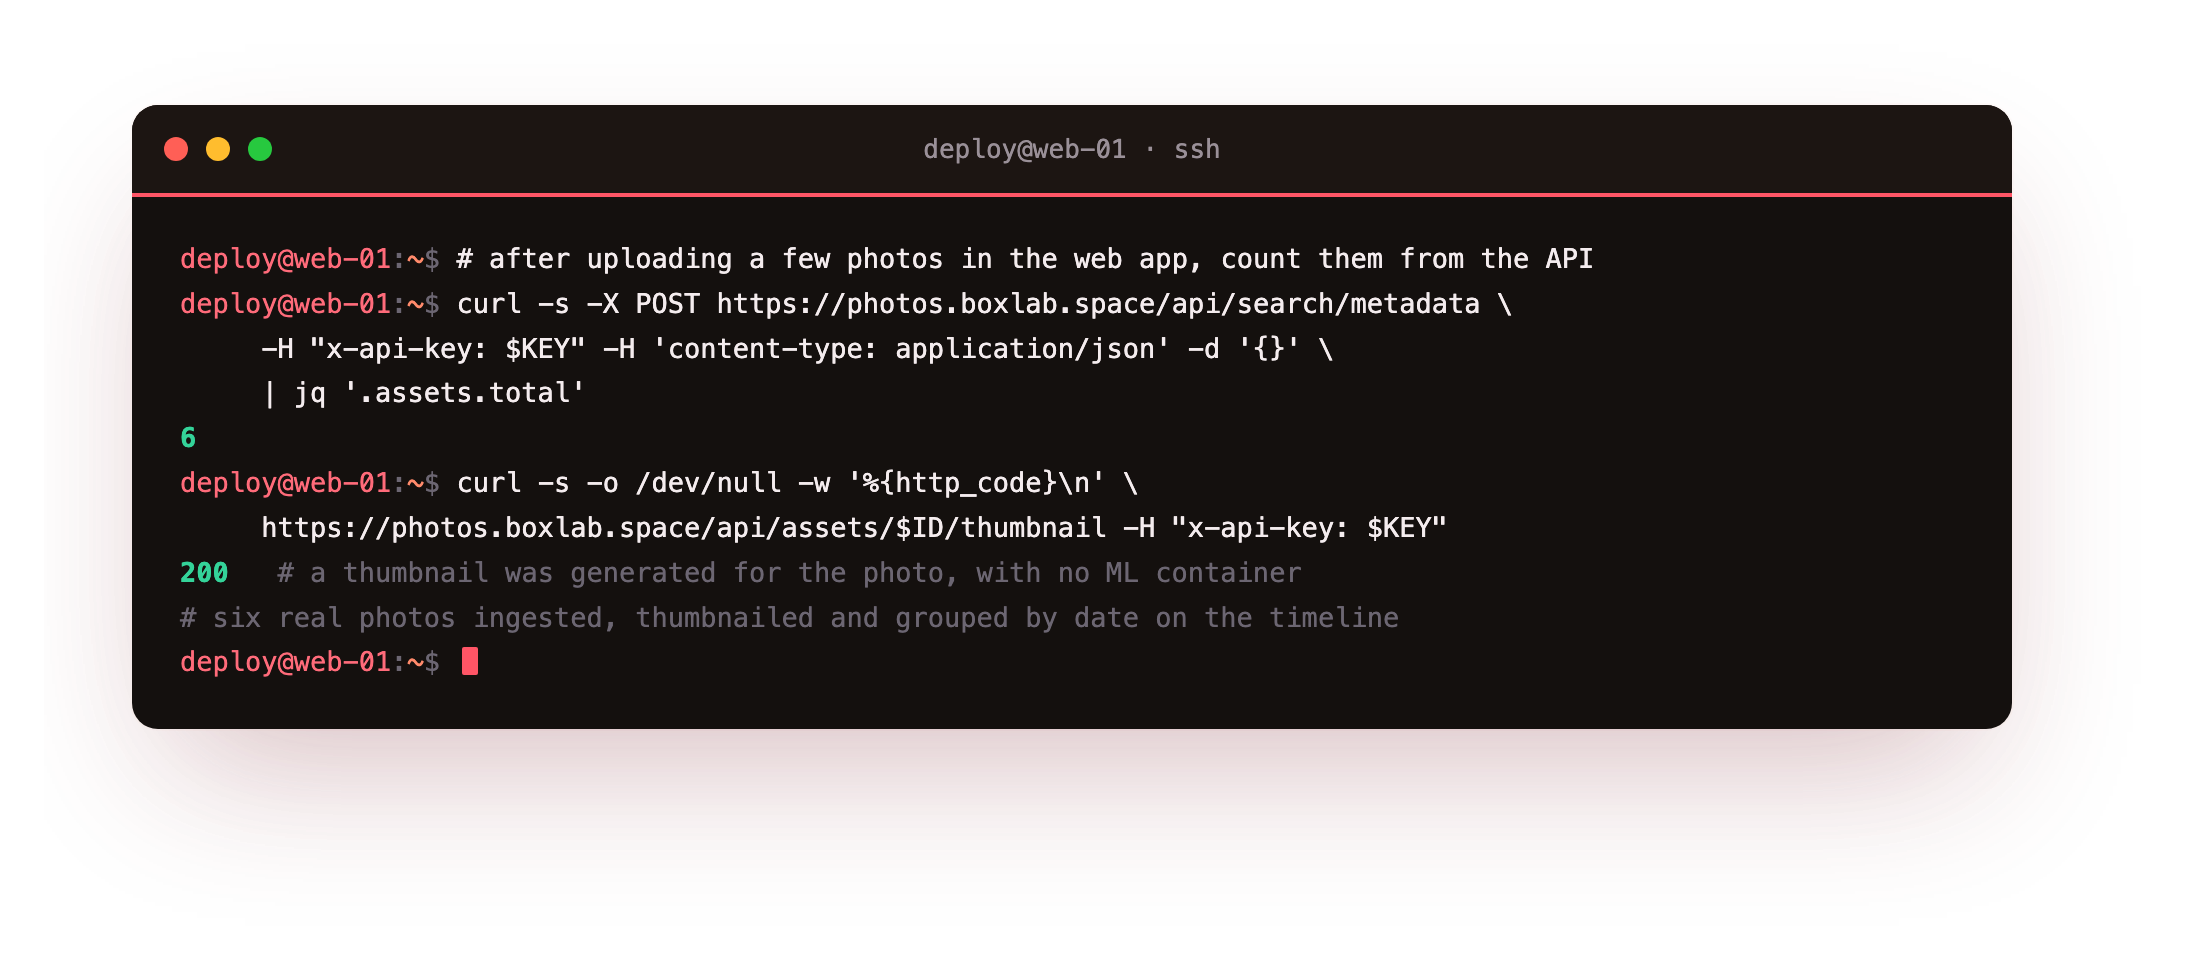
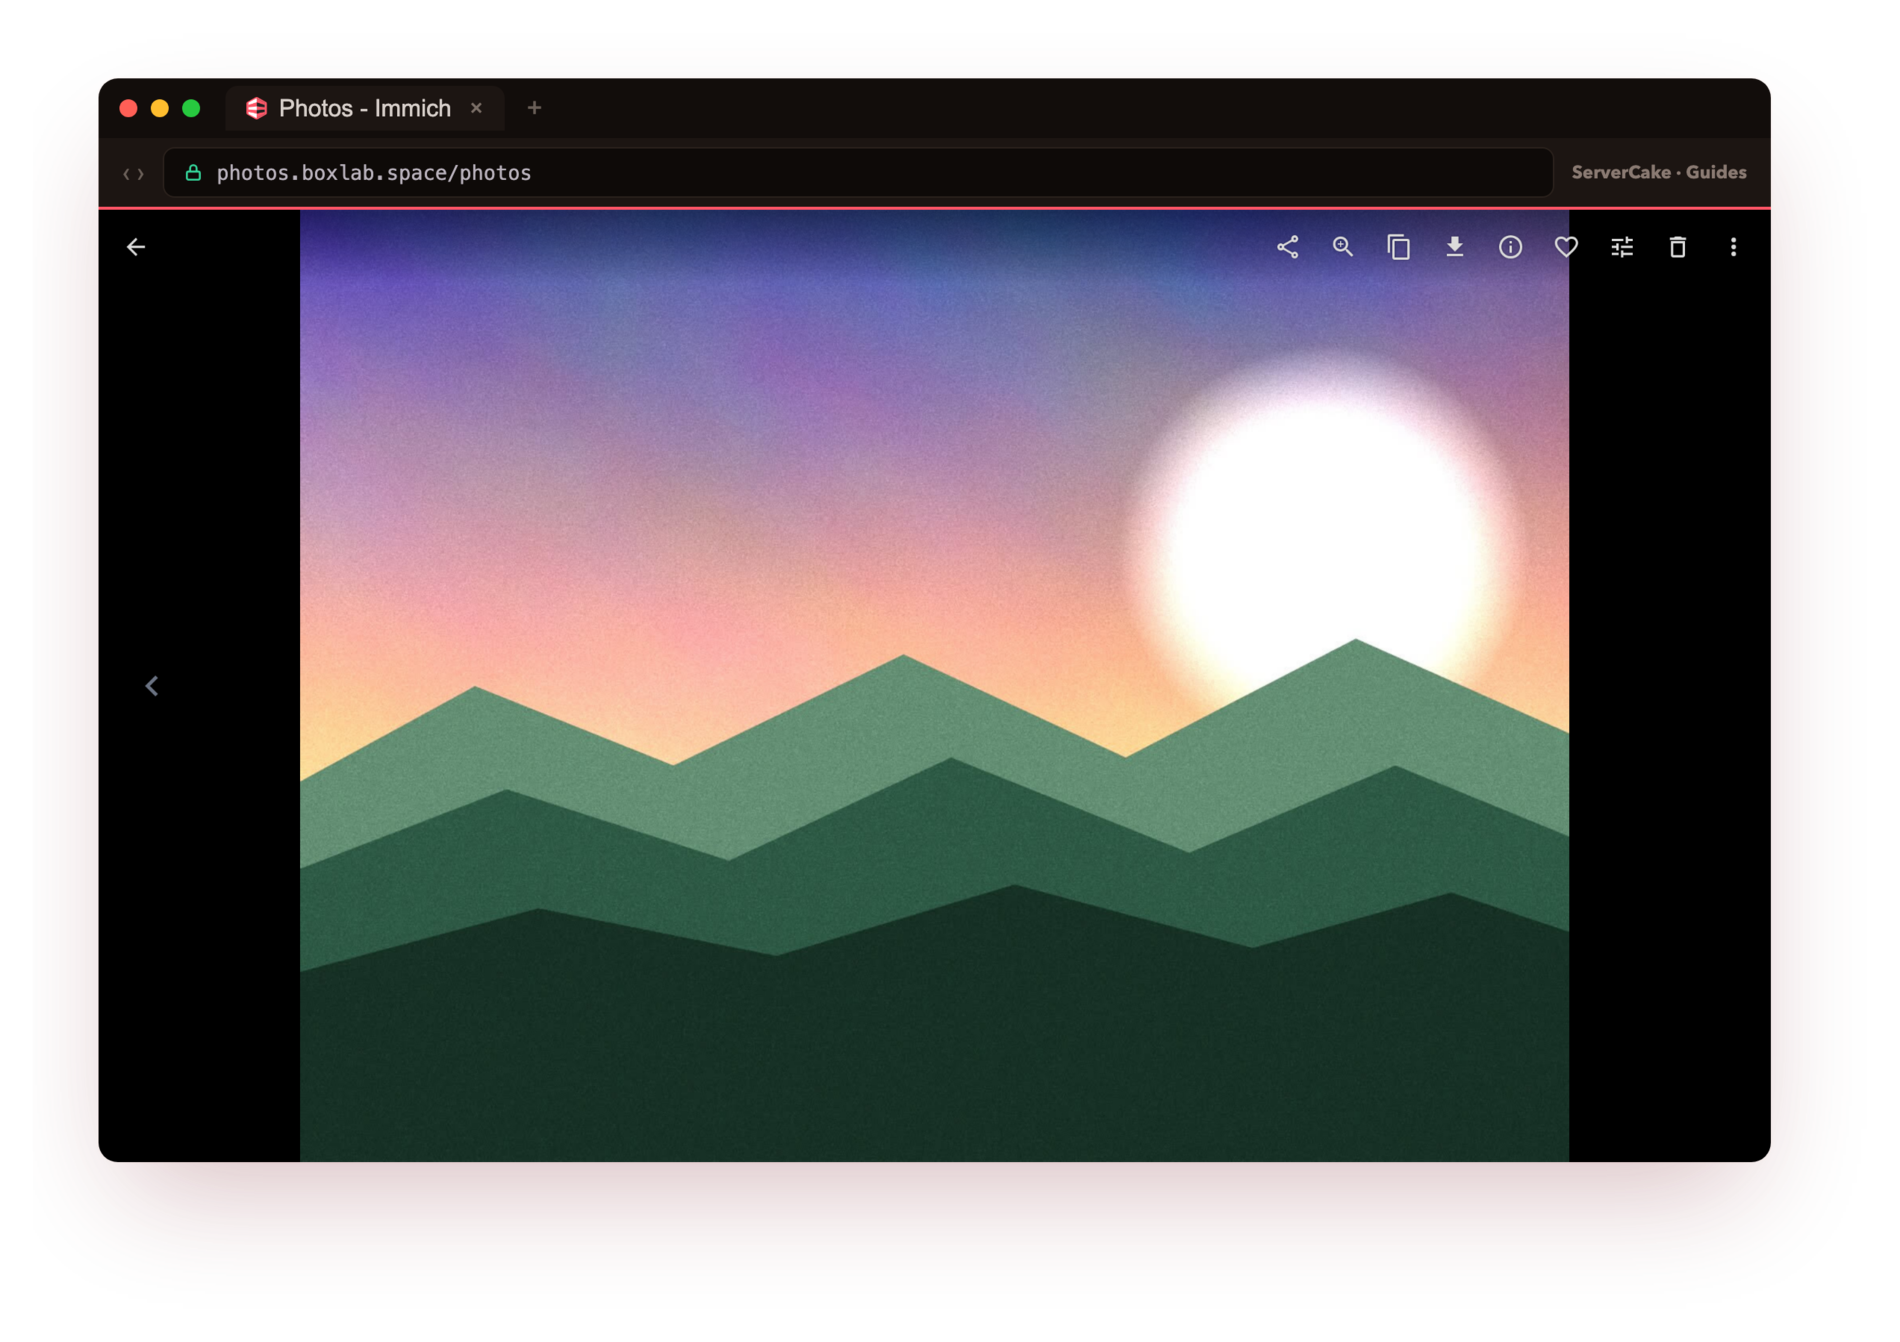
A count that matches what you uploaded, and a 200 on the thumbnail, is your proof: the photos are in, and the server generated a thumbnail for each one with no machine-learning container involved. On the timeline they group under the day they were taken, newest first, exactly like the photo app you are used to. Open any one and it fills the screen with the tools to favourite, share or download it down the side.
The real draw shows up next. Install the Immich mobile app, point it at https://photos.example.com, and switch on backup: from then on every photo your phone takes lands on your slice automatically, the same auto-upload a big provider gives you, running on a box you own. That is the point of the whole exercise.
Keep it running and updated
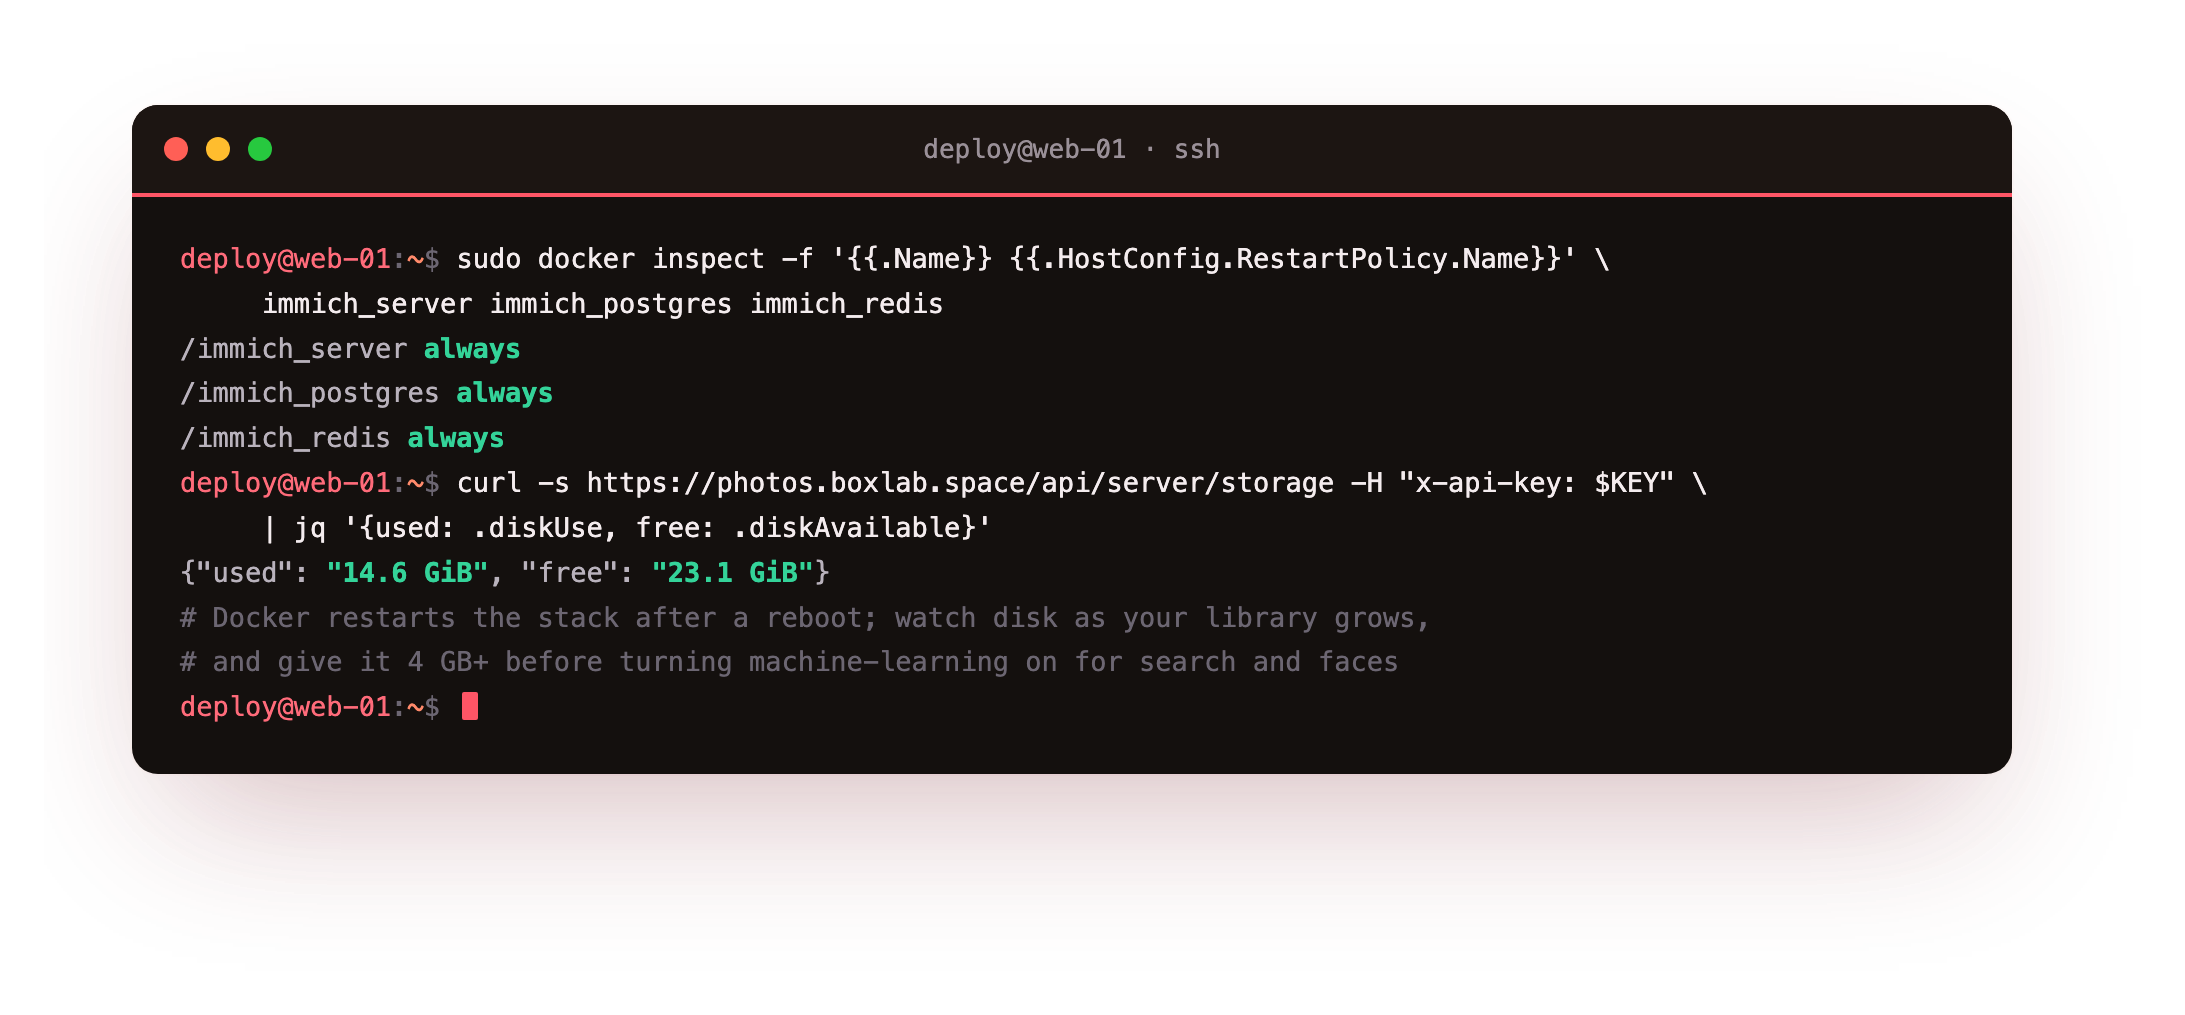
Because the whole stack is described by the Compose file plus .env plus its data locations, running it for the long term is straightforward. The restart: always policy means Docker brings every container back after a reboot or a crash, on its own. Confirm the policy is in force, and keep an eye on disk, because a photo library only grows.
sudo docker inspect -f '{{.Name}} {{.HostConfig.RestartPolicy.Name}}' \
     immich_server immich_postgres immich_redis
curl -s https://photos.example.com/api/server/storage -H "x-api-key: $KEY" \
     | jq '{used: .diskUse, free: .diskAvailable}'
Updating Immich is a pull and a recreate. Compose fetches the newer images and replaces only the containers whose image changed; the data locations, and so your photos and database, are untouched. Read the release notes first, because Immich moves fast and occasionally a release needs a manual step.
sudo docker compose pull
sudo docker compose up -d
That is a complete, hand-built Immich install: Docker and Compose, a Postgres-backed core bound to loopback, real HTTPS through nginx with room for big uploads, an admin account, real photos on the timeline, and mobile auto-backup pointed at hardware you own.
The one thing it is not yet doing is smart search and face recognition, and that is deliberate. Those run in the machine-learning container we left off, which wants the 4 GB of RAM Immich asks for. On a larger slice you uncomment that service, let it download its models once, and the search bar starts finding photos by what is in them.
Backing the library up properly, and turning on hardware transcoding so video is light on the CPU, are the next two steps worth taking, and both build directly on the stack you have here.
Frequently asked questions
How much RAM do I really need to self-host Immich on a VPS?
Immich officially recommends 4 GB or more, and that figure is driven almost entirely by the machine-learning service that powers smart search and face grouping. The core, meaning the server, its database and Redis, is far lighter and runs the timeline, uploads, albums and mobile backup comfortably on a smaller box, which is how this guide is written. If you want search and faces, plan for 4 GB and uncomment the machine-learning service. If you mainly want a private, auto-backing-up photo library, the core on a modest slice does that job.Why disable machine-learning, and what do I lose without it?
The machine-learning container downloads and runs models to recognise faces and let you search photos by their contents, and doing that wants 2 to 4 GB of RAM on its own. Leaving it off keeps the install inside a small slice while you get everything else: the timeline, albums, sharing, and phone auto-backup all work without it. What you lose is smart search and automatic face grouping, both of which you can switch on later by uncommenting one service, with no change to the photos already uploaded.My upload fails on large photos or videos. What is wrong?
Almost always the reverse proxy is rejecting the request body. nginx defaults to a one megabyte limit, so anything larger is refused before it reaches Immich. The fix is theclient_max_body_size directive shown above, set generously, plus proxy_request_buffering off so big files stream through rather than spooling to disk. After changing nginx, run nginx -t and reload. If the app itself reports the failure rather than nginx, check that the disk under UPLOAD_LOCATION has free space.
What exactly do I back up, and how do I restore Immich?
Two things, always together: the Postgres database and the upload library folder set byUPLOAD_LOCATION. The database holds your albums, users and the metadata for every photo; the folder holds the actual files. Back both up on the same schedule, because the database is describing files it expects to find on disk. To restore, bring up a fresh stack with the same .env, load the database dump, and put the library folder back in place. Restoring one without the other leaves you with a timeline pointing at missing files, or files with no timeline, so the pair is the unit.
Running Immich on your own slice means your photos answer to you: your timeline, your storage, your rules on where the data sits, with no tier to outgrow and no company in the frame. To take it live, grab a ServerCake slice, a clean Ubuntu 24.04 box hosted in India and billed in rupees with GST, and walk the steps above on hardware that reports to nobody but you.