What you will have
By the end of this guide you will self-host n8n on a VPS from nothing: a bare Ubuntu 24.04 slice becomes your own automation platform, running the same node-based workflow builder that teams pay a monthly per-execution bill for, except it runs in Docker on a box you own and the data stays with you. n8n connects APIs, databases, webhooks and schedules into workflows you draw on a canvas, and self-hosting it means no seat pricing, no per-run metering, and no third party holding the credentials your automations use.
That last point is the reason to bother. Your workflows carry API keys, database logins and customer data as they run, so where n8n lives is where those secrets live. Keeping it on a slice you control, on Indian hardware if that matters for you under the DPDP rules, puts that whole surface back in your hands.
Here is the destination. The screenshot below is the real canvas from the instance we stood up for this guide, a small "Daily site health check" workflow: a manual trigger, an HTTP request, and a node that shapes the result. Every screenshot in this guide is genuine, captured on that live box, so the version and the interface are what you will get.
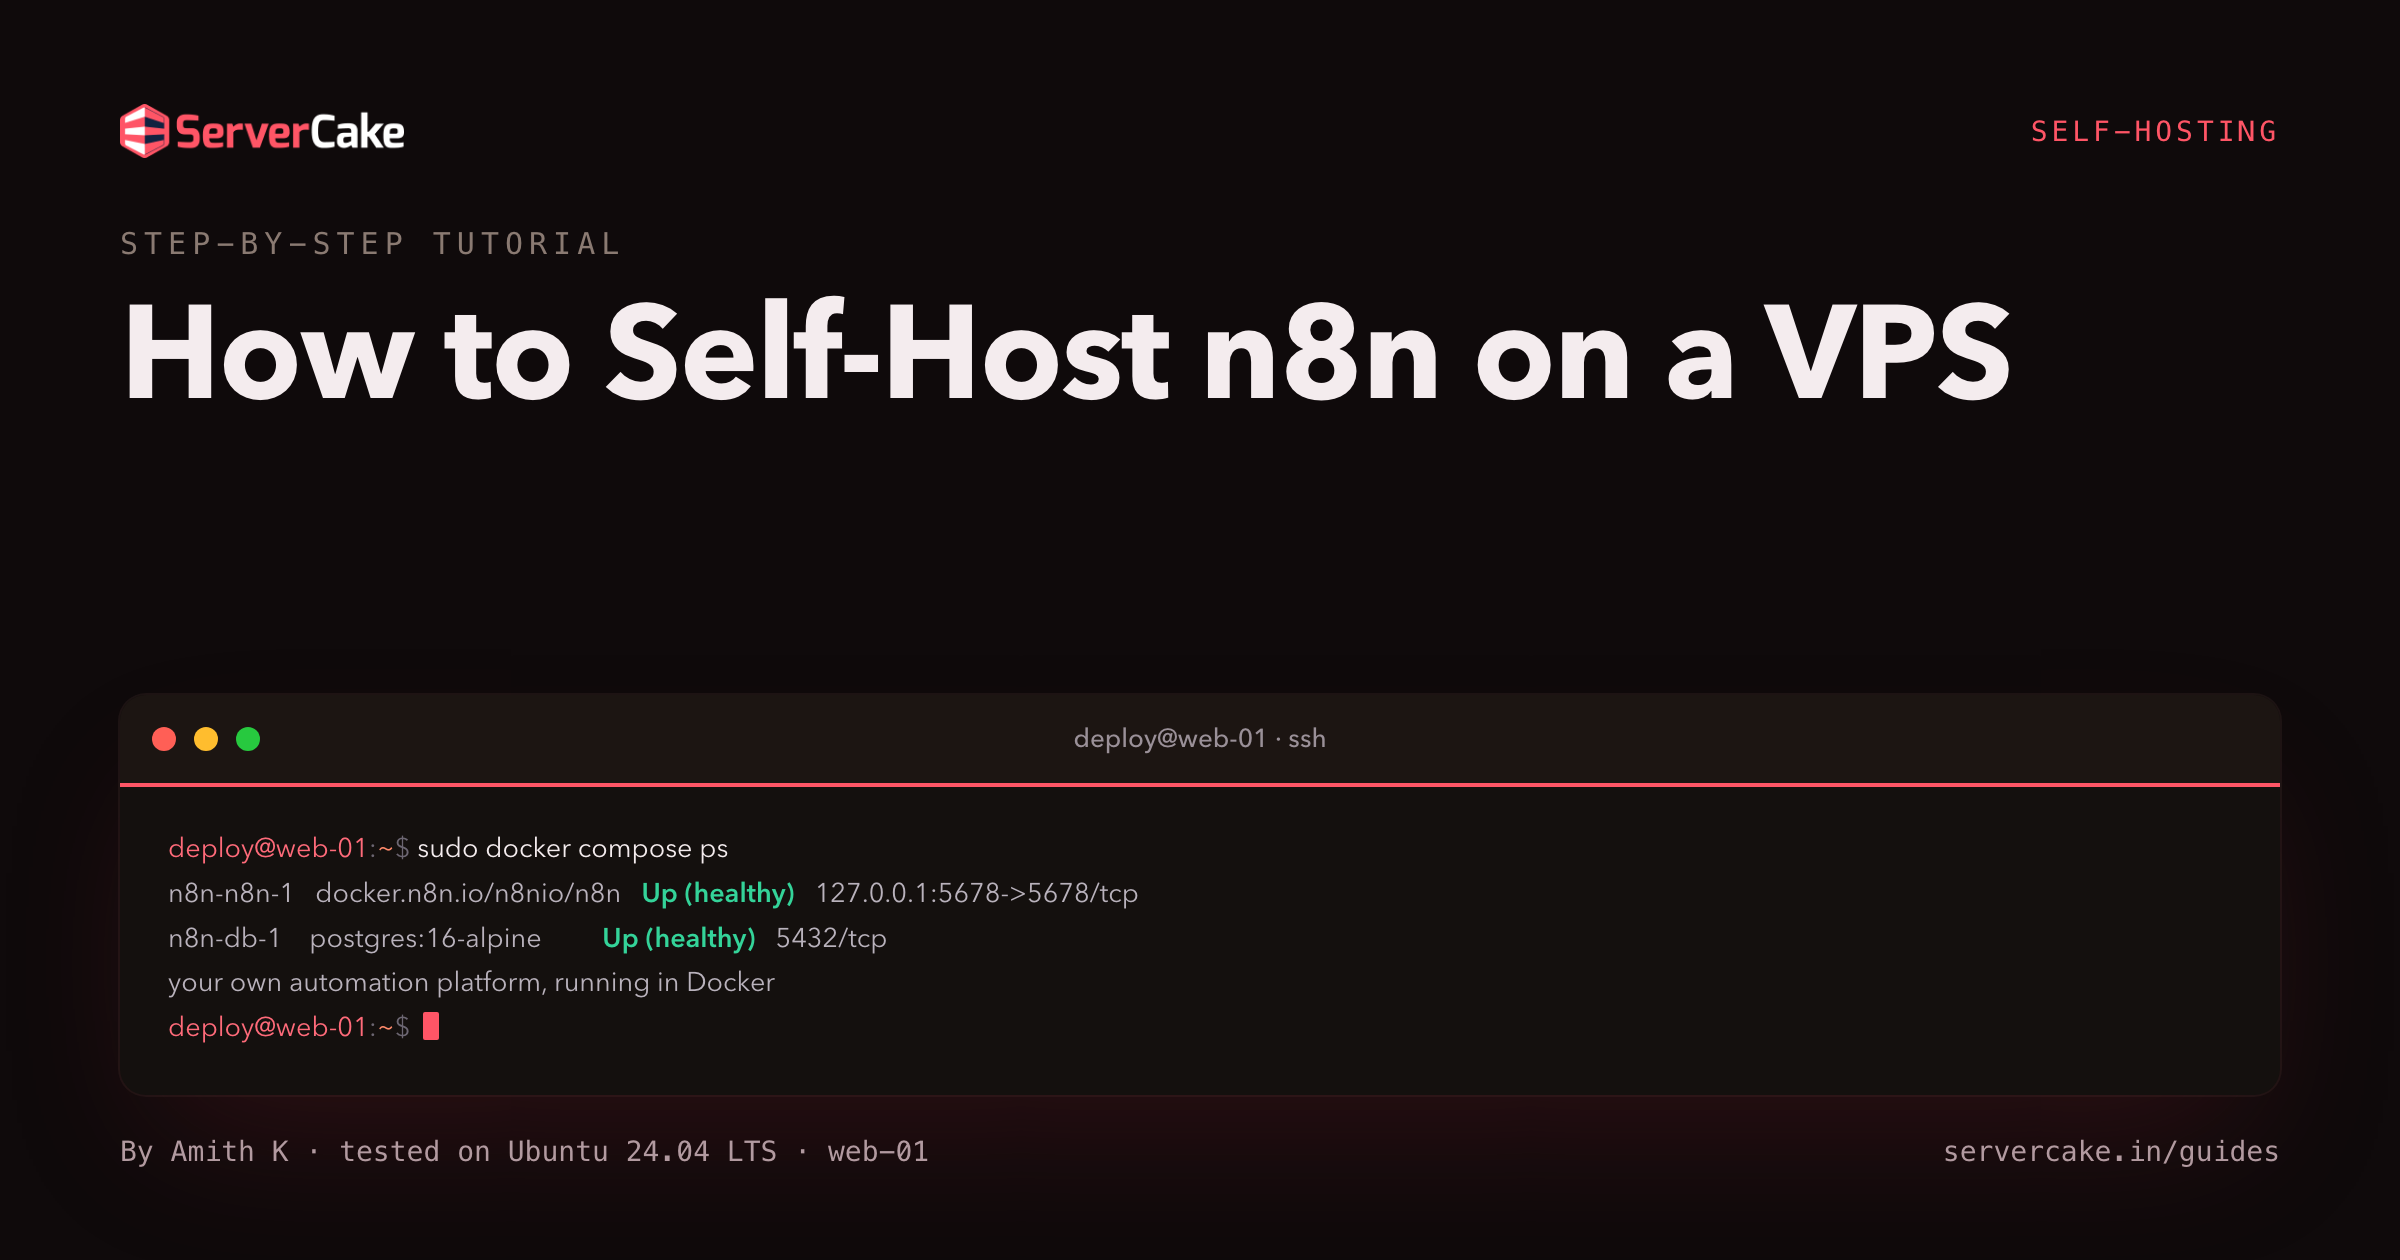
sudo docker compose ps
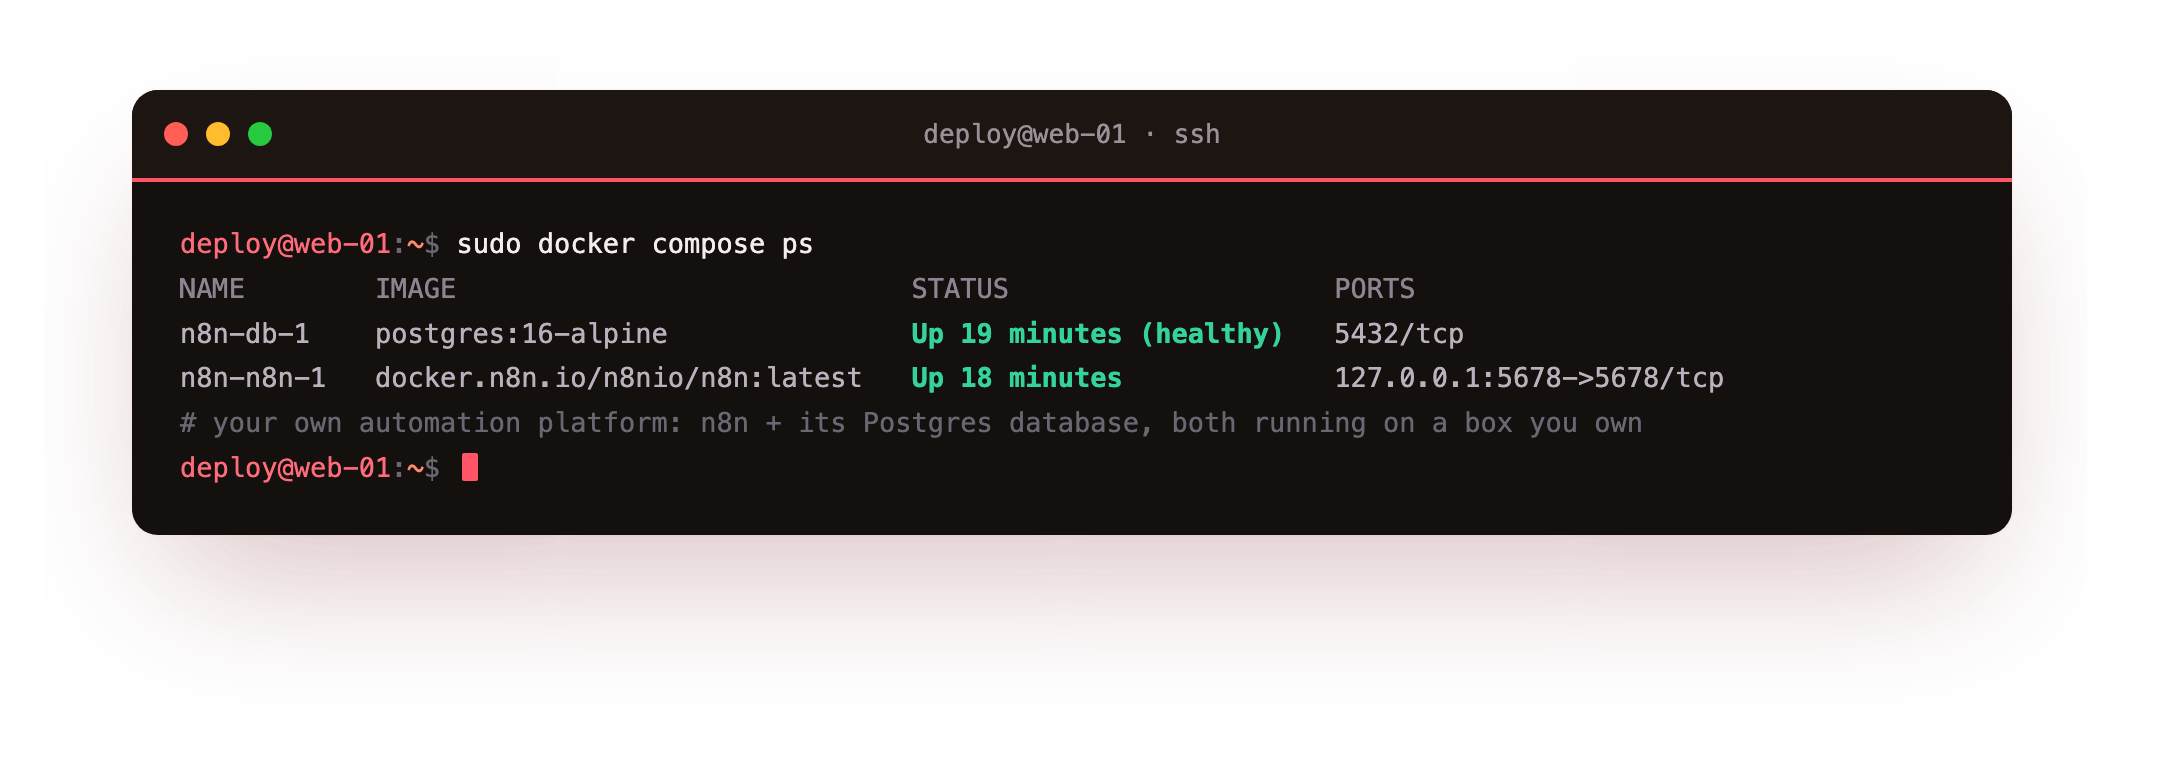
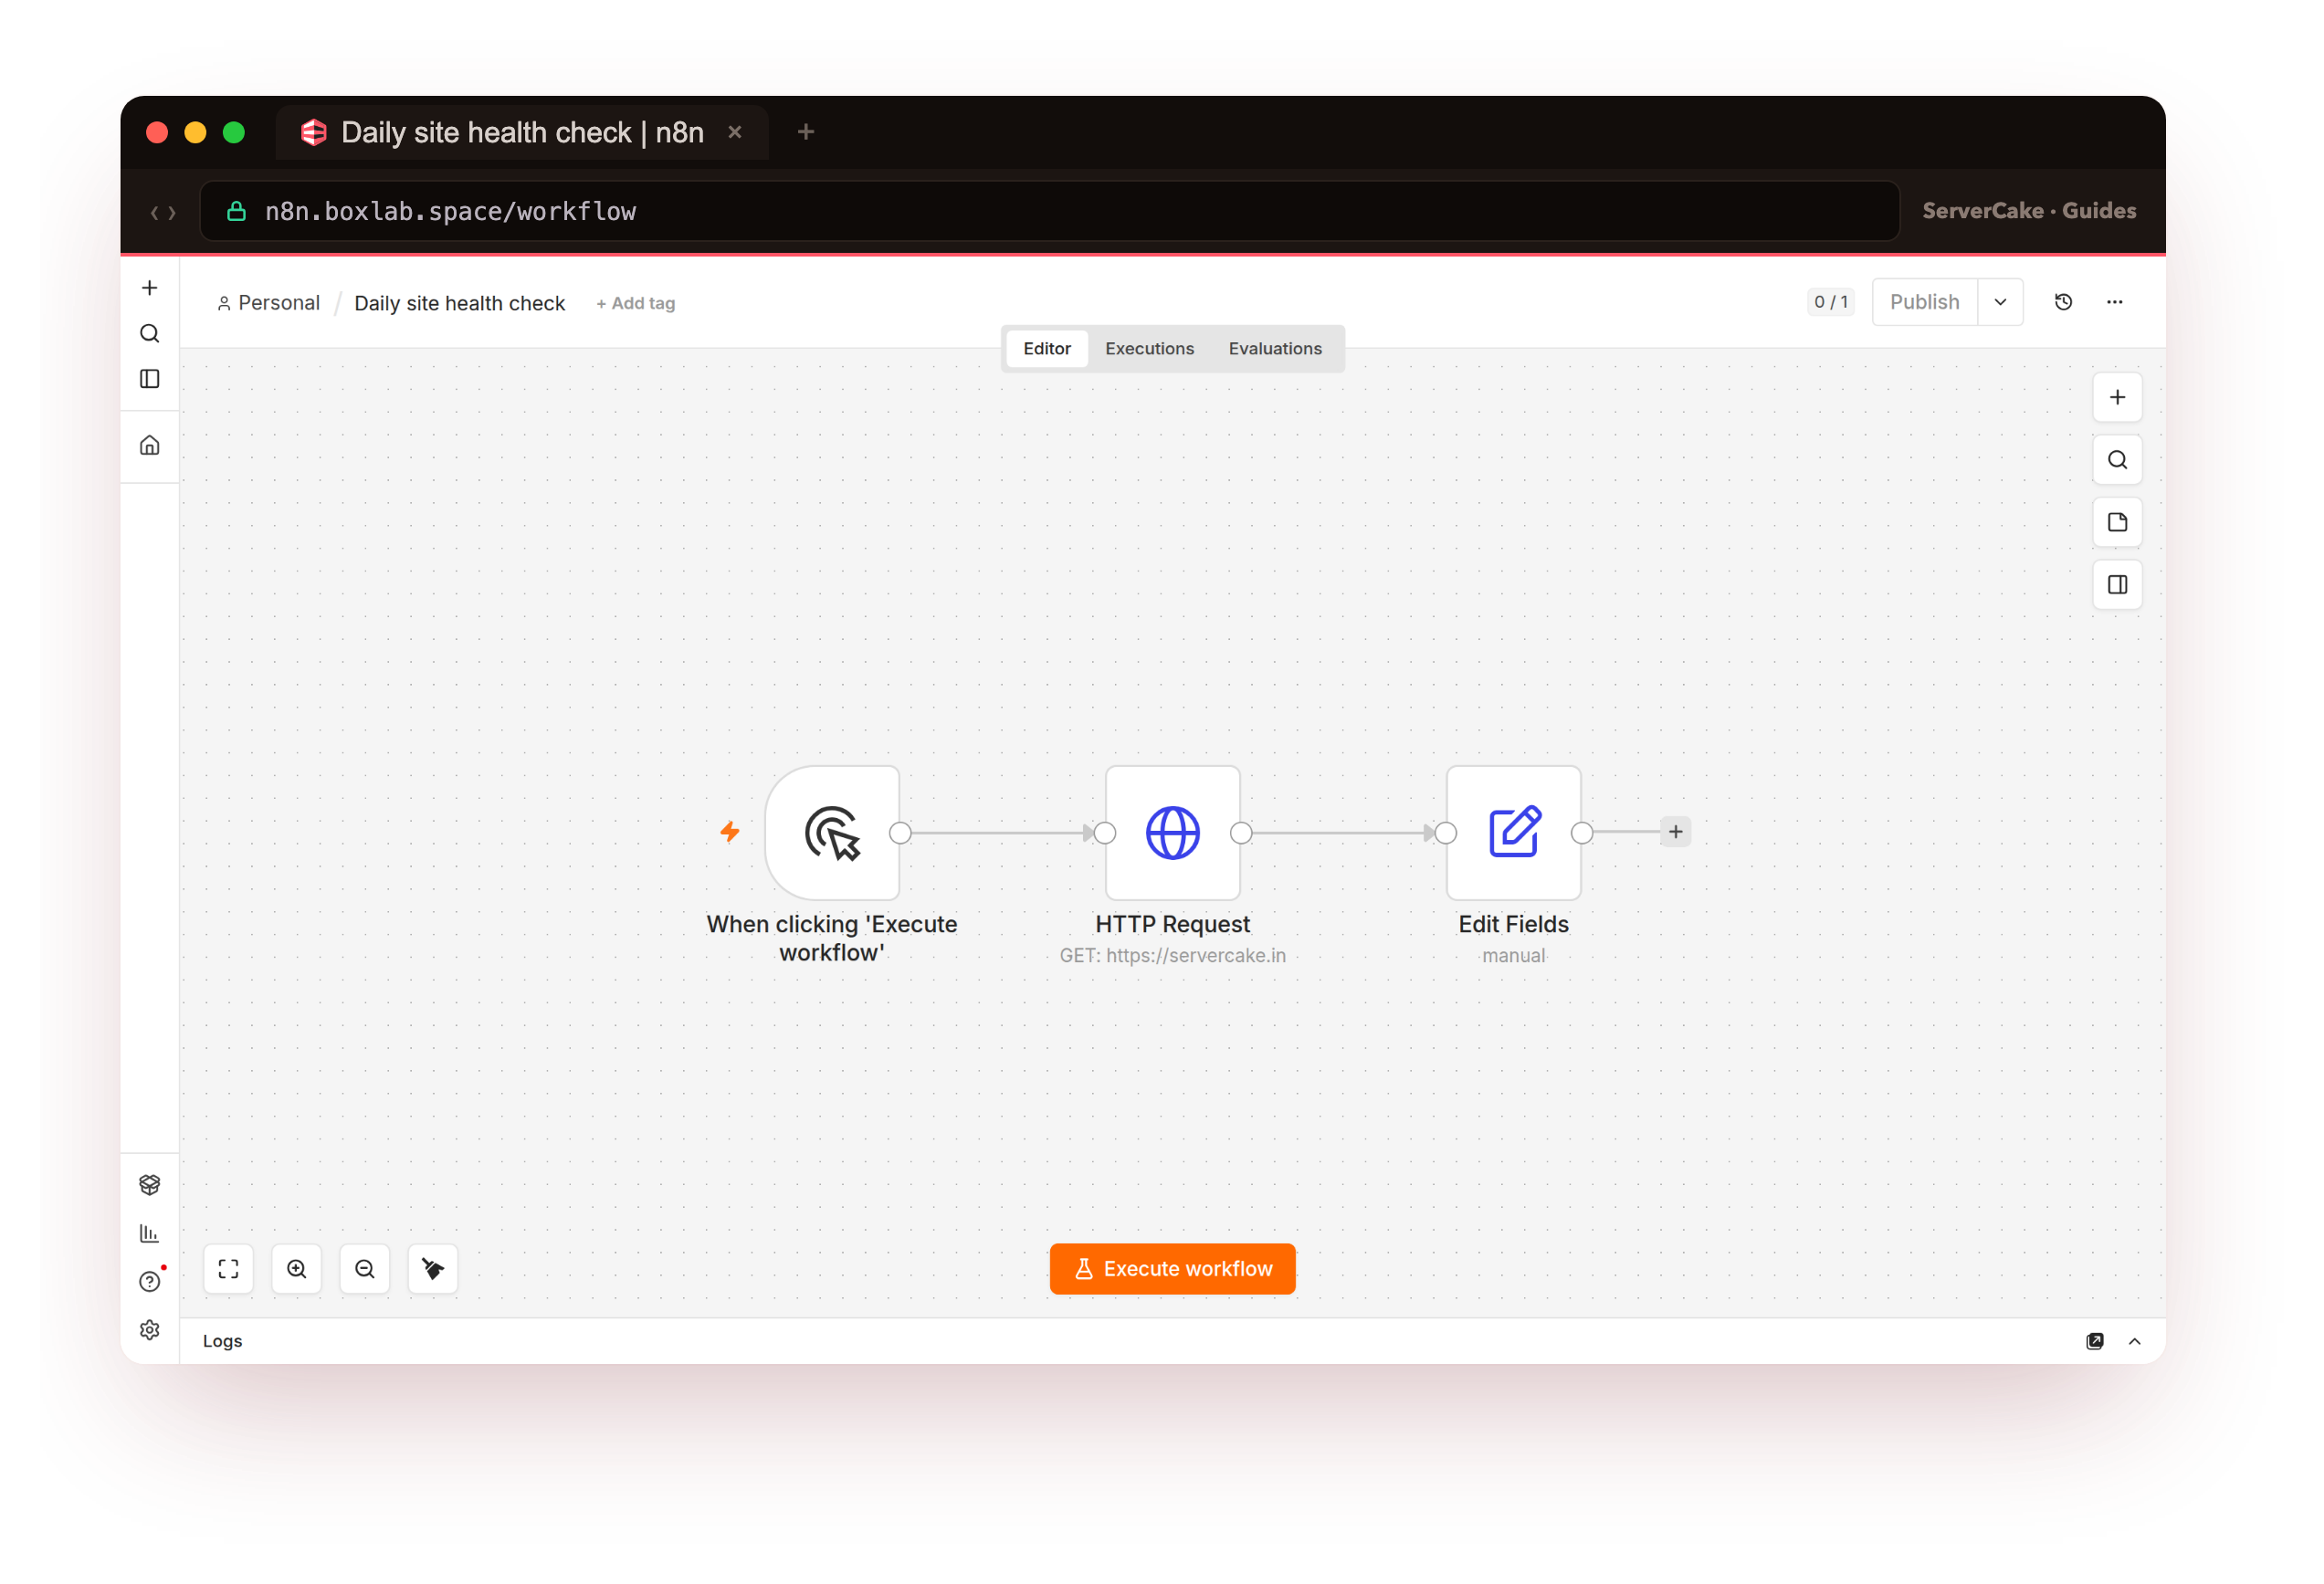
Two containers, n8n and its Postgres database, both up. That is the entire platform: no control panel to license, no runtime you do not own.
- Installing Docker and the Compose plugin on a bare Ubuntu 24.04 slice.
- A Compose stack that runs n8n against Postgres, with named volumes and the key environment variables.
- Putting n8n behind nginx over a real HTTPS certificate, with the websocket upgrade the editor needs.
- Creating the owner account and building a first workflow that genuinely runs.
- Keeping it running: restart policy, image updates, and backups of the database plus the encryption key.
Before you begin
This is a hands-on, build-it-yourself guide, and it takes a few things as given. None of them are heavy.
- An Ubuntu 24.04 LTS slice you can reach over SSH as a user with
sudo. Two vCPUs and 2 GB of RAM is a sensible starting size for a personal instance. - A domain or subdomain you control, with access to edit its DNS. Most people give n8n its own subdomain like
n8n.example.com. - Your slice's public IPv4 address, so you can point the subdomain's DNS record at it.
- Roughly thirty minutes, and a habit of reading what each command reports before running the next.
Everything below runs as a normal sudo user over SSH. Docker commands use sudo because the daemon runs as root; if you have added your user to the docker group you can drop the sudo.
Install Docker and Compose
n8n is distributed as a Docker image, which is why this guide runs it in a container rather than from source. A container pins the exact runtime n8n expects, upgrades become a one-line image pull, and the whole stack, app plus database, is described in a single file you can keep in version control. If Docker is already on your slice you can skip this section; check with docker --version.
On a bare box, install Docker Engine and the Compose plugin from Docker's official repository. The convenience script does the repository setup and key handling for you.
curl -fsSL https://get.docker.com | sudo sh
docker --version
docker compose version
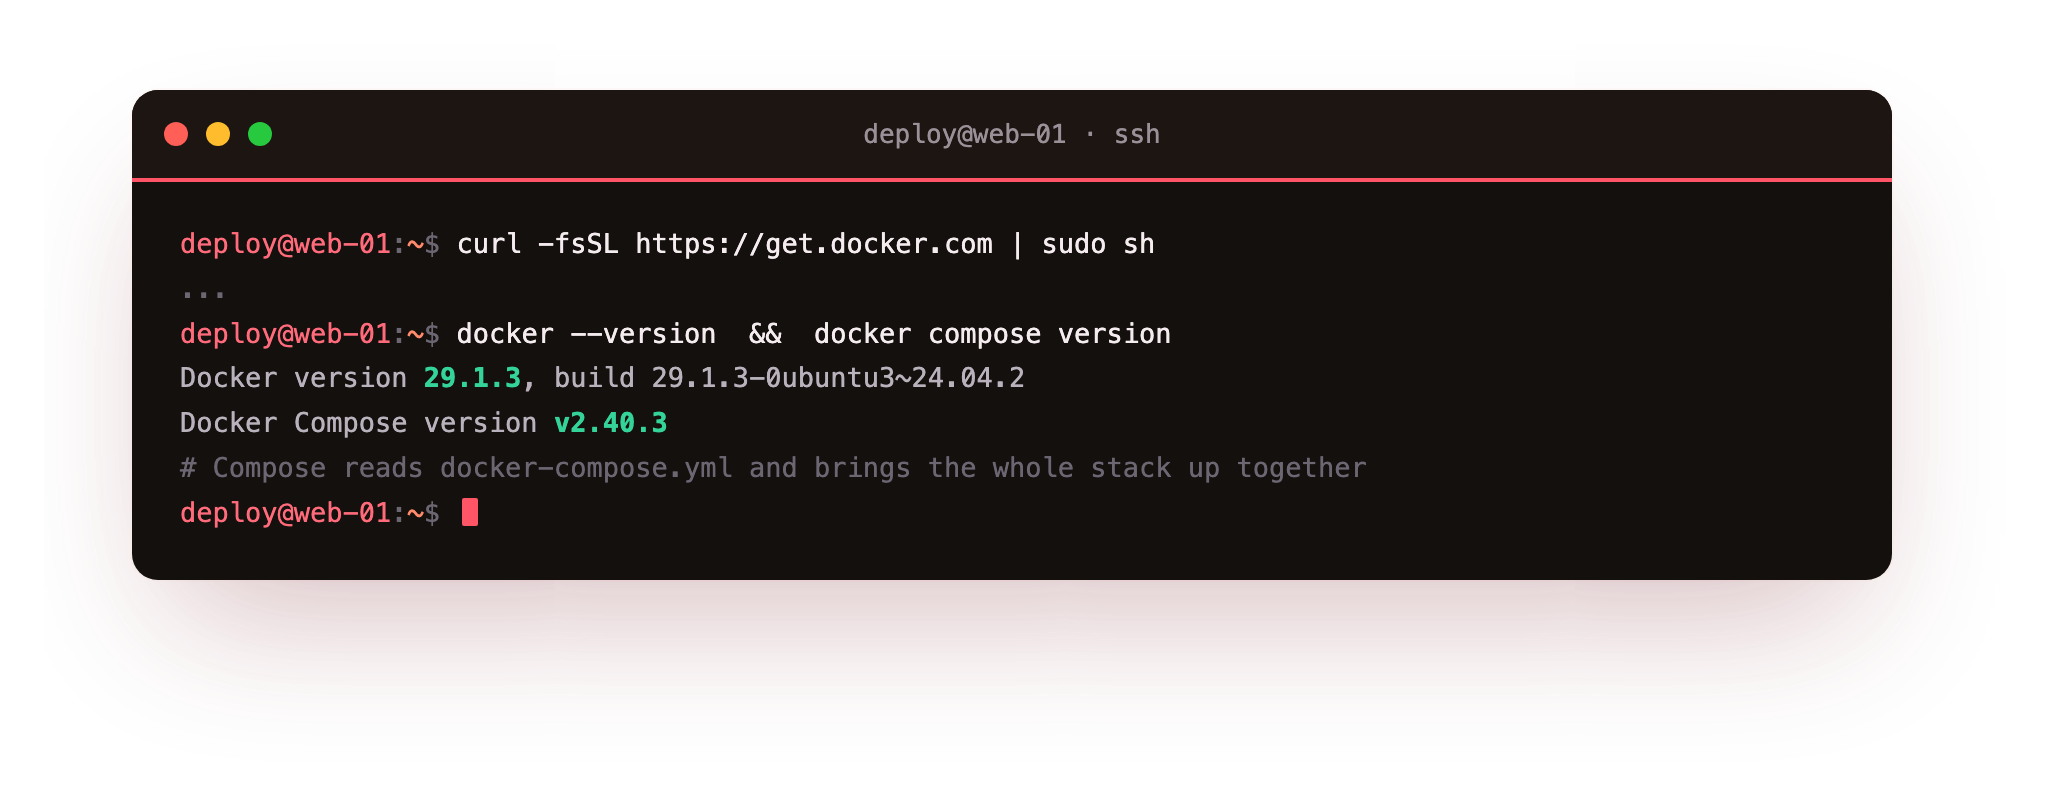
Read both versions back so you know what you are running. On our lab slice this is Docker 29.1.3 and the Compose plugin 2.40.3. Compose is the piece that reads a docker-compose.yml and brings a multi-container stack up together, which is exactly what n8n plus a database is.
docker --version and docker compose version. If docker compose reports "is not a docker command", you have the old standalone docker-compose binary; install the Compose plugin so the v2 syntax used below works.Self-host n8n on a VPS with Docker and Postgres
n8n will run its own SQLite file if you let it, which is fine for a first look and a poor idea for anything you rely on. A real deployment uses Postgres: it handles concurrent writes, it backs up cleanly, and it does not corrupt under load the way a single file can. So the stack is two services, n8n and Postgres, wired together by Compose.
First, a working directory and two secrets. n8n encrypts the credentials your workflows store, and it does that with an encryption key. If that key ever changes, every saved credential becomes unreadable, so you generate it once, now, and treat it like a password. The database needs its own password too.
sudo mkdir -p /opt/n8n && cd /opt/n8n
echo "POSTGRES_PASSWORD=$(openssl rand -hex 24)"   | sudo tee  .env
echo "N8N_ENCRYPTION_KEY=$(openssl rand -hex 24)"  | sudo tee -a .env
sudo chmod 600 .env
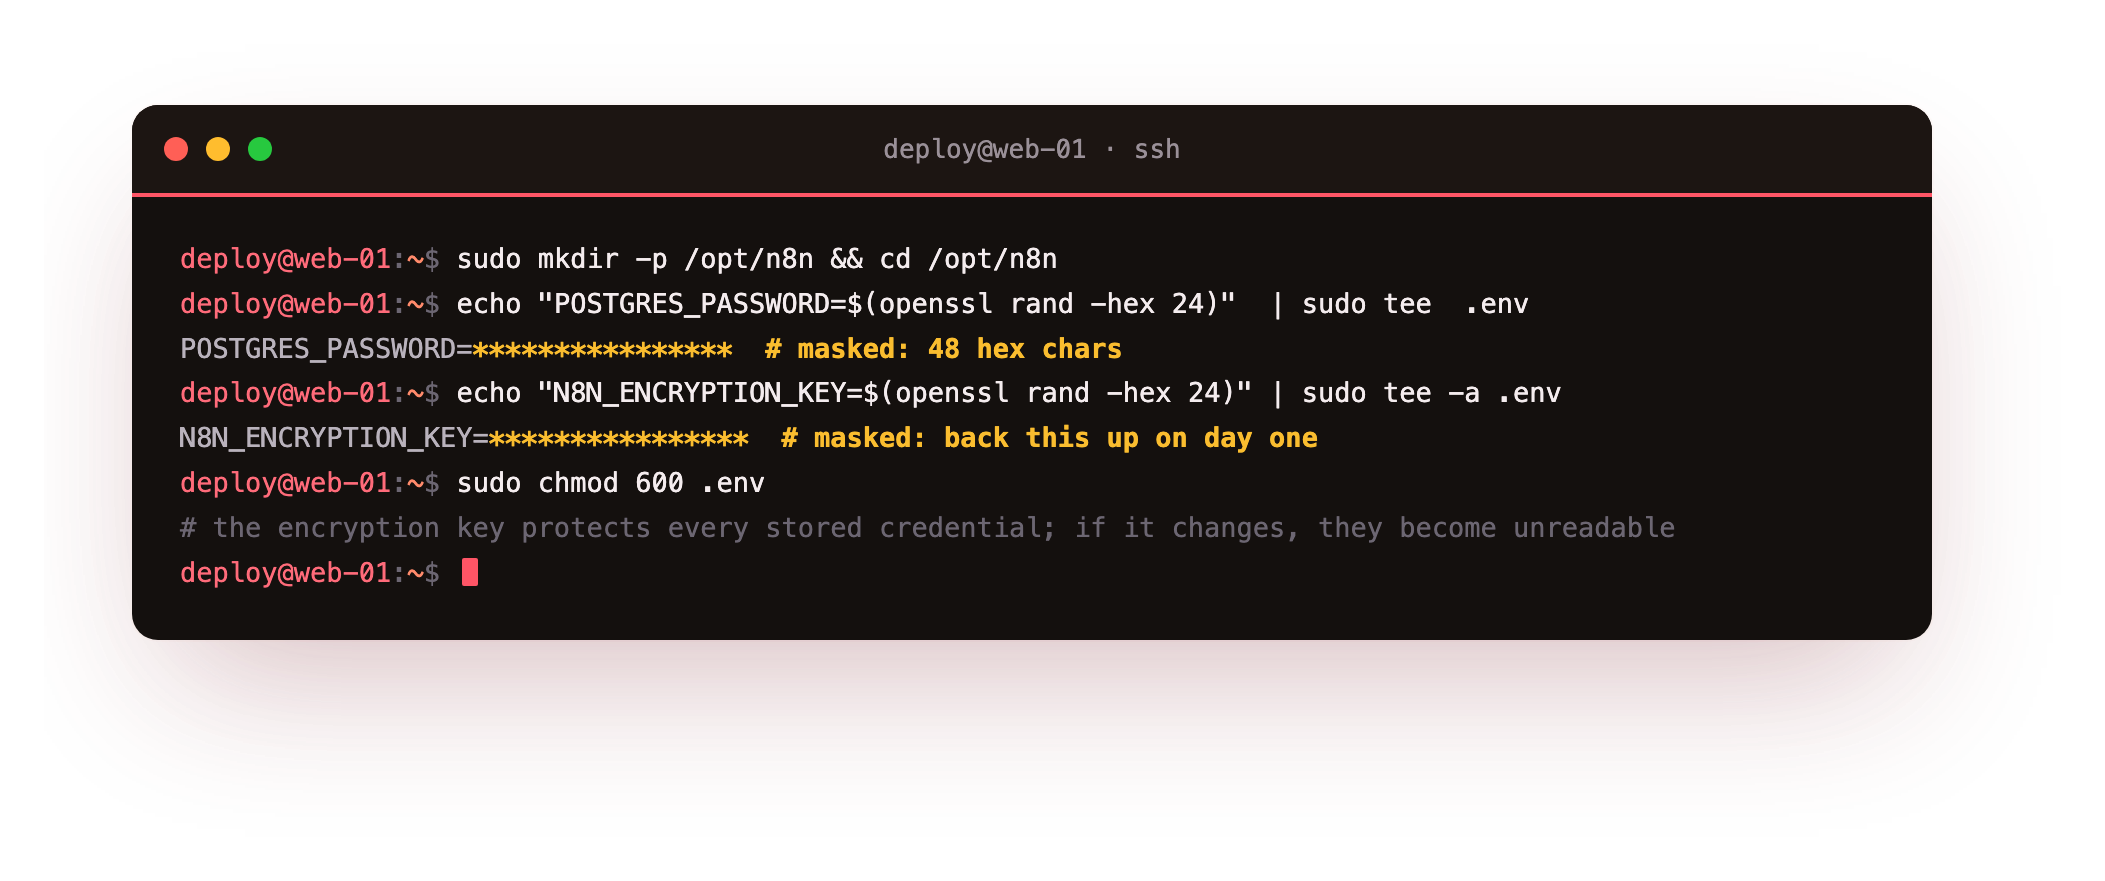
Those two values live in .env, which sits beside the Compose file and is read into it at run time. Keeping secrets in .env rather than hard-coded in docker-compose.yml means the compose file itself is safe to commit. Now the stack. Create docker-compose.yml in the same directory.
# /opt/n8n/docker-compose.yml
name: n8n

services:
  db:
    image: postgres:16-alpine
    restart: unless-stopped
    environment:
      POSTGRES_USER: n8n
      POSTGRES_PASSWORD: ${POSTGRES_PASSWORD}
      POSTGRES_DB: n8n
    volumes:
      - db_data:/var/lib/postgresql/data
    healthcheck:
      test: ["CMD-SHELL", "pg_isready -U n8n -d n8n"]
      interval: 5s
      timeout: 5s
      retries: 12

  n8n:
    image: docker.n8n.io/n8nio/n8n:latest
    restart: unless-stopped
    ports:
      - "127.0.0.1:5678:5678"
    environment:
      - N8N_HOST=n8n.example.com
      - N8N_PORT=5678
      - N8N_PROTOCOL=https
      - N8N_EDITOR_BASE_URL=https://n8n.example.com/
      - WEBHOOK_URL=https://n8n.example.com/
      - N8N_ENCRYPTION_KEY=${N8N_ENCRYPTION_KEY}
      - DB_TYPE=postgresdb
      - DB_POSTGRESDB_HOST=db
      - DB_POSTGRESDB_DATABASE=n8n
      - DB_POSTGRESDB_USER=n8n
      - DB_POSTGRESDB_PASSWORD=${POSTGRES_PASSWORD}
      - GENERIC_TIMEZONE=Asia/Kolkata
      - N8N_PROXY_HOPS=1
      - N8N_RUNNERS_ENABLED=true
    volumes:
      - n8n_data:/home/node/.n8n
    depends_on:
      db:
        condition: service_healthy

volumes:
  db_data:
  n8n_data:
A few lines are worth understanding rather than copying blind. The port publishes n8n to 127.0.0.1:5678, loopback only, so n8n is never exposed to the internet directly; nginx will be the only thing in front of it. N8N_PROTOCOL=https and WEBHOOK_URL tell n8n it is served over HTTPS at your domain, so the links and webhook URLs it generates are correct. N8N_PROXY_HOPS=1 tells n8n it sits behind one reverse proxy, so it trusts the forwarded protocol header.
The two named volumes, db_data and n8n_data, are where everything durable lives, the database and n8n's own settings, so they survive a container restart or an image upgrade. Set N8N_HOST, N8N_EDITOR_BASE_URL and WEBHOOK_URL to your own subdomain. Then bring it up.
sudo docker compose up -d
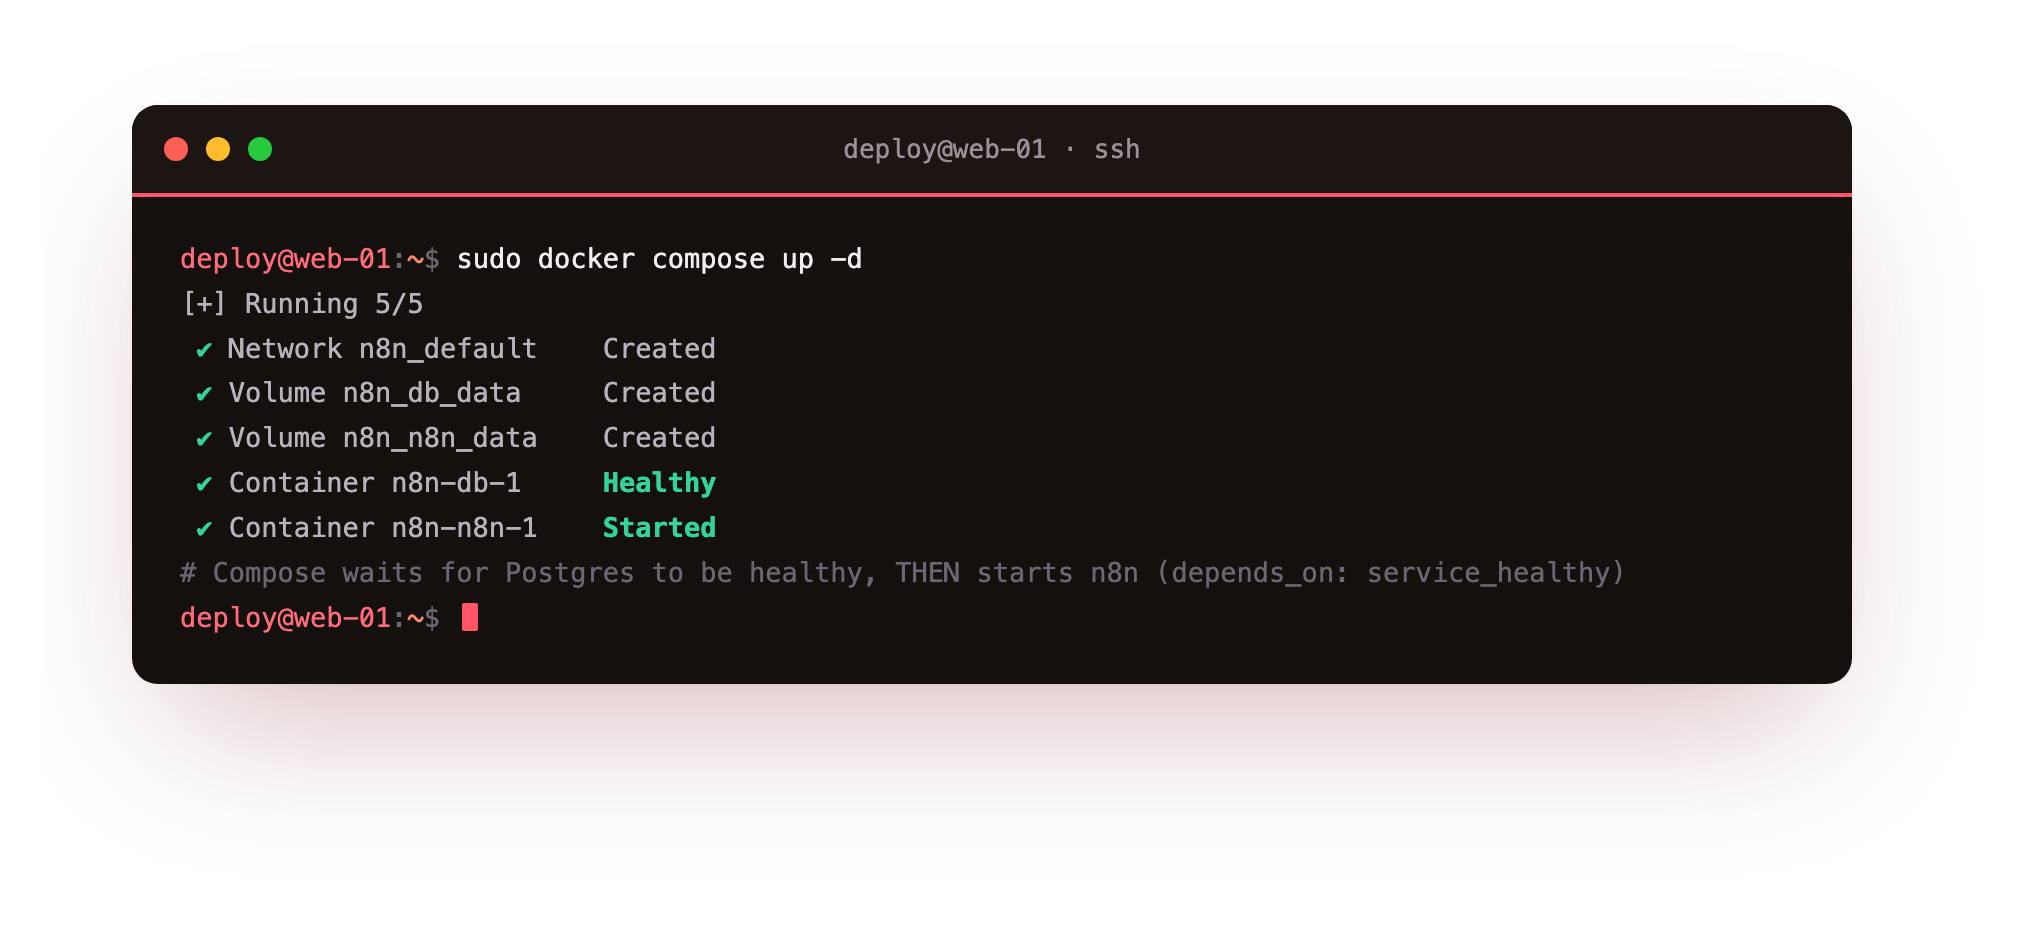
Compose pulls the two images, creates the network and volumes, waits for Postgres to report healthy, and only then starts n8n. Give it a moment, then confirm both containers are up and n8n is answering its health endpoint on loopback.
sudo docker compose ps
curl -s http://127.0.0.1:5678/healthz
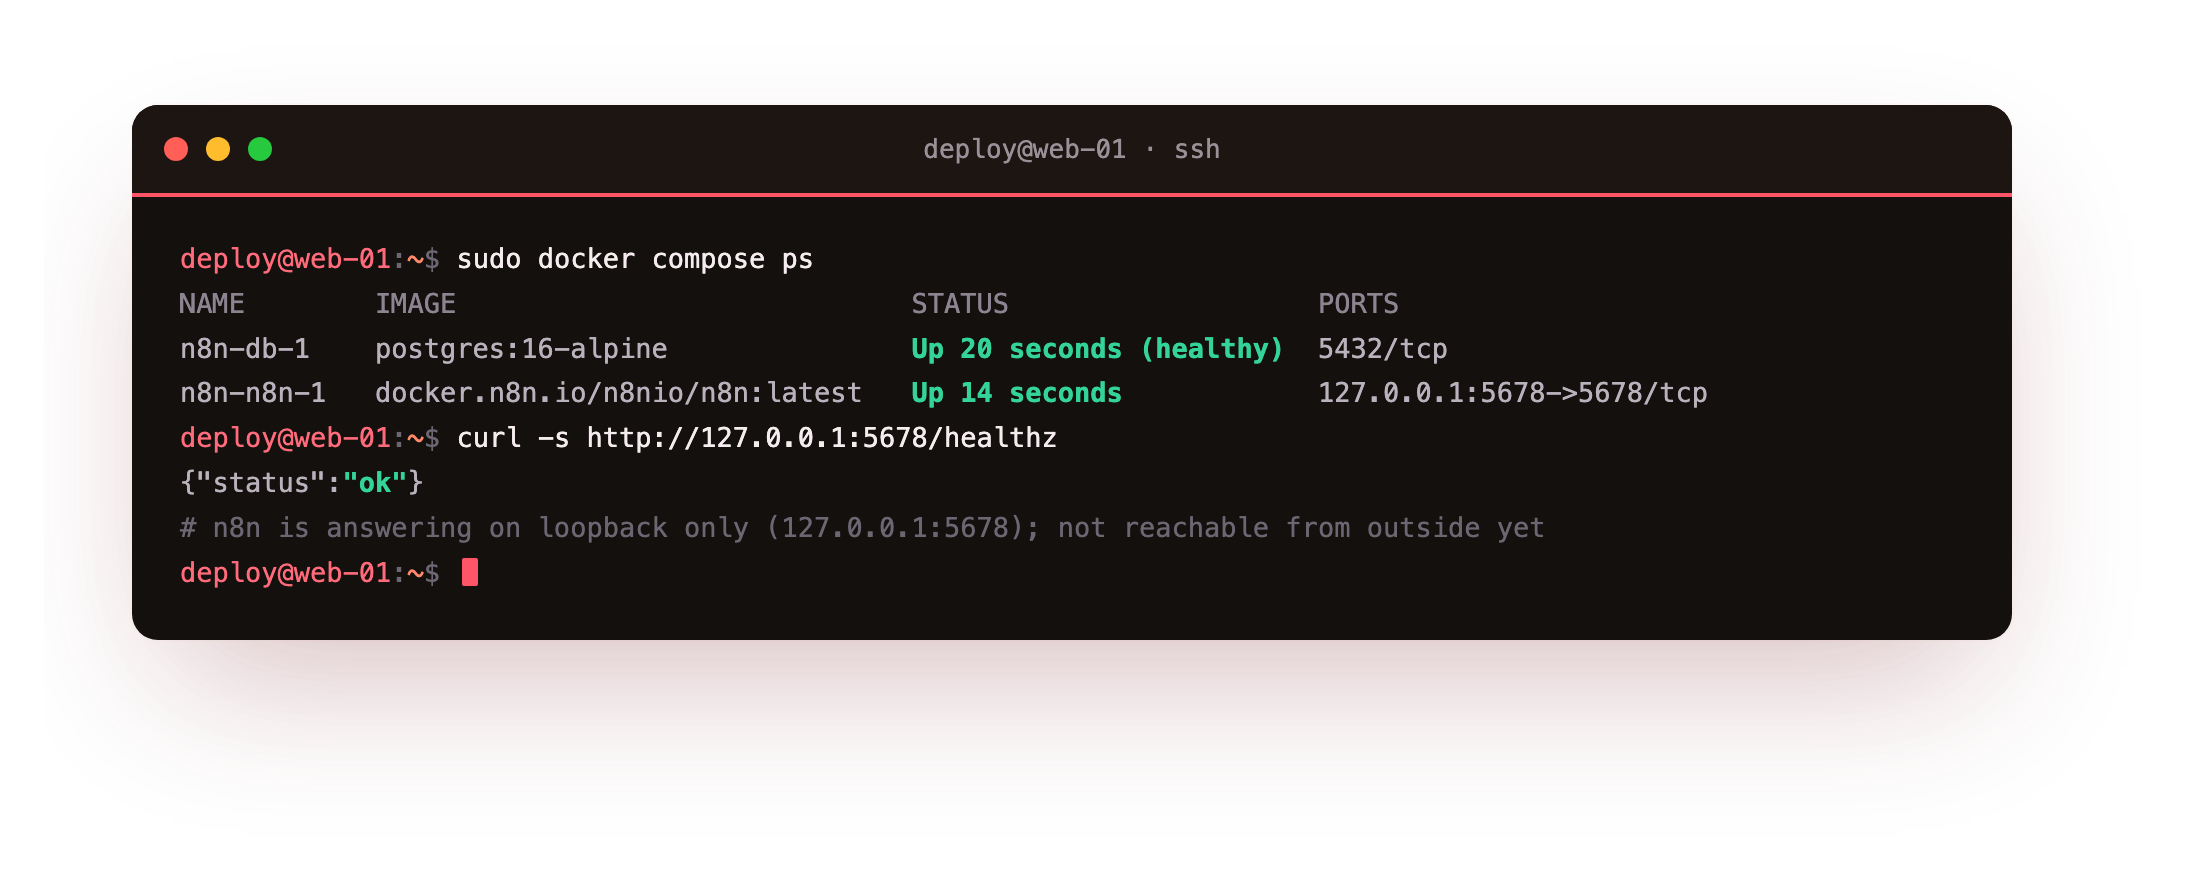
A {"status":"ok"} from the health endpoint means n8n is running and connected to Postgres. It is not reachable from outside yet, which is exactly what we want until HTTPS is in front of it.
nginx and real HTTPS
n8n is on the slice but only on loopback. To reach it from a browser you put nginx in front as a reverse proxy that terminates HTTPS and passes requests through to the container. The one detail people miss is that the n8n editor keeps a live websocket connection open for its push updates, so the proxy has to be told to upgrade that connection or the canvas will sit there loading forever.
In your DNS, add an A record for the hostname you want, pointing at your slice's public IP. Then add the websocket upgrade map, which belongs in the http context, in its own small file.
# /etc/nginx/conf.d/n8n-upgrade.conf
map $http_upgrade $connection_upgrade {
    default upgrade;
    ''      close;
}
Now the server block. It listens on 443 with a real certificate and proxies everything to 127.0.0.1:5678, forwarding the headers n8n needs to know it is behind HTTPS, and upgrading the websocket.
# /etc/nginx/sites-available/n8n.example.com
server {
    listen 443 ssl http2;
    server_name n8n.example.com;

    ssl_certificate     /etc/letsencrypt/live/n8n.example.com/fullchain.pem;
    ssl_certificate_key /etc/letsencrypt/live/n8n.example.com/privkey.pem;

    add_header Strict-Transport-Security "max-age=15768000; includeSubDomains" always;
    client_max_body_size 32m;

    location / {
        proxy_pass http://127.0.0.1:5678;
        proxy_http_version 1.1;
        proxy_set_header Upgrade $http_upgrade;
        proxy_set_header Connection $connection_upgrade;
        proxy_set_header Host $host;
        proxy_set_header X-Forwarded-For $proxy_add_x_forwarded_for;
        proxy_set_header X-Forwarded-Proto $scheme;
        proxy_buffering off;
        proxy_read_timeout 3600s;
    }
}
Those ssl_certificate paths come from Certbot, which issues a free certificate that renews itself before it expires. Install it with sudo apt install -y certbot python3-certbot-nginx and run sudo certbot --nginx -d n8n.example.com to fill them in. Then enable the site, test the config, and reload.
sudo ln -s /etc/nginx/sites-available/n8n.example.com \
     /etc/nginx/sites-enabled/
sudo nginx -t
sudo systemctl reload nginx
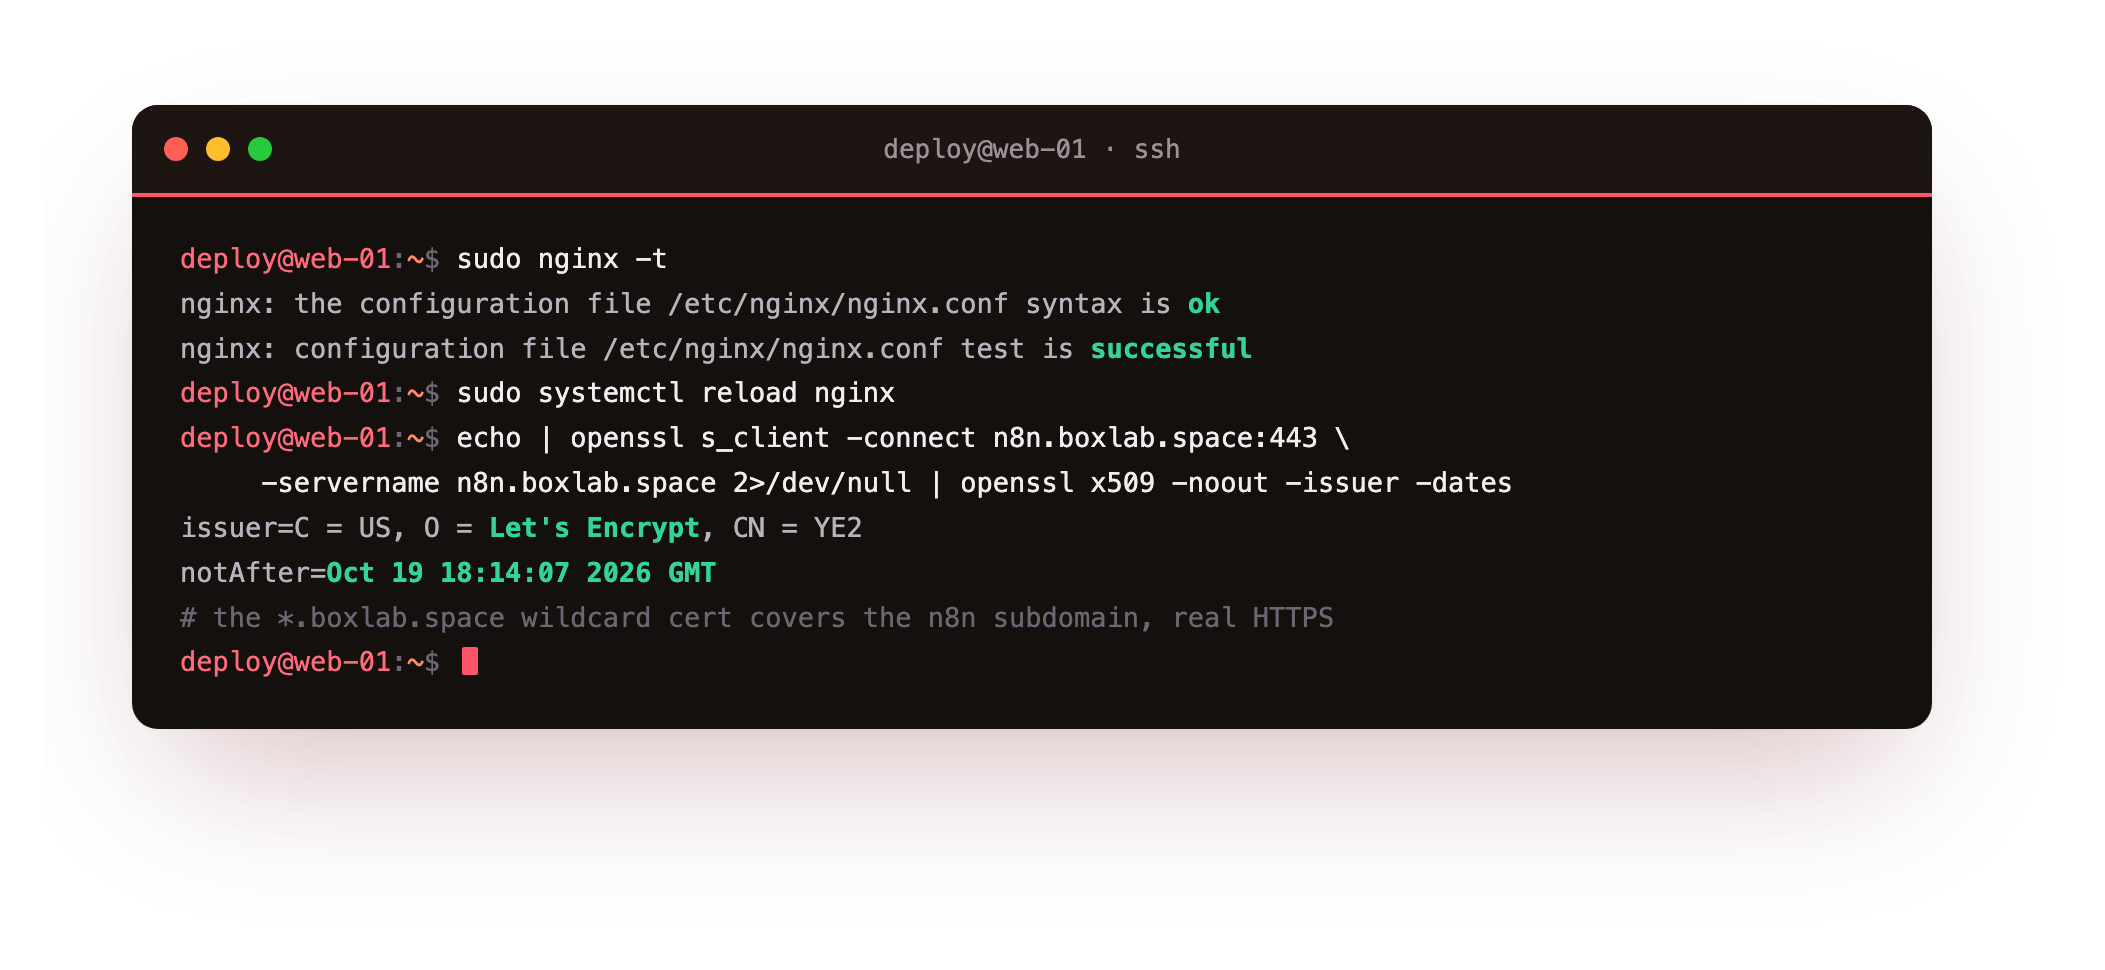
That nginx -t line is your safety check: nginx refuses to reload a config that does not parse, so run it every time before the reload. With the certificate in place, confirm the whole path end to end from the public side over HTTP/2.
curl --http2 -sI https://n8n.example.com/healthz
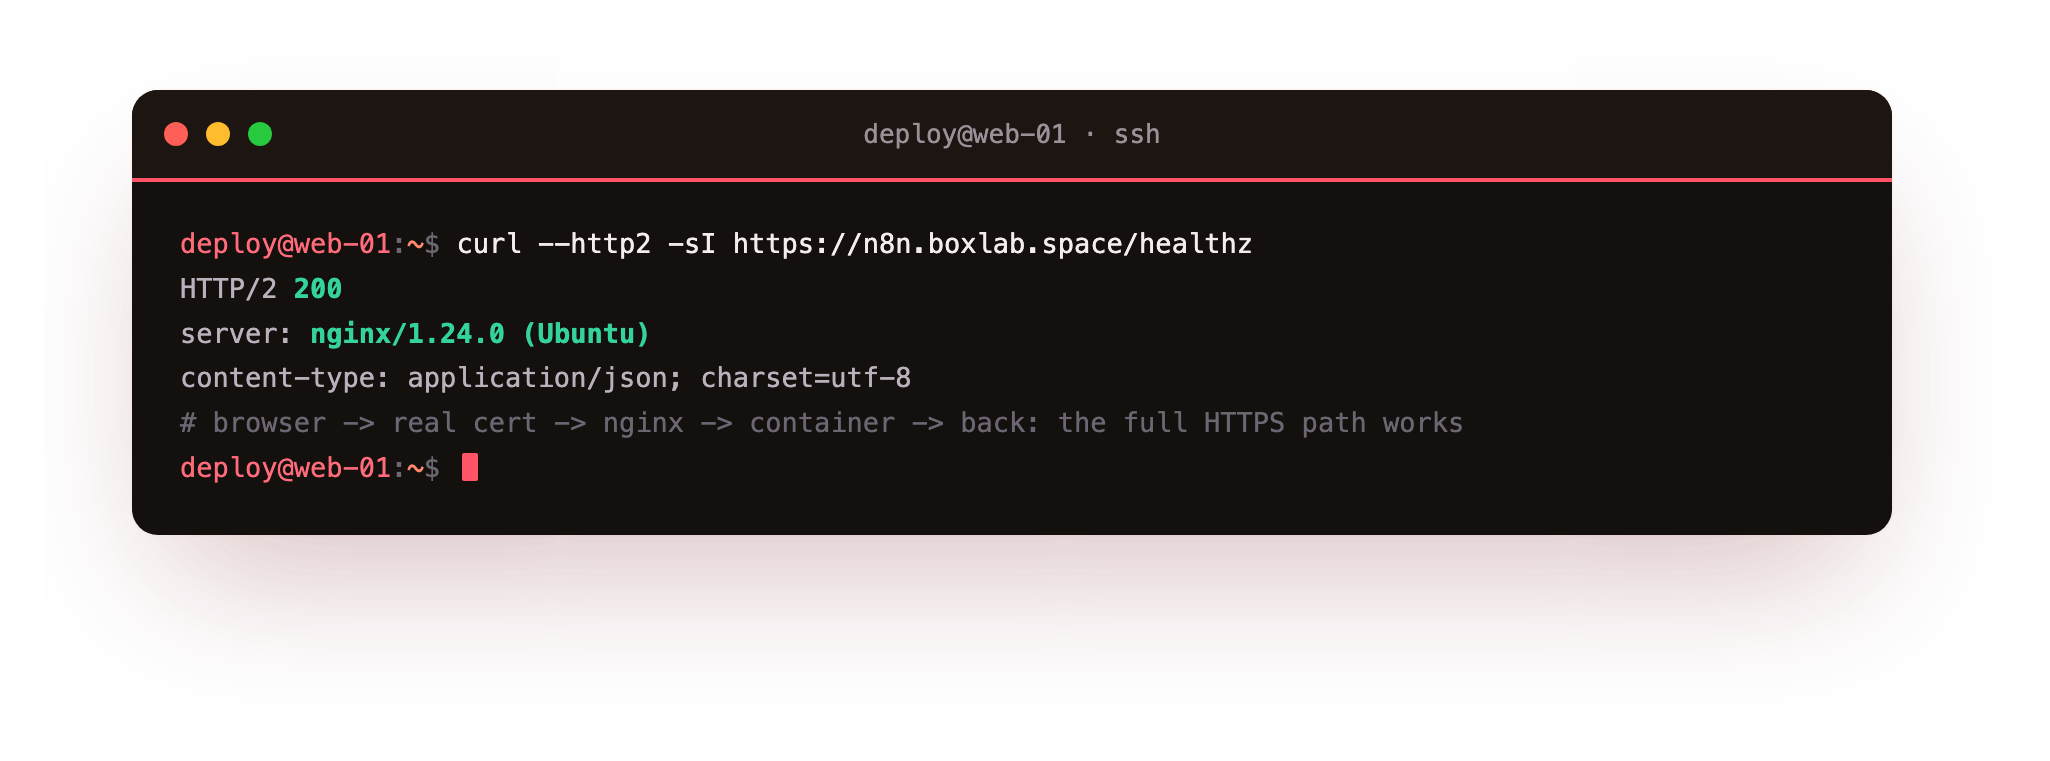
An HTTP/2 200 here means a browser request travels over a real certificate, through nginx, into the container, and back. The padlock is genuine, issued by a public authority and trusted by every browser.
https://n8n.example.com in a browser and land on the n8n sign-in screen over a valid padlock. If the page loads but the editor never finishes, the websocket upgrade is missing; recheck the map block and the Connection and Upgrade proxy headers.First run: your owner account
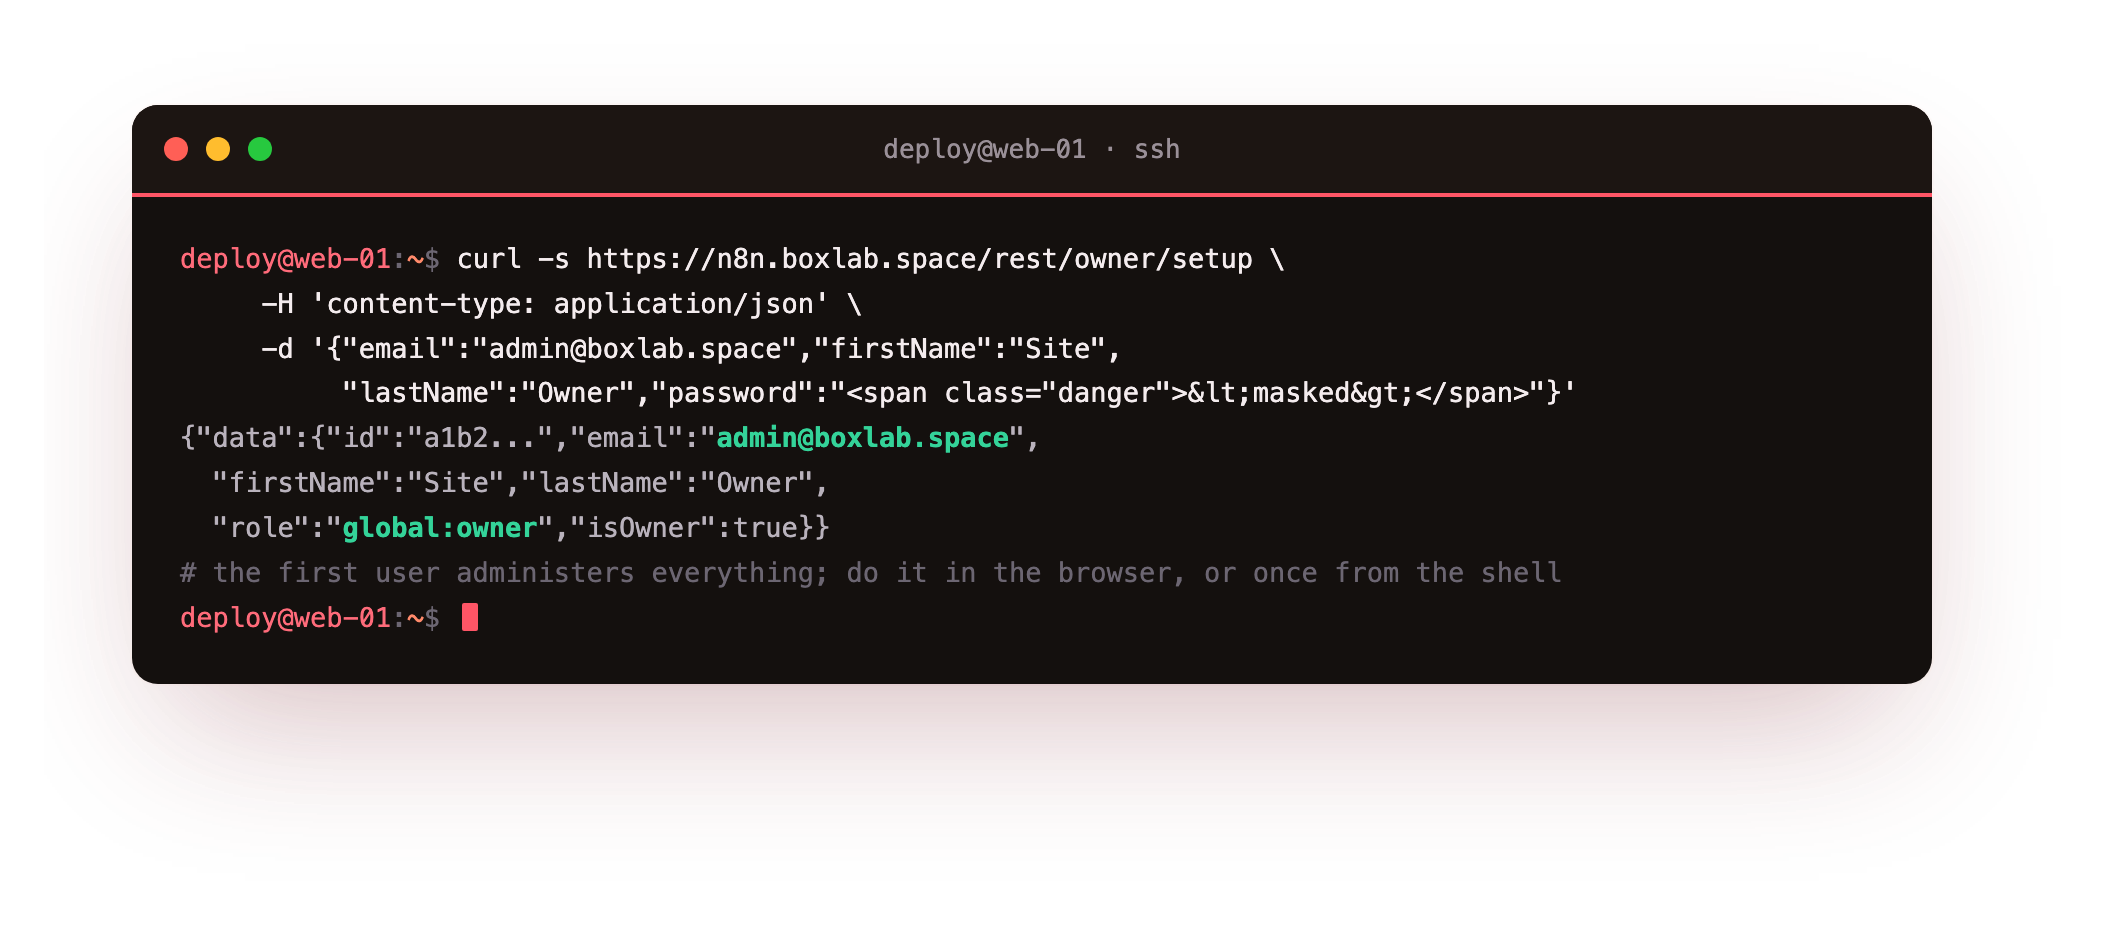
Open your domain in a browser. On a fresh instance n8n asks you to create the owner account, the first user, who administers everything. Set it up with your email and a strong password. You can do that in the browser, or drive it once from the shell against the same setup endpoint, which is handy when you script a rebuild.
curl -s https://n8n.example.com/rest/owner/setup \
     -H 'content-type: application/json' \
     -d '{"email":"[email protected]","firstName":"Site",
          "lastName":"Owner","password":"<a-strong-password>"}'
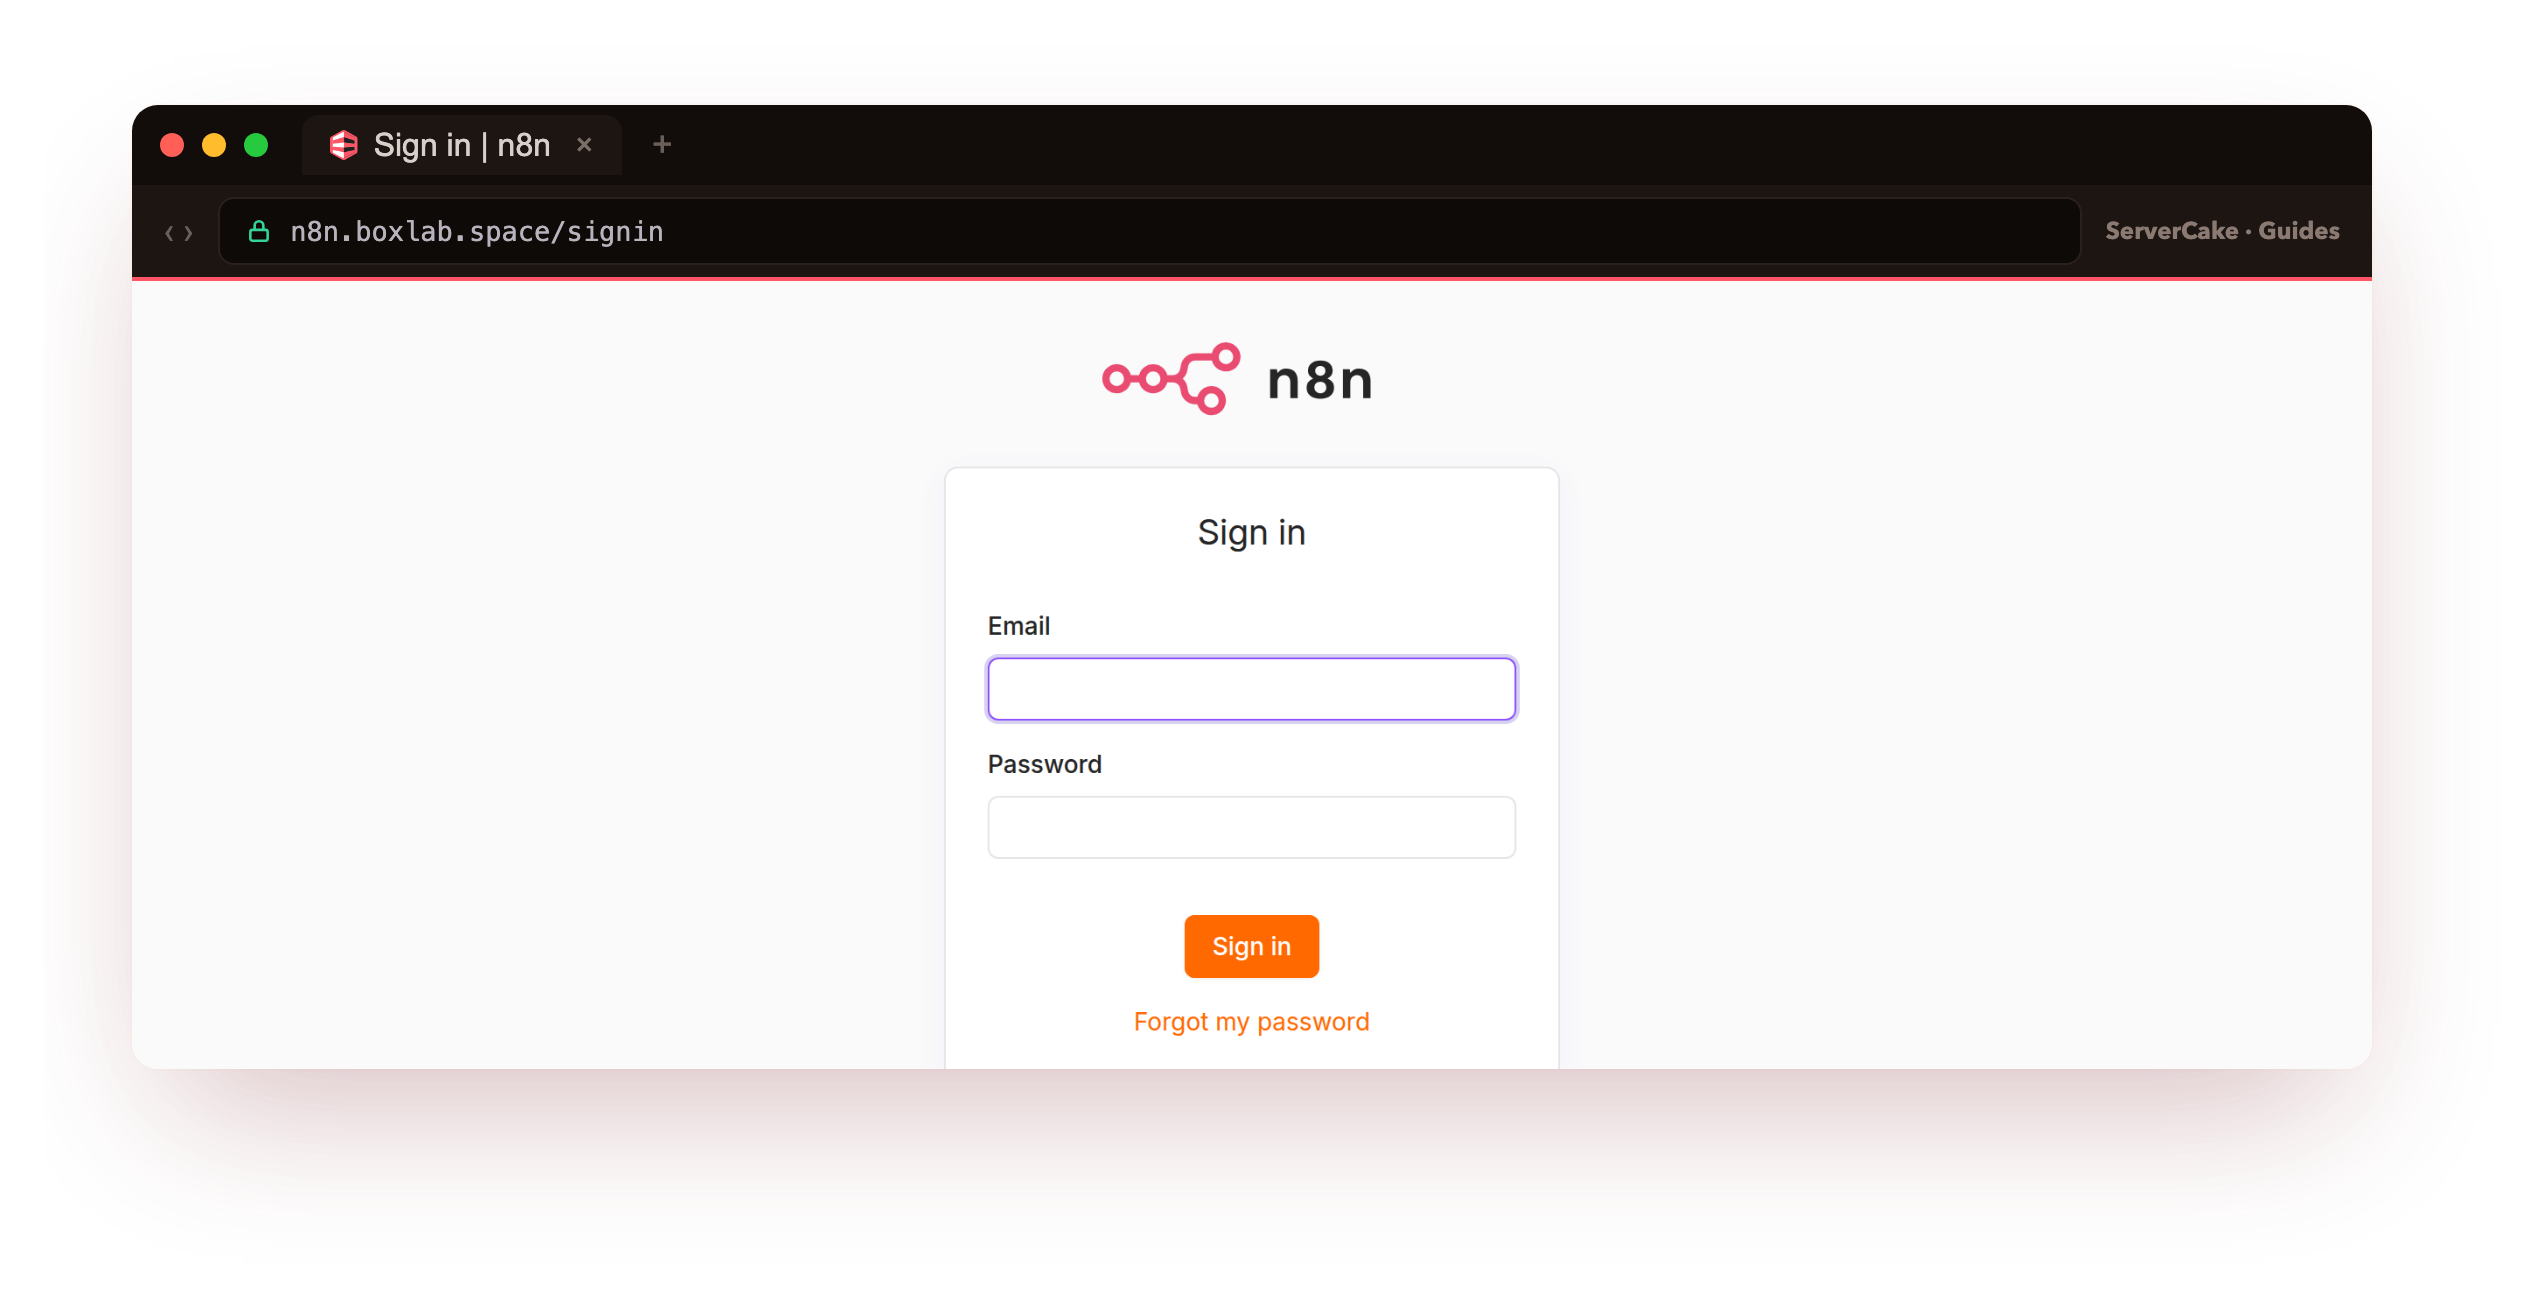
Once the owner exists, the sign-in screen is where you and your team come back to. From here it is your editor: a blank canvas waiting for its first workflow.
A first workflow that runs
The payoff is a workflow that actually does something, so build a small but genuine one: a daily check that a website is reachable. It is three nodes. A manual trigger to start it on demand, an HTTP Request node that fetches a URL, and an Edit Fields node that turns the raw response into a tidy result. On the canvas, add the nodes in that order and connect them left to right:
- When clicking 'Execute workflow', the manual trigger, so you can run it yourself while building.
- HTTP Request, method GET, URL
https://servercake.in, with "full response" turned on so the status code comes through. - Edit Fields, setting
site,http_statusfrom the response code, andresulttoreachablewhen the status is 200.
Click Execute workflow. n8n runs the nodes left to right, and each one gets a green check as it passes data on. That is a real HTTP request leaving your slice, hitting the site, and its status flowing into the final node. Swap the URL for your own site and you have a genuine uptime check; add a Schedule Trigger in place of the manual one and it runs every morning on its own.
Every run is recorded. n8n stores its executions in Postgres, so you can confirm the run landed by asking the database directly.
sudo docker compose exec db \
     psql -U n8n -d n8n -c \
     "select id, status, mode from execution_entity order by id desc limit 3;"
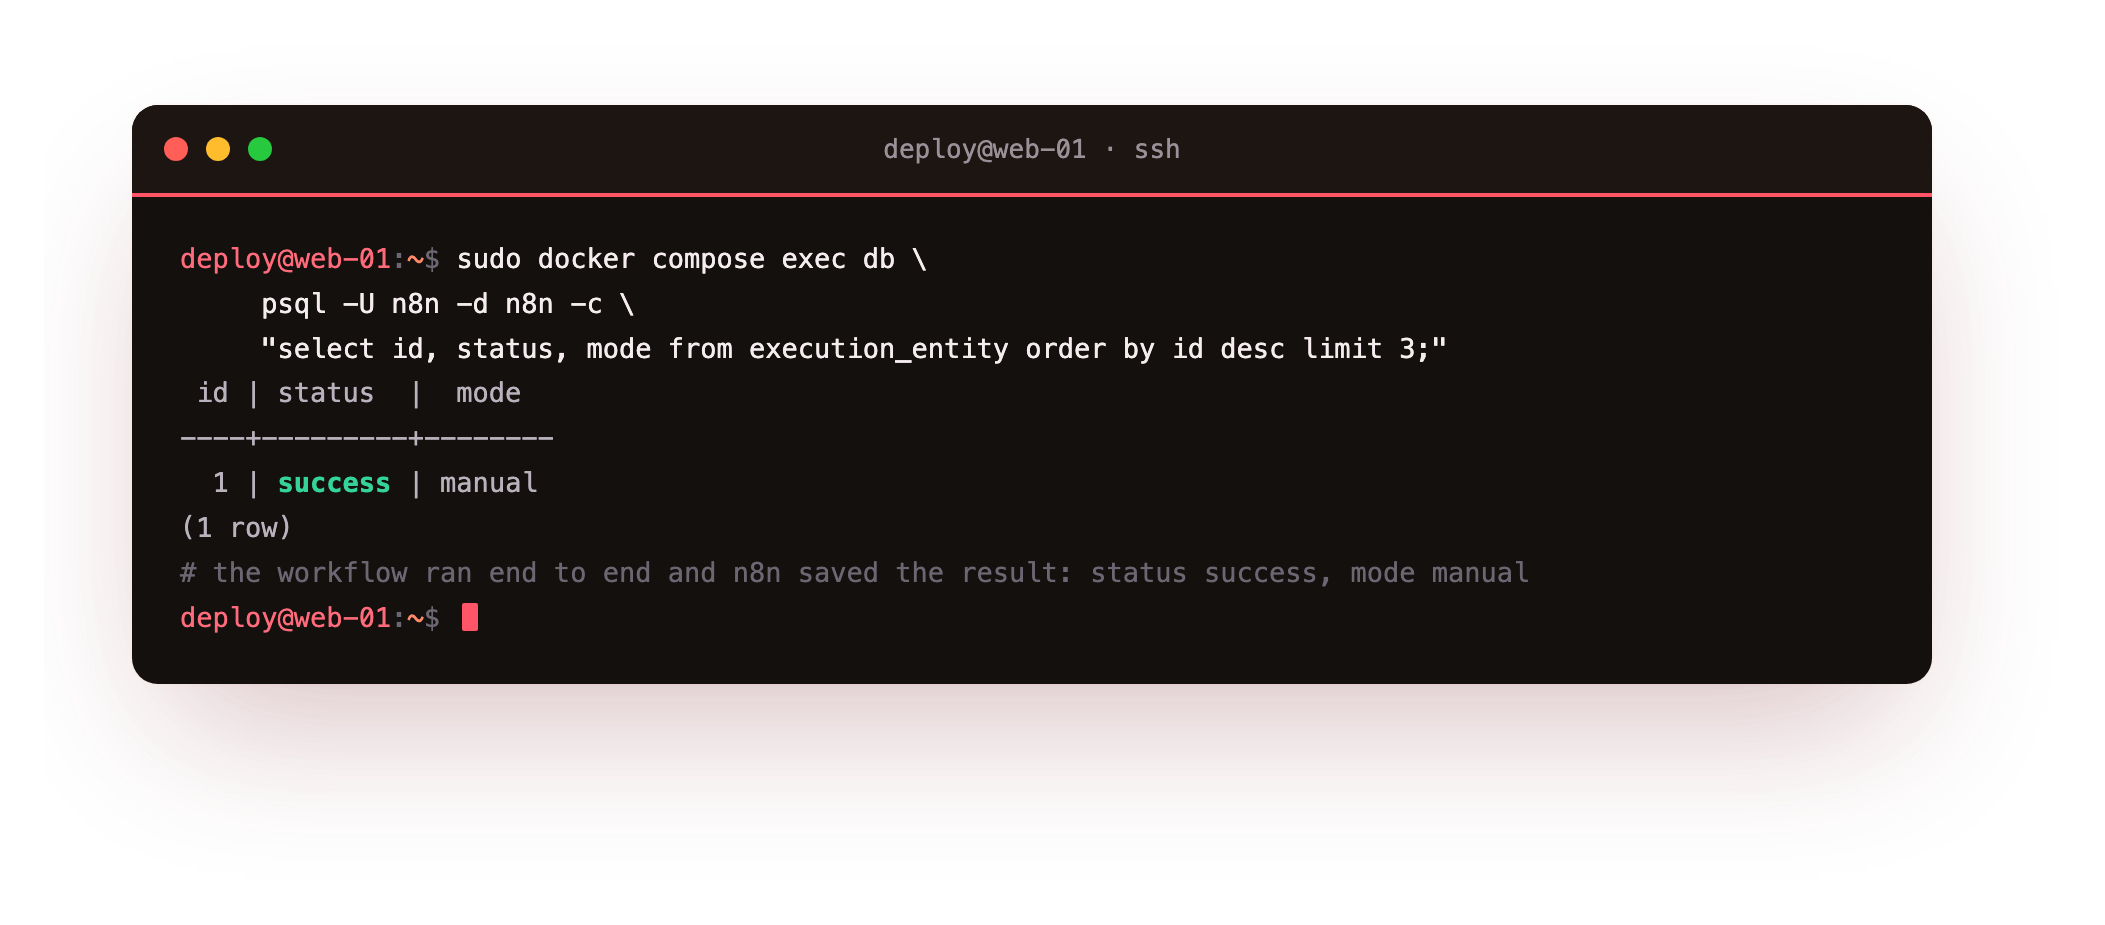
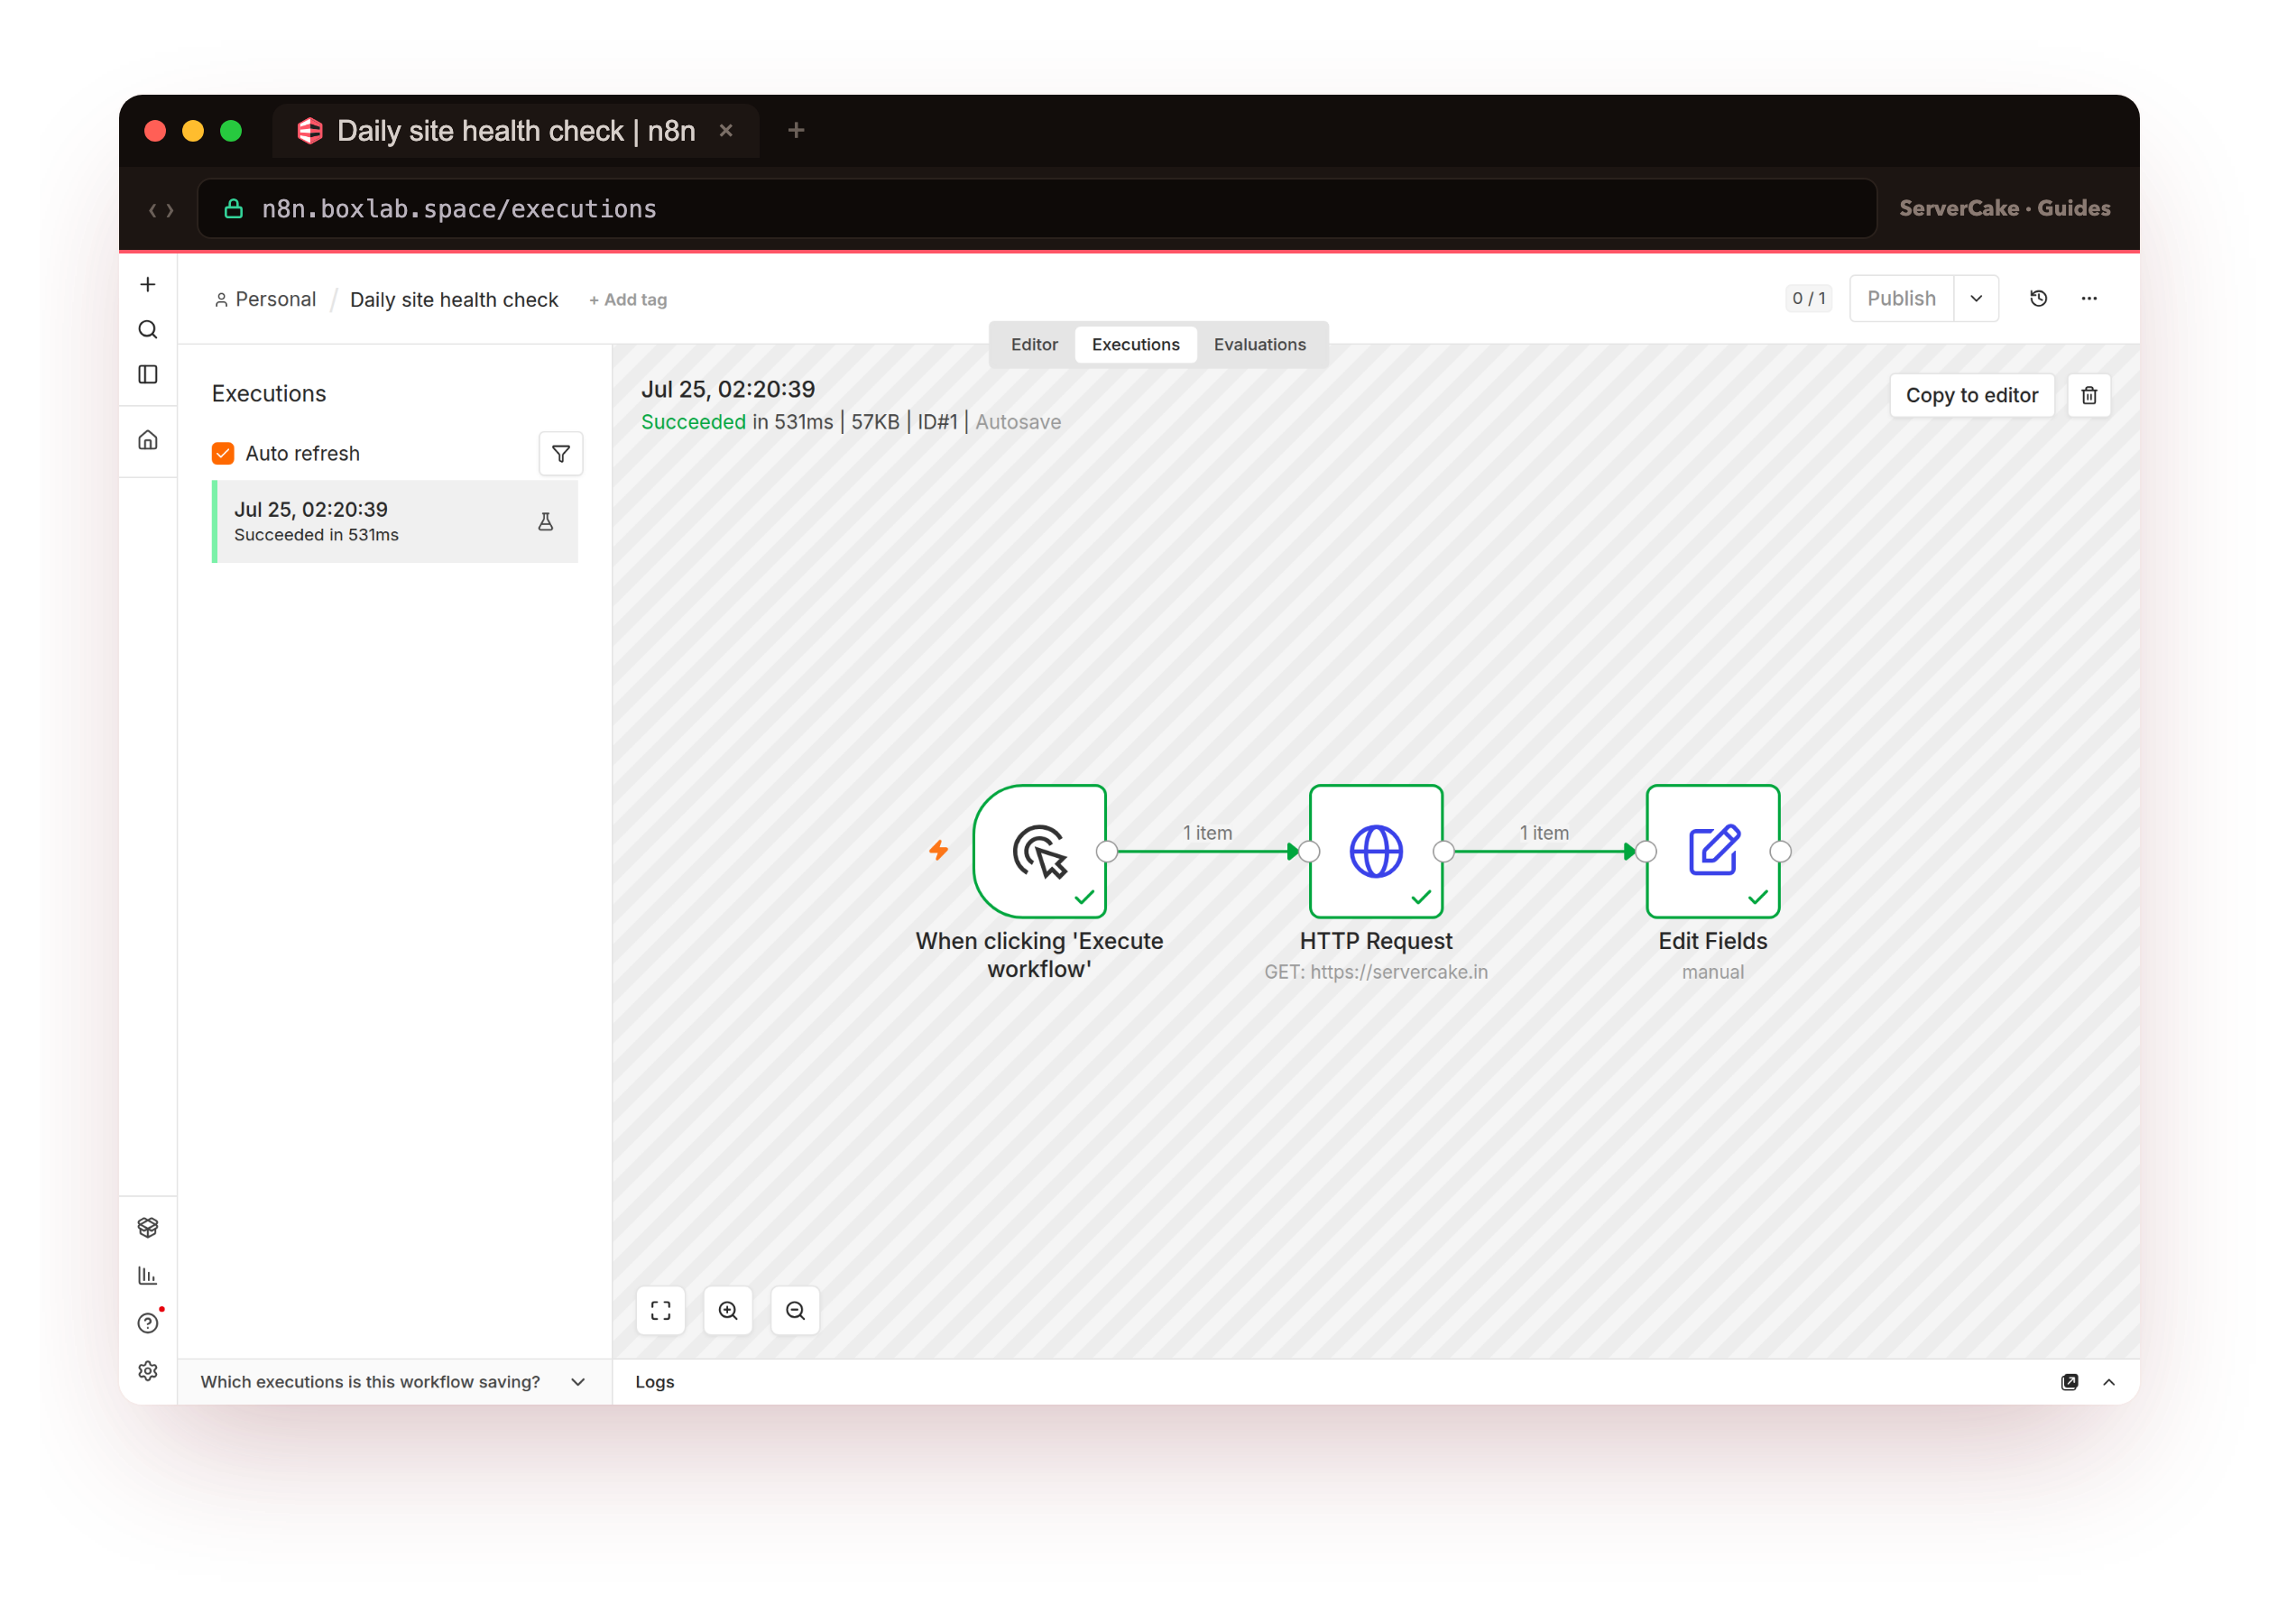
A row with status = success is your proof: the workflow ran, end to end, and n8n saved the result. The Executions tab in the editor shows the same run, "Succeeded", with the time it took and every node green.
N8N_ENCRYPTION_KEY the day you create it. Restore the database without that exact key and every stored credential is unreadable, which turns a five-minute restore into a rebuild of every connection by hand.Keep it running and updated
Because the whole stack is described by the Compose file plus .env plus two named volumes, running it for the long term is straightforward. The restart: unless-stopped policy you set means Docker brings both containers back after a reboot or a crash, on its own. Confirm the policy is in force.
sudo docker inspect -f '{{.Name}} {{.HostConfig.RestartPolicy.Name}}' \
     n8n-n8n-1 n8n-db-1
Updating n8n is a pull and a recreate. Compose fetches the newer image and replaces only the containers whose image changed; the volumes, and so your workflows and credentials, are untouched.
sudo docker compose pull
sudo docker compose up -d
Backups are the habit that matters most, and there are exactly two things to capture: the Postgres database, which holds your workflows and execution history, and the N8N_ENCRYPTION_KEY, which the database is useless without. Dump the database from its container and keep the key beside it, then copy both off the slice.
sudo docker compose exec -T db pg_dump -U n8n n8n \
     | gzip > n8n-db-$(date +%F).sql.gz
sudo grep N8N_ENCRYPTION_KEY /opt/n8n/.env > n8n-key.txt
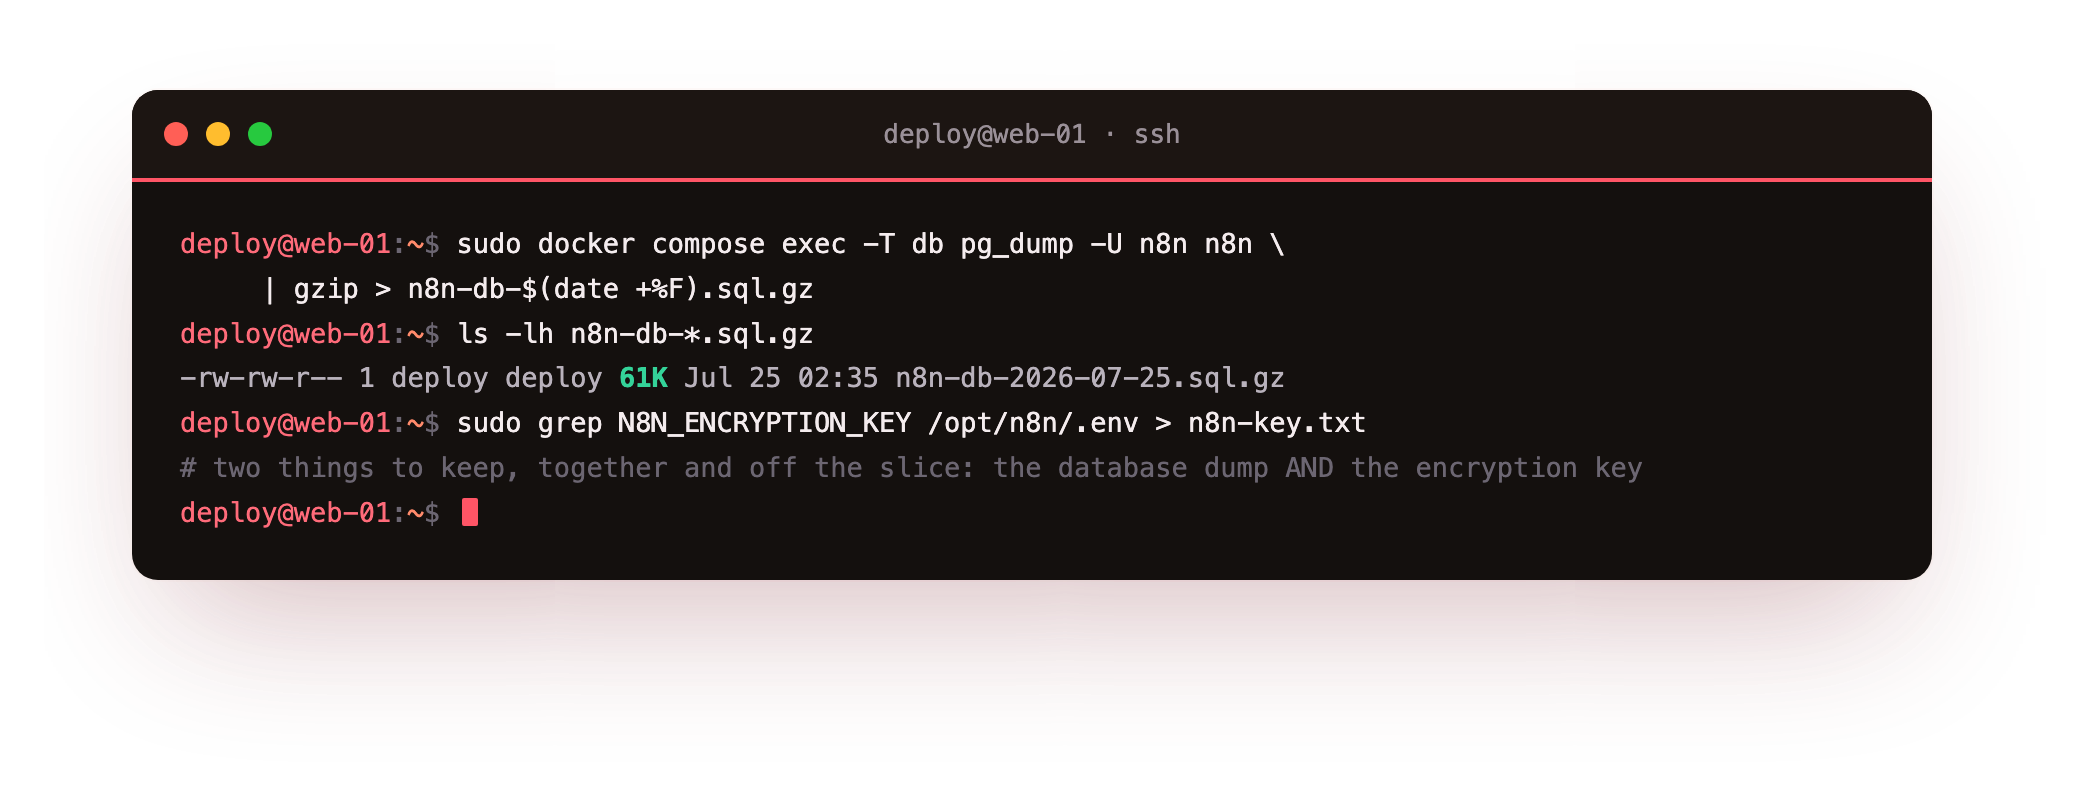
Put those two files somewhere off the machine, because a backup that lives on the same slice is not a backup. That is a complete, hand-built n8n install: Docker and Compose, a Postgres-backed stack bound to loopback, real HTTPS through nginx with the websocket upgrade, an owner account, a workflow that ran, and a backup you can actually restore from.
Two follow-ups turn this into a production setup. The first is running n8n in queue mode with separate worker containers so it survives real load and restarts cleanly, which is worth doing once your workflows carry real traffic. The second is hardening the instance, tightening authentication, the firewall, and how you expose webhooks safely. Both build directly on the stack you have here.
Frequently asked questions
Do I need Postgres, or is the default SQLite enough to self-host n8n on a VPS?
SQLite is fine to try n8n and a poor choice for anything you depend on. It is a single file, so it handles concurrent writes badly and can corrupt under load or a bad shutdown, and it does not back up as cleanly as a real database. Postgres, as set up here, handles concurrency, backs up with a singlepg_dump, and is the configuration the n8n project itself recommends for production. Adding it costs one extra container in the same Compose file, so there is little reason to run a real instance on SQLite.
Why does the n8n editor load but never finish, or the canvas hang?
Almost always the missing websocket upgrade in the reverse proxy. The n8n editor holds a live push connection open for its updates, and if nginx does not upgrade that connection the editor loads the shell and then waits forever. The fix is themap $http_upgrade $connection_upgrade block plus the Upgrade and Connection headers on the proxy, both shown above. Check them first when the interface will not settle.
How much VPS do I need for a personal n8n instance?
Two vCPUs and 2 GB of RAM is a comfortable starting point for one person's workflows, which is why this guide targets roughly that. What grows the requirement is not idle n8n but heavy workflows: large data transformations, many workflows running at once, or memory-hungry nodes. Watch memory and execution times, and size the slice up only when the numbers say so. Storage is the resource you are most likely to add first, since the database and execution history grow over time.What exactly do I back up, and how do I restore?
Two things: the Postgres database and theN8N_ENCRYPTION_KEY. The database holds your workflows, credentials and execution history; the key is what those credentials are encrypted with. Back both up together, because the database is unreadable without the matching key. To restore, bring up a fresh stack with the same key in .env, then load the dump into Postgres with psql. Restoring the database while pointing at a different key leaves every stored credential unreadable, so the key is the part not to lose.
Running n8n on your own slice means you own the whole automation platform: the workflows, the credentials they carry, and the bill, with no per-execution metering and no black box. To put it into service, take a ServerCake slice, a fresh Ubuntu 24.04 box hosted in India and billed in rupees with GST, and follow the steps above on hardware that answers only to you.