Why is plain HTTP a problem?
To serve your app over HTTPS, get a free TLS certificate from letsencrypt.org using certbot and let it wire the certificate into nginx. nginx terminates TLS at the edge, so your app keeps speaking plain HTTP on localhost while users get an encrypted connection.
- nginx terminates TLS at the edge, so your app keeps speaking plain HTTP on localhost.
- certbot gets a free Let's Encrypt certificate and wires it into nginx in one command.
- A small port 80 server block sends every visitor to HTTPS with a 301 redirect.
- Certificates last ninety days; a systemd timer renews them with no reminder.
Everything so far, on our Ubuntu 24.04 LTS server, has travelled over plain HTTP. That means every password your users type, every session cookie, every bit of their data crosses the network in the clear, readable by anyone between them and your server: the coffee-shop wifi, the ISP, whoever is running the network in between.
Browsers now mark these sites "Not Secure" in the address bar, search engines rank them lower, and no real application can ship this way. HTTPS fixes it by encrypting the whole conversation, and thanks to Let's Encrypt it is free and automatic.
The good news is that with nginx already in front of your app, HTTPS is nginx's job, not your app's. Your application keeps speaking plain HTTP on localhost, exactly as it does now, and nginx handles all the encryption at the edge. This is another reason the reverse-proxy pattern is worth it: you add TLS in one place, for every app behind that nginx, and your application code never changes.
Let's build.
Prerequisites
- An Ubuntu 24.04 LTS server with nginx installed and already reverse-proxying your app (the earlier chapters in this series set this up).
- A domain name with a DNS A record pointing at this server's public IP. This is required for a real Let's Encrypt certificate.
- Ports 80 and 443 open in your firewall (see the Linux networking basics guide for ufw).
- Your app listening on localhost, for example on port 3000.
How nginx gets HTTPS from letsencrypt.org with certbot
A real certificate is issued by a certificate authority that has verified you control the domain. Let's Encrypt does this for free, and the tool certbot automates the whole exchange. The catch, and it is the one honest limitation of doing this on a fresh box, is that Let's Encrypt proves domain control by connecting to your server through the domain. So before a real certificate can be issued, a DNS record for your domain has to point at this server's IP address.
Once that record exists, issuing the certificate and wiring it into nginx is a single command:
sudo apt install certbot python3-certbot-nginx
sudo certbot --nginx -d shopapp.example.com
certbot talks to Let's Encrypt, proves you control the domain, obtains the certificate, edits your nginx config to use it, and reloads nginx, all in about ten seconds. It even sets up the redirect from HTTP to HTTPS for you. On a server with the domain pointed at it, this is genuinely the entire process.
To show the finished result on a box that has no domain yet, the rest of this chapter uses a self-signed certificate as a stand-in. It is byte-for-byte the same nginx configuration certbot would produce; the only difference is that a self-signed cert is not trusted by browsers, which is exactly why you use Let's Encrypt in production and a stand-in only for a local demonstration.
sudo openssl req -x509 -nodes -newkey rsa:2048 -days 365 \
  -keyout /etc/ssl/private/shopapp.key -out /etc/ssl/certs/shopapp.crt \
  -subj "/CN=shopapp.example.com"
The nginx TLS configuration
Whether the certificate comes from Let's Encrypt or the stand-in above, the nginx side looks the same. Two server blocks: one on port 80 that does nothing but redirect to HTTPS, and one on port 443 that terminates TLS and proxies to your app.
server {
    listen 80;
    server_name shopapp.example.com;
    return 301 https://$host$request_uri;
}
server {
    listen 443 ssl;
    server_name shopapp.example.com;

    ssl_certificate     /etc/ssl/certs/shopapp.crt;
    ssl_certificate_key /etc/ssl/private/shopapp.key;
    ssl_protocols       TLSv1.2 TLSv1.3;

    location / {
        proxy_pass http://127.0.0.1:3000;
        proxy_set_header Host              $host;
        proxy_set_header X-Forwarded-Proto $scheme;
    }
}
The first block is small but important: return 301 sends every plain-HTTP visitor to the HTTPS version, so nobody accidentally uses the insecure site. The second block adds three TLS lines to the reverse proxy you already had: the certificate, its private key, and ssl_protocols limited to TLS 1.2 and 1.3, which turns off the old, broken versions of the protocol.
Note X-Forwarded-Proto $scheme, which tells your app the original request came over HTTPS even though nginx forwarded it as plain HTTP internally. Apps use this to build correct https:// links and to enforce secure cookies.
Validate and reload, never skipping the test:
sudo nginx -t
sudo systemctl reload nginx
Confirm the encryption end to end
Now request the site over HTTPS. On the demo box we pass -k to tell curl to accept the self-signed certificate; with a real Let's Encrypt cert you would not need it, because the certificate would be trusted:
curl -sk https://127.0.0.1/ -H "Host: shopapp.example.com"
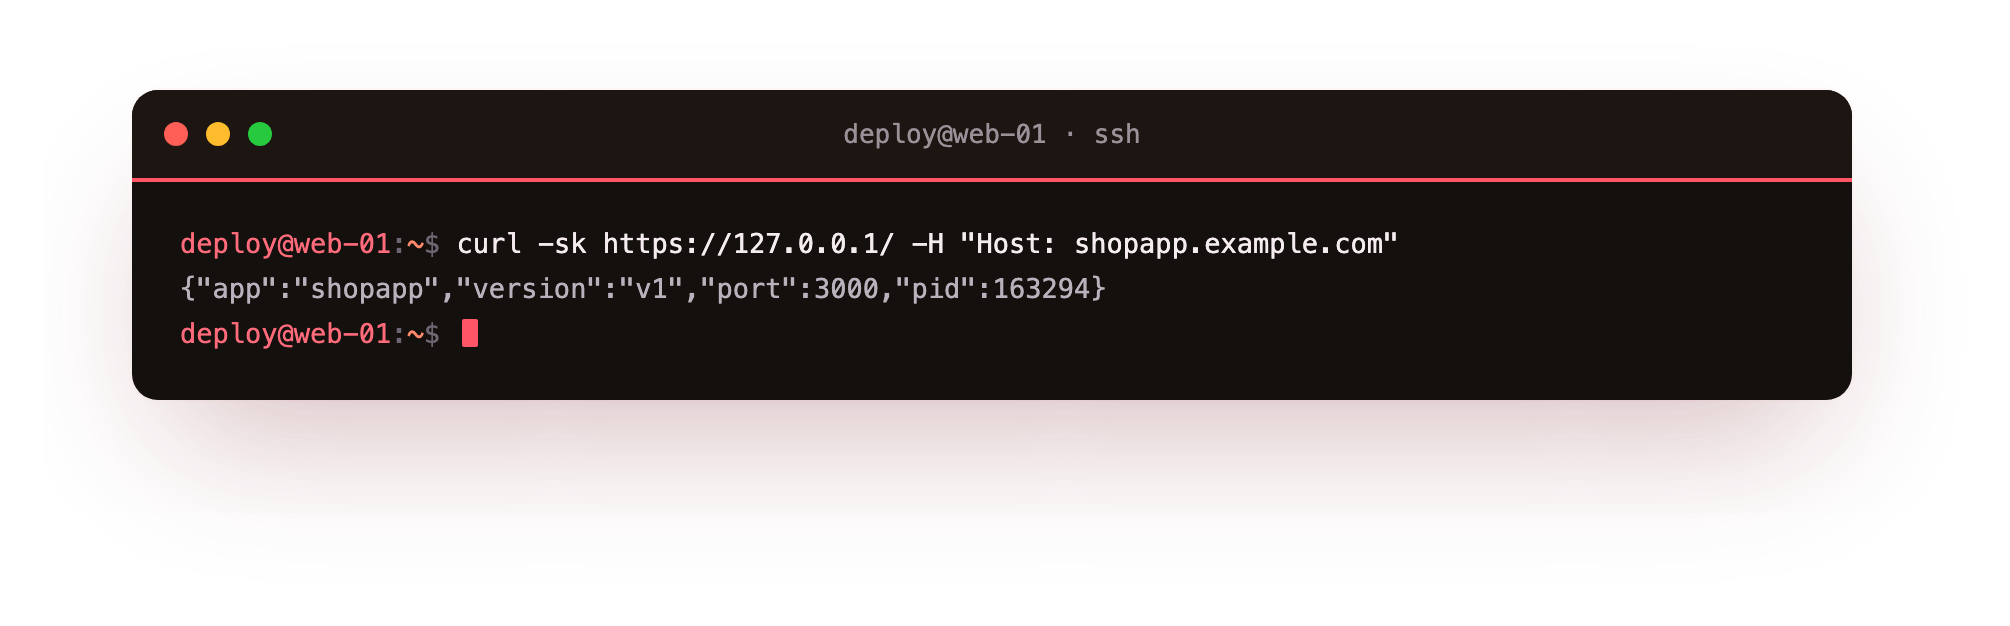
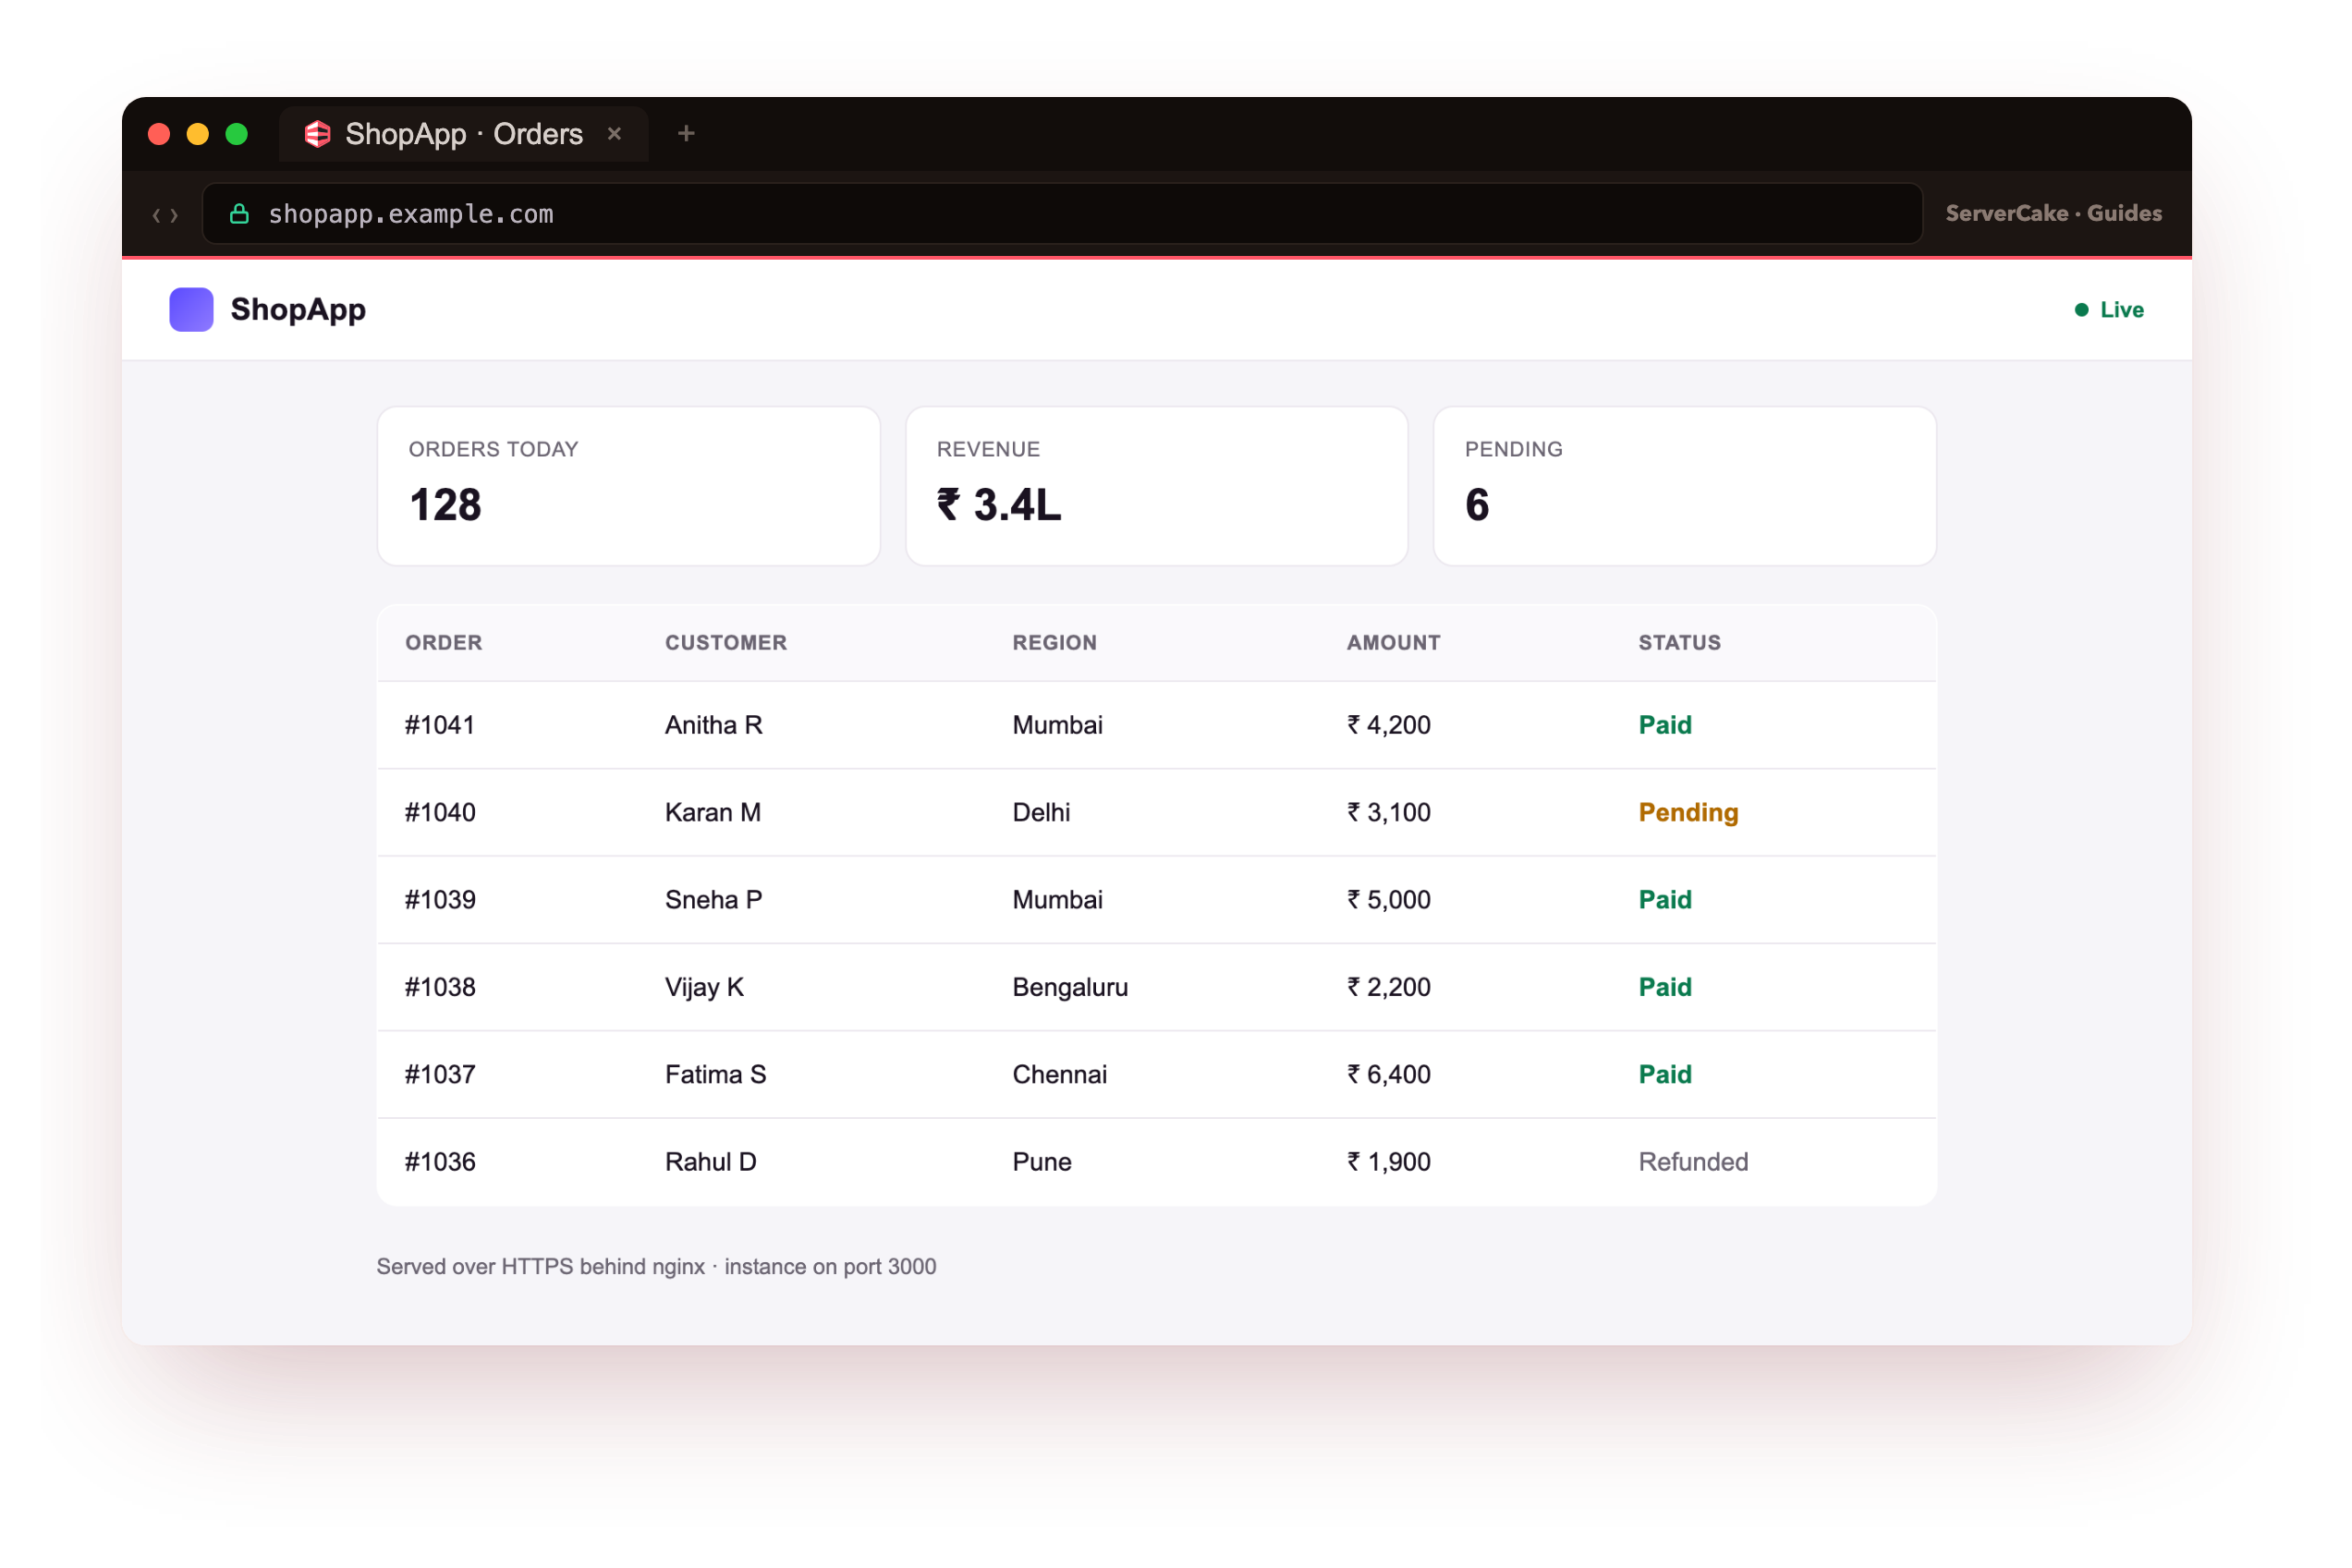
Your app's JSON, delivered over an encrypted TLS connection. The request came in on 443, nginx decrypted it, forwarded it to your app on localhost as plain HTTP, took the response, encrypted it, and sent it back. Your users get the padlock; your app never had to know TLS exists.
The renewal that must not be forgotten
Let's Encrypt certificates are deliberately short-lived: they expire after ninety days. This is a security feature, but it means a certificate you set up and forget will break your site three months later, and an expired certificate is one of the most common self-inflicted outages there is. certbot handles this for you. When it installs a certificate, it also installs a systemd timer that checks twice a day and renews any certificate nearing expiry. You can confirm the automatic renewal works without waiting three months:
sudo certbot renew --dry-run
A successful dry run means your renewals are on autopilot and your padlock will stay lit indefinitely, with no calendar reminder and no 3 AM surprise. This is the single most valuable thing certbot does, and it is why you should always let it manage the certificate rather than installing one by hand.
Troubleshooting common HTTPS errors
The browser shows "Your connection is not private." The certificate is self-signed, expired, or issued for a different domain than the one in the address bar. In production, reissue with certbot for the exact domain; the self-signed stand-in used in this chapter will always show this warning, which is expected.
sudo nginx -t fails with "cannot load certificate." The path in ssl_certificate or ssl_certificate_key is wrong, or nginx cannot read the key. Check the exact paths, and that the private key exists and is readable by root.
certbot fails with "Timeout during connect." Let's Encrypt could not reach your server on port 80. Confirm the DNS A record points at this server and that port 80 is open in your firewall.
The padlock is there but some images or scripts are blocked. This is mixed content: the page loads over HTTPS but pulls an asset over plain http://. Update those URLs to https:// or protocol-relative paths.
Frequently asked questions
Is a free Let's Encrypt certificate good enough for production?
Yes. Let's Encrypt certificates are trusted by every major browser and secure millions of production sites. The main reasons to buy a commercial certificate are organisation-validated branding in the address bar or a specific compliance requirement.
Do I need to renew the certificate myself?
No. When certbot installs a certificate it also installs a systemd timer that checks twice a day and renews anything close to expiry. Run sudo certbot renew --dry-run to confirm it works.
Why does the app still speak plain HTTP behind nginx?
nginx terminates TLS at the edge and proxies to your app on localhost, which never leaves the machine. Your app stays simple, and you add TLS in one place for every app behind that nginx.
Which TLS versions should I allow?
Only TLS 1.2 and 1.3, set with ssl_protocols TLSv1.2 TLSv1.3. The older versions are broken and should stay off.
What you have, and the last problem left
Your site now speaks HTTPS, redirects insecure requests automatically, uses only modern TLS, and renews itself. Combined with the earlier chapters, you have an app that runs as a hardened service, restarts itself on failure, and is reachable safely over an encrypted connection at a real domain. That is a genuinely production-grade deployment.
There is one problem left, and it is the one that turns a good deployment into a professional one. Every time you ship a new version of your app, restarting it drops the requests that were in flight during the restart, and your users see errors for a second or two. On a busy site that is unacceptable. The final chapter makes deploys invisible: a rolling update that ships new code without dropping a single request, demonstrated by hammering the site with traffic while it deploys.