The storage your app outgrows first
To self-host S3, you install MinIO on your own server and run it as a service. This chapter does that on a live machine, then uses the result the same way you would use Amazon S3.
- MinIO is a single binary that turns a plain Ubuntu server into S3-compatible object storage.
- Run it under systemd with credentials from environment variables and bound to localhost, not the public internet.
- The mc client plus an alias let you create buckets and manage objects from the command line.
- Self-hosting removes S3 egress and per-request charges and keeps your files on a server whose location you chose.
The moment your app lets users upload anything, a profile photo, an invoice PDF, a product image, you hit a wall you did not see coming. You cannot store these files in your database; it bloats and slows to a crawl.
You cannot reliably store them on the app server's local disk; the first time you add a second server, or redeploy, or the disk fills, they are gone or unreachable. Files that users upload and your app serves need a different kind of storage than rows in a table, and the name for it is object storage.
Object storage is the S3 model: you put a file (an "object") into a "bucket" and get back a stable address, and the storage system handles durability, scale, and access. Amazon S3 popularised it, and its API became the universal standard, which means an enormous ecosystem of tools and libraries speaks "S3."
The good news is you do not need Amazon to get it. MinIO is S3-compatible object storage you run yourself, a single binary, and this series builds it on a live server and uses it exactly as you would use S3, because to your code it is S3.
Let's build.
Prerequisites
- A fresh Ubuntu 24.04 LTS server with a user that has sudo access.
- Outbound internet access, so the server can download the binaries from dl.min.io.
- Familiarity with systemd units, covered in the processes and services guide.
Install MinIO to self-host S3: one binary
MinIO is refreshingly simple to install: it is a single executable with no dependencies. On a fresh Ubuntu 24.04 LTS server, download it, make it executable, and you have an object storage server:
sudo wget https://dl.min.io/server/minio/release/linux-amd64/minio -O /usr/local/bin/minio
sudo chmod +x /usr/local/bin/minio
minio --version
You will also want the MinIO client, mc, which is how you talk to it from the command line, installed the same way from dl.min.io/client/mc. Two binaries and you have both the server and the tooling.
Run it as a proper service
You never run production storage by hand in a terminal, so give MinIO a systemd unit, exactly as you would any service. It needs a data directory to store objects, an admin user and password (set through environment variables, never hard-coded), and an address to listen on. Critically, bind it to localhost so it sits behind your firewall rather than facing the internet:
[Service]
User=ubuntu
Environment=MINIO_ROOT_USER=admin
Environment=MINIO_ROOT_PASSWORD=a-long-random-secret
ExecStart=/usr/local/bin/minio server /var/lib/minio \
  --address 127.0.0.1:9000 --console-address 127.0.0.1:9090
Restart=always
The /var/lib/minio directory is where your objects actually live on disk. The --address 127.0.0.1:9000 is the S3 API your app will talk to, and --console-address 127.0.0.1:9090 is a web dashboard for humans. Both on localhost: nothing here should be exposed directly, and when you do want the API reachable, you put nginx in front with TLS, the same reverse-proxy pattern as everything else. Enable it and confirm it is up:
sudo systemctl enable --now minio
systemctl is-active minio
active, and you are now running your own object storage server. It will restart on crash and come back on reboot, because it is a real service.
Point the client at it, and make your first bucket
Objects live in buckets, which are the top-level containers, like folders at the root of your storage. Before making one, tell the mc client how to reach your server by defining an alias with the credentials:
mc alias set local http://127.0.0.1:9000 admin a-long-random-secret
Now local refers to your MinIO server, and every command runs against it. Create a couple of buckets, one for backups and one for user uploads, which is a sensible early split:
mc mb local/backups
mc mb local/uploads
mc ls local
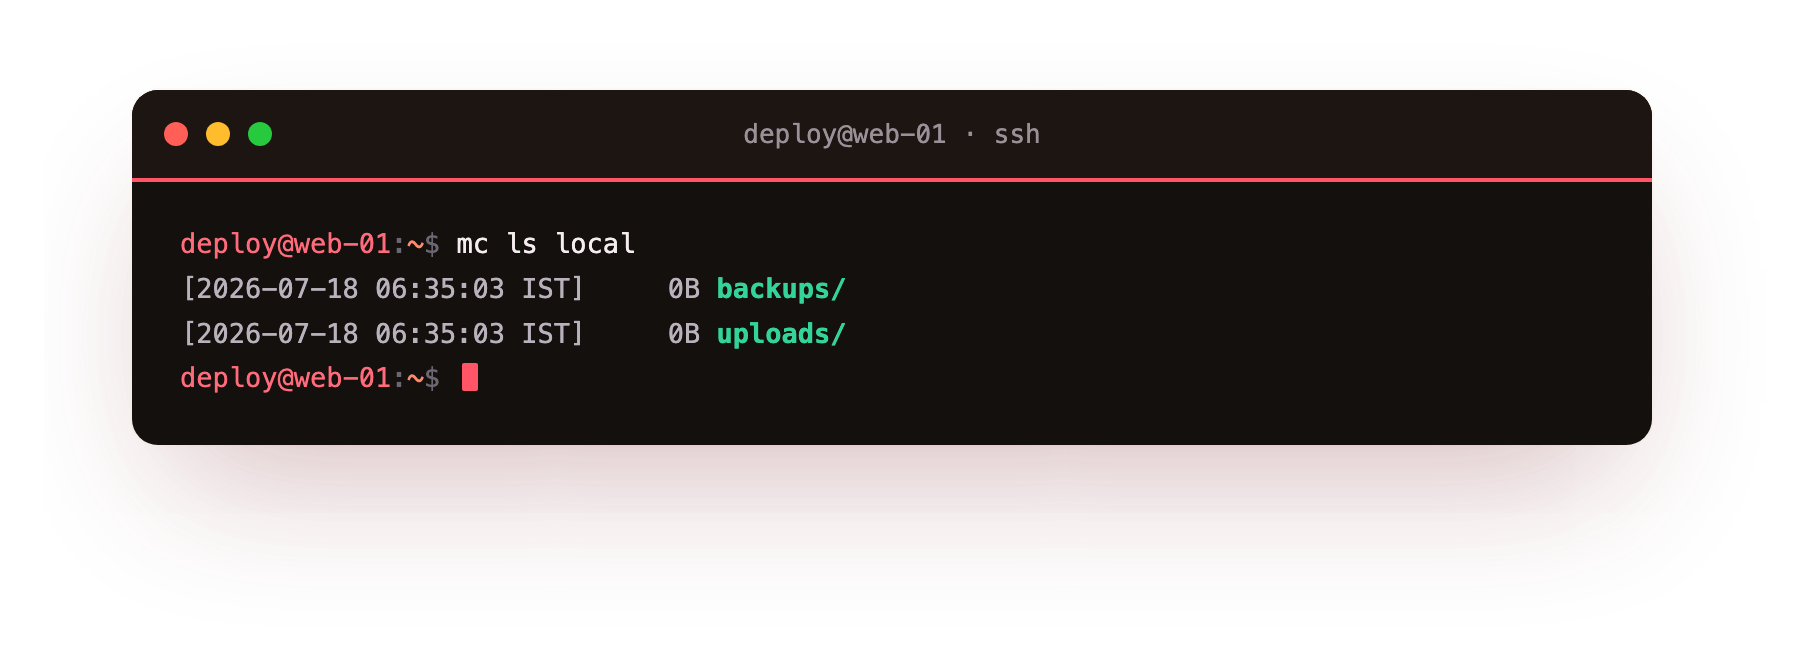
There are your two buckets, empty and ready. That is the whole foundation: a running, S3-compatible server with buckets to put things in. Everything from here is putting objects in, getting them out, and controlling who can reach them.
Why self-host object storage instead of paying for Amazon S3?
There is a fair question hiding here: why self-host object storage instead of just using Amazon S3? For many teams the answer is cost and control.
S3 charges not just for storage but for every request and, painfully, for every gigabyte of data you transfer out, and those egress charges are where cloud storage bills quietly balloon. Object storage running on your own VPS has no per-request or egress surprise; you pay for the server and that is it.
For an Indian business, there is also data residency: your files sit on a server whose location you chose, which matters under the DPDP Act and matters to customers who ask where their data lives.
The trade-off is that durability is now your job. Amazon replicates your objects across data centres; a single MinIO server on one disk does not. So self-hosted object storage is excellent for user uploads, caches, build artifacts, and as a backup target, and for truly irreplaceable data you still want the copies off the box, which is exactly what the versioning and lifecycle chapter sets up. Used for the right things, it is a large amount of capability for the cost of a small server.
Troubleshooting a MinIO install
systemctl is-active minio returns failed. Read journalctl -u minio first. The two usual causes are the data directory not being writable by the User= in the unit, so chown /var/lib/minio to that user, and a MINIO_ROOT_PASSWORD shorter than eight characters, which MinIO refuses to start with.
mc alias set fails with "connection refused". The server is not listening, or the alias URL is wrong. Confirm systemctl is-active minio reports active and that the alias address matches the --address in the unit, http://127.0.0.1:9000.
mc mb returns "Access Denied". The alias credentials do not match the server's. Re-run mc alias set with the exact MINIO_ROOT_USER and MINIO_ROOT_PASSWORD values from the systemd unit.
Frequently asked questions
Do I need to expose MinIO to the internet to use it?
No. Keep it bound to localhost. Put nginx with TLS in front only when apps or browsers outside the box need to reach the S3 endpoint, and keep the console on localhost behind an SSH tunnel.
Can I add more buckets later?
Yes. Run mc mb any time. Buckets are cheap, so split them by purpose and lifetime rather than piling everything into one.
Where do the objects actually live on disk?
Under the data directory you passed to minio server, here /var/lib/minio. Back up or replicate that path for durability, because a single disk is not durable on its own.
Is one MinIO server enough for production?
For user uploads, caches, and backup targets, yes. A single disk is not durable against hardware failure, so replicate critical buckets to a second location, which the versioning and lifecycle chapter covers.
What you have, and what comes next
You have S3-compatible object storage running as a service on a live machine, bound safely to localhost, with buckets ready to use. To your applications and tools, this is S3, because it speaks the same API.
The next chapter fills those buckets: putting objects in, getting them out, listing and organising them, and the feature that makes object storage genuinely useful for the web, the presigned URL that hands out time-limited access to a single file without ever sharing your credentials.