What you will have
This tutorial shows you how to migrate WordPress to a VPS the safe way: the same live site you have now, running on a slice you own instead of a shared host you rent a slice of. Same posts, same pages, same uploads, same theme and plugins, same domain, now served by your own nginx and PHP-FPM over a real HTTPS certificate, with a database only your site can touch. Nothing about the site changes for a visitor. Everything about who controls it changes for you.
Here is the destination, shown first so you know what a finished move looks like. The screenshots are not mockups. They are captured from a genuine migration we ran on our lab box, moving a demo bakery site onto a fresh install at wp.boxlab.space while writing this.
# the migrated site, now answering from your slice
curl --http2 -sI https://your-domain/
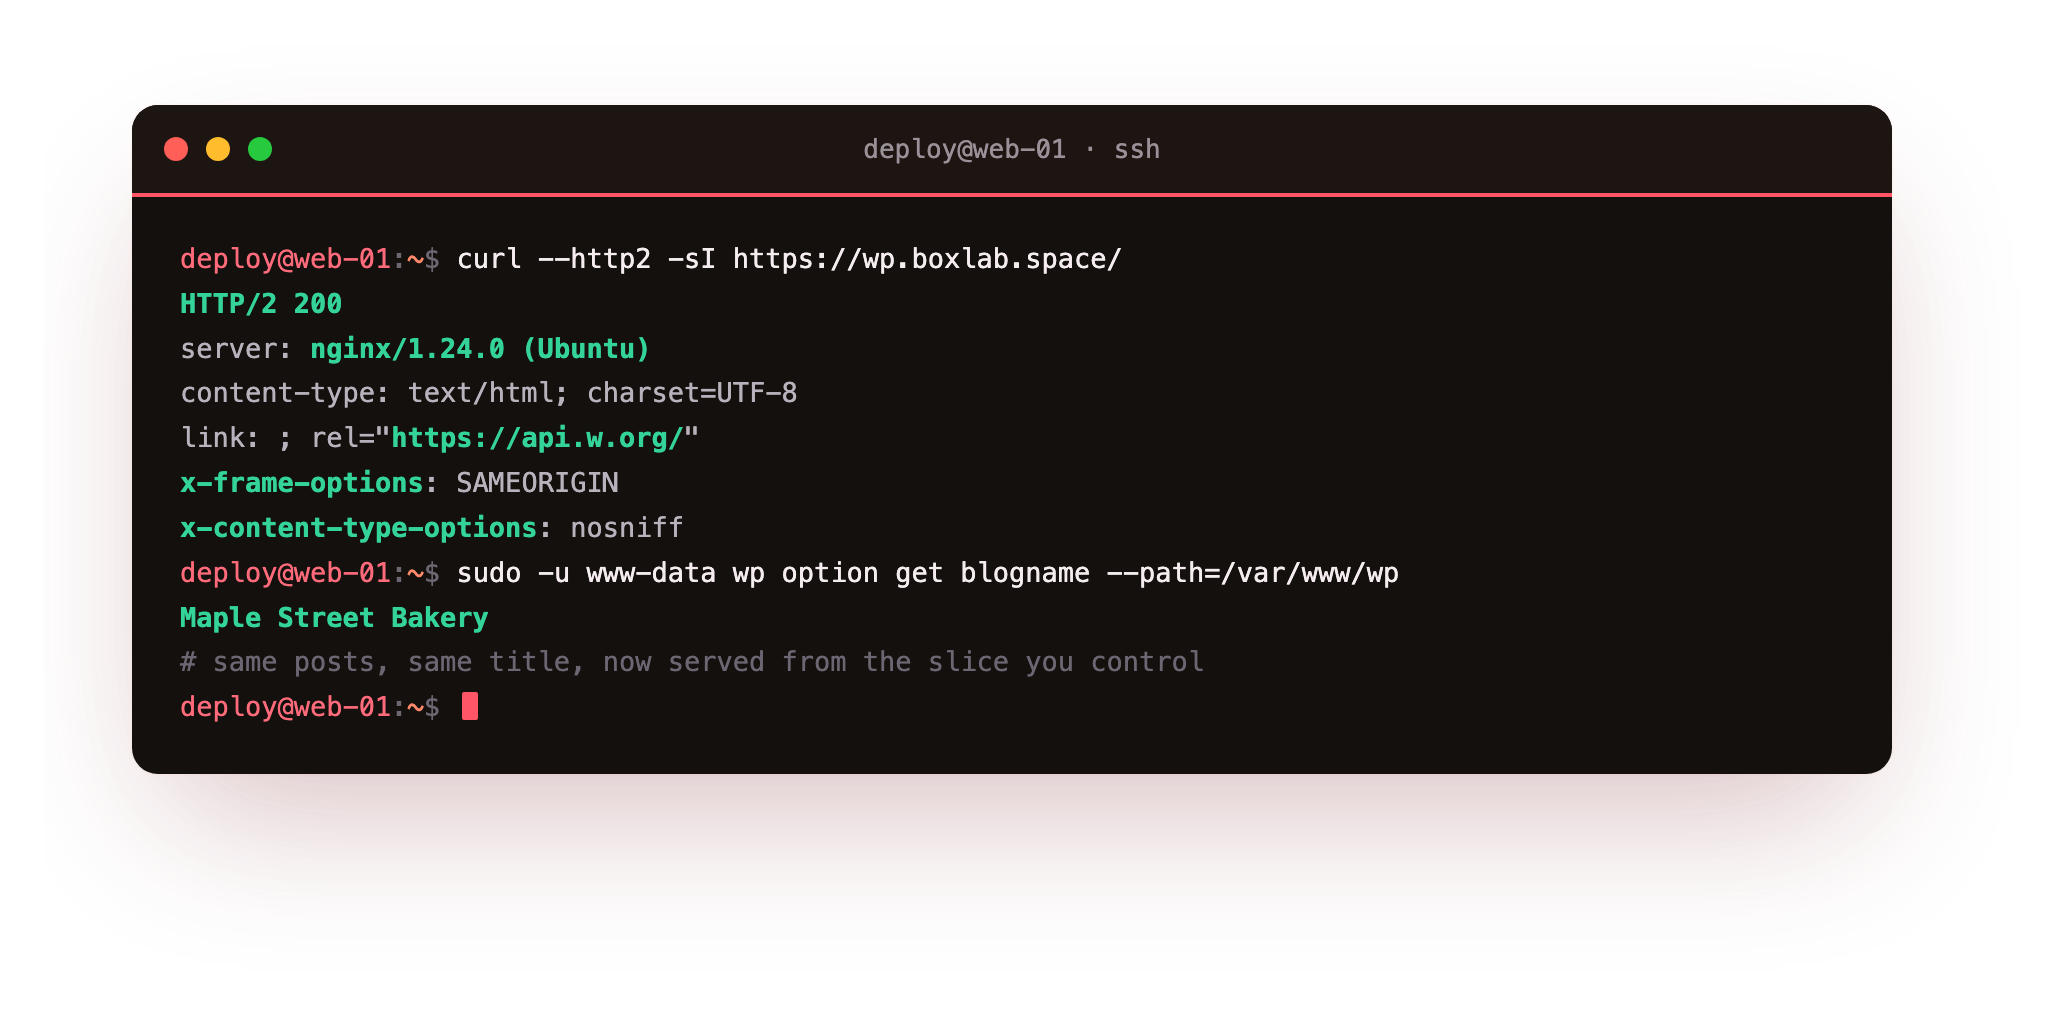
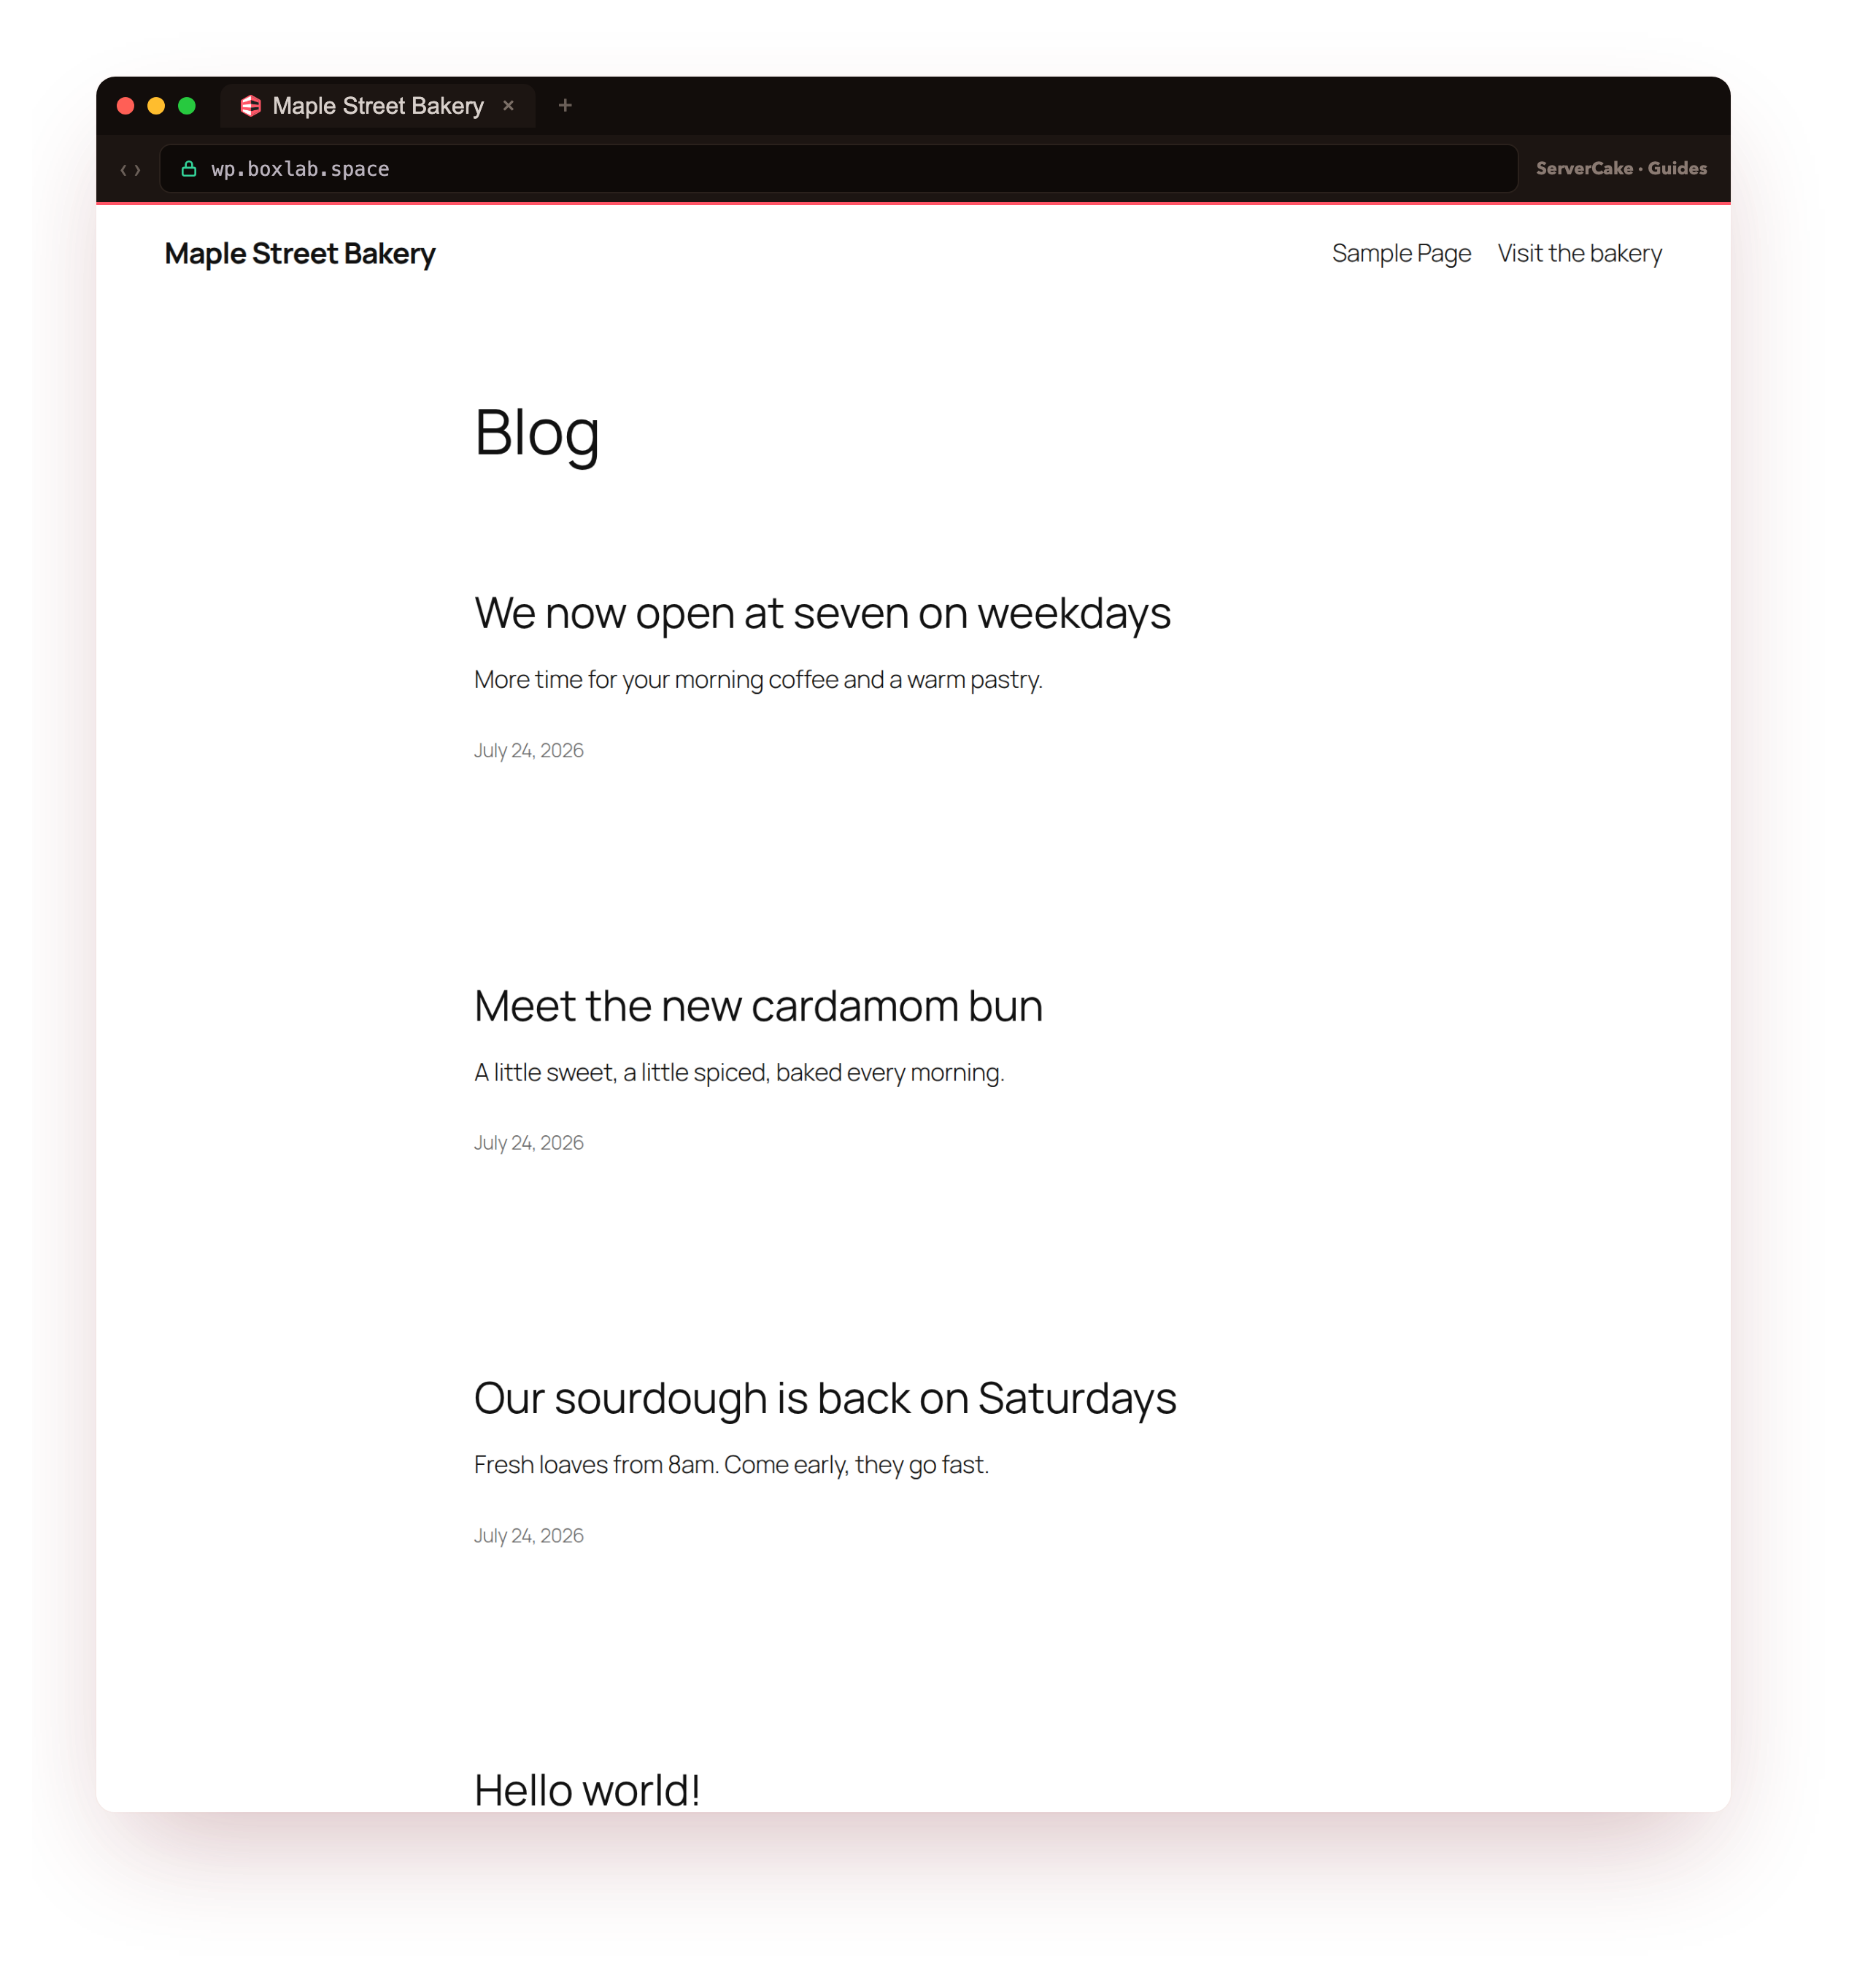
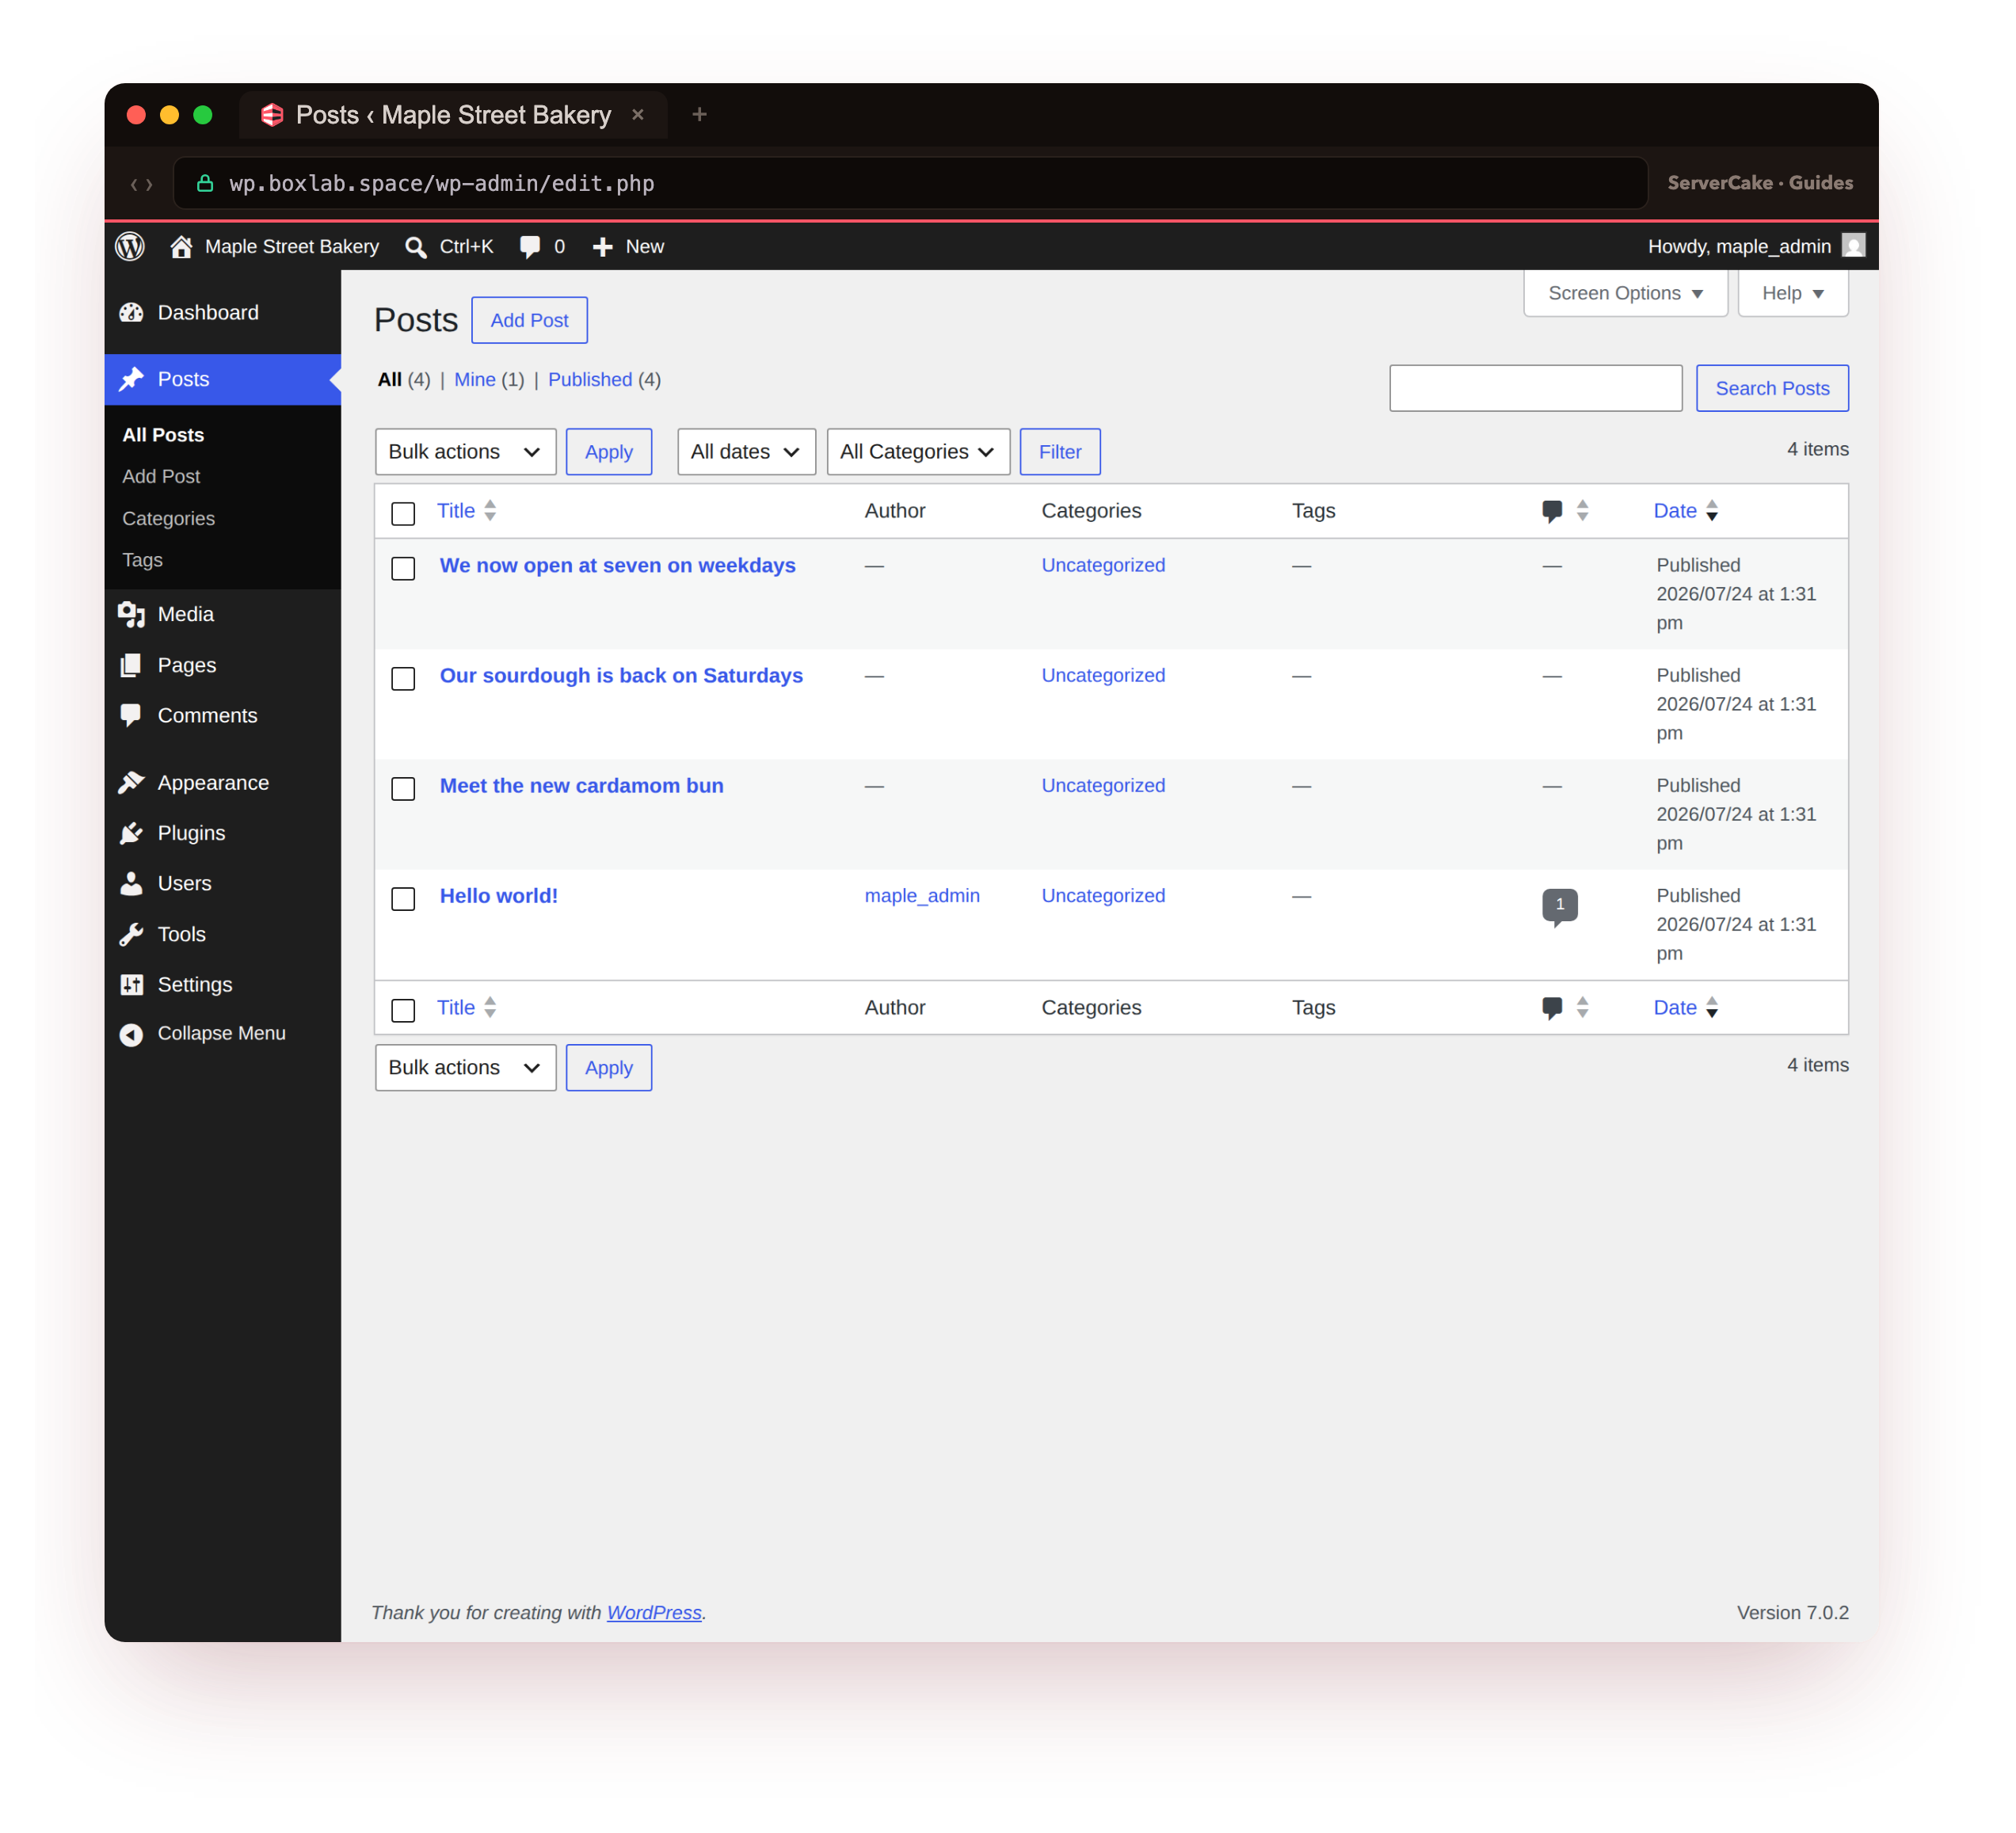
That response is the site you already had, now coming from hardware you control: WordPress answering over HTTP/2, your security headers in place, and the api.w.org link header that only a live WordPress emits. And here is the same site's public front page and its wp-admin, moved across intact.
- Preparing a target slice with the LEMP stack and an empty landing spot for the incoming site.
- Exporting the two halves of any WordPress site: the files and the database.
- Transferring both to the slice with rsync, then importing them into place.
- Rewriting URLs with
wp search-replacewhen the address changes, and flushing permalinks. - Verifying the copy, then cutting over DNS with a final delta sync so nobody sees an outage.
A WordPress site is really two things bolted together: a folder of files and a database. Migrating it well is just moving both cleanly, pointing the new copy at itself, and switching traffic over once you have proven the copy works.
# the site's own admin, moved intact
wp option get home
Before you begin
This is a hands-on move, so it assumes you can reach both ends over SSH. None of it is heavy.
- An existing WordPress site to move (the source), with SSH or SFTP access to its files and a way to run
mysqldumpon its database. Most shared hosts and cPanel accounts give you both. - A slice with the LEMP stack already installed, following how to install WordPress on a VPS. You need nginx, PHP-FPM and MariaDB running, plus a database and a least-privilege user for the incoming site.
- The domain the site uses, with access to its DNS records so you can repoint it at the slice at the end.
- SSH access to the slice as a normal user cleared for
sudo, and about an hour.
Everything below runs as a normal sudo user over SSH. The source commands run on your old host, the slice commands run on your slice, and the transfer step bridges the two.
How to migrate WordPress to a VPS
The whole move is eight small steps, and it helps to see them before you start. You will migrate WordPress to a VPS by preparing the target, copying both halves of the site, wiring them together, and only then switching traffic:
- Prepare the target slice: LEMP plus an empty database and web root.
- Export the files from the old host as one archive.
- Export the database with
mysqldump. - Transfer both to the slice with rsync.
- Import the files into the web root and the database into MariaDB.
- Point
wp-config.phpat the new database, then rewrite URLs if the address changes. - Flush permalinks and verify the copy over HTTPS.
- Lower your DNS time-to-live, run a final delta sync, and repoint DNS.
The reason for that order is downtime. The old site keeps serving traffic the whole time you build the copy. You only switch DNS at the very end, after a last sync catches anything that changed while you worked.
Prepare the target slice
Your slice should already run nginx, PHP-FPM and MariaDB from the install tutorial. What the incoming site needs is a database of its own and an empty web root to land in. Create the database and a user scoped to it alone, exactly as a fresh install would, then give the incoming files somewhere to go.
# an empty landing spot for the incoming site
cd /var/www && sudo -u www-data wp core download --path=wp
sudo -u www-data wp config create --path=wp \
     --dbname=wordpress --dbuser=wpuser --dbpass='your-db-password' --dbhost=localhost
sudo chmod 640 wp/wp-config.php
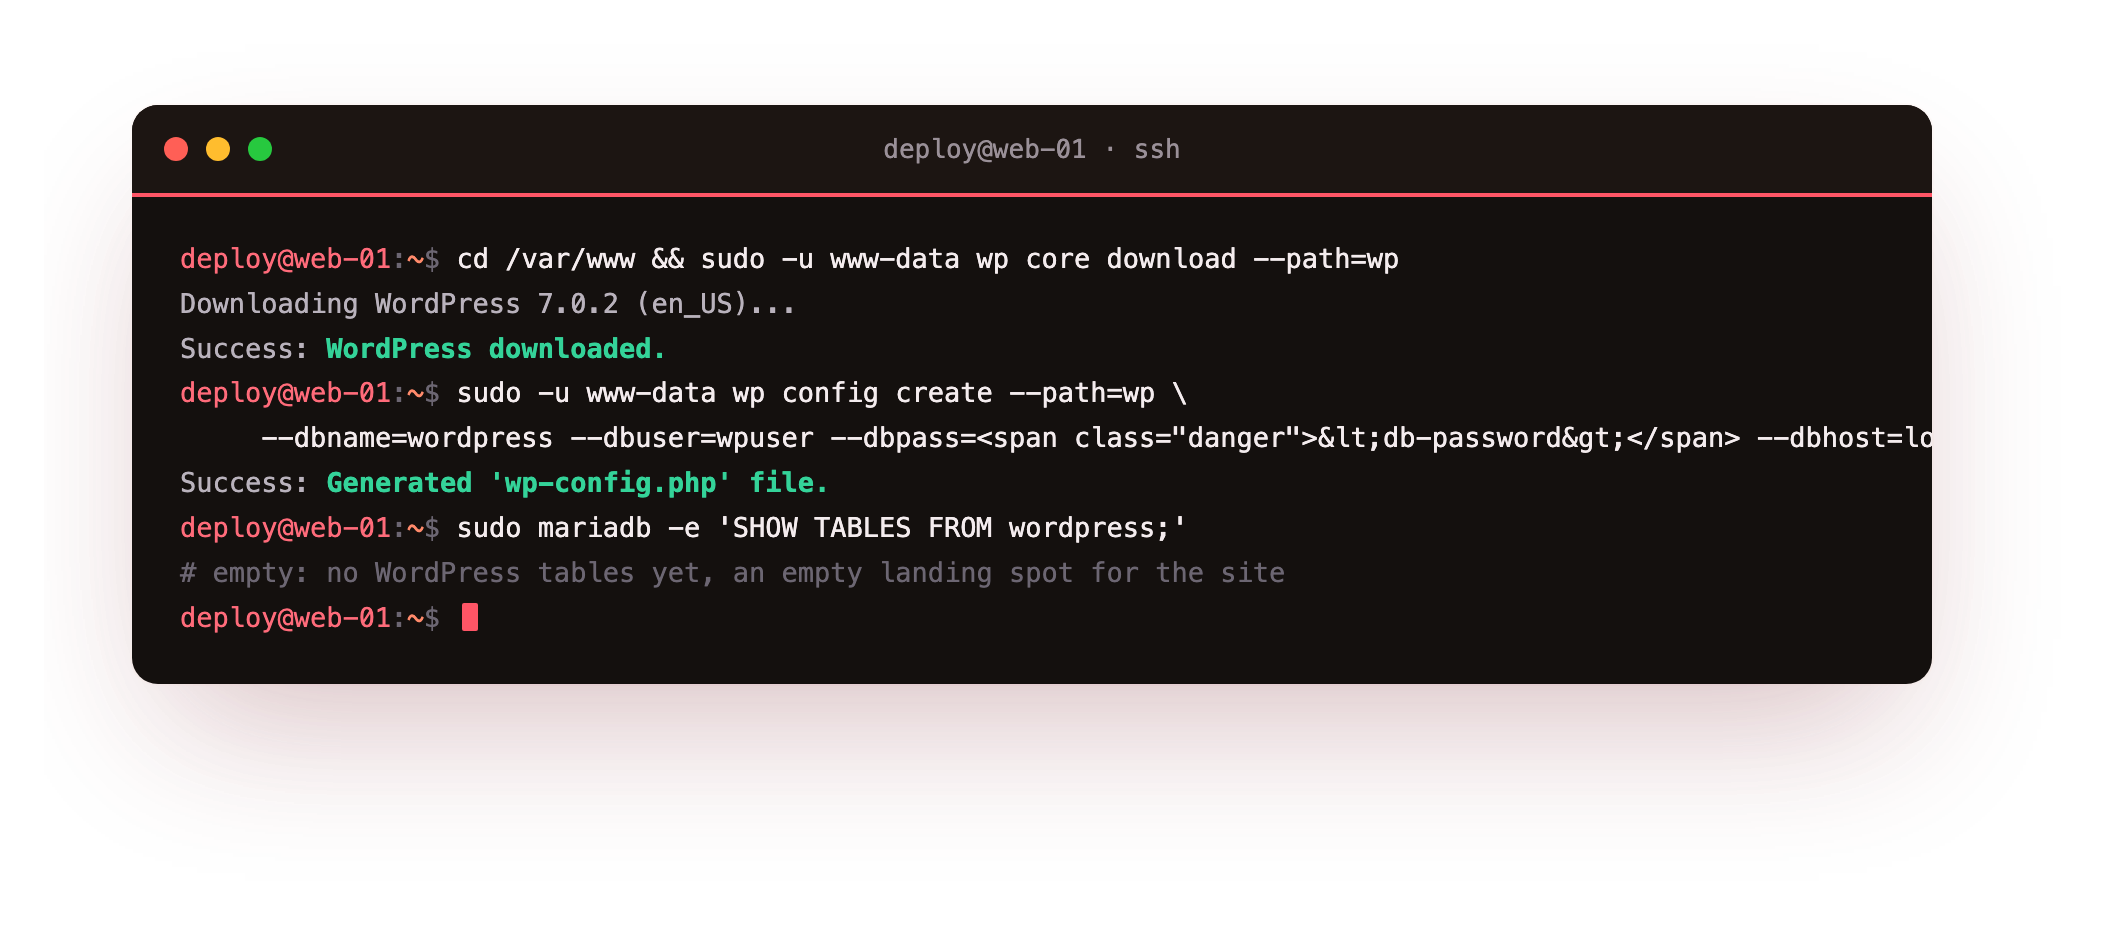
Downloading a fresh core here is deliberate. It gives you clean, current WordPress files to receive your themes, plugins and uploads on top of, so you are not carrying across any core files the old host may have modified. The database stays empty for now; the import fills it in a moment.
wordpress database with no tables yet, a wpuser whose reach stops at that database, and a /var/www/wp folder holding a fresh WordPress core with a wp-config.php pointed at the new database.Export your site from the old host
On the old host, a WordPress site is a directory and a database, so you export both. The files that matter live under wp-content: your uploads, your themes and your plugins. Archive that folder into a single file you can move in one hop.
cd /path/to/your/site
tar -czf ~/wp-content.tar.gz wp-content
du -sh wp-content
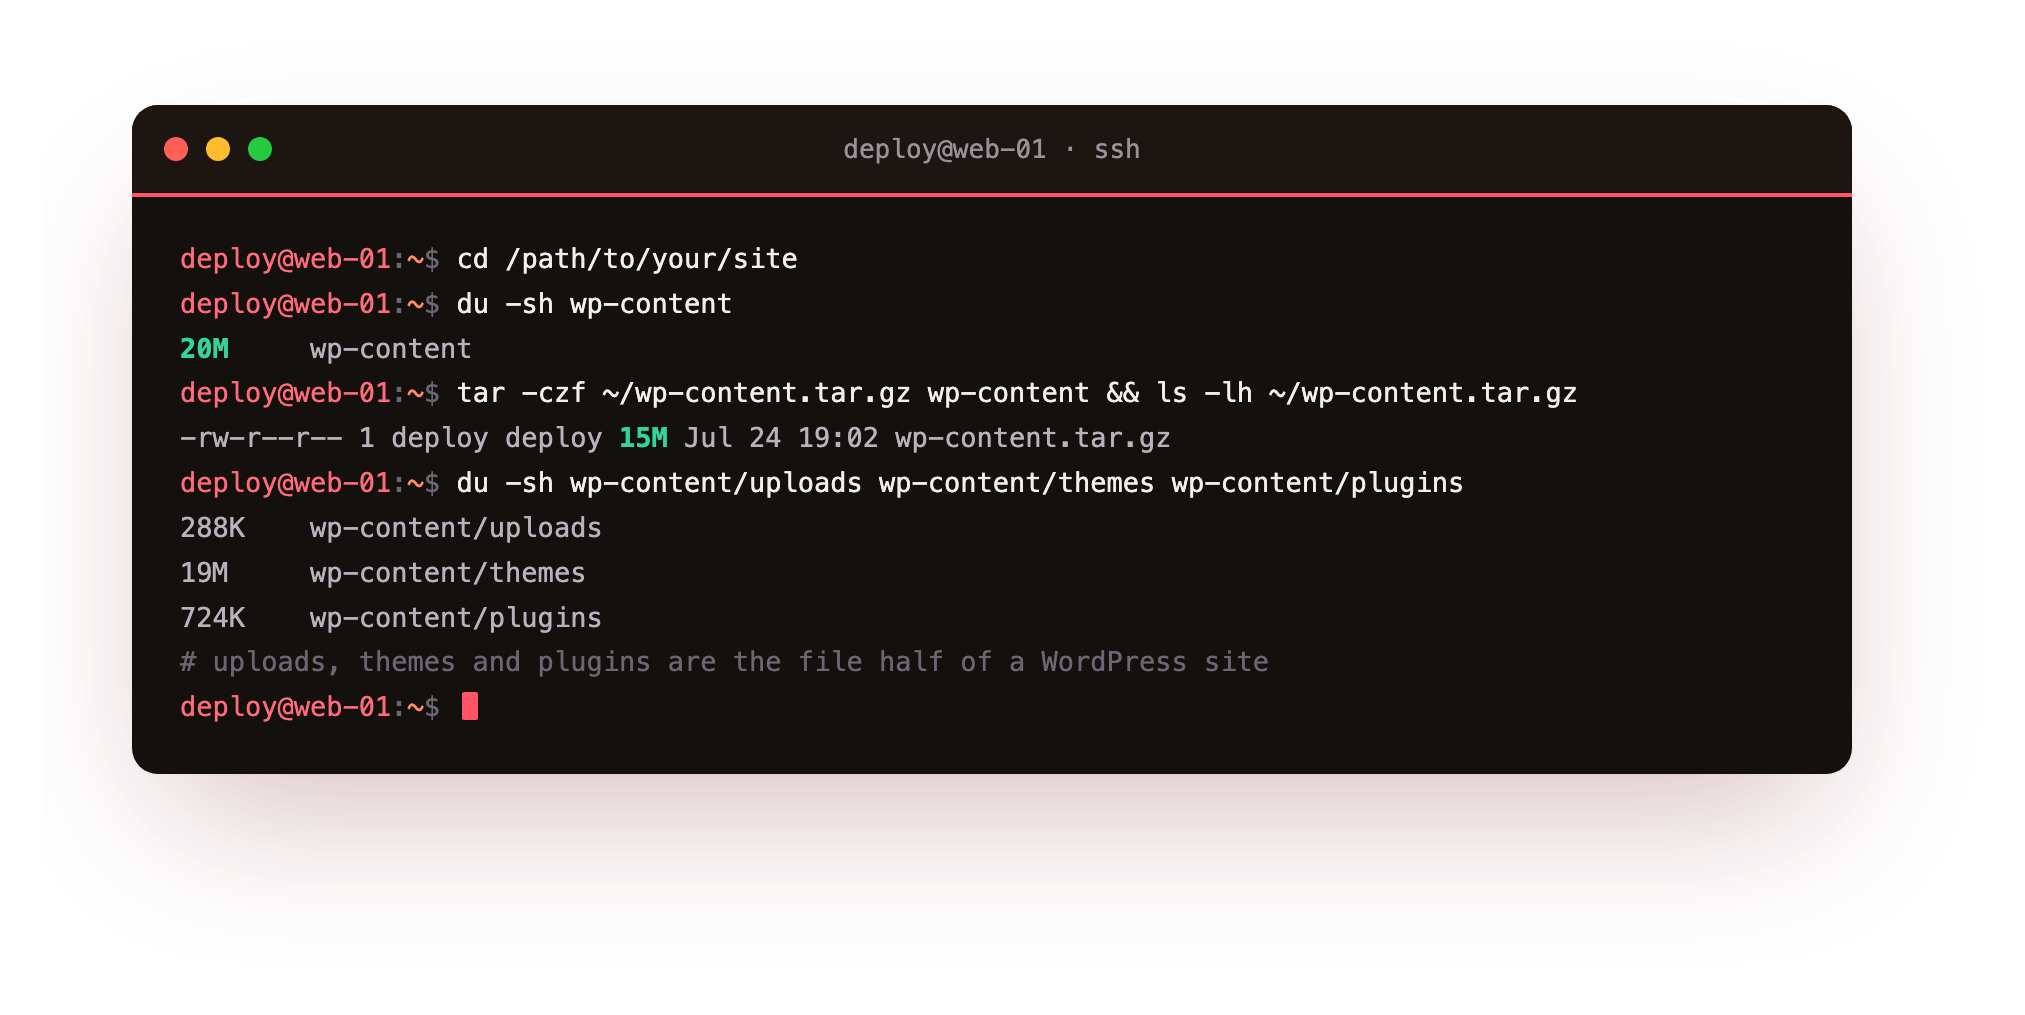
Now dump the database. Read the database name, user and host straight out of the old site's wp-config.php if you are not sure of them, then run mysqldump. The --single-transaction flag takes a consistent snapshot without locking the site, so the old site keeps serving while you export.
mysqldump --single-transaction --quick \
     --default-character-set=utf8mb4 OLD_DB_NAME > ~/database.sql
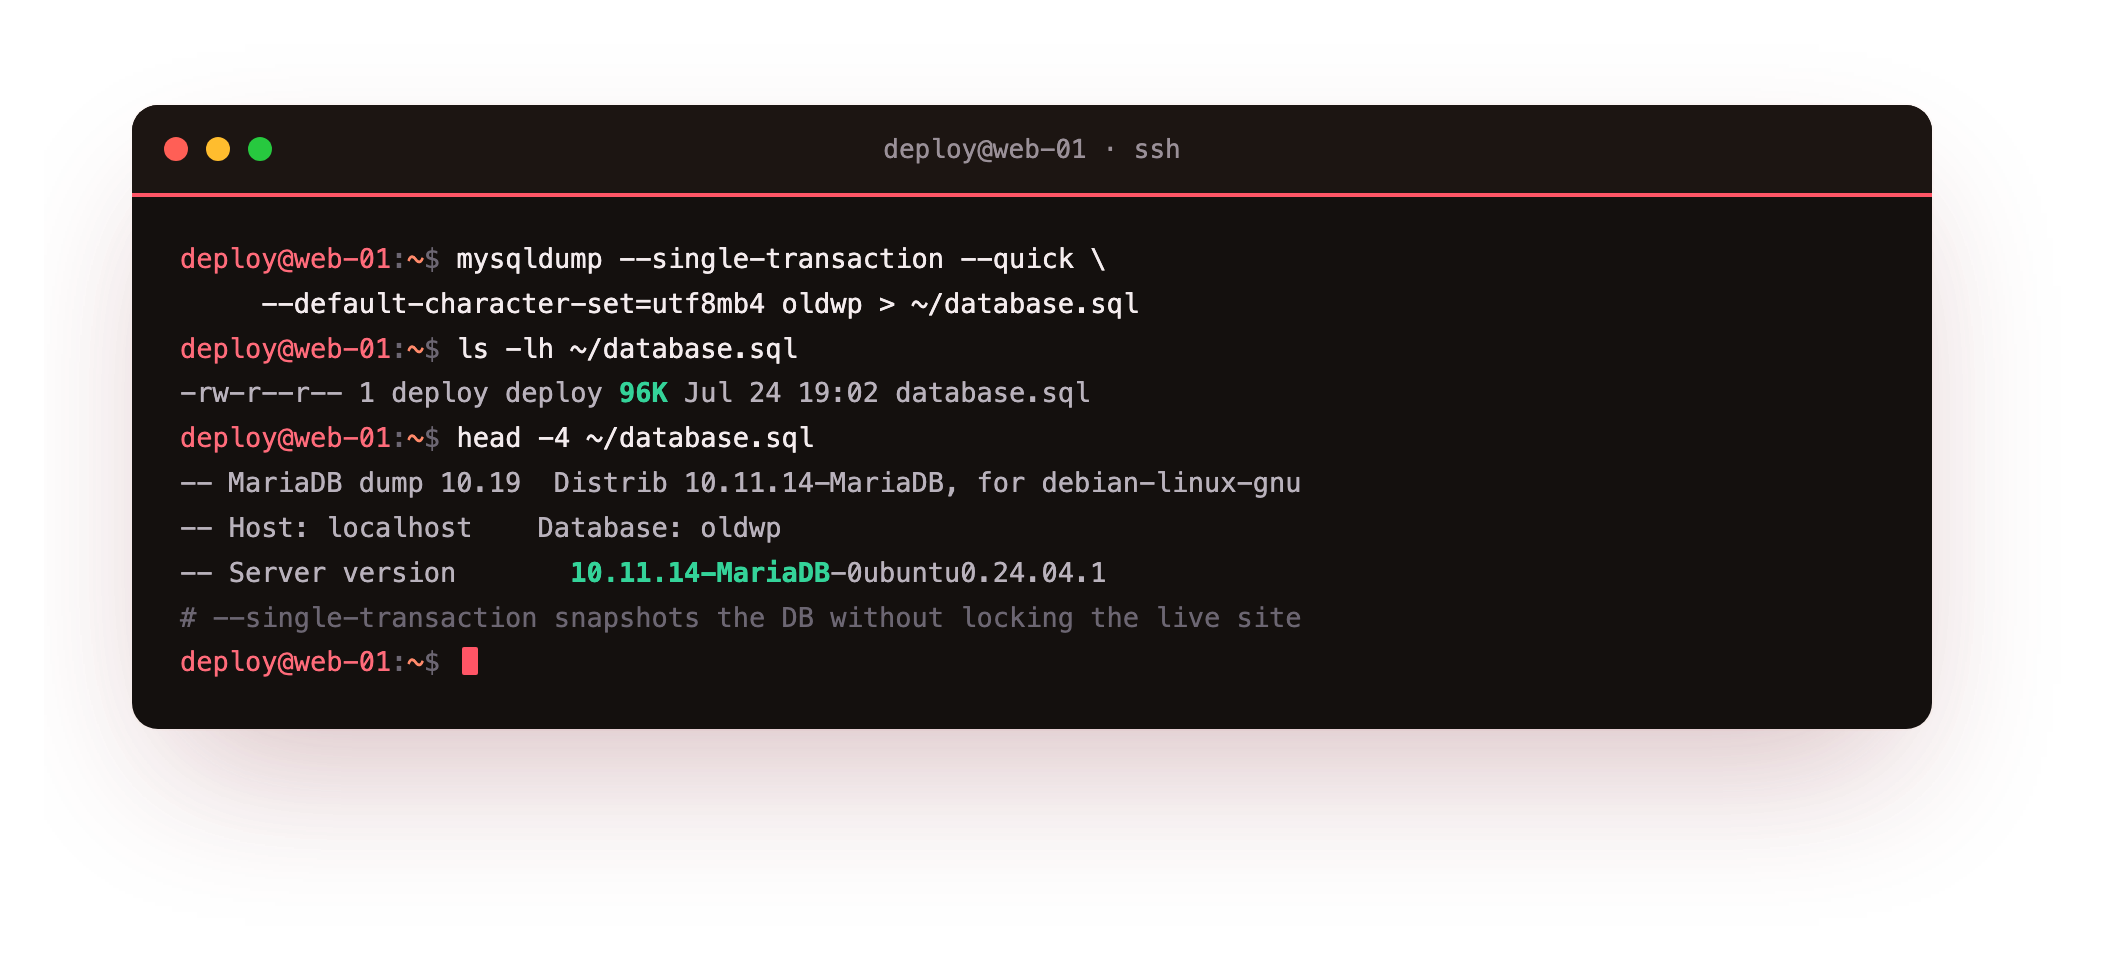
wp-content.tar.gz with your uploads, themes and plugins, and database.sql with every post, page, comment and setting.Transfer the files and database to the slice
With both halves exported, move them to the slice. rsync over SSH is the right tool: it copies only what it needs, verifies as it goes, and can resume if the link drops. Run this from the old host, pointing at your slice.
rsync -avz ~/wp-content.tar.gz ~/database.sql \
     deploy@your-slice:/home/deploy/
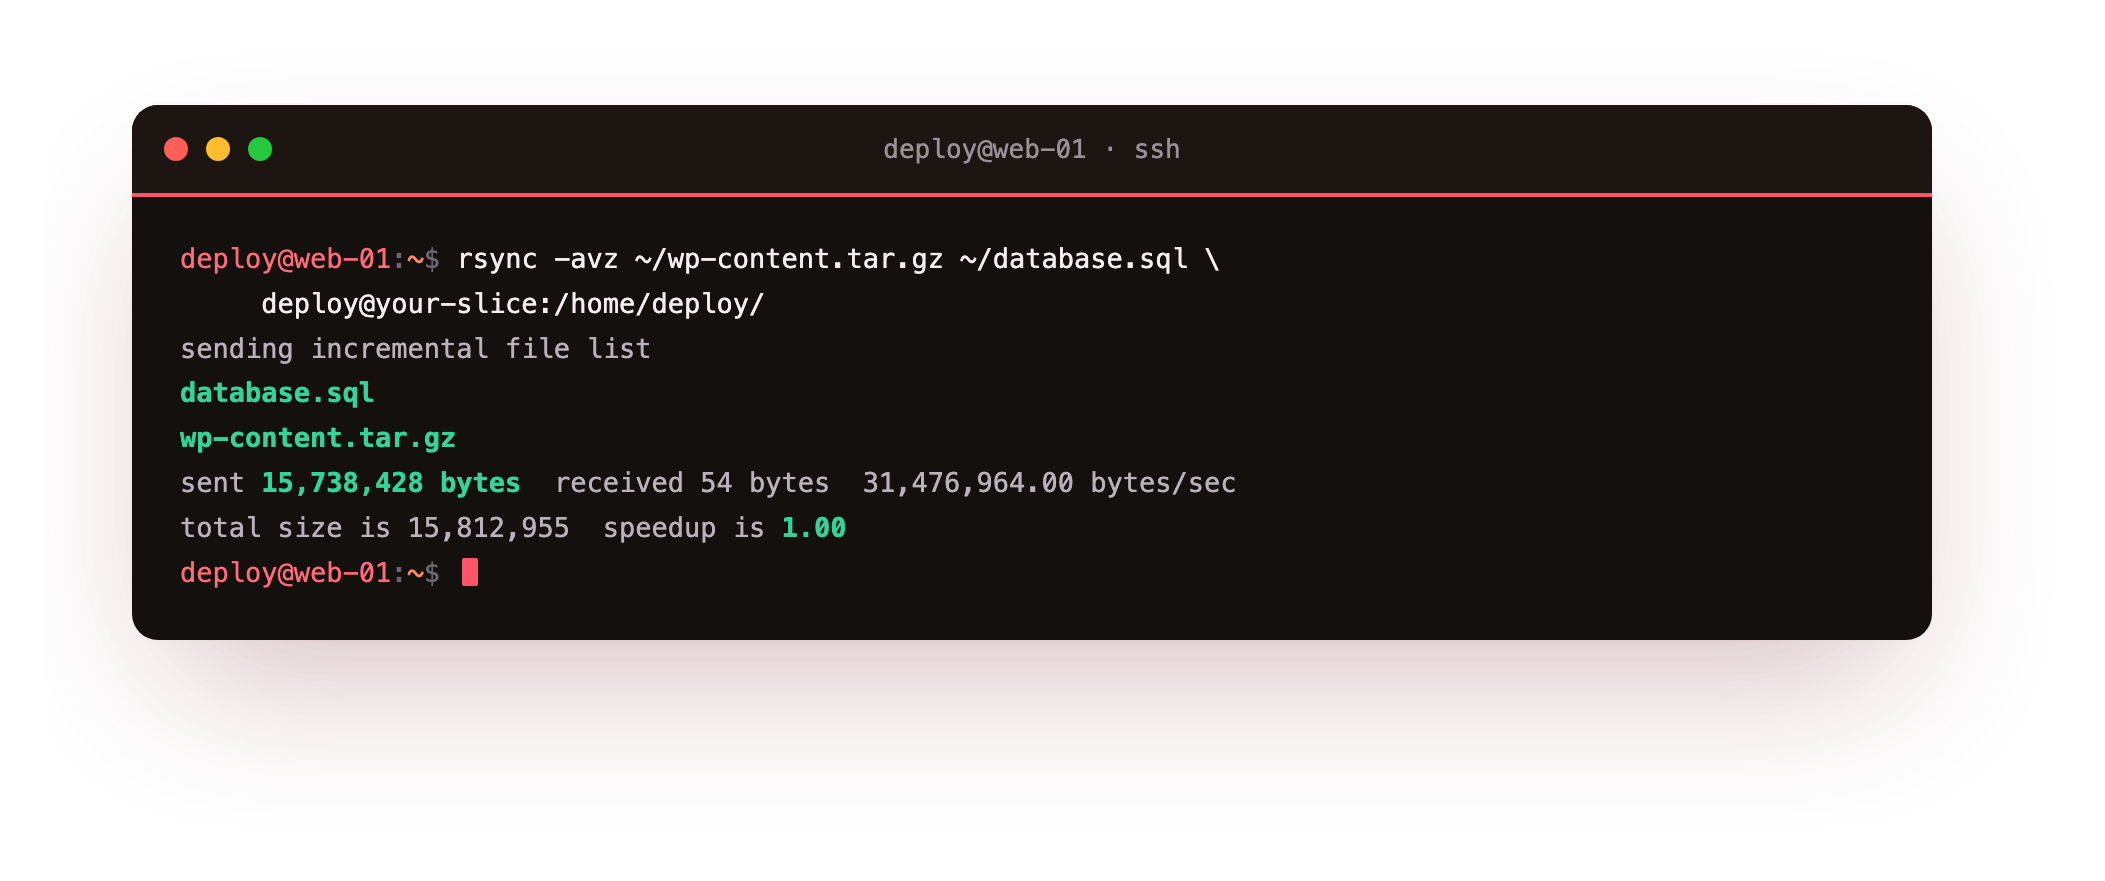
For the file tree specifically, you can also rsync the unpacked wp-content directory straight across rather than moving the archive, which is handy for a large uploads folder because a re-run only sends what changed. Either way, both halves of the site are now sitting on the slice, ready to import.
Import WordPress on the slice
On the slice, unpack the files into the web root you prepared, laying your uploads, themes and plugins over the fresh core. Then hand everything to the web server user so PHP-FPM can read and write it.
# unpack the files into the web root
cd /var/www/wp
sudo tar -xzf /home/deploy/wp-content.tar.gz -C /var/www/wp
sudo chown -R www-data:www-data /var/www/wp
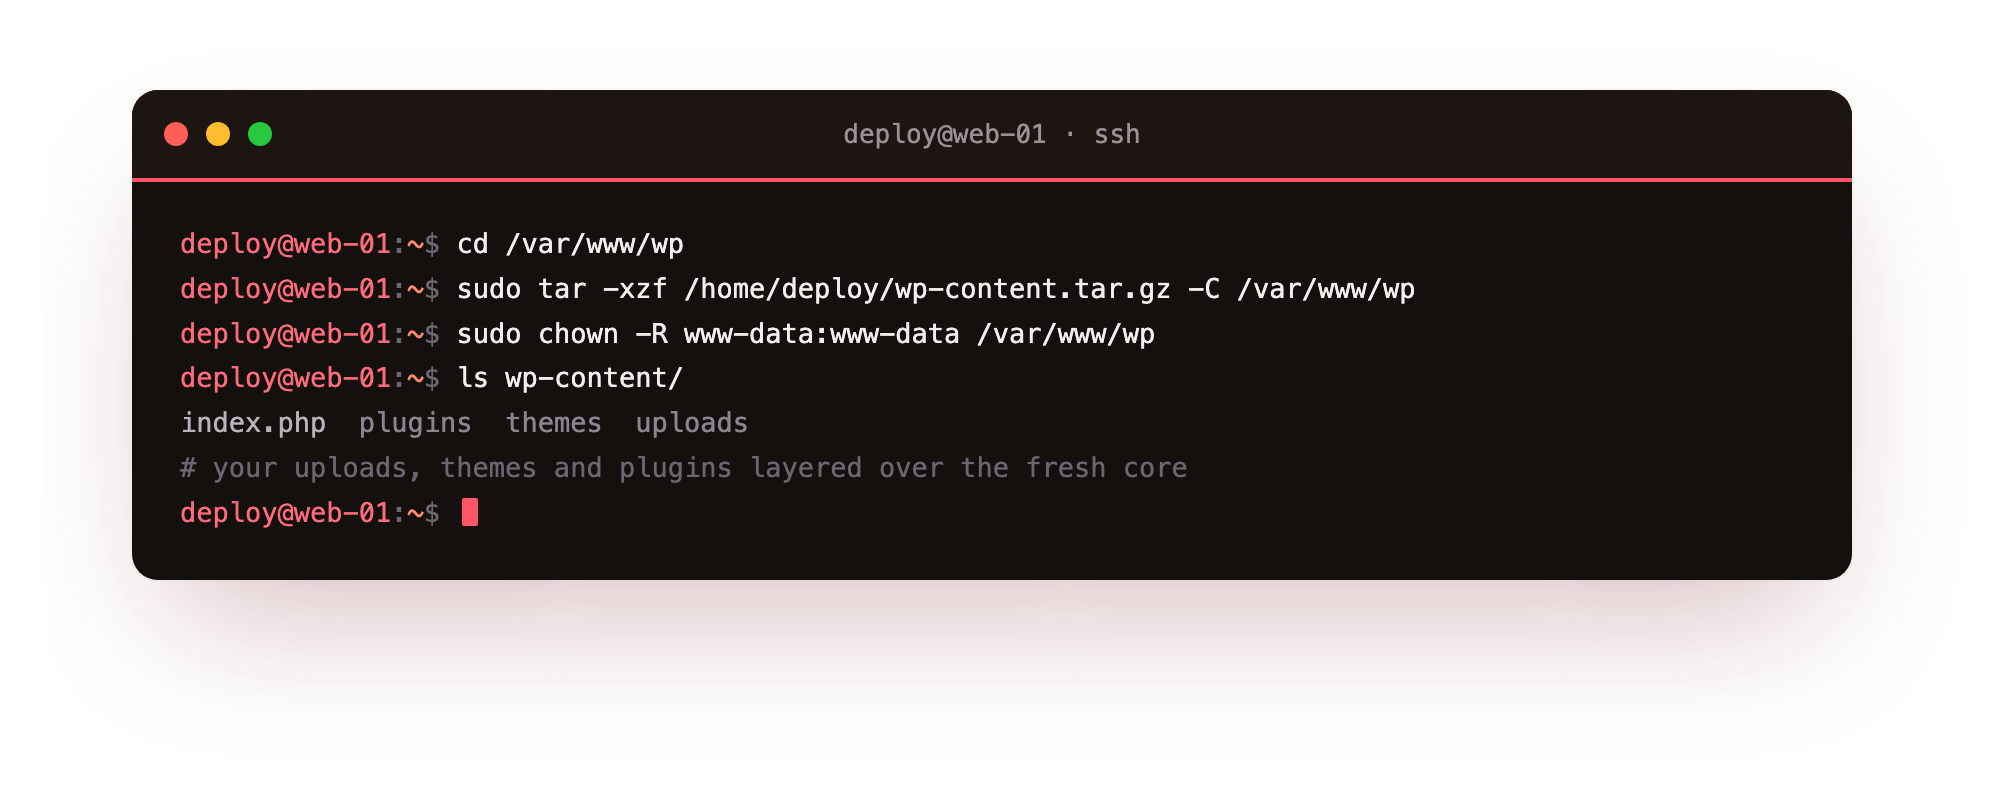
Now import the database. Load the dump into the empty wordpress database you created, then confirm wp-config.php points at that database and the table prefix in the file matches the one in the dump.
sudo mysql wordpress < /home/deploy/database.sql
sudo -u www-data wp config get DB_NAME --path=/var/www/wp
sudo -u www-data wp db check --path=/var/www/wp
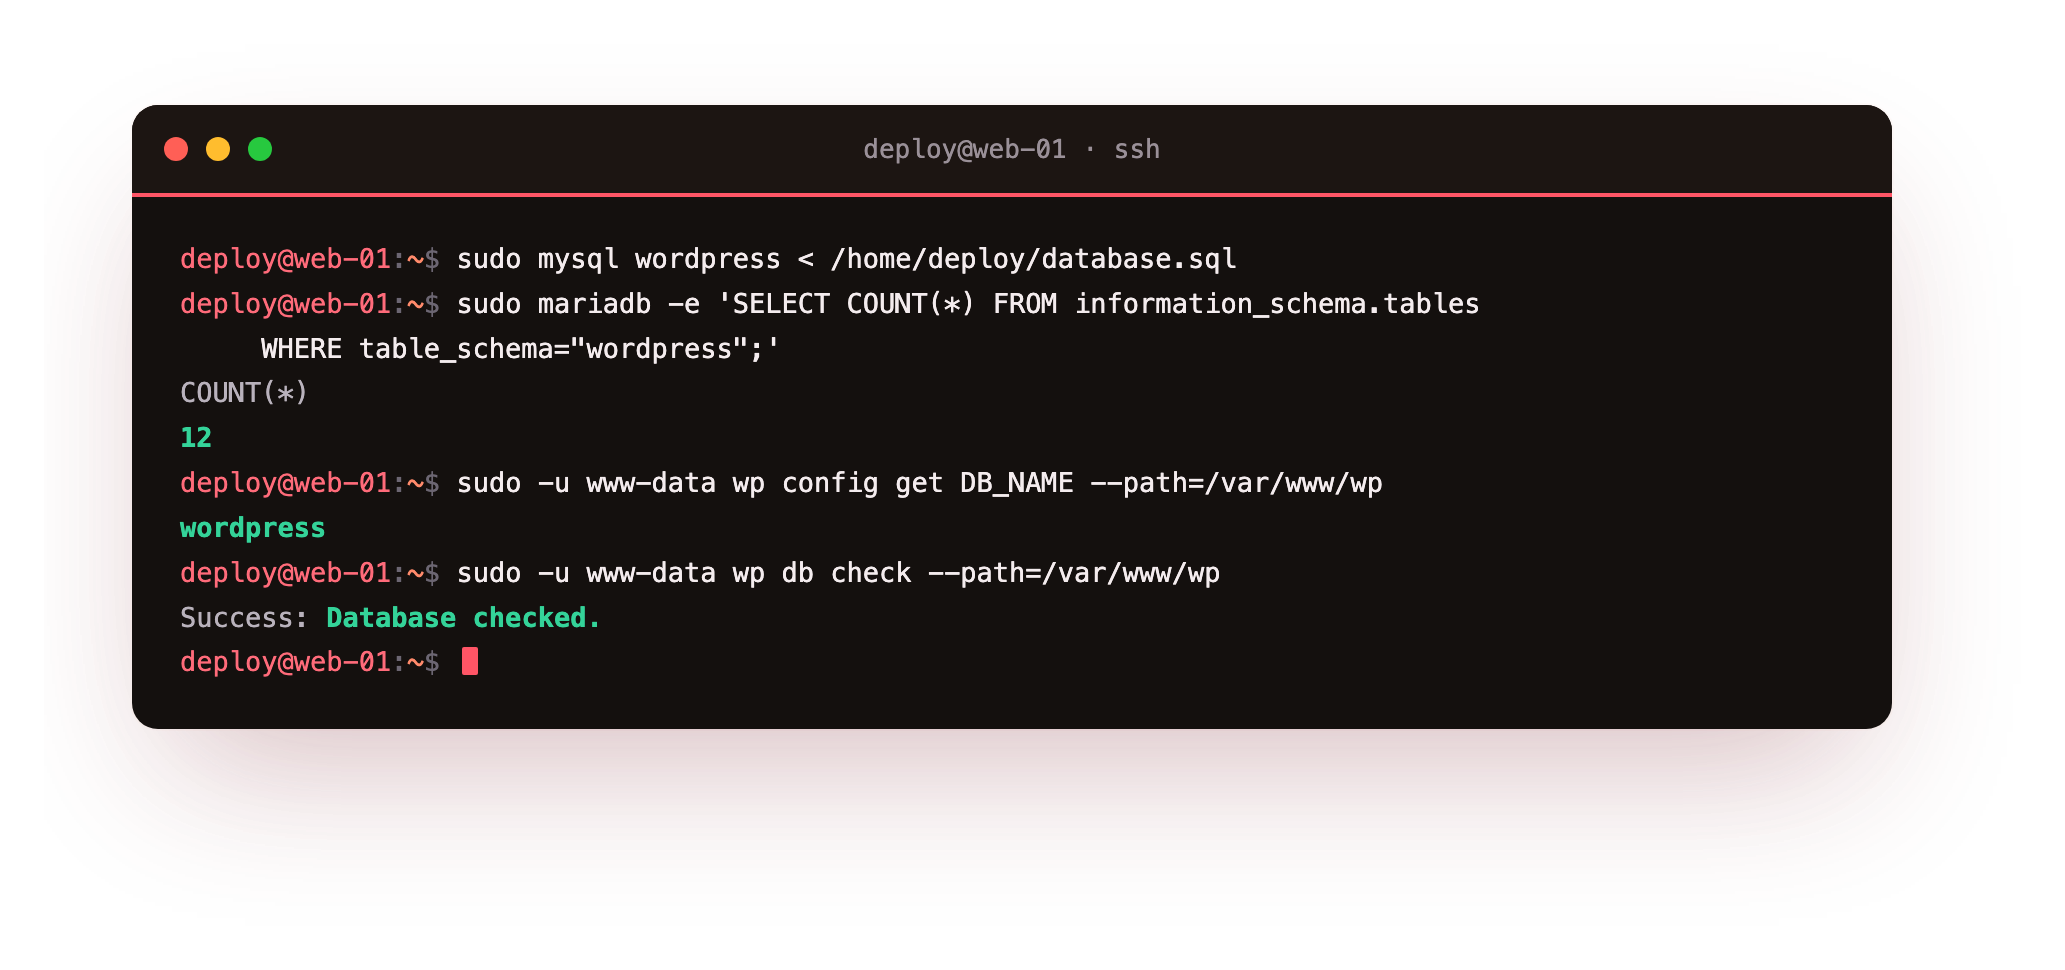
A Success: Database checked back from wp-cli means the tables imported cleanly and the config can reach them. The site's content is now on the slice, though it still thinks it lives at its old address, which the next step fixes.
One detail catches people out here: the table prefix. Most sites use the default wp_, but some hosts set a random prefix like wp_x9f2_ for a little extra obscurity, and the value in your new wp-config.php must match the prefix in the dump exactly. If wp-cli reports no tables after a clean import, open the dump and check the CREATE TABLE lines, then set $table_prefix in wp-config.php to the same value. Getting this one line right is the difference between a working import and a blank white screen.
wp-config.php points at it with the right name, user and table prefix. If wp db check cannot connect, re-check the four DB_ lines against the user you created.Fix the URLs and go live
If your domain stays the same, which is the common case, you can skip straight to permalinks: the site already knows its own address. If the address changes at all, and it does whenever you preview on the slice's own hostname first or consolidate onto a new domain, the old URL is baked into the database in dozens of places.
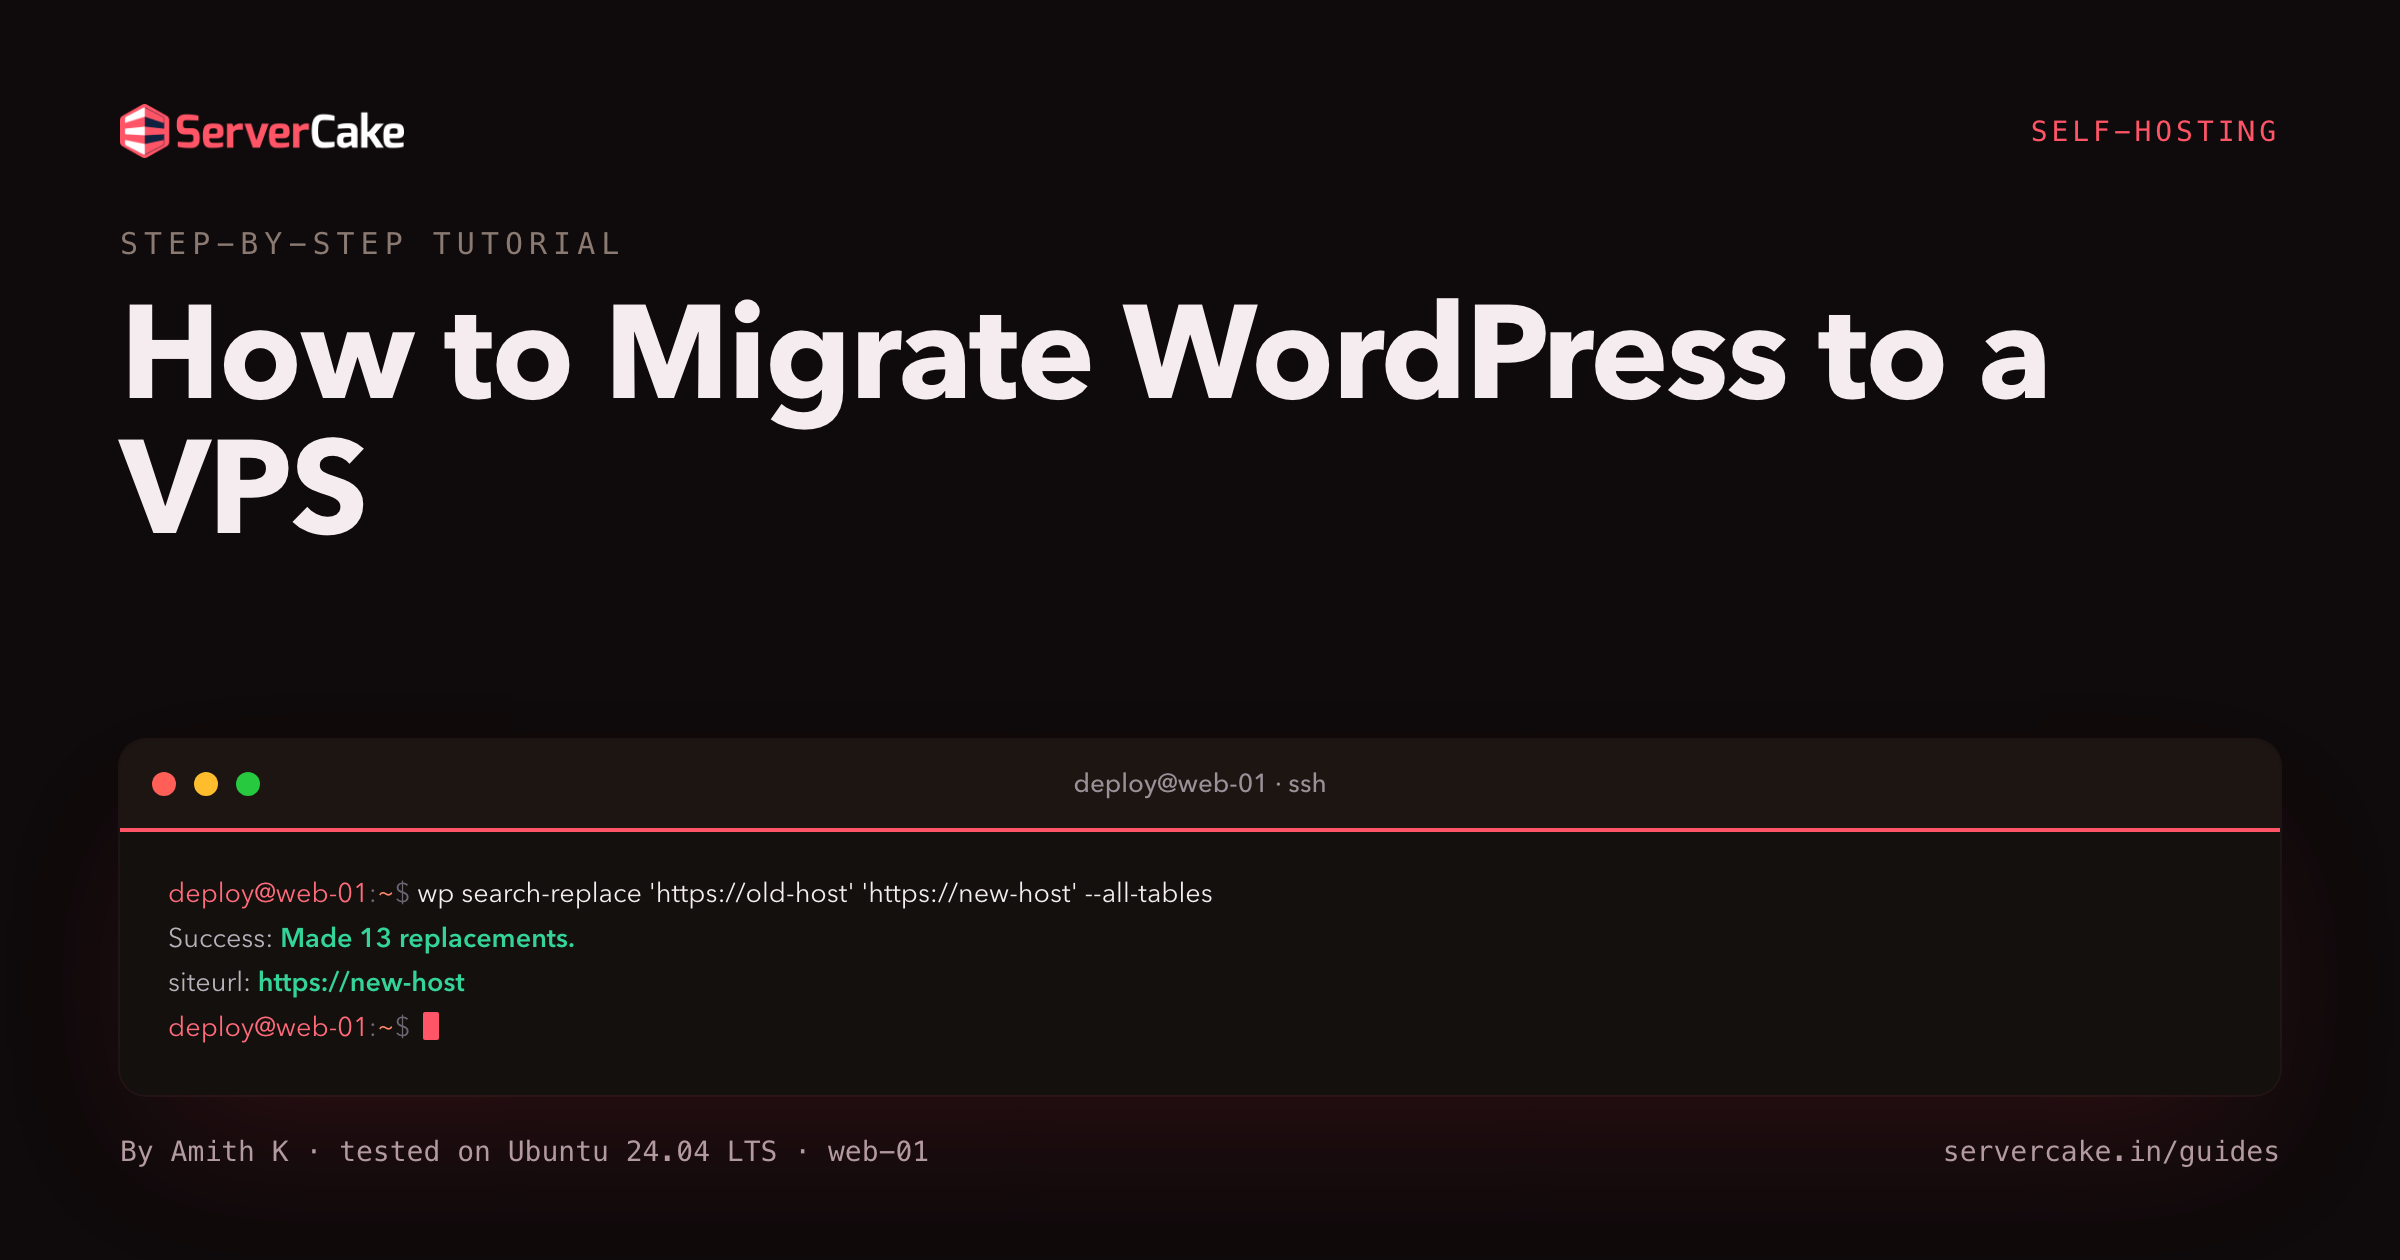
Rewrite it in one pass with wp search-replace, which understands WordPress serialized data and will not corrupt it the way a blind find-and-replace would. Run it dry first to see the count, then for real.
sudo -u www-data wp search-replace 'https://old-domain' 'https://your-domain' \
     --all-tables --dry-run --path=/var/www/wp
sudo -u www-data wp search-replace 'https://old-domain' 'https://your-domain' \
     --all-tables --report-changed-only --path=/var/www/wp
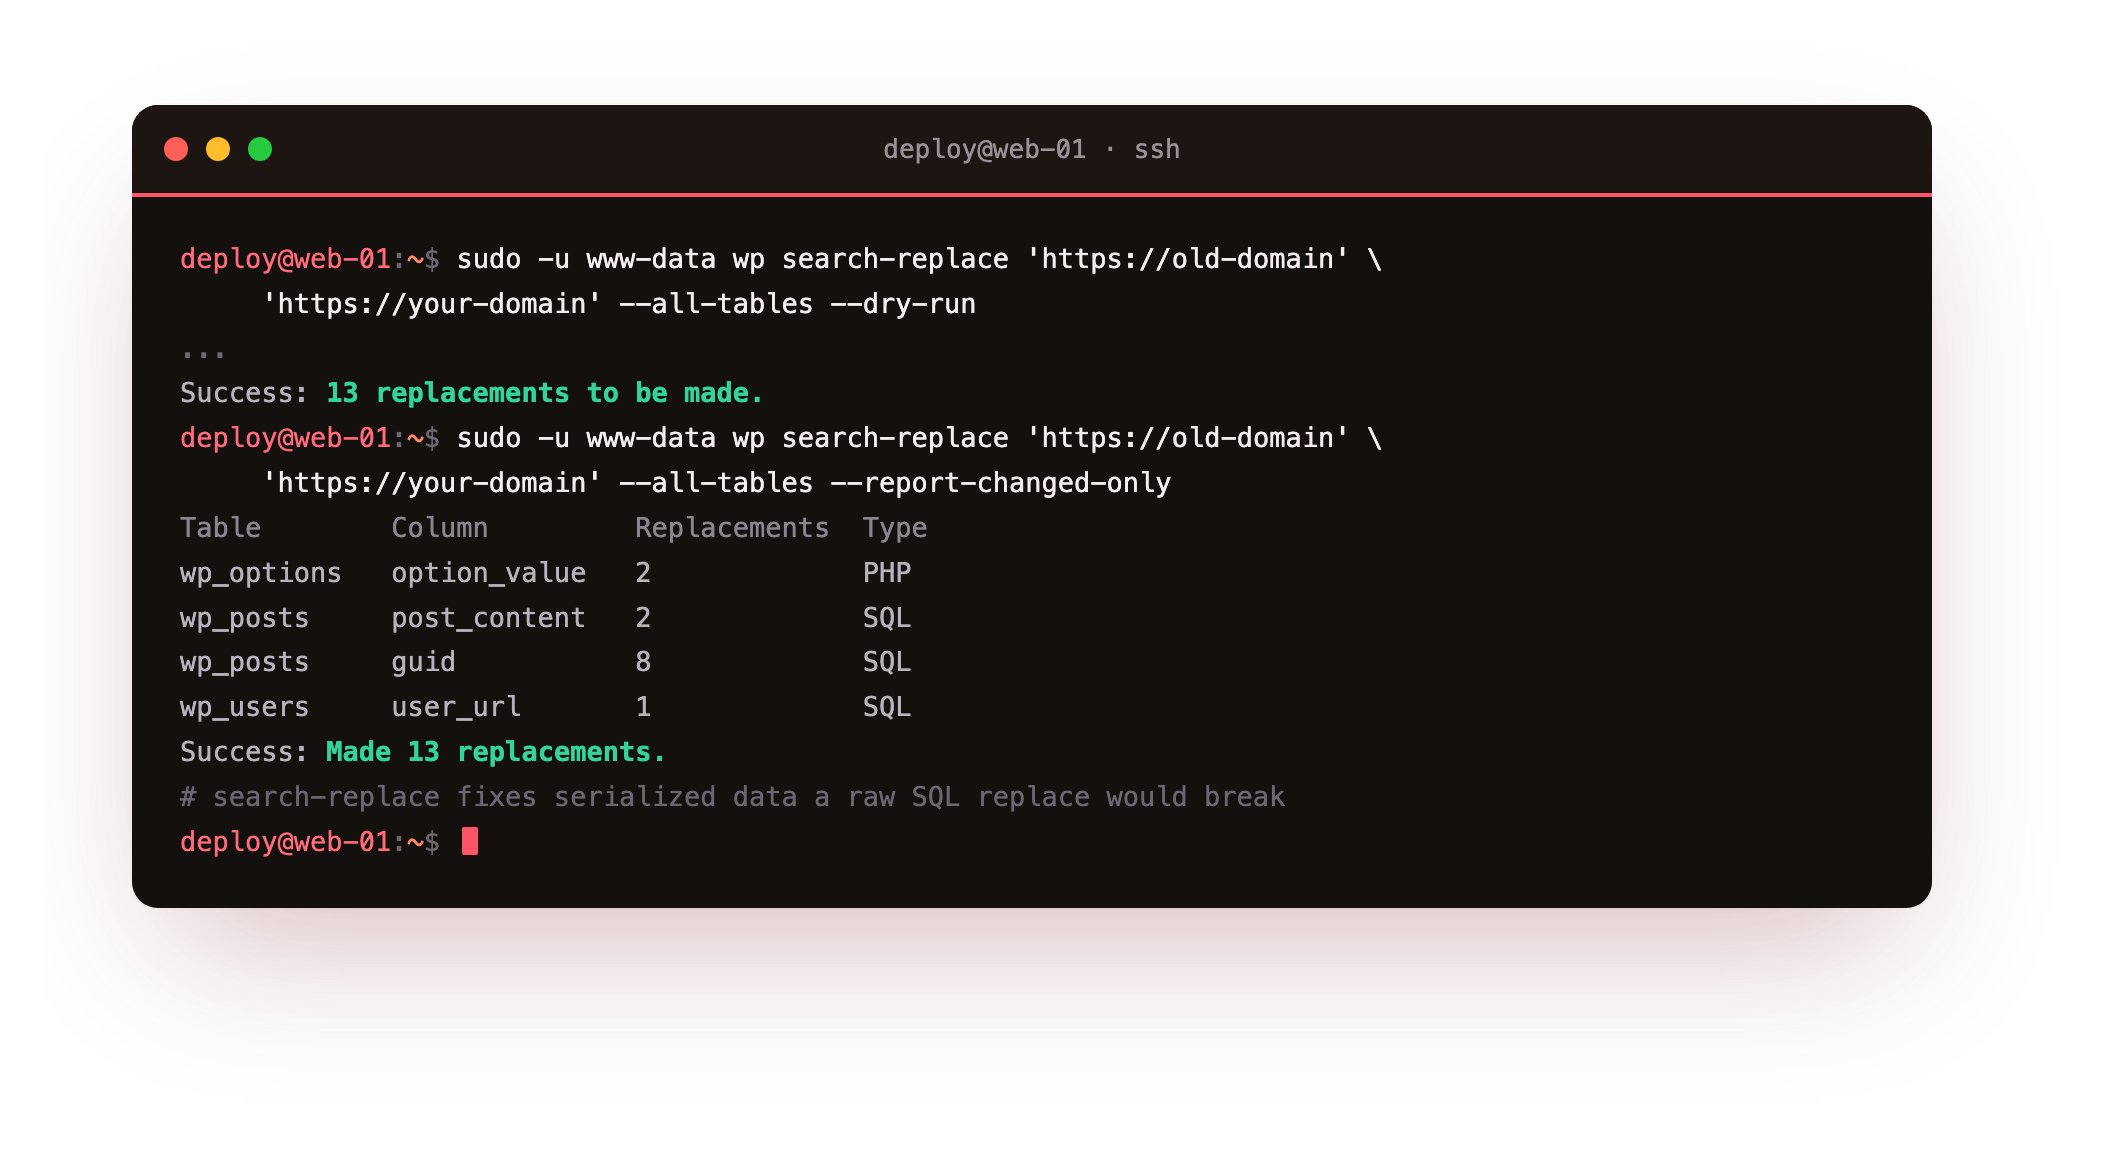
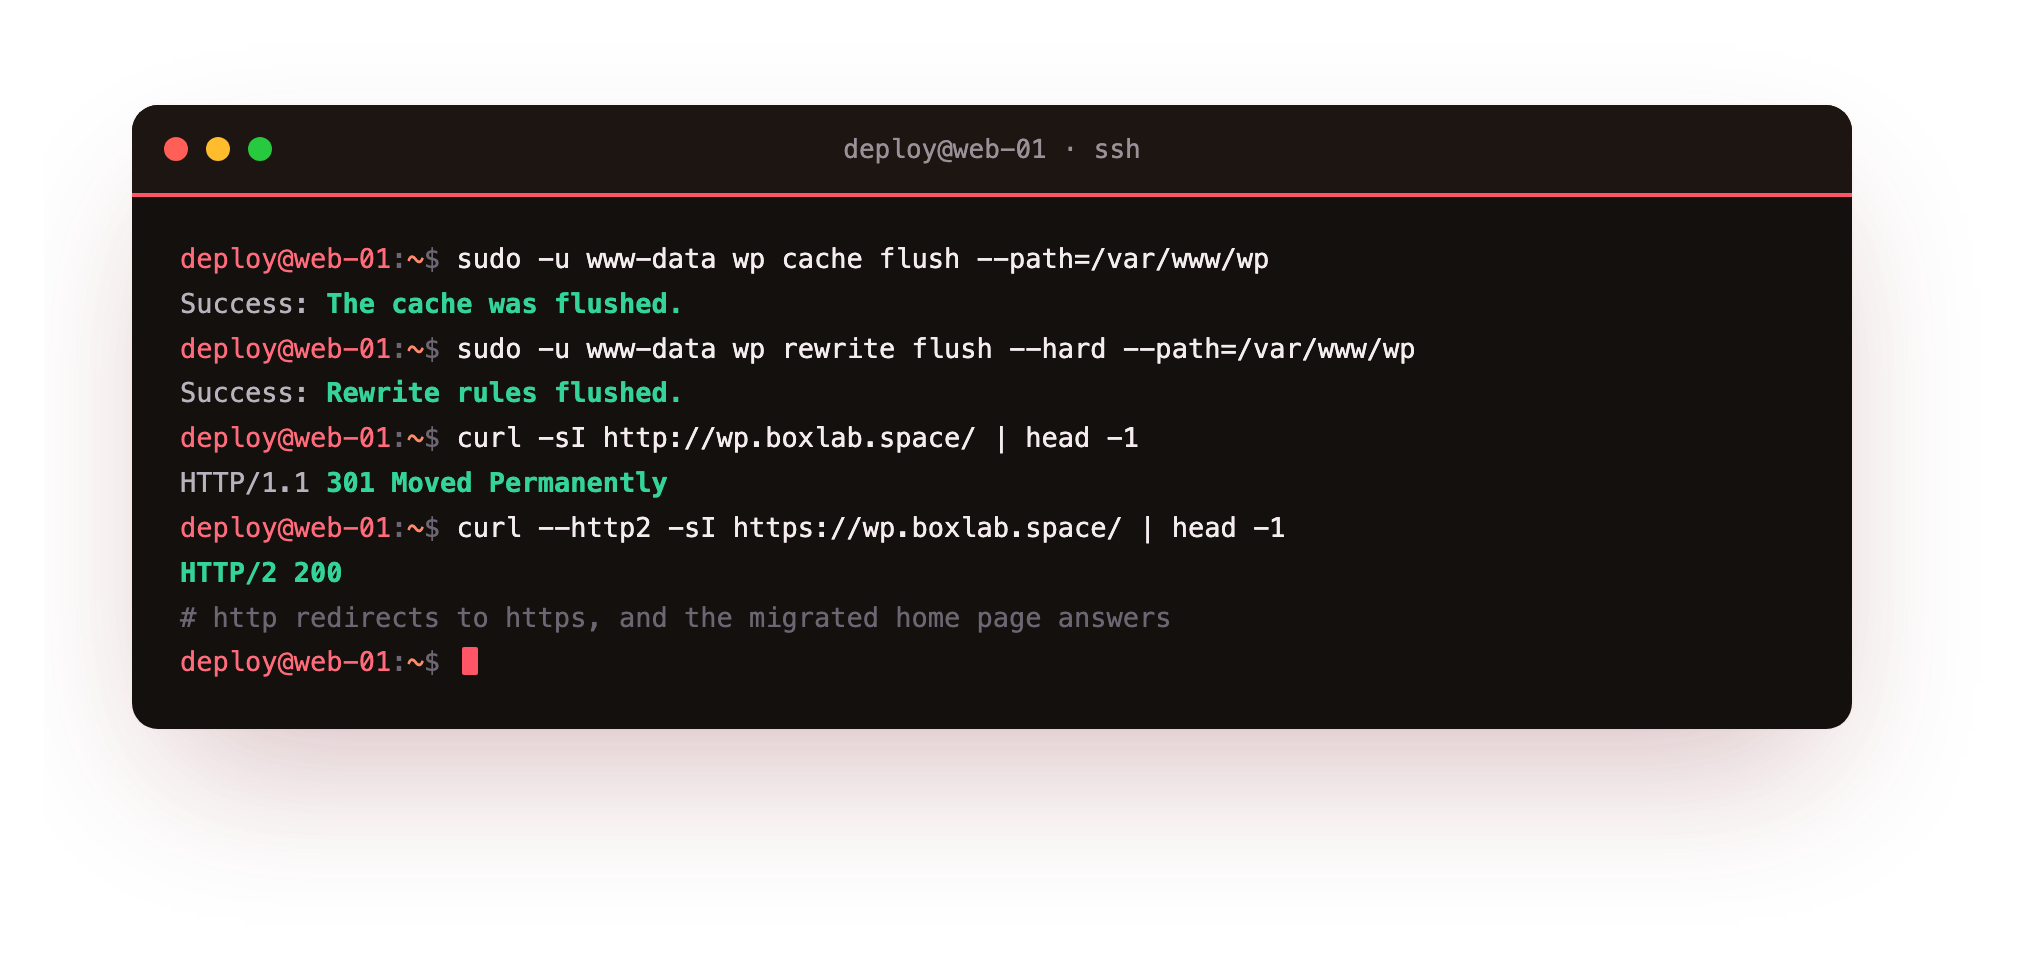
With the URLs correct, flush the permalink rules so pretty links resolve against the new nginx config, and clear any cached values.
sudo -u www-data wp cache flush --path=/var/www/wp
sudo -u www-data wp rewrite flush --hard --path=/var/www/wp
Verify and cut over with no downtime
Before you touch DNS, prove the copy works. On the slice, list the posts to confirm the content came across, and check that siteurl and home now read your target address. Then request the front page and a single post over HTTPS to confirm nginx serves them and permalinks resolve.
sudo -u www-data wp post list --path=/var/www/wp \
     --post_type=post,page --fields=ID,post_title,post_status
curl -sI https://your-domain/your-first-post/ | head -1
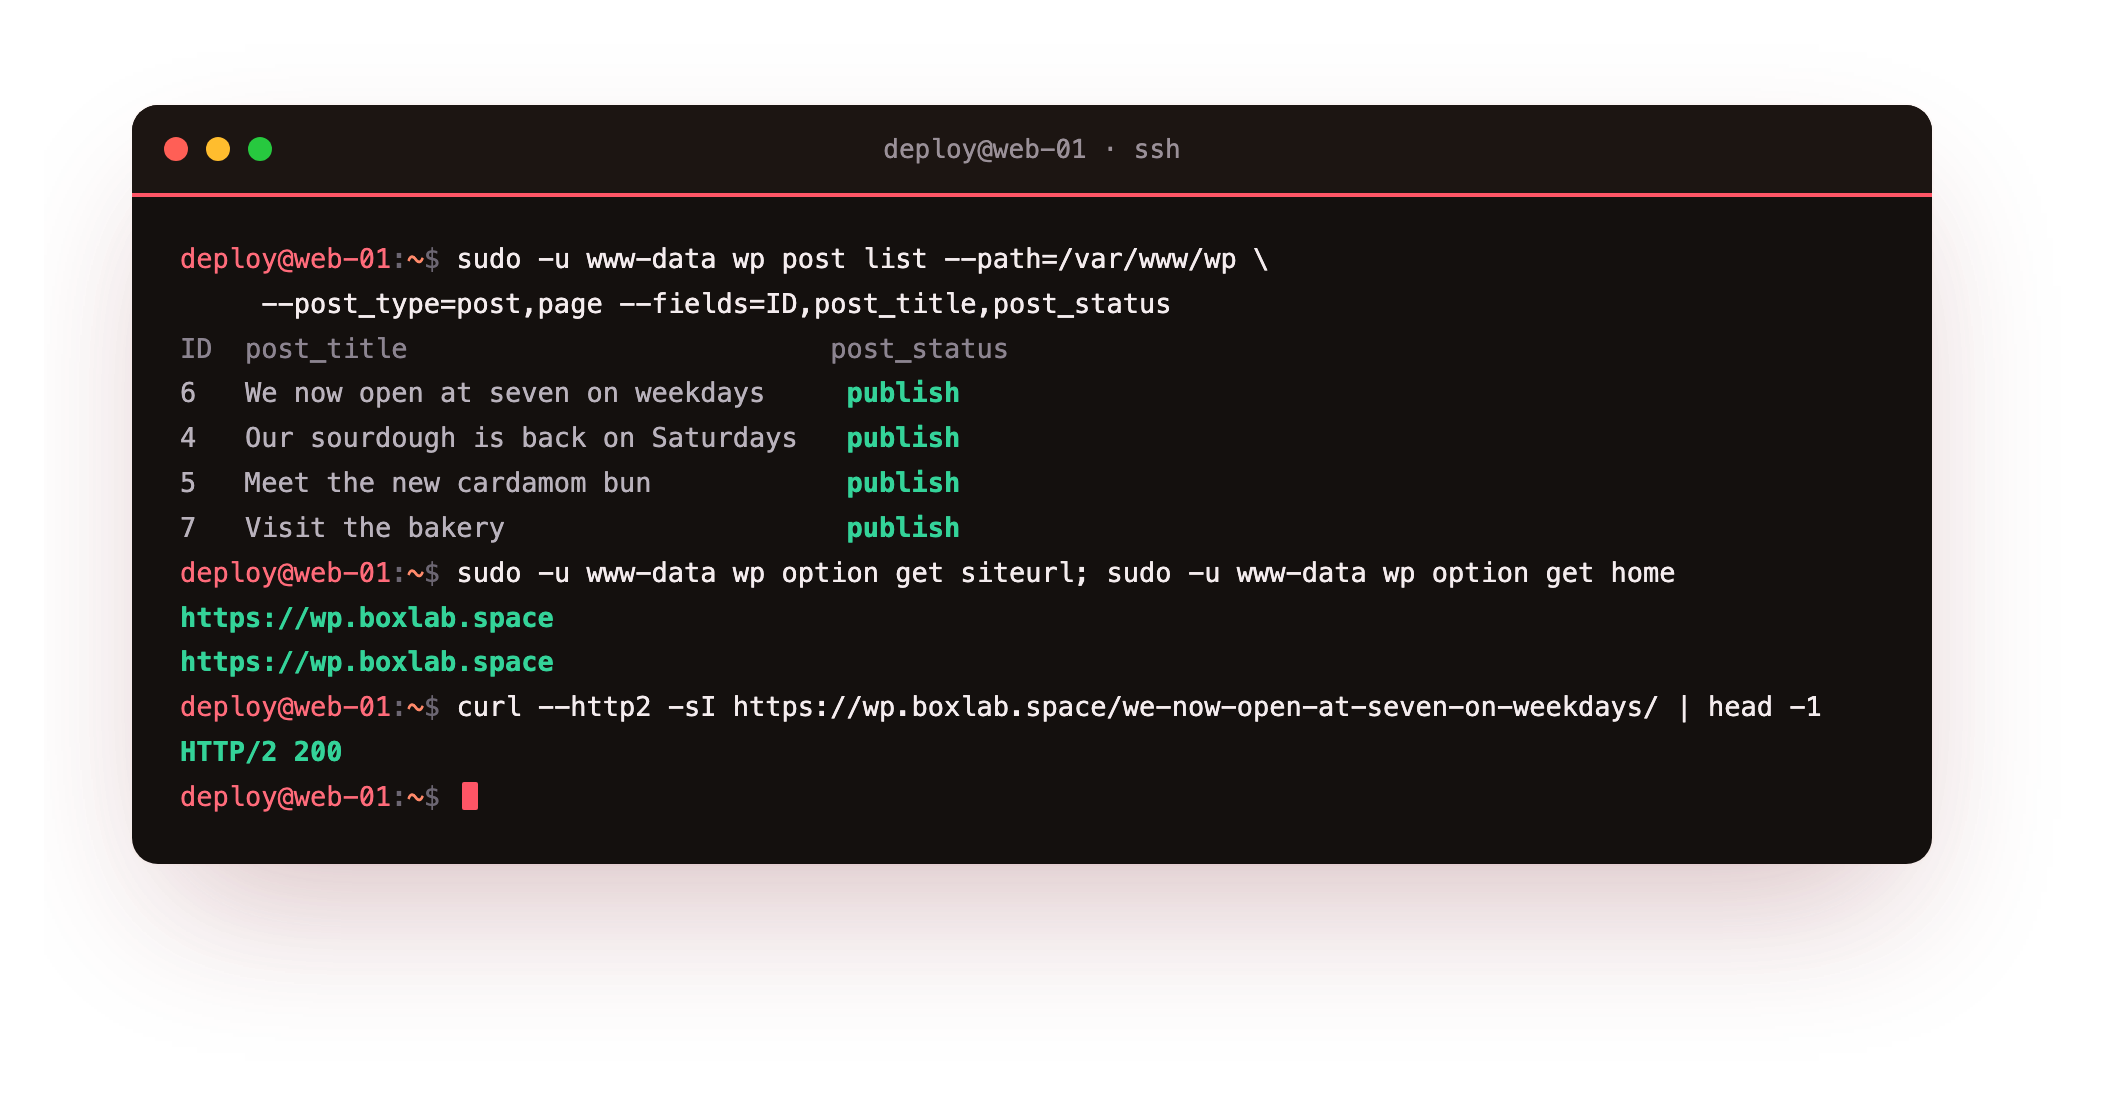
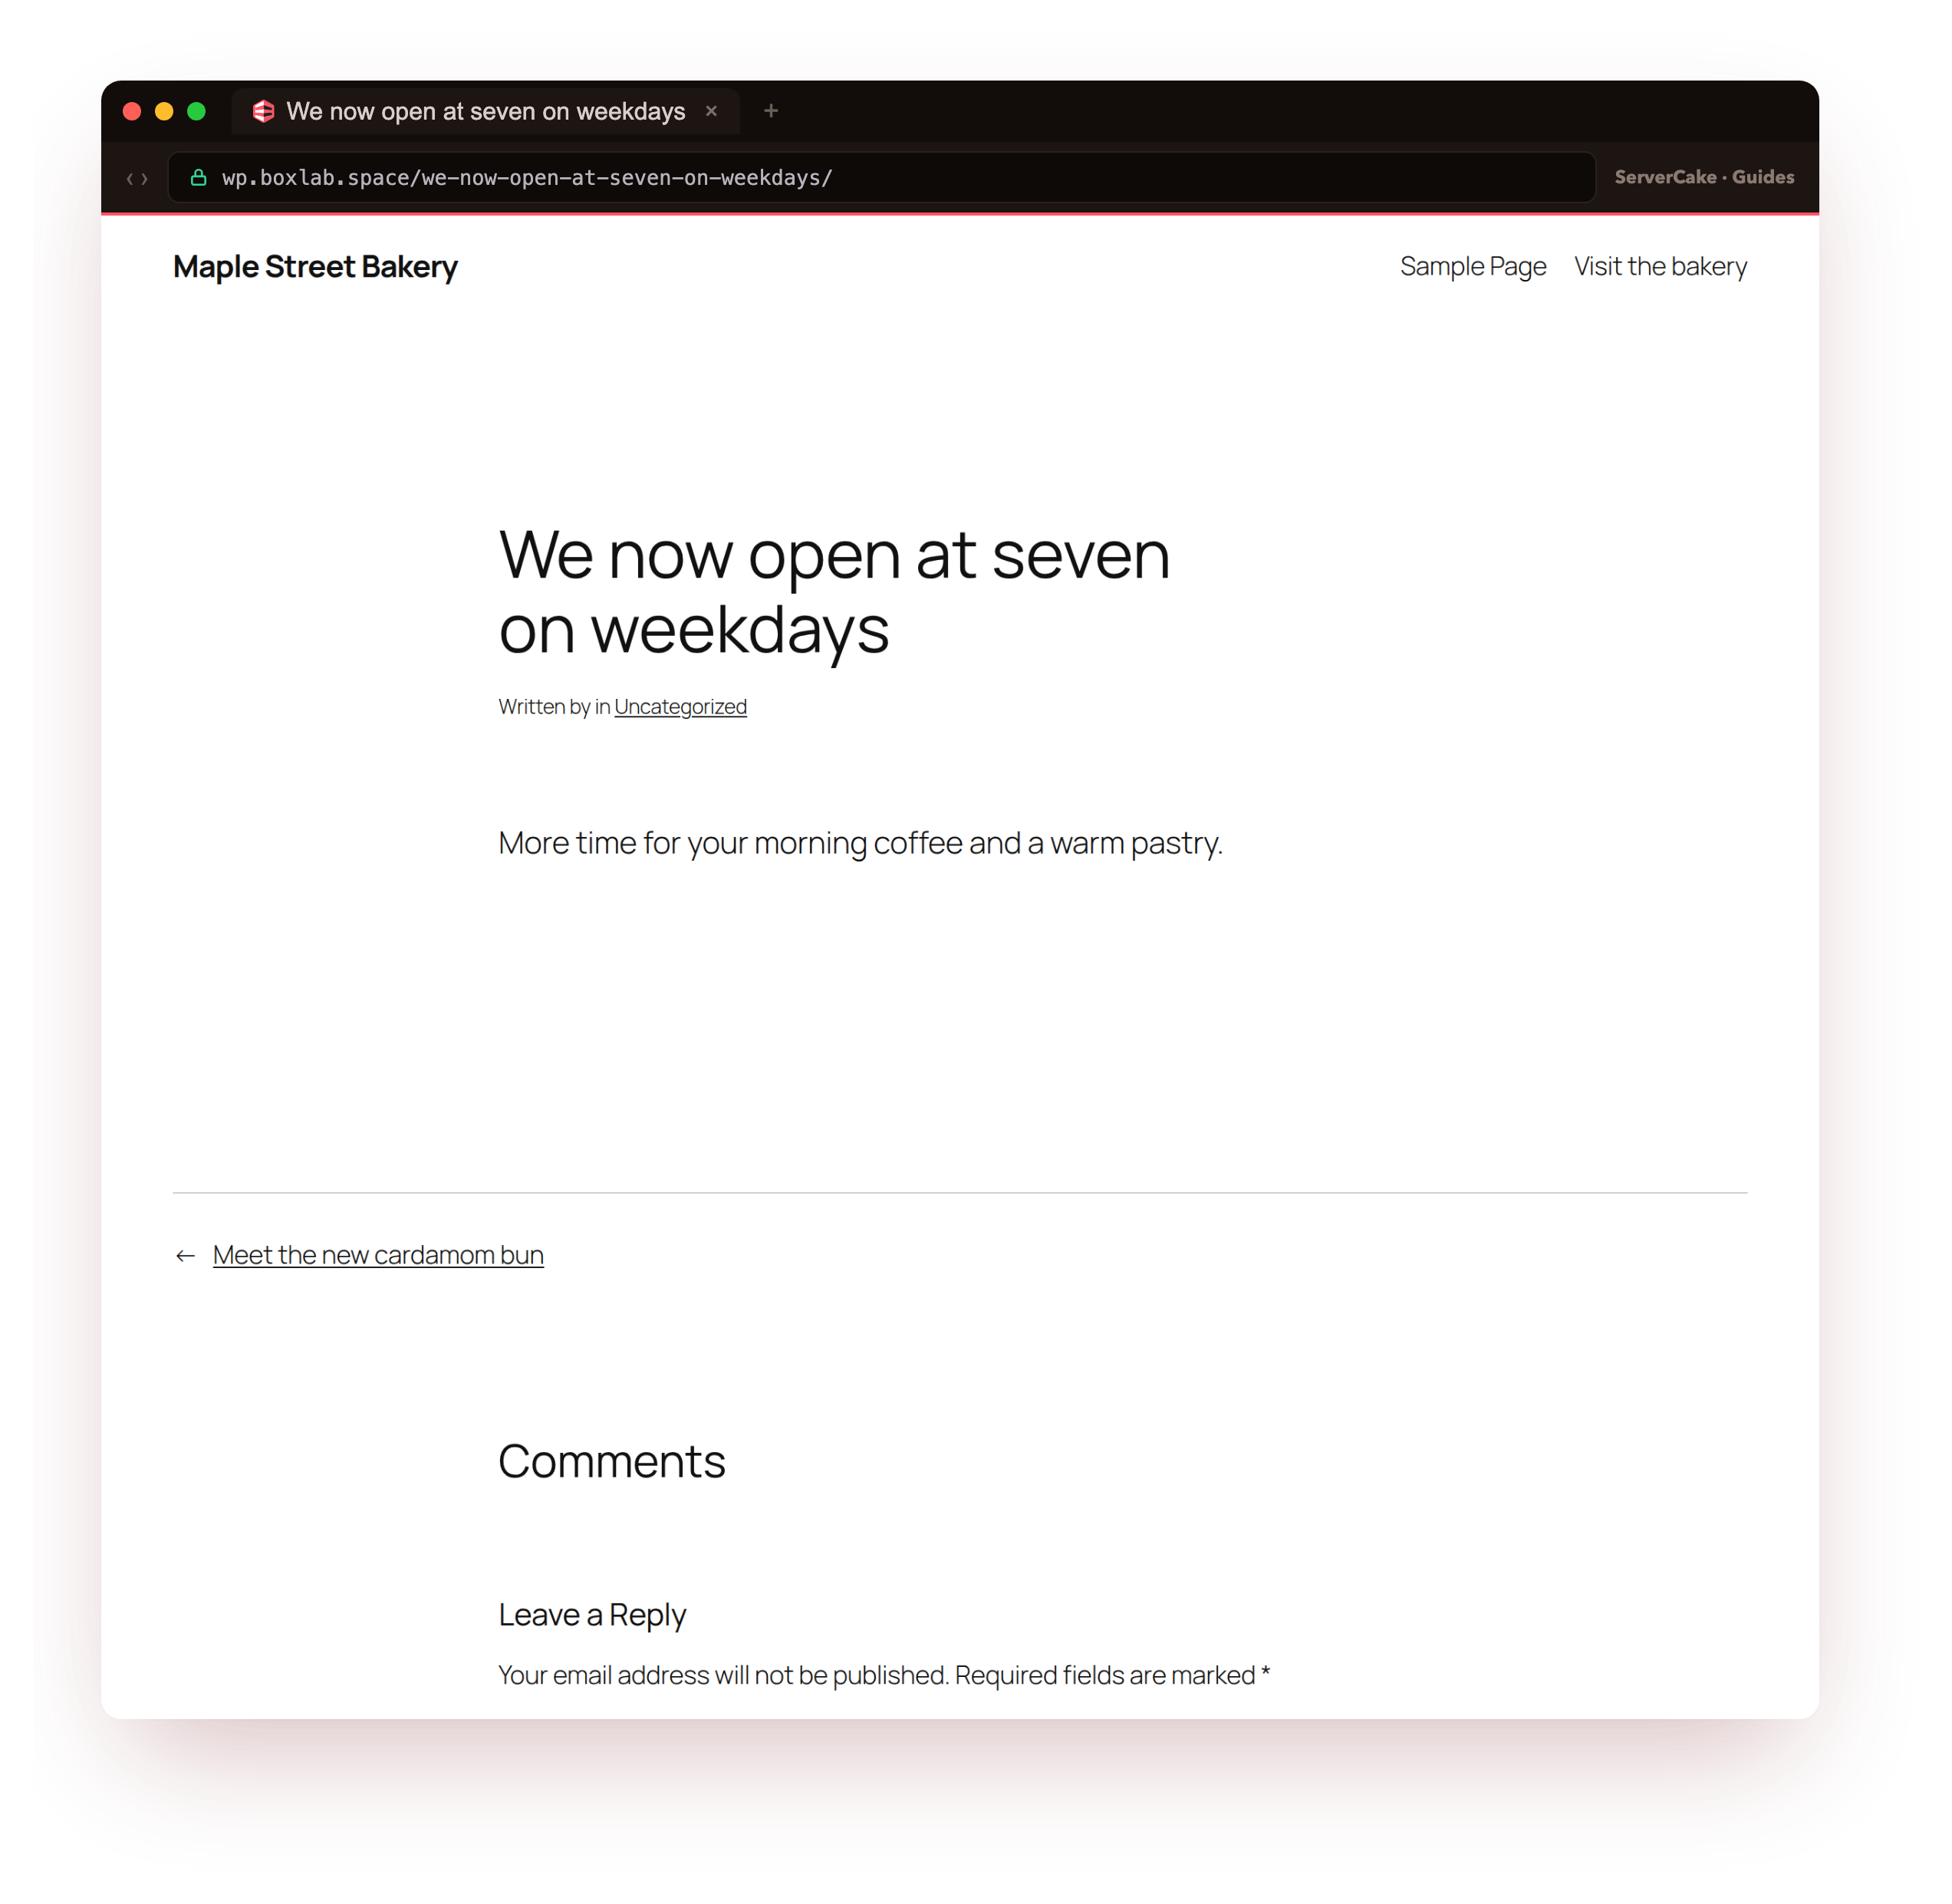
Two HTTP 200 responses, one for the home page and one for a real post at its pretty permalink, mean the migrated site is fully working on the slice. This is the moment to cut over, and the trick to doing it without an outage is preparation.
A day ahead, lower your domain's DNS time-to-live to five minutes in your DNS panel so the switch propagates fast. When you are ready, run one last delta sync to catch anything that changed on the old site while you worked, confirm the slice still answers, then repoint the domain's A record at your slice.
# the final delta sync before you flip DNS
rsync -a /path/to/old/wp-content/ deploy@your-slice:/var/www/wp/wp-content/
curl -sI https://your-domain/ | head -1
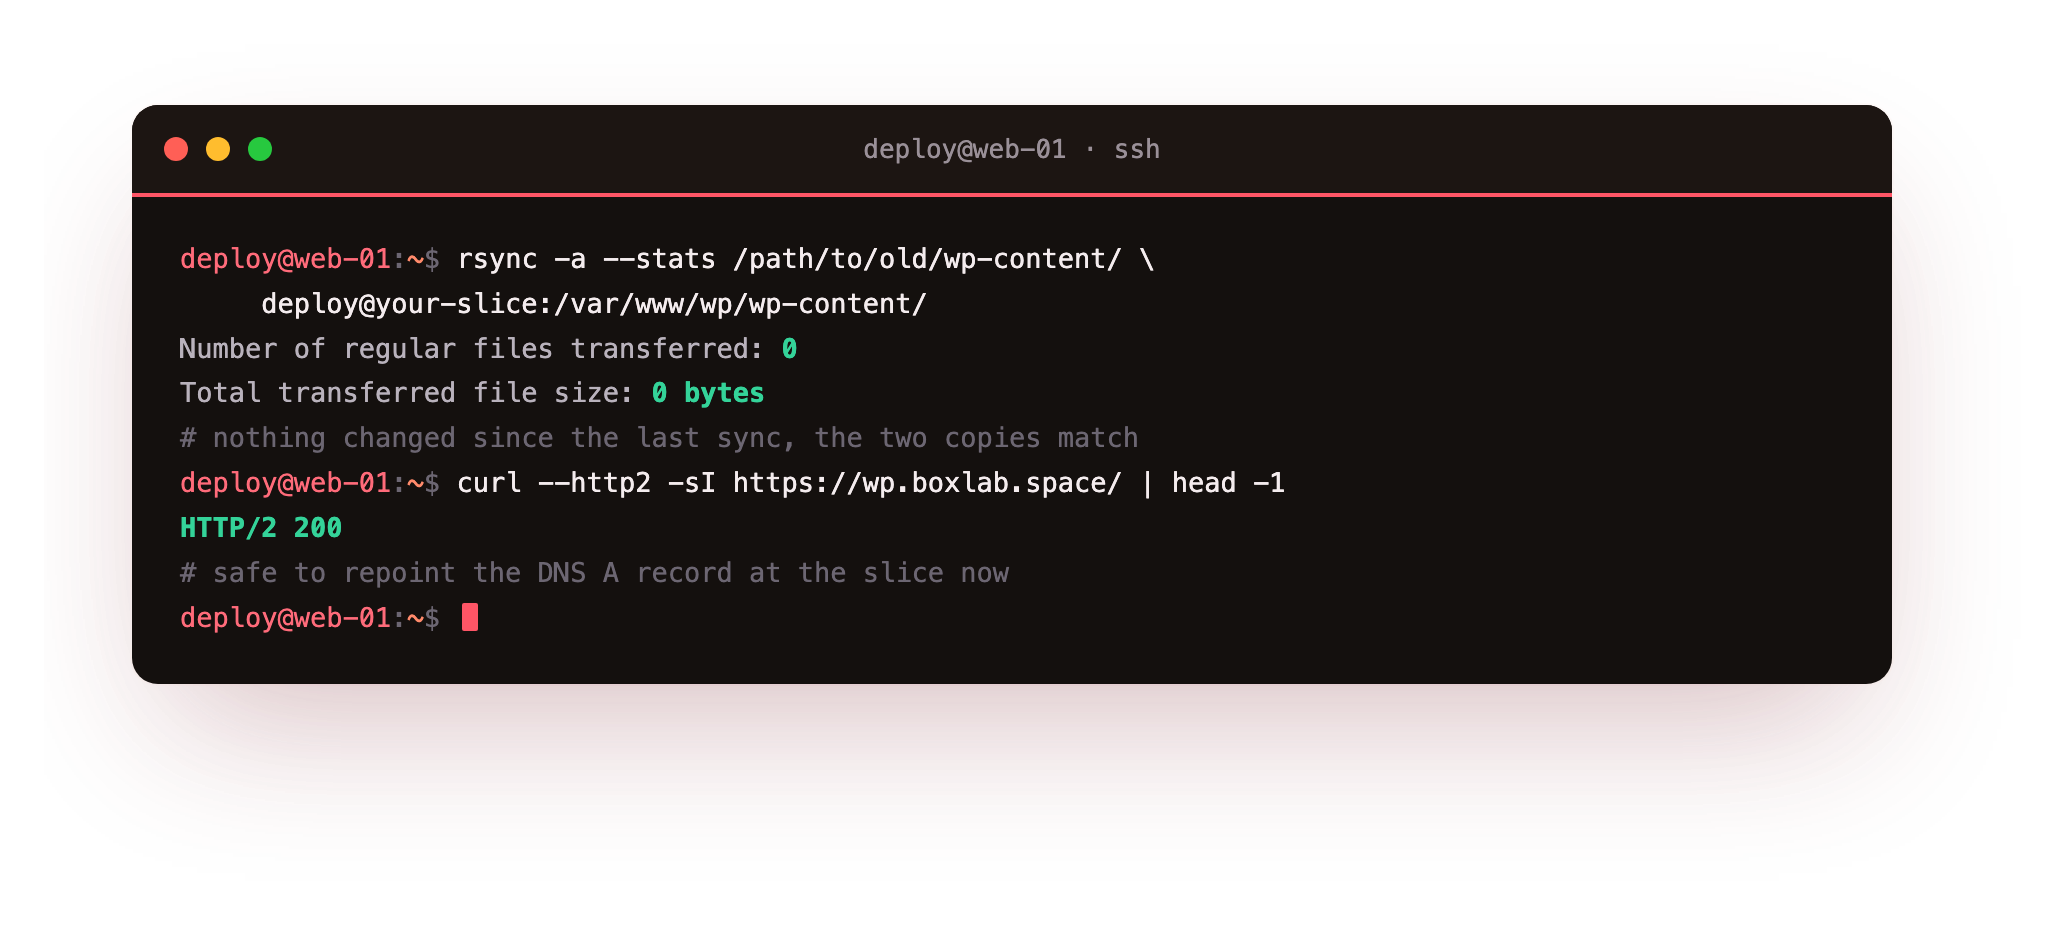
A delta sync that transfers nothing means the two copies already match, so you can flip DNS knowing the slice is current. Point the A record at your slice's public IP and, if you want to watch it move, run dig +short your-domain until it returns the new address.
Because the old host keeps serving until DNS moves, and the low TTL means the change takes minutes not hours, visitors never hit a closed door. Traffic drains from the old host to the slice as caches expire, and the site you just built takes over.
After the move
The site is live on your slice, so give it the habits that keep it healthy. Take a first backup now, both the files and a fresh database dump, and store it off the slice, because a backup on the same machine is not a backup. Then turn on automatic updates so the site stays patched without you watching it.
# your first backup on the new slice
sudo tar -czf ~/wp-backup.tar.gz -C /var/www/wp wp-content
sudo -u www-data wp db export ~/wordpress.sql --path=/var/www/wp
sudo -u www-data wp plugin auto-updates enable --all --path=/var/www/wp
sudo -u www-data wp theme auto-updates enable --all --path=/var/www/wp
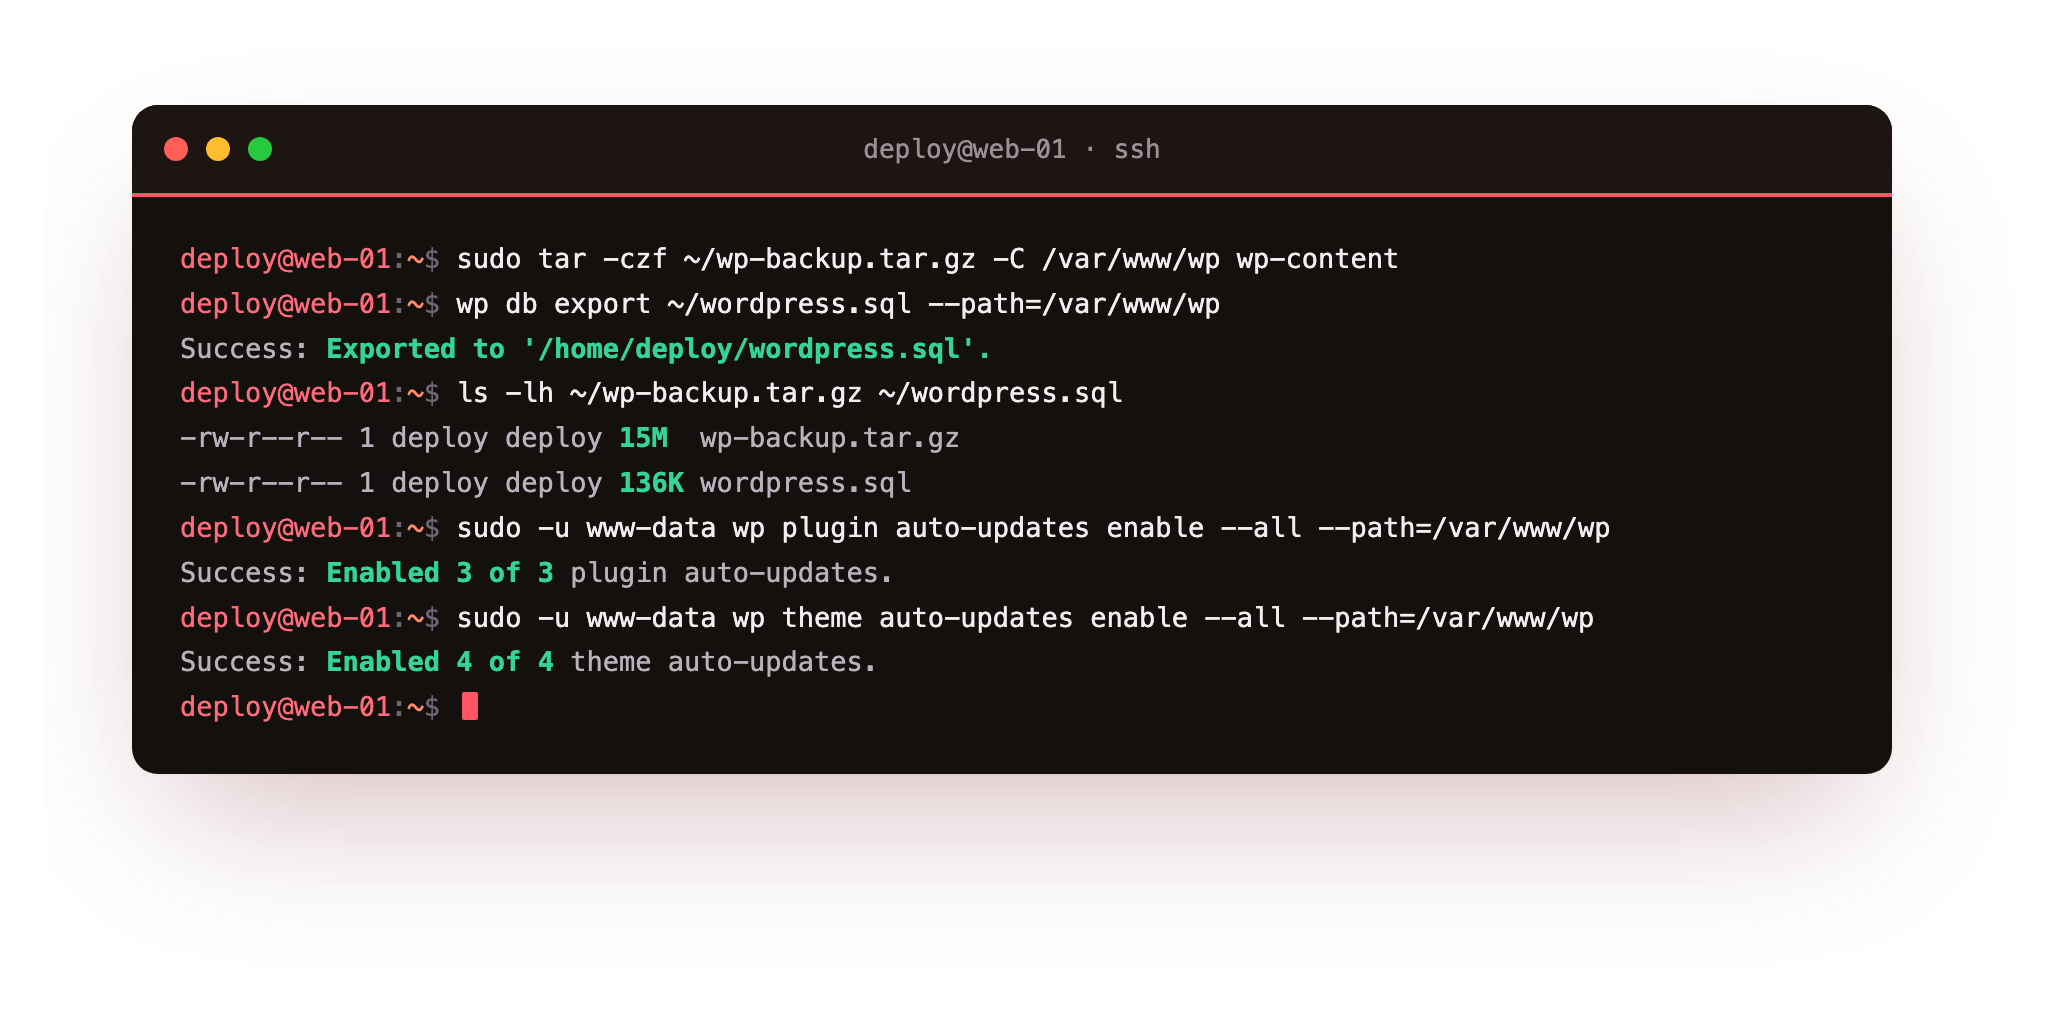
Leave the old host running for a week or two as a safety net, then decommission it once you are sure the slice is serving all your traffic and your backups are landing. Cancel the old plan only after you have a working backup off the slice and have watched the new site handle real visitors. That is a complete move: the same site, now on infrastructure you own, with a clean database, a real certificate and a backup in hand.
Frequently asked questions
Will migrating WordPress to a VPS cause downtime?
It does not have to. The method in this tutorial builds the whole copy on the slice while the old host keeps serving traffic, so the only switch is a DNS change at the very end. Lower your DNS time-to-live to five minutes a day before, run a final delta sync just before you flip the record, and visitors move from the old host to the slice over a few minutes as caches expire. Done in that order, nobody sees an outage.Do I need a migration plugin to move WordPress to a VPS?
No. A plugin can be convenient on a host where you have no shell, but on a VPS you have SSH, and the manual path in this tutorial is more reliable for a large site. Plugins pack everything into one archive that can time out or run short of memory on a big uploads folder. Copying the files with rsync and the database with mysqldump has no size ceiling, resumes if a transfer drops, and shows you exactly what moved.Why use wp search-replace instead of a SQL find and replace?
Because WordPress stores some settings as serialized PHP, where each string is prefixed with its own length. A plain SQLREPLACE changes the text but not the recorded length, which breaks the serialized value and can blank out widgets, theme options or plugin settings. wp search-replace understands the format, rewrites the string and fixes the length in the same pass, so it is safe across every table. Always run it with --dry-run first to see the count.
What should I do with the old host after the migration?
Keep it running, untouched, for a week or two as a fallback. If anything looks wrong on the slice, you can repoint DNS back in minutes while you investigate. During that window, confirm the slice handles real traffic, checkout and forms work, and your off-slice backups are landing on schedule. Only then cancel the old plan. Decommissioning too early removes your safety net before you have proven the new setup under load.Running your site on your own slice means you own the whole stack: the files, the database, the certificate and the bill, with no per-site markup and no black box. When you are ready to make the move, a ServerCake slice gives you a clean Ubuntu 24.04 box in India, billed in rupees with GST, ready for exactly the steps above.