Hands-on guide series
Caddy: the Auto-HTTPS Web Server, A Hands-On Guide
A five-part, hands-on guide to running Caddy on a single slice: install it from the official repo and read the Caddyfile, serve a static site with automatic HTTPS, reverse proxy an app with load balancing and websockets, serve PHP over FastCGI, and harden it for production. Every command verified on a live Ubuntu 24.04 server.
What you will build
Security is layers, not a switch. Each part closes a different category of attack, from the automated sweep that finds a brand-new server, to the day one gets in anyway. Read them in order, or jump to what you need.
- 1
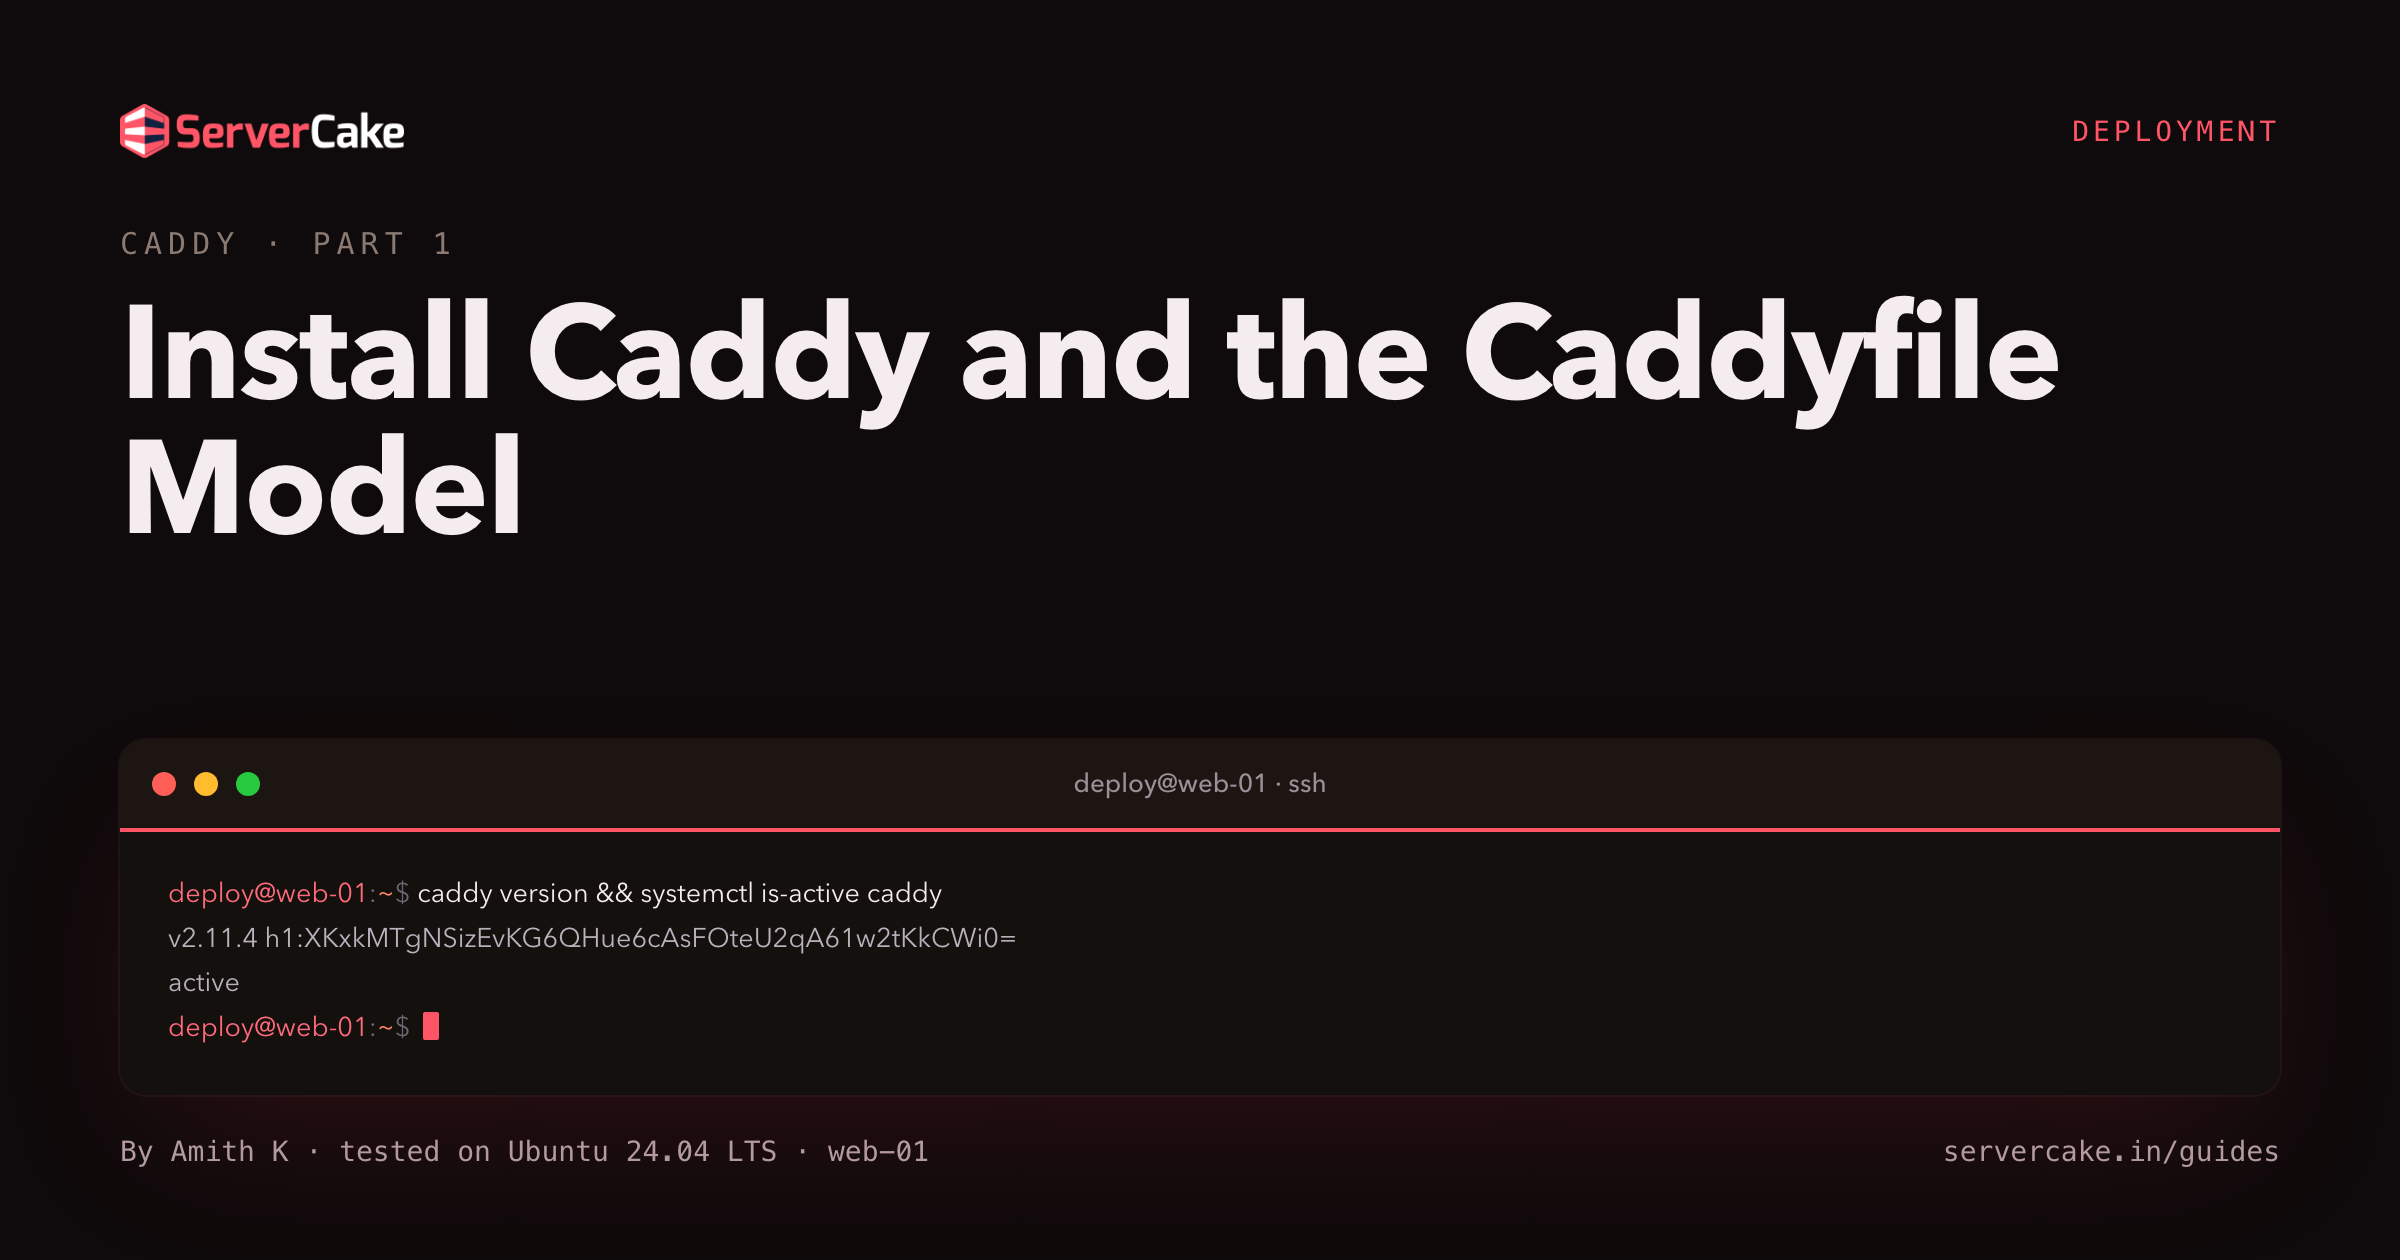 Install Caddy and the Caddyfile ModelSee a live HTTPS site first, then install Caddy on a bare Ubuntu 24.04 slice from the official apt repo and meet the Caddyfile that replaces the nginx config tree.9 min
 - 2
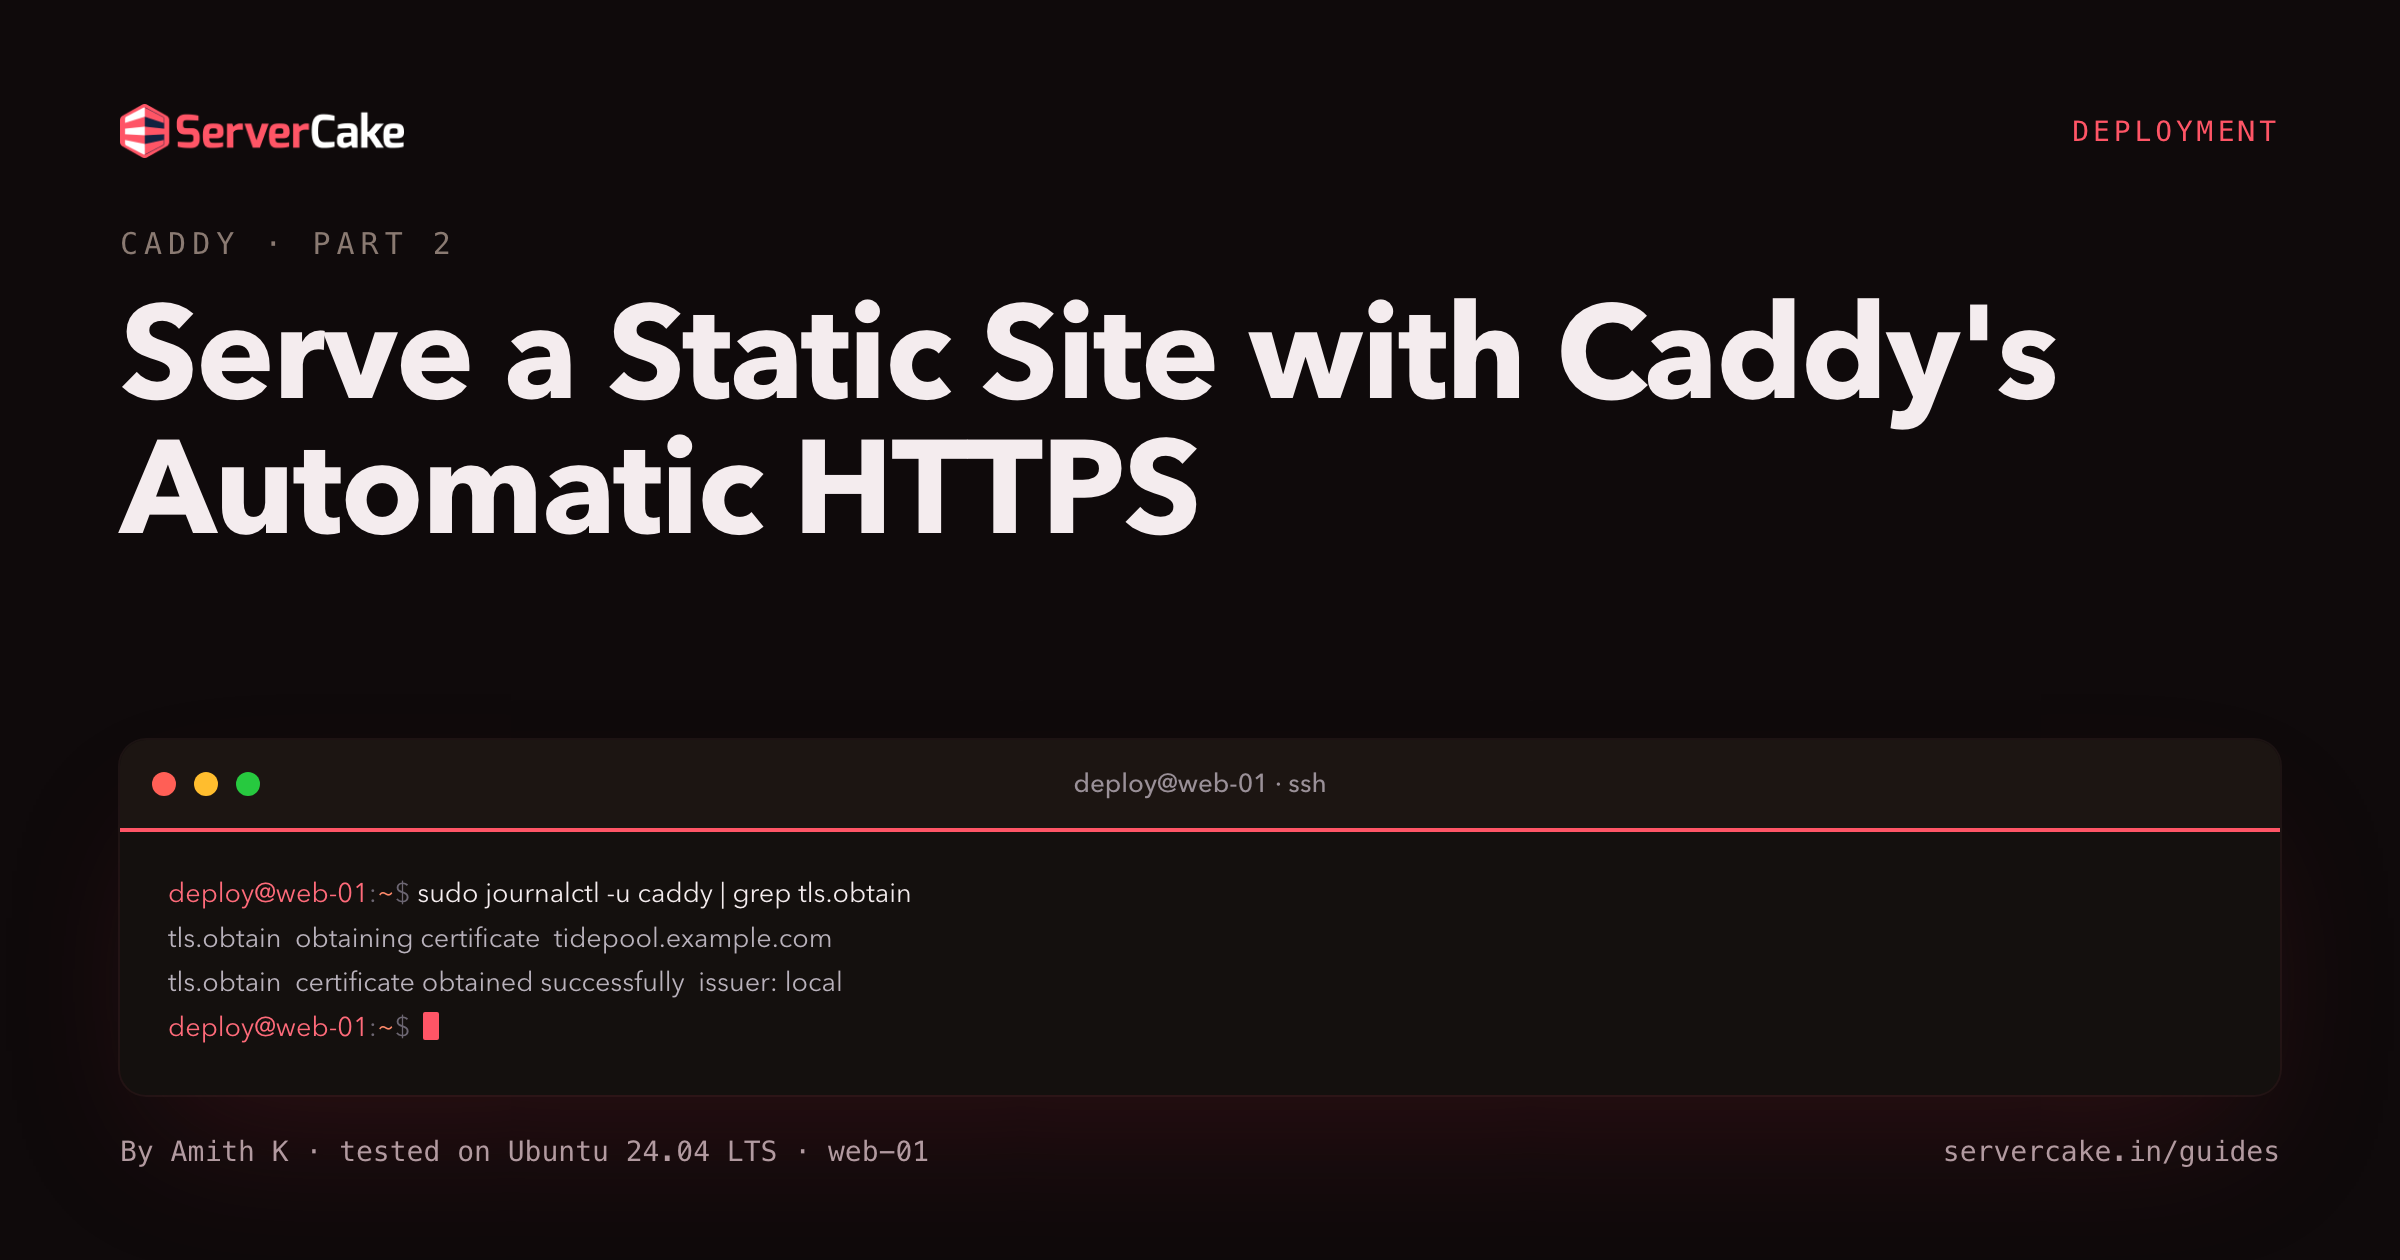 Serve a Static Site with Caddy's Automatic HTTPSPoint Caddy at a domain and watch its automatic HTTPS obtain a certificate with zero config, then load the static site over TLS 1.3 in a browser.8 min
 - 3
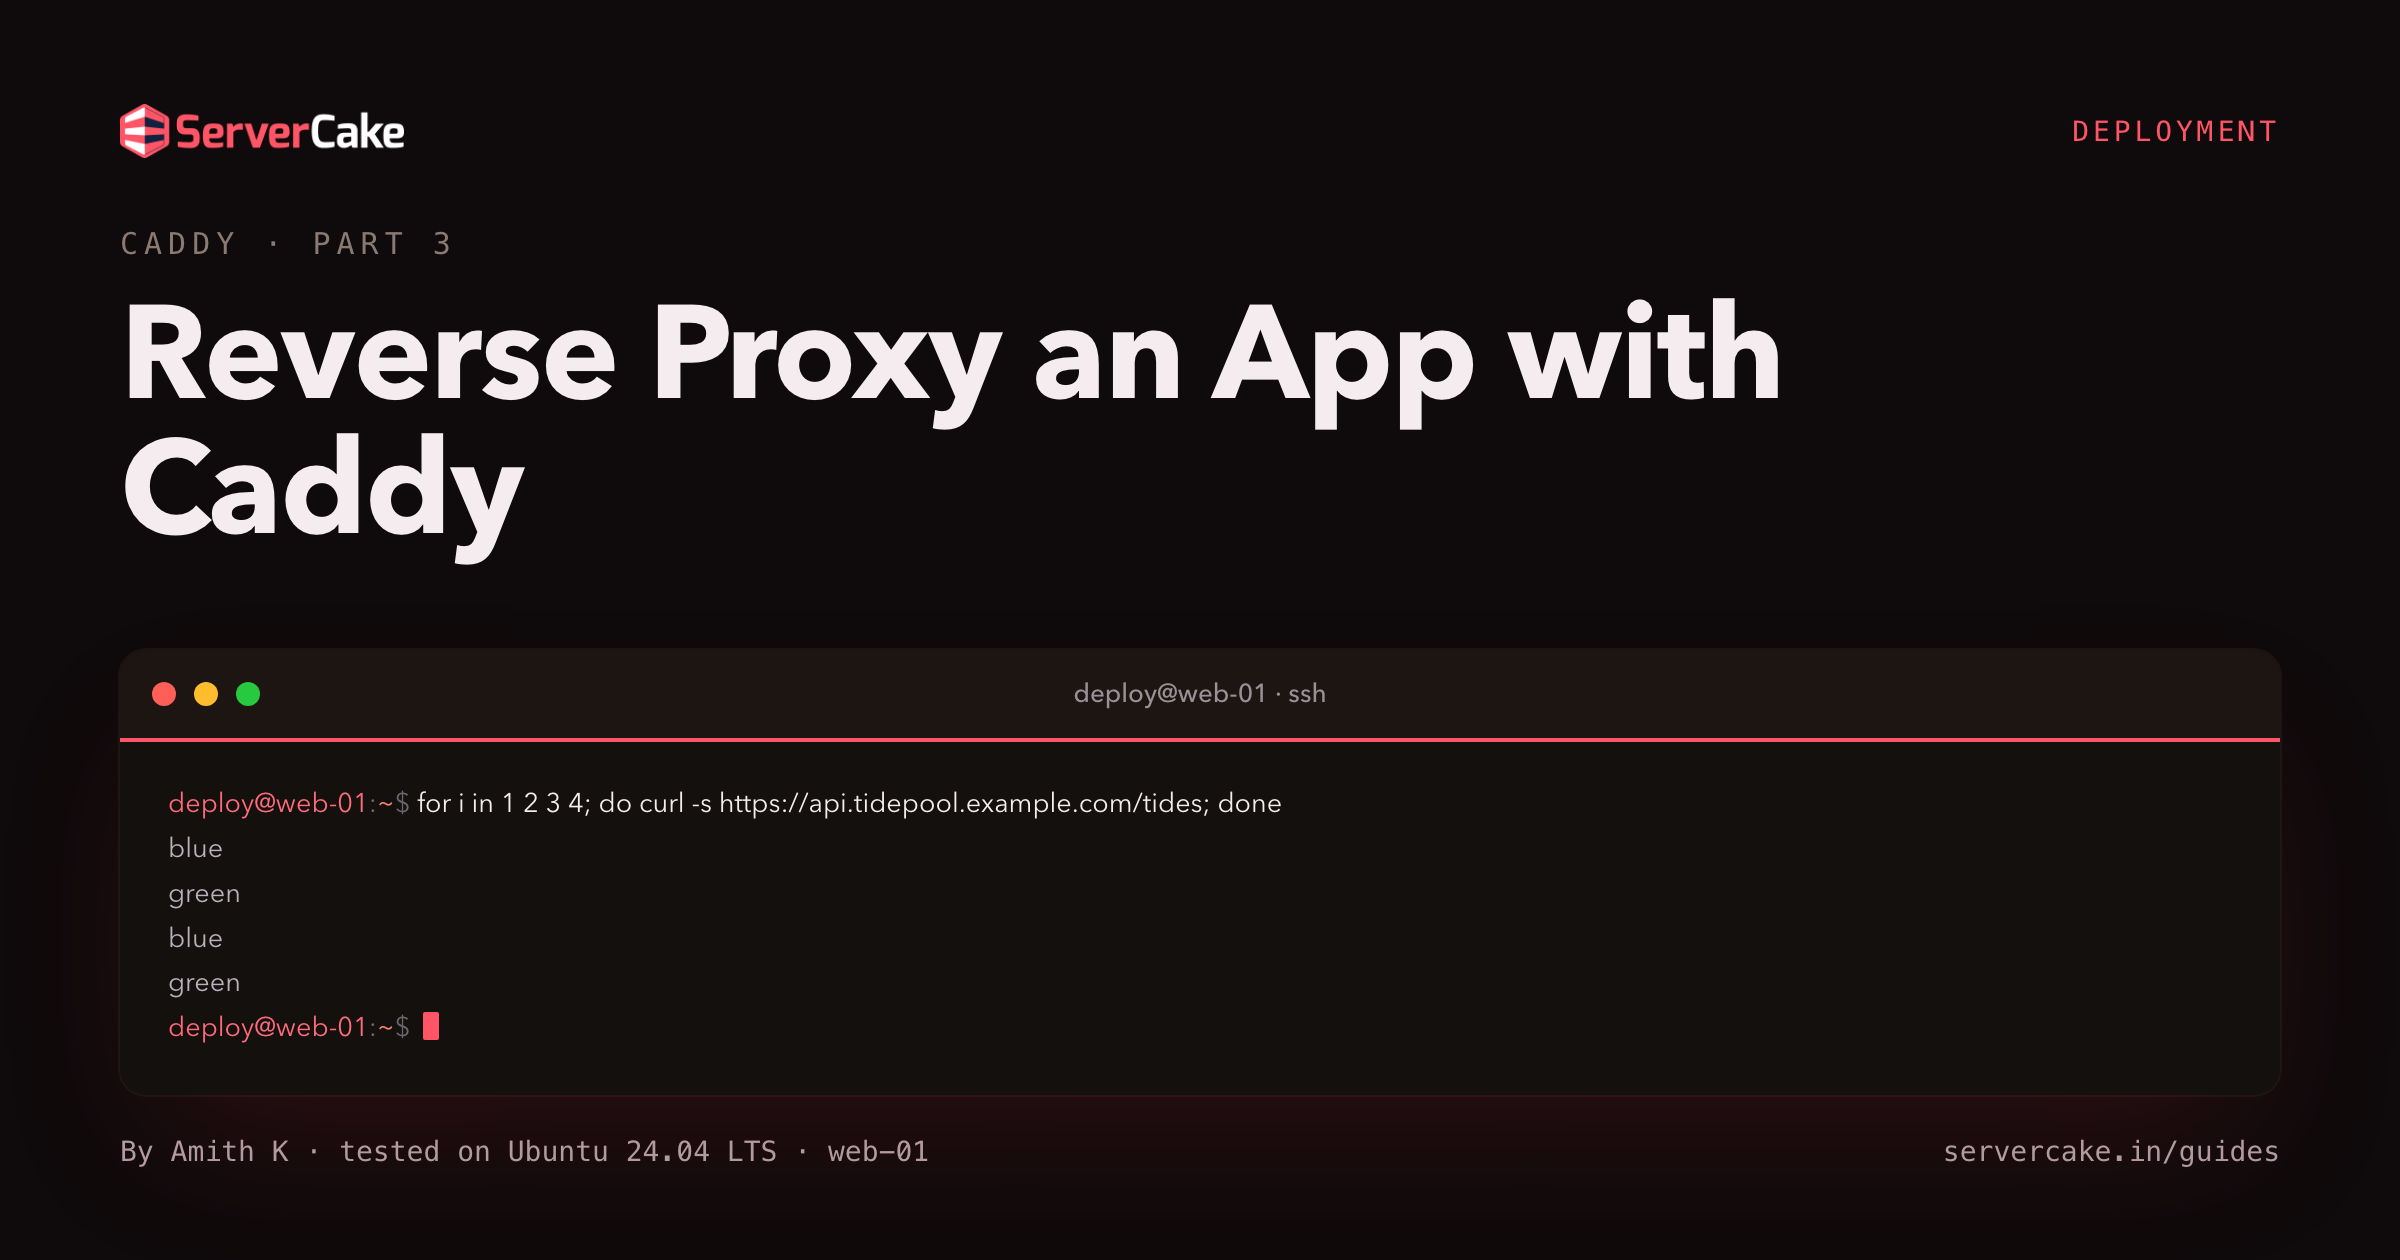 Reverse Proxy an App with CaddyPut a Caddy reverse proxy in front of an app: forwarded headers, transparent websockets, and round-robin load balancing across two backends with health checks.8 min
 - 4
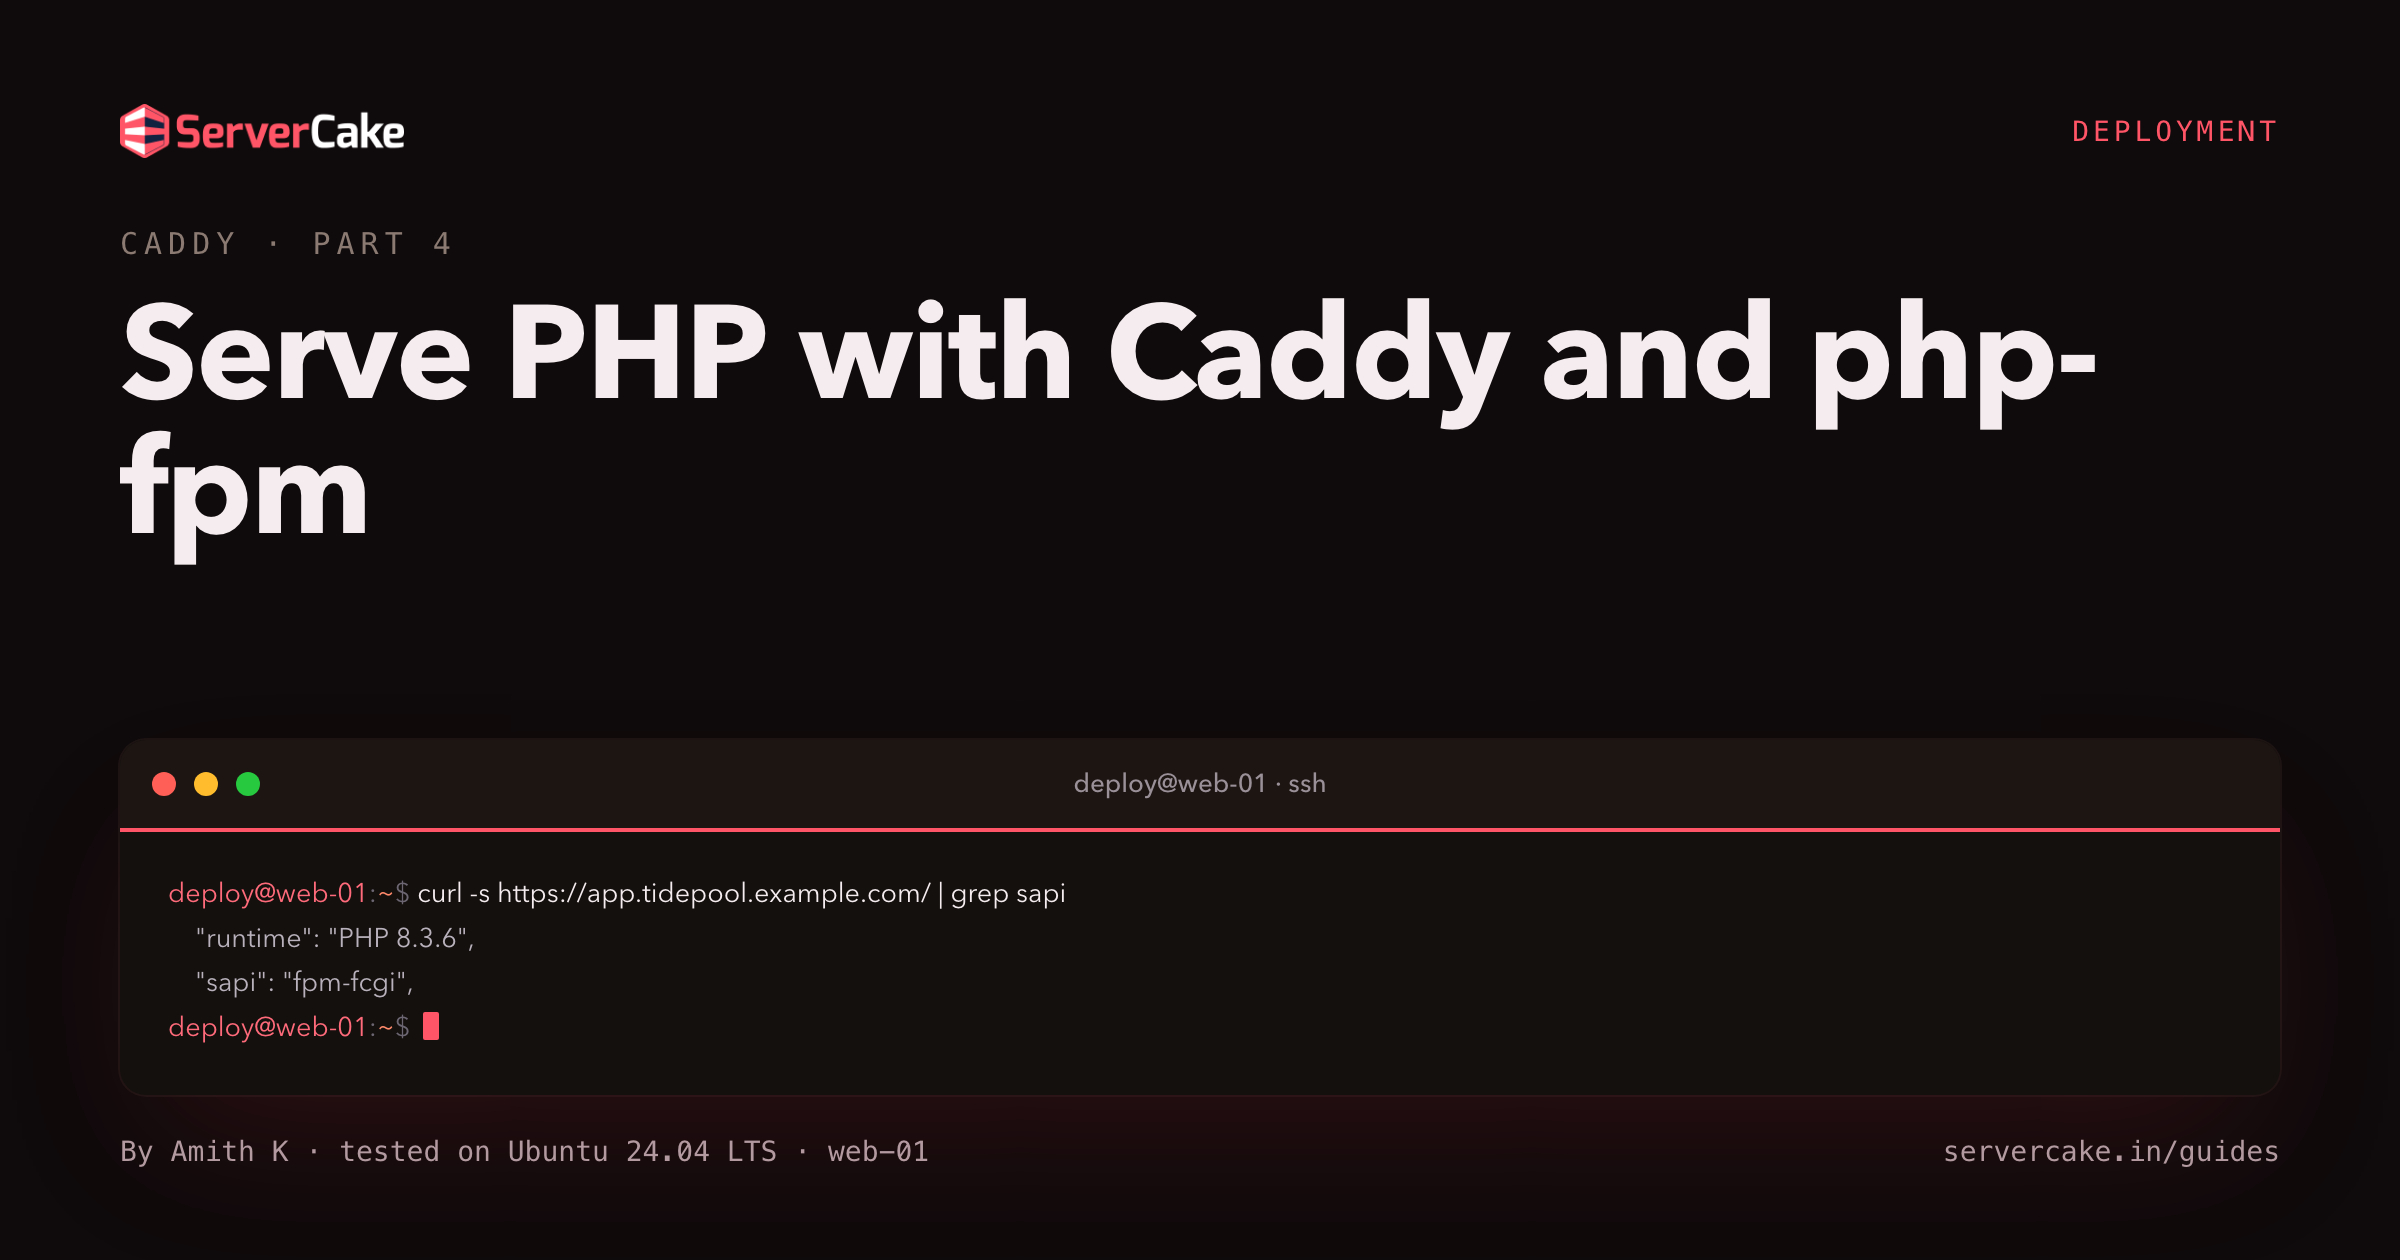 Serve PHP with Caddy and php-fpmServe PHP with Caddy by wiring php_fastcgi to php-fpm on Ubuntu 24.04, then watch a dynamic page execute over HTTPS through a single directive.8 min
 - 5
 Production Caddy: Headers, Logging and Rate LimitingTake Caddy to production: security headers, structured JSON logging, rate limiting, systemd hardening, and a graceful reload that swaps config with no downtime.9 min