Why the first hour of Linux server hardening matters
Linux server hardening is the work of closing the doors an automated scanner will try the moment your machine gets a public IP. This guide covers the first hour of it: eight changes you make before you deploy anything, each one tested on a real VPS.
- The first hour is eight reversible changes: a non-root sudo user, key-only SSH, a firewall, fail2ban, automatic security updates, a correct clock, and an audit of listening services.
- A brand-new public IP is found by automated scanners within minutes, so make these changes before you deploy anything, not after you launch.
- Every step ends with a command that proves it worked; on Ubuntu 24.04 the one that catches almost everyone is the cloud-init drop-in that silently re-enables password login.
- Keep your current SSH session open until a second terminal confirms the new login, so a mistyped setting can never lock you out.
Most people think a new server is safe because nobody knows it exists yet.
That is the most expensive assumption in hosting.
The moment your server gets a public IP, it is found. Not in a week. Not after you launch. Within minutes. There are machines whose entire job is to sweep every address on the internet, knock on the common doors, SSH, databases, admin panels, and try the passwords everyone forgets to change. Your server does not have to be important. It just has to be reachable.
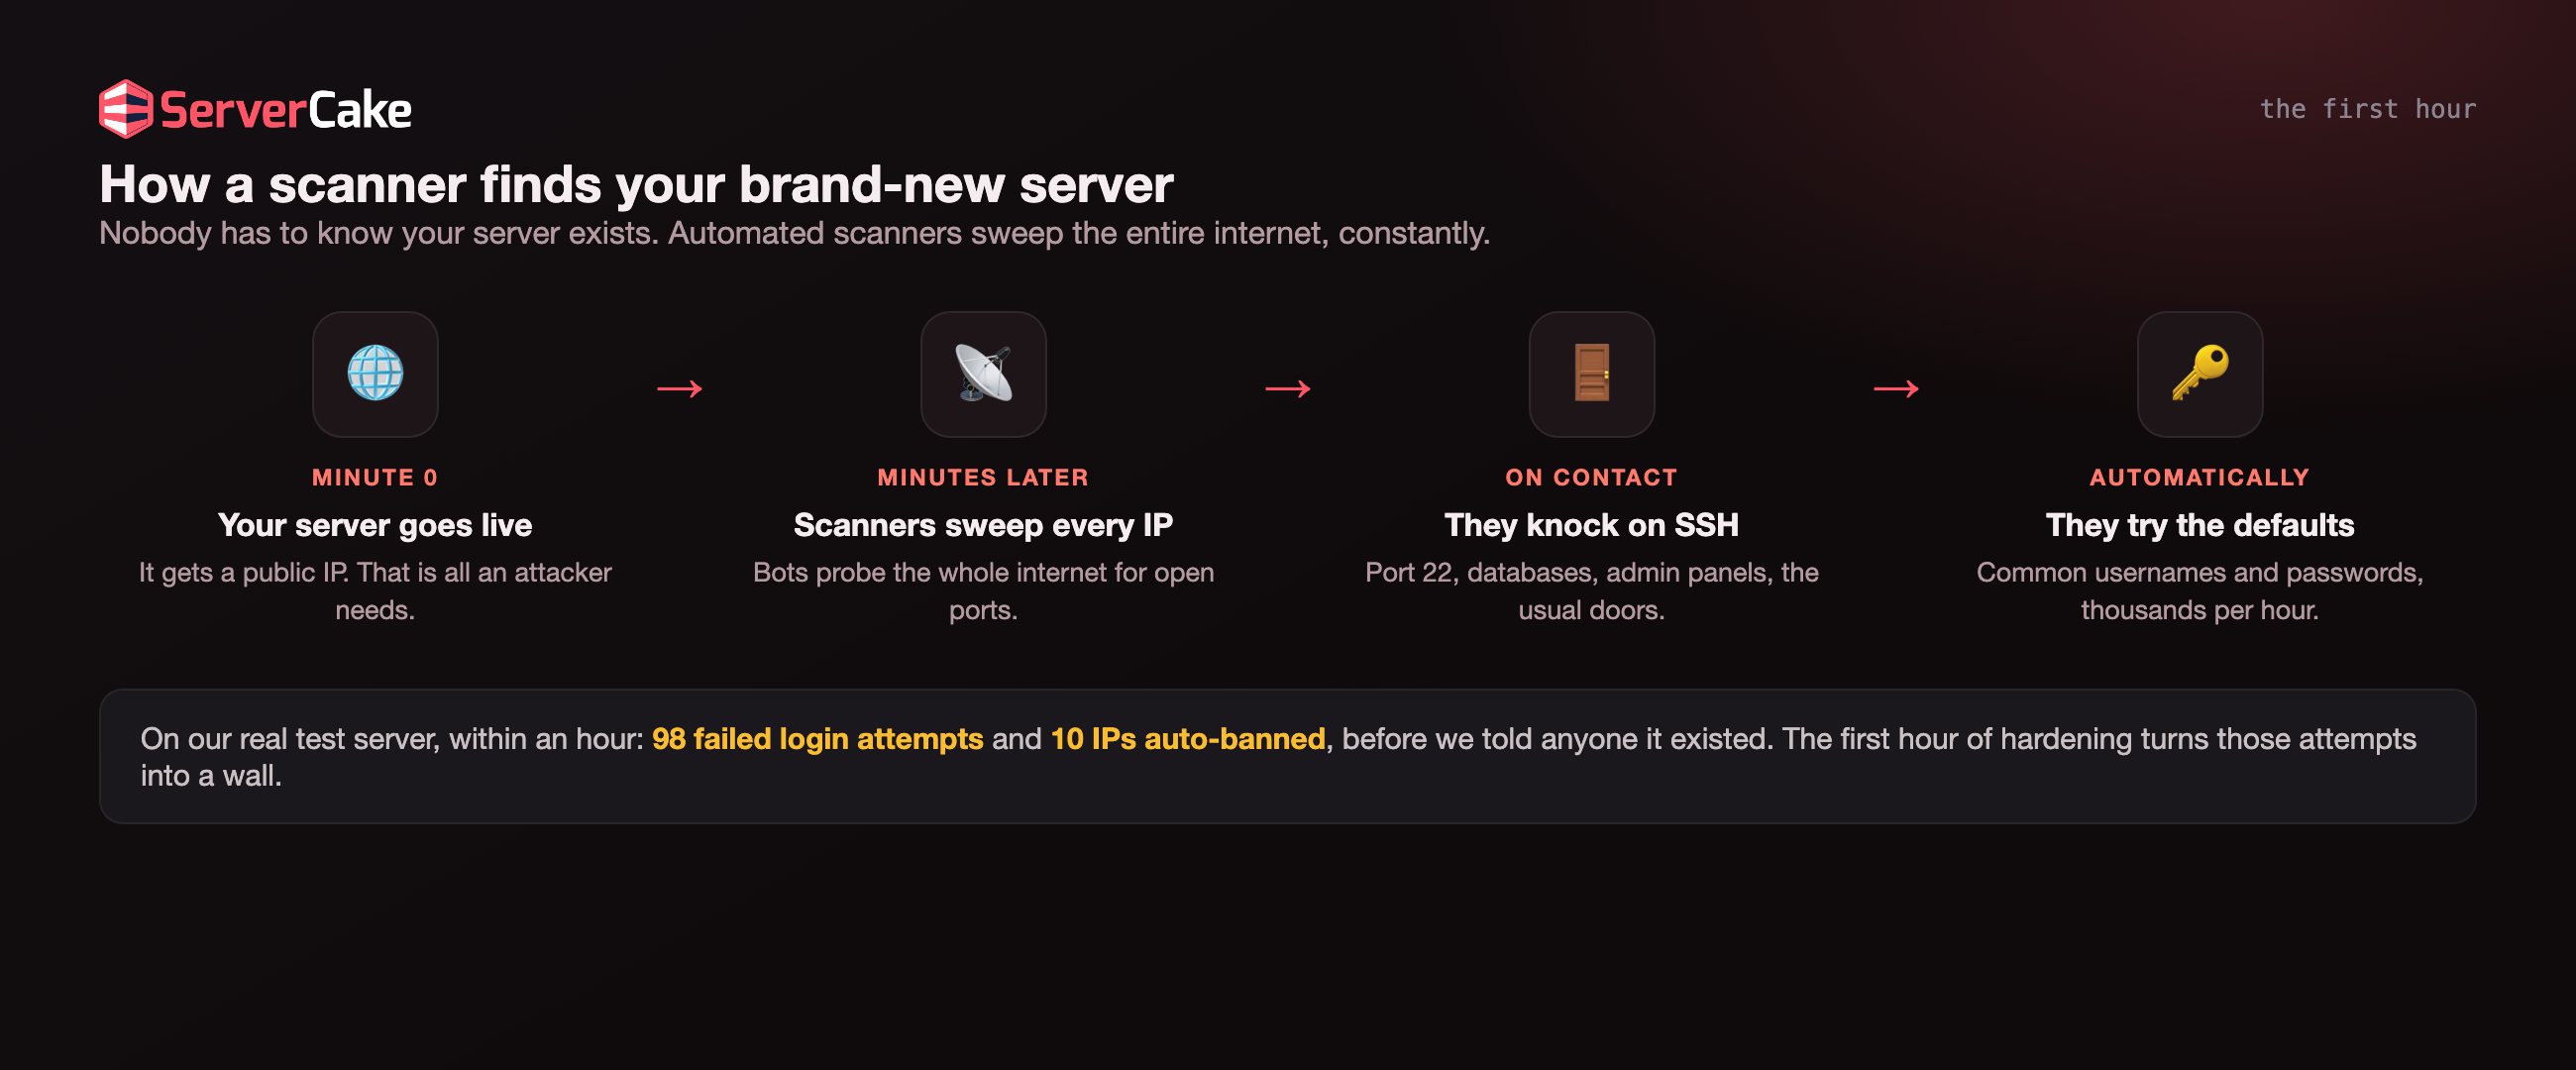
I have run infrastructure for more than a decade, and I have watched this happen thousands of times across the businesses we host. The server that gets compromised is almost never the one someone attacked cleverly. It is the one that sat for a day with password login open and a weak root password, while an automated script did what automated scripts do.
Here is the good news: the defence is not clever either. Closing the doors that scanners try takes about twenty minutes and eight changes. Do them in the first hour, before you deploy anything, before you point a domain at it, and your server stops being the low-hanging fruit that gets picked.
This guide is that first hour. Every step tells you what to do, why it matters, and how to confirm it actually worked. Follow it top to bottom on a fresh Ubuntu 24.04 server (Debian works the same way), and you will end with a machine that no longer answers the internet's easiest questions.
Let's build.
Prerequisites
- A fresh Ubuntu 24.04 LTS (or Debian 12) VPS with a public IP, ideally one you can snapshot or rebuild if something goes wrong.
- Root, or the default sudo-capable user your provider created, plus the SSH address to reach it.
- A terminal on your own machine (macOS, Linux, or WSL on Windows) with the
sshandssh-keygencommands available.
Before you touch anything
One rule before the first command: keep your current terminal open until the very end.
Everything in this guide is reversible. But a mistyped firewall rule or SSH setting can lock you out of a server you have no other way into, and on a cloud VPS, "no other way in" means opening a support ticket or rebuilding. So the discipline is simple: when you change how you log in, you prove the new way works in a second terminal before you close the first one. Never burn the bridge you are standing on.
If your provider offers a one-click snapshot, take one now. A snapshot is a thirty-second insurance policy against the twenty minutes of changes you are about to make. If something goes wrong, you roll back and start again instead of rebuilding from scratch.
Now log in as root (or the default user your provider gave you) and let's begin.
Step 1: Create a user that isn't root
Root can do anything, with no confirmation and no safety net. That is exactly why you should stop using it for daily work. One wrong command as root is not a mistake, it is an incident. A normal user with sudo gives you the same power when you deliberately ask for it, and a moment of friction the rest of the time. That friction is the point.
adduser deploy
usermod -aG sudo deploy
The first command creates the user and prompts for a password. The second adds it to the sudo group, which is what grants administrative rights on Ubuntu (on Debian the group is the same once sudo is installed).
Verify it worked:
groups deploy
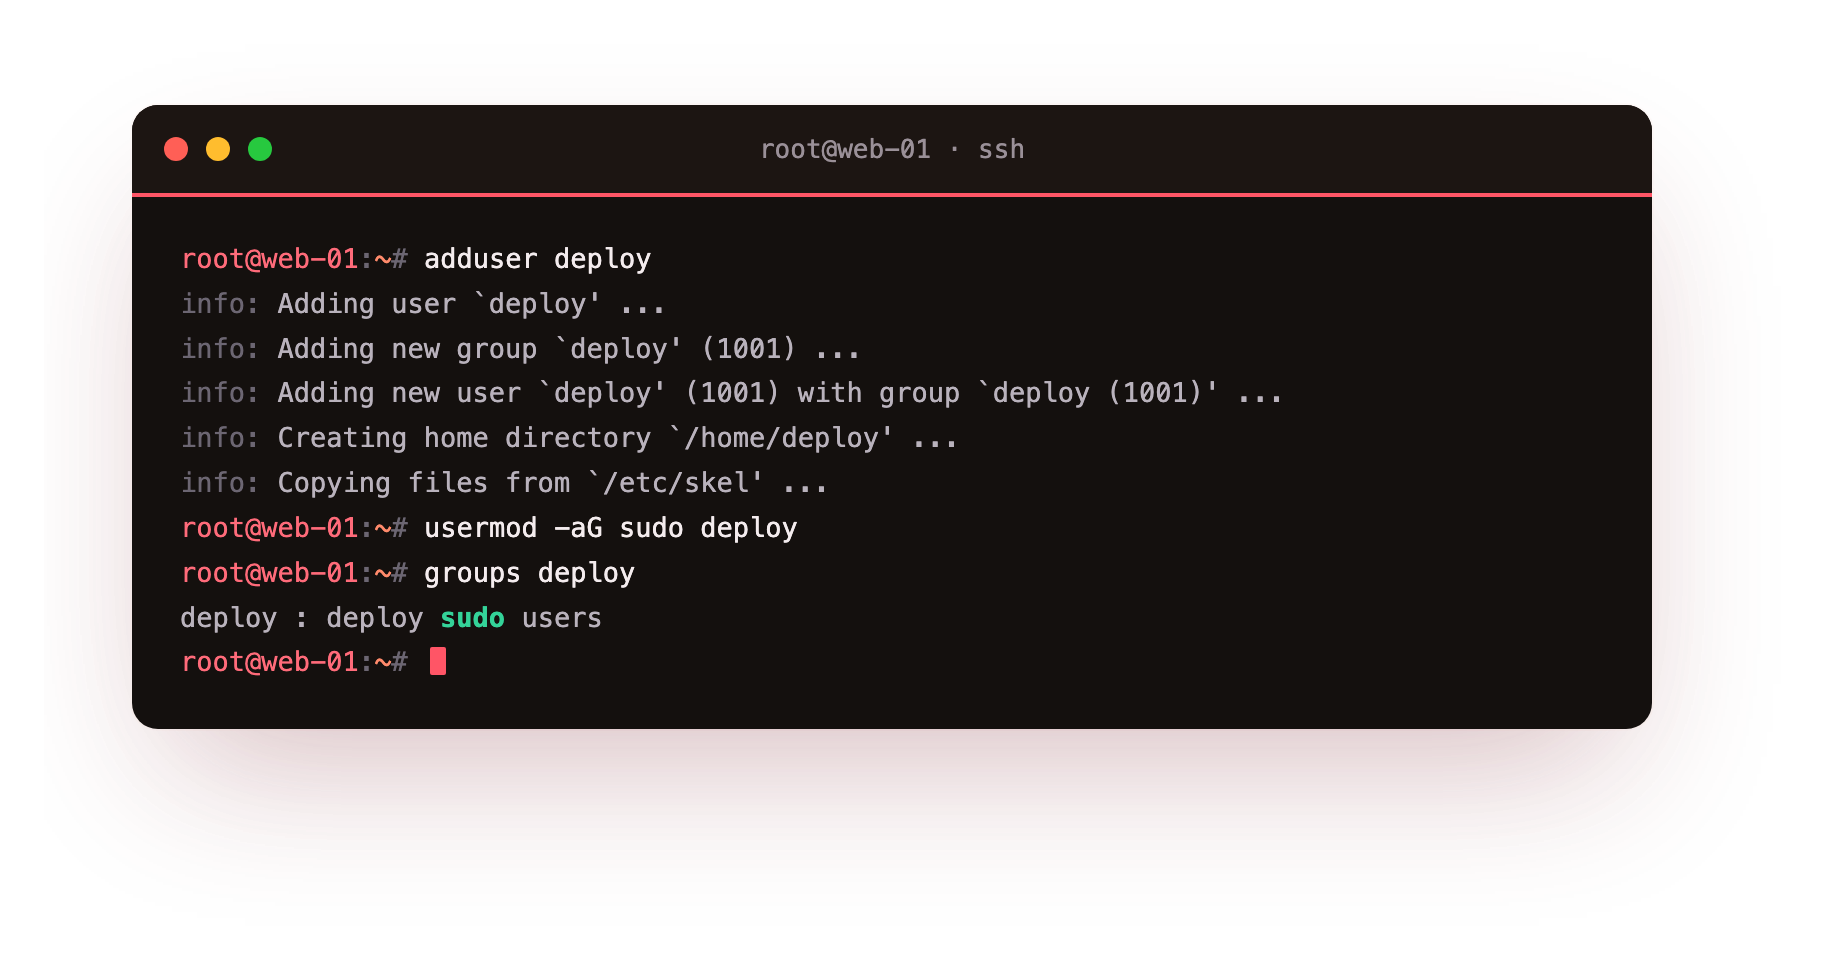
You should see sudo in the list. From here on, you operate as deploy and reach for sudo only when a task genuinely needs it.
Step 2: Log in with a key, not a password
A password can be guessed, leaked, reused, or brute-forced. An SSH key cannot: it is a cryptographic pair where the private half never leaves your laptop and the public half sits on the server. Switching to keys removes the single most common way servers get broken into.
On your own machine (not the server), create a key if you don't already have one:
ssh-keygen -t ed25519 -C "[email protected]"
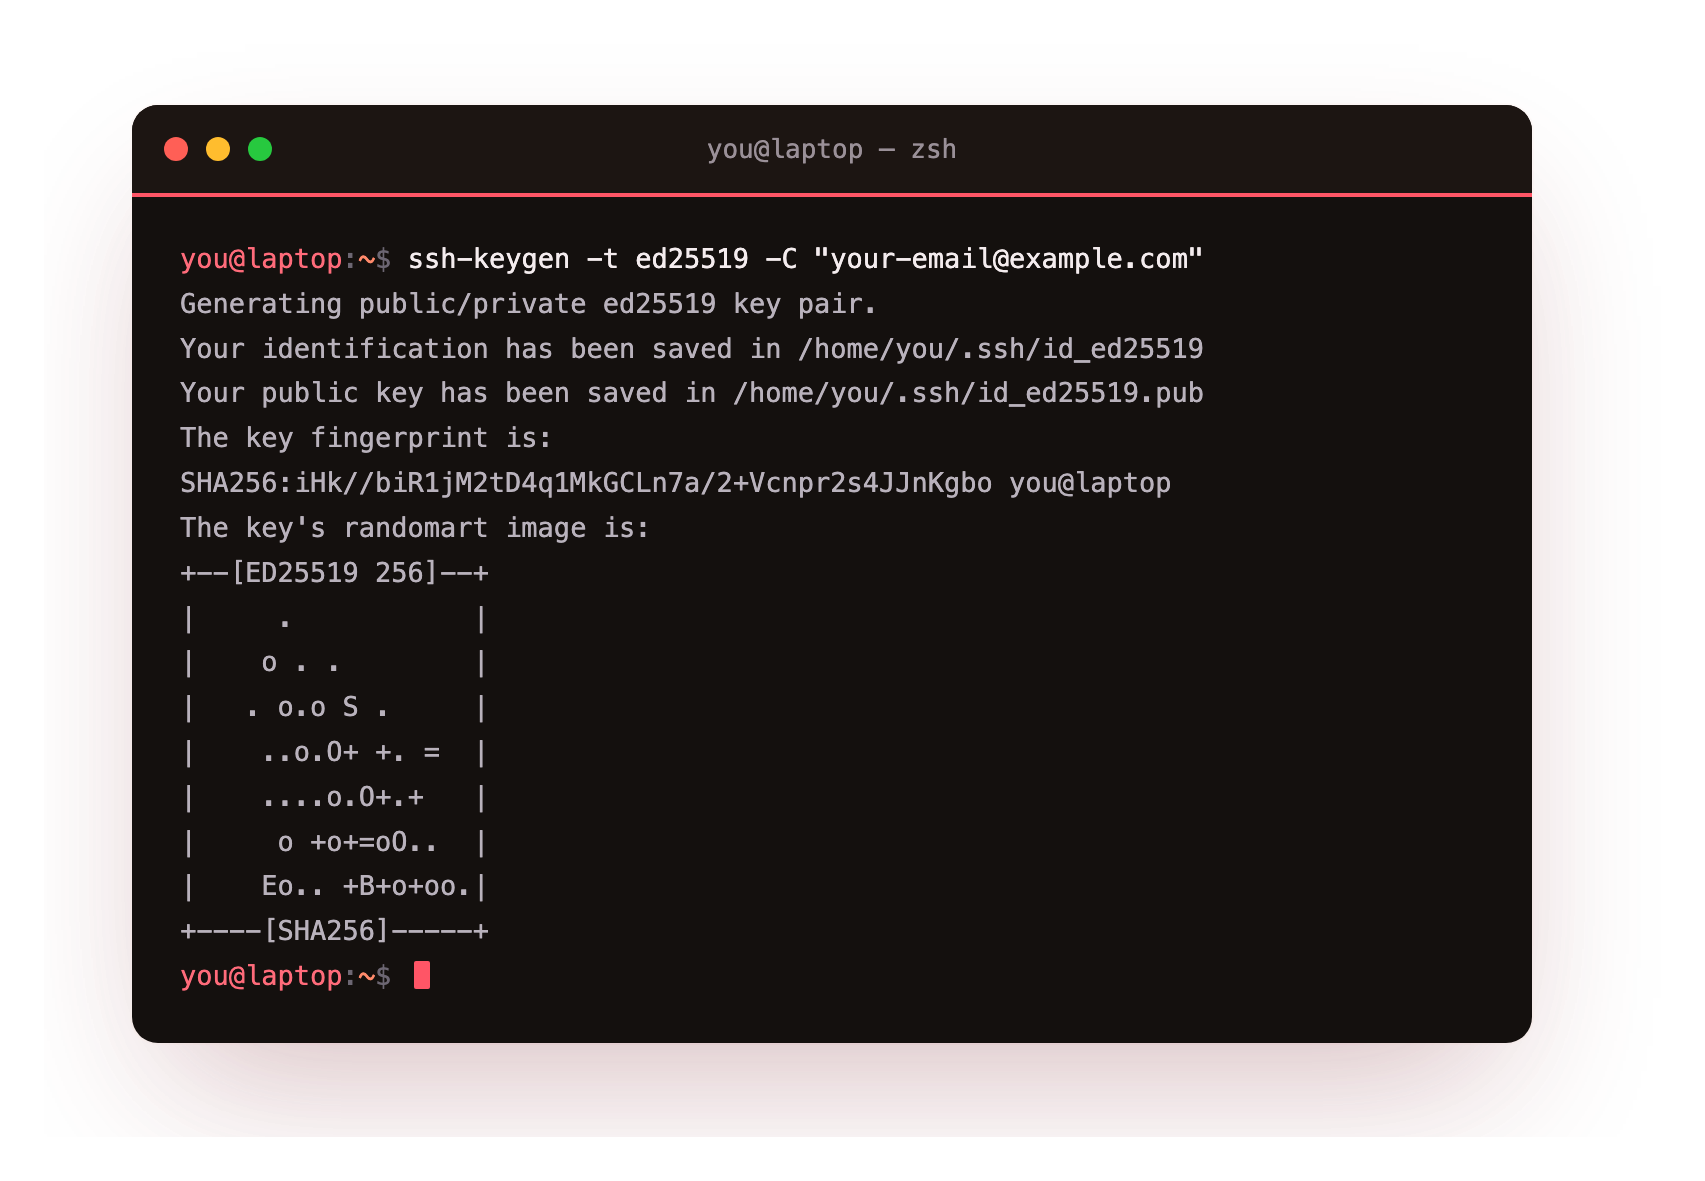
ed25519 is the modern, fast, strong key type, prefer it over the older RSA. Then copy the public half to the server:
ssh-copy-id deploy@your-server-ip
Verify it worked, and this is the step people skip at their peril. Open a new terminal and log in:
ssh deploy@your-server-ip
If it lets you in without asking for a password, your key works. Do not move to the next step until this succeeds. Everything after this assumes you can get in with your key, and Step 3 is where a skipped verification turns into a lockout.
Step 3: Close the front door: no passwords, no root over SSH
Now that your key works, you can turn off the two things scanners rely on: password login and direct root access over SSH. With both off, an attacker needs your actual private key, something they do not have and cannot guess.
Open the SSH configuration:
sudo nano /etc/ssh/sshd_config
Find and set these three values (uncomment them if they start with #):
PasswordAuthentication no
PermitRootLogin no
PubkeyAuthentication yes
On Ubuntu 24.04, editing that main file is often not enough, and this is the detail that catches almost everyone. Cloud images ship extra config in the drop-in directory /etc/ssh/sshd_config.d/, and those files are read first, so they win. On a standard Ubuntu 24.04 cloud image you will typically find:
sudo grep -r PasswordAuthentication /etc/ssh/sshd_config.d/
/etc/ssh/sshd_config.d/50-cloud-init.conf:PasswordAuthentication yes
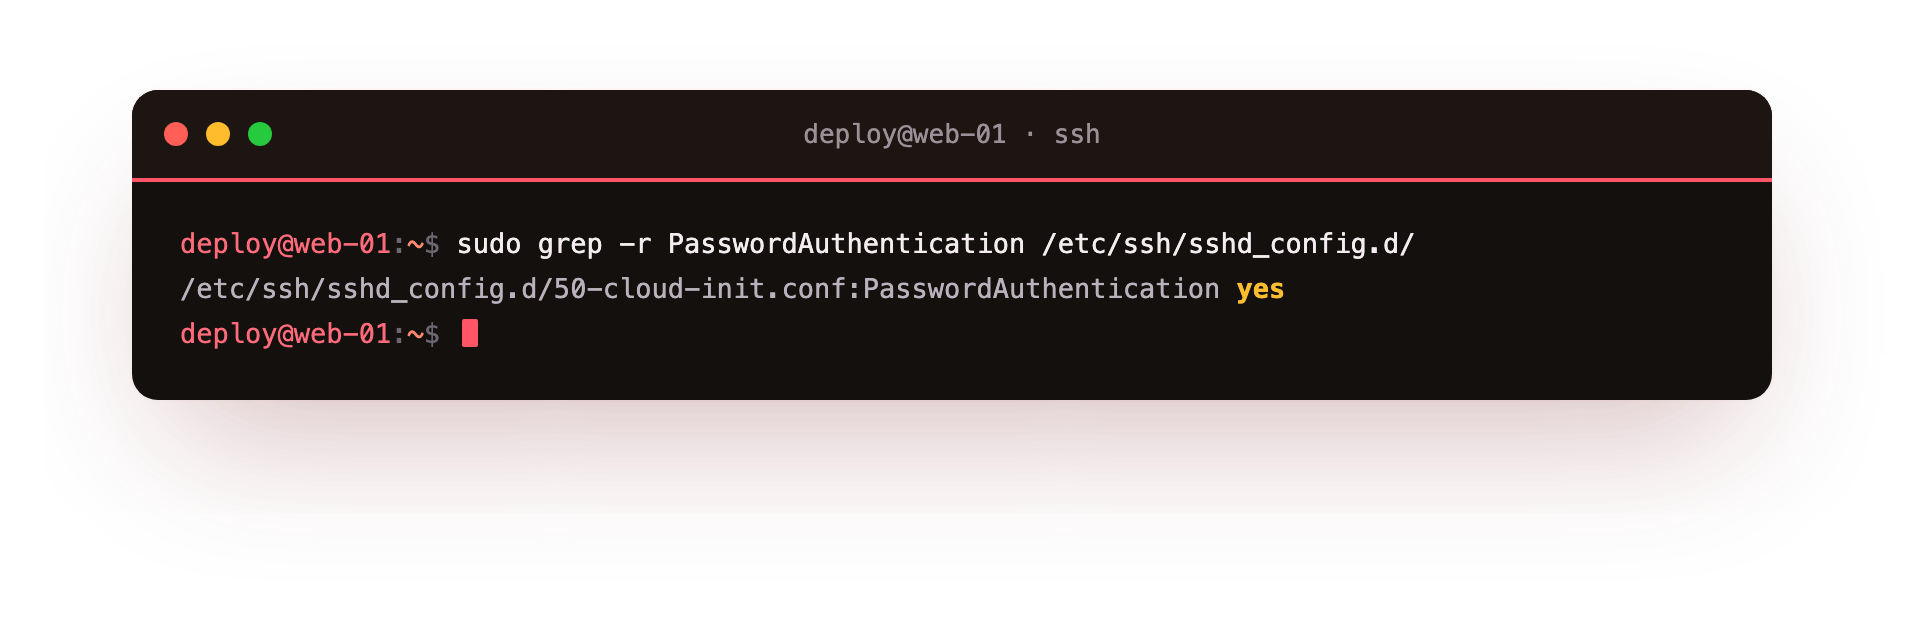
That 50-cloud-init.conf quietly re-enables password login and overrides whatever you set in the main file. You have to correct it there too. The reliable way to do it is to drop in your own hardening file that also fixes the cloud-init one:
sudo sed -i 's/^PasswordAuthentication yes/PasswordAuthentication no/' \
  /etc/ssh/sshd_config.d/50-cloud-init.conf

printf 'PasswordAuthentication no\nPermitRootLogin no\nPubkeyAuthentication yes\n' \
  | sudo tee /etc/ssh/sshd_config.d/99-hardening.conf
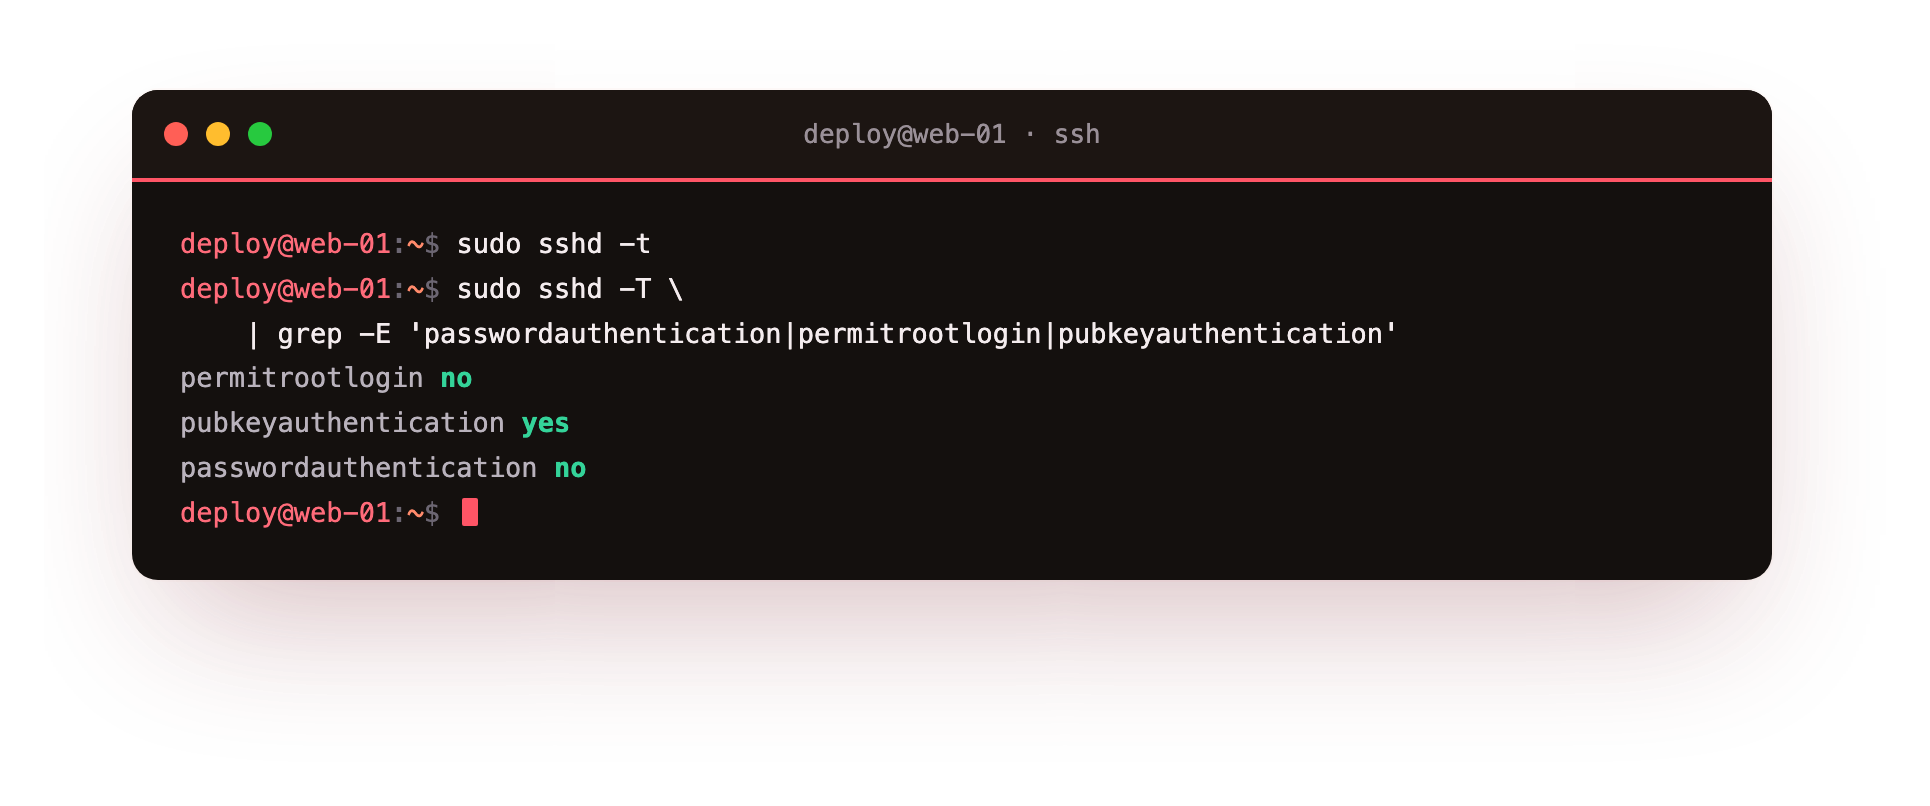
Validate before you restart. Never restart SSH on a config you haven't checked, a syntax error can stop SSH from coming back up and lock you out. Run the built-in test first:
sudo sshd -t
If it prints nothing, the config is valid. Only then apply the change:
sudo systemctl restart ssh
Verify it worked. First, confirm the effective settings, this reads back what SSH is actually using after all the drop-in files are merged, so you catch any override:
sudo sshd -T \
  | grep -E 'passwordauthentication|permitrootlogin|pubkeyauthentication'
permitrootlogin no
pubkeyauthentication yes
passwordauthentication no
Then, with your first terminal still open and logged in, open yet another new one and try to force a password login:
ssh -o PreferredAuthentications=password deploy@your-server-ip
It should be refused (Permission denied (publickey)). If the effective settings read as above and your key still works, the front door is now locked to everyone but you.
If you locked yourself out: this is why we kept the first terminal open. Go back to it, you are still logged in, undo the change in sshd_config, restart SSH, and try again. If you also closed that terminal, this is where the snapshot from earlier, or your provider's web-based recovery console, saves you.
Step 4: Turn on a firewall
By default, a fresh server accepts connections on every port where something happens to be listening. A firewall flips that logic: deny everything, then allow only what you actually serve. It is the difference between a building where every door opens and one where only the entrance does.
Ubuntu ships with ufw (Uncomplicated Firewall), which is exactly as simple as its name suggests.
sudo ufw allow OpenSSH
sudo ufw allow 80/tcp
sudo ufw allow 443/tcp
sudo ufw enable
The order matters. Allow SSH first, before you enable the firewall, otherwise you cut off your own connection the instant it turns on. Ports 80 and 443 are for web traffic; if you are not running a web server yet, you can leave those two out and add them later.
Verify it worked:
sudo ufw status verbose
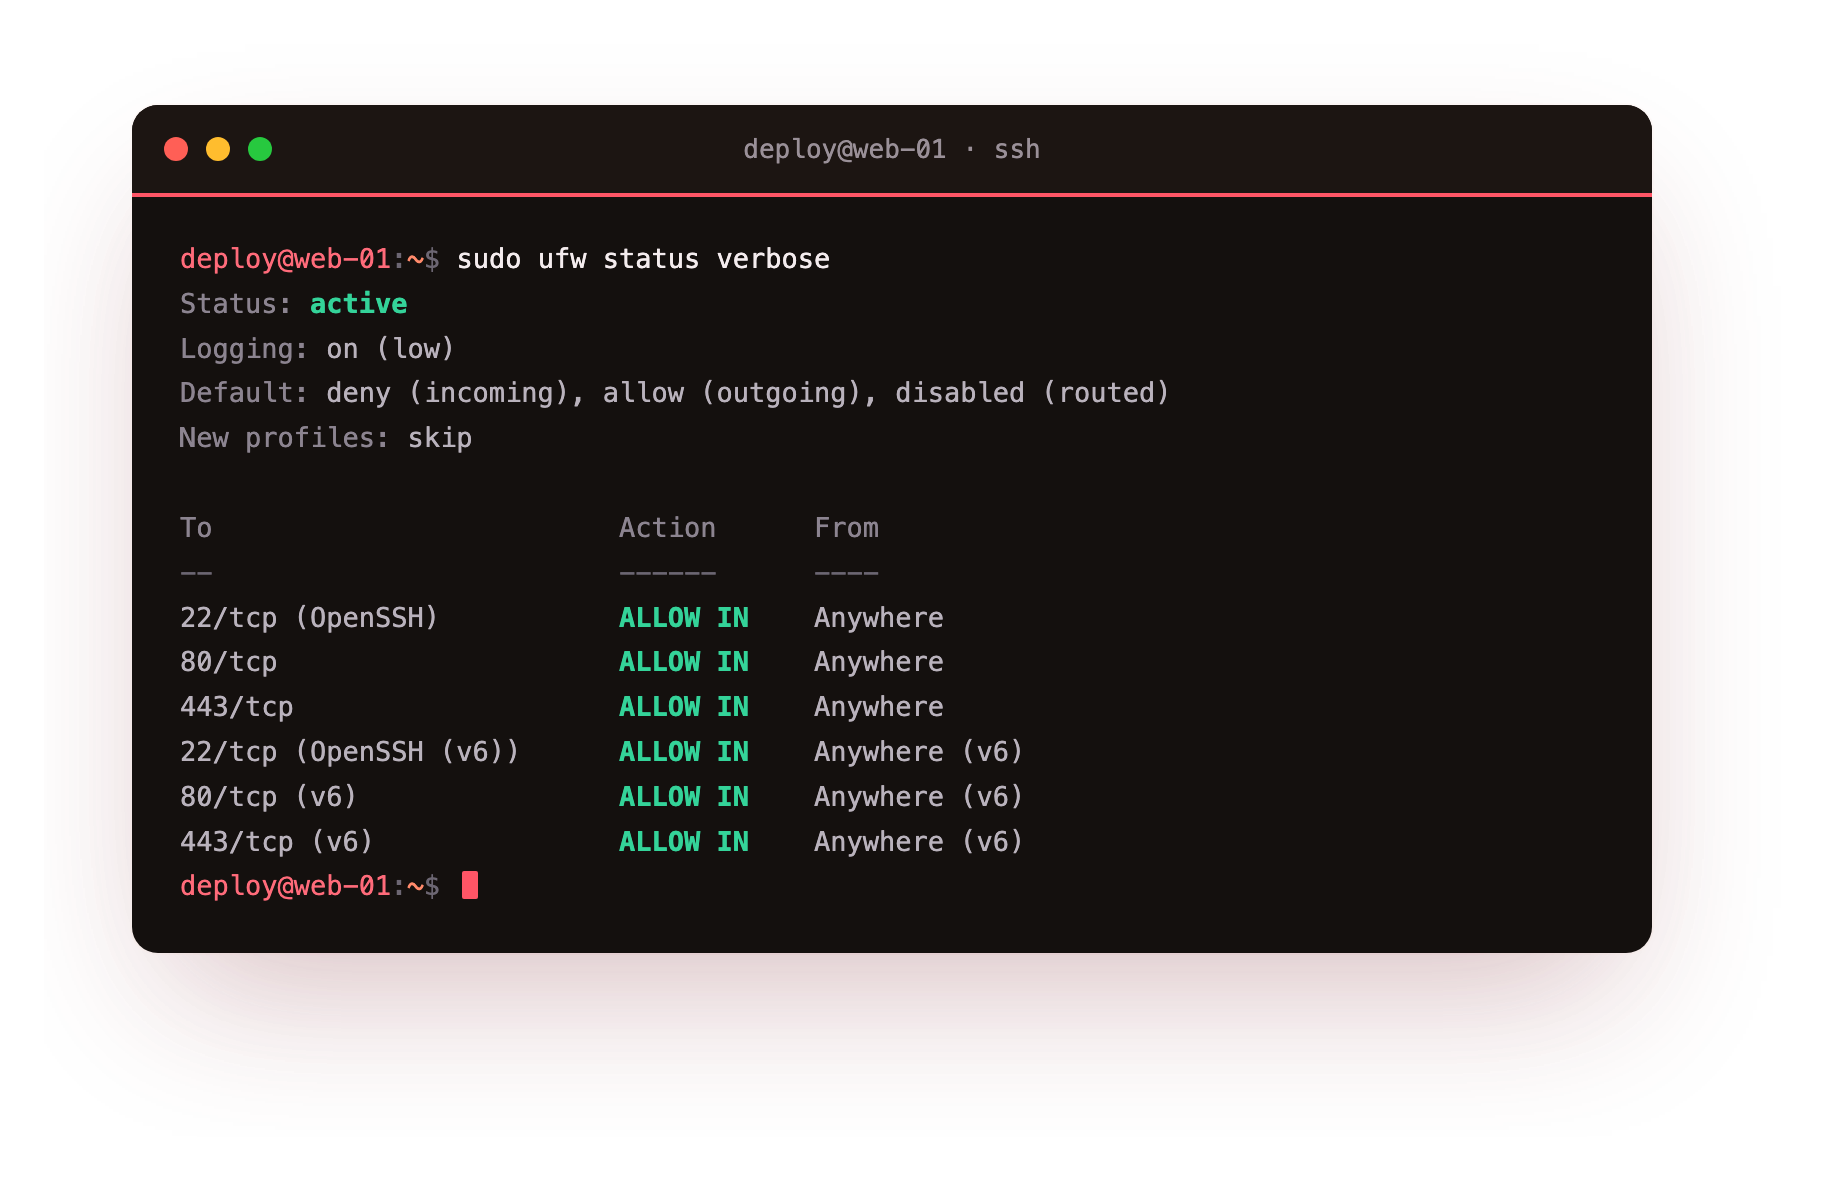
You will see the allowed services listed and everything else denied by default. Only open a port the day you actually need it. An unused open port is just a door you forgot to lock.
Step 5: Make brute-force attempts pointless with fail2ban
Even with password login off, scanners will keep hammering your SSH port with attempts. They cost you a little noise in the logs and nothing more, but there is no reason to let them keep knocking. fail2ban watches your logs and temporarily bans any IP that fails to log in too many times.
sudo apt update
sudo apt install fail2ban -y
fail2ban protects SSH out of the box on Ubuntu, but make that explicit with a small local config so an update never quietly changes the behaviour:
sudo nano /etc/fail2ban/jail.local
[sshd]
enabled = true
maxretry = 5
bantime = 1h
findtime = 10m
This says: five failed attempts within ten minutes earns a one-hour ban. Then start it:
sudo systemctl enable --now fail2ban
Verify it worked:
sudo fail2ban-client status sshd
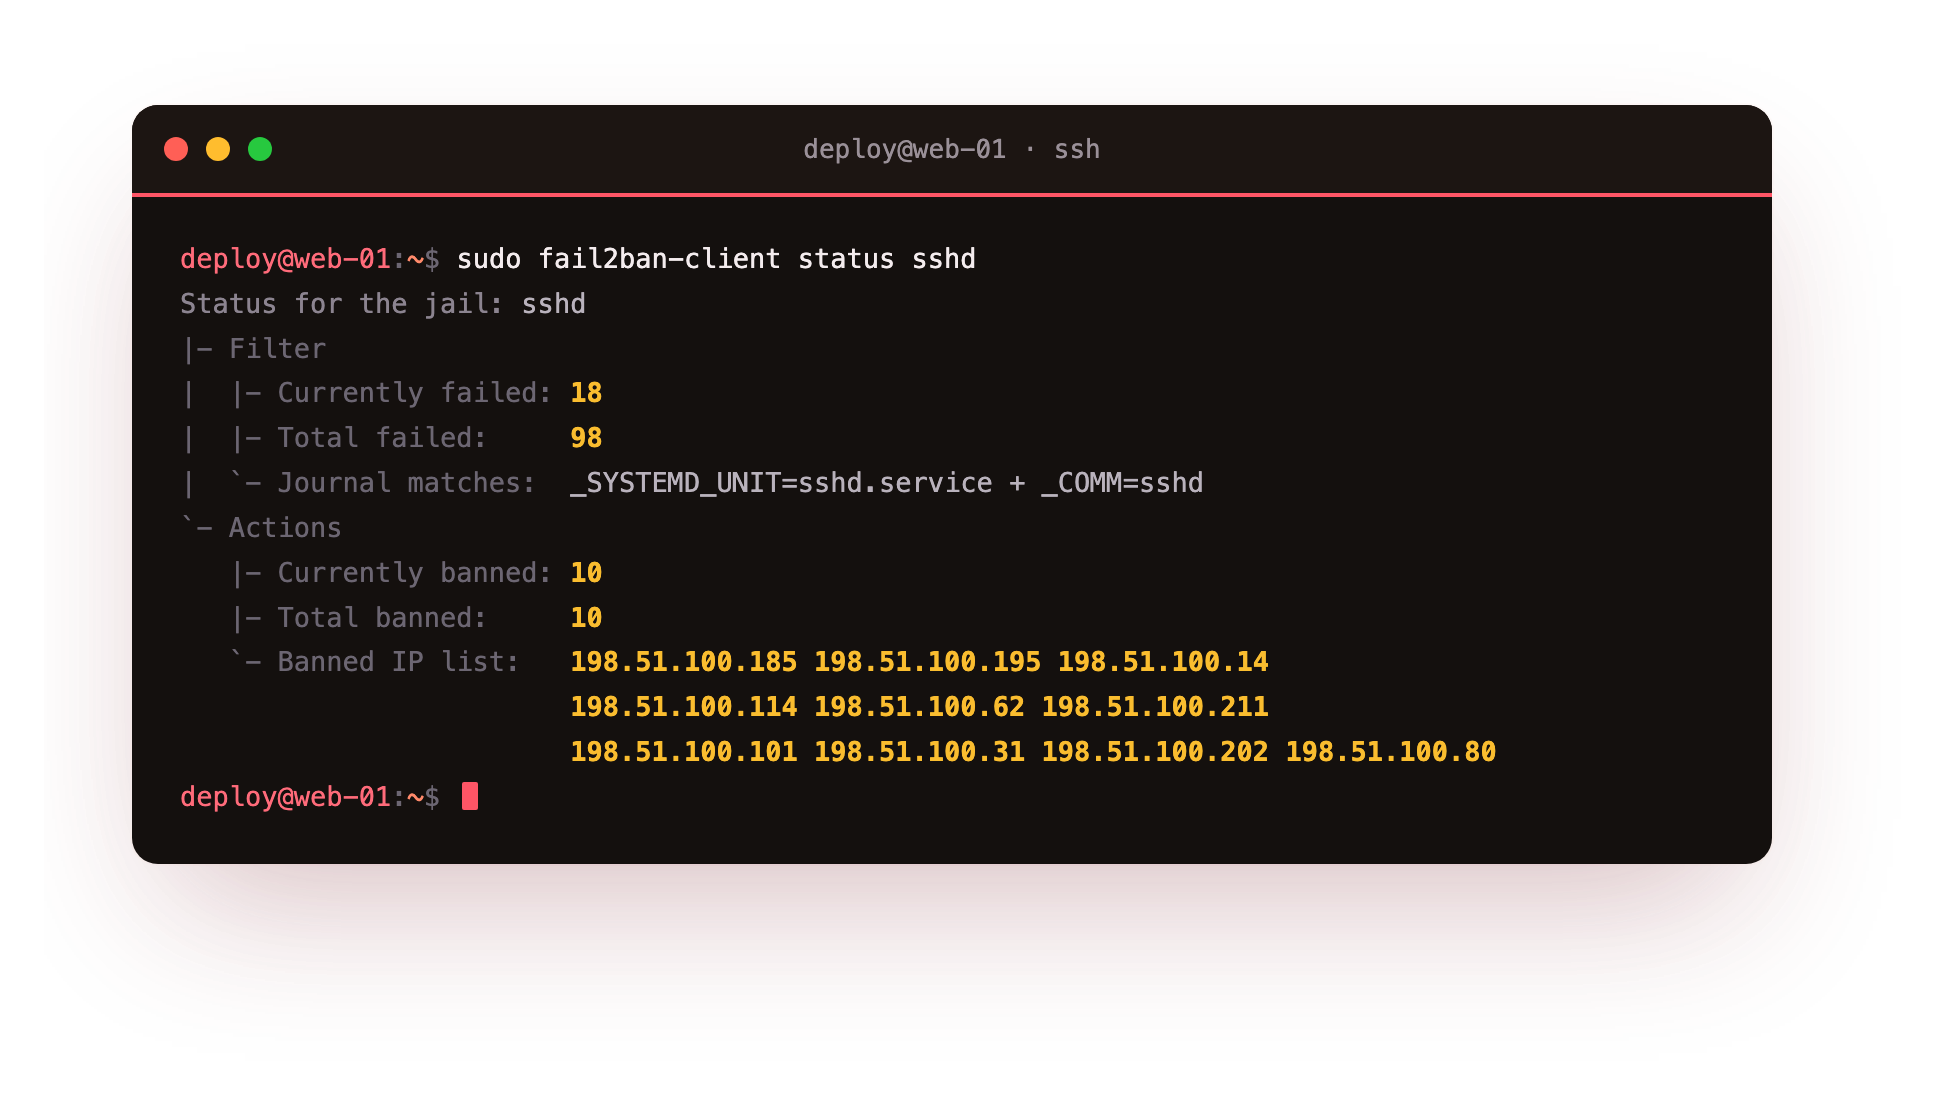
You will see the SSH jail active, and, on a server that has been online even a few minutes, very likely a banned IP or two already. When we set this up on a fresh test server for this guide, fail2ban had already logged 98 failed login attempts and banned 10 different IP addresses within the first hour, before we had told a single person the server existed. That is the internet's background noise, now handled automatically.
Step 6: Let security updates install themselves
Most servers are not breached by some new, exotic attack. They are breached through a hole that was found, disclosed, and patched months earlier, on a server where nobody ever installed the patch. The gap between "a fix exists" and "the fix is on your machine" is the window attackers actually use. Automatic security updates close that window while you sleep.
sudo apt install unattended-upgrades -y
sudo dpkg-reconfigure --priority=low unattended-upgrades
Choose "Yes" when prompted. By default it applies only security updates, not every package change, the right balance between staying patched and not having things shift under you unexpectedly.
Verify it worked:
sudo systemctl status unattended-upgrades
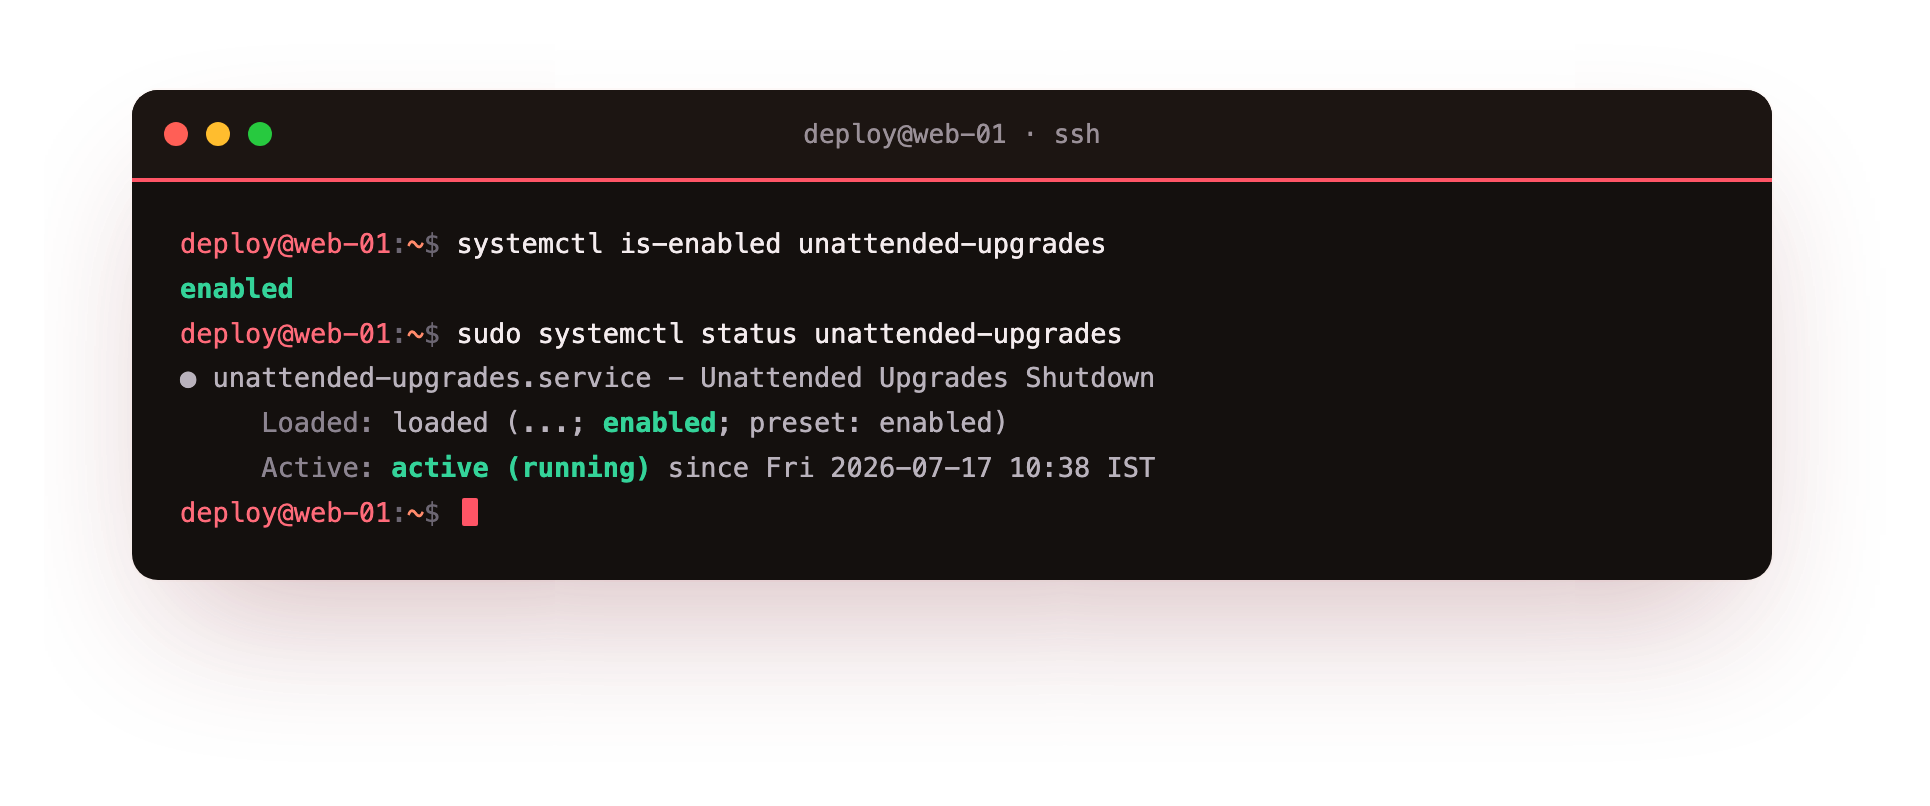
It should show as active. One honest trade-off to know: security updates occasionally include a kernel patch that only takes full effect after a reboot. You can let unattended-upgrades handle reboots automatically in a quiet window, or reboot on your own schedule, but do reboot periodically, or you are patched on disk and still exposed in memory.
Step 7: Fix the clock
This one looks trivial and is not. A server with the wrong time writes the wrong timestamps in its logs, and the first thing you need after any incident is logs you can trust to reconstruct what happened and when. Accurate time also matters for TLS certificate validation and anything that depends on tokens expiring correctly.
Ubuntu handles this with systemd-timesyncd, usually already on. Confirm it:
timedatectl
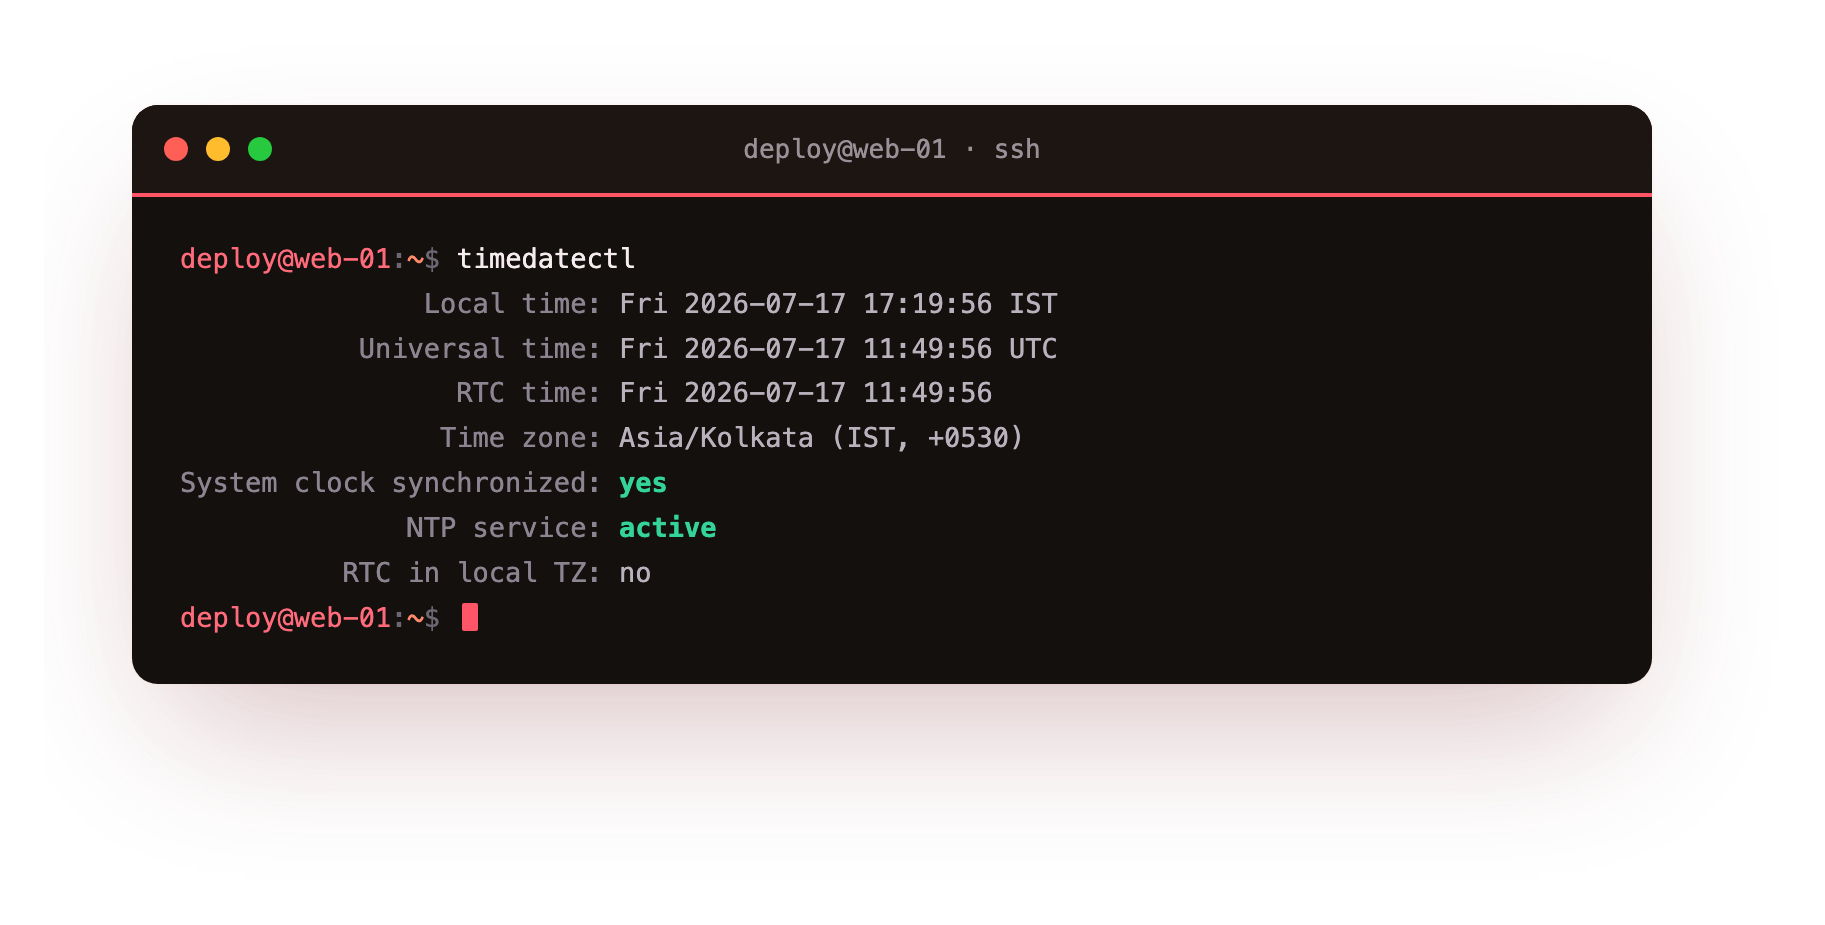
Look for System clock synchronized: yes and NTP service: active. Set your timezone if it is wrong:
sudo timedatectl set-timezone Asia/Kolkata
Small step, thirty seconds. You will be grateful for it the one day you actually need to read your logs in order.
Step 8: See what's listening, and switch off what shouldn't be
You cannot secure what you do not know is running. A fresh server sometimes ships with services listening that you never asked for, and every listening service is a door. So the last step of the first hour is to look.
sudo ss -tulpn
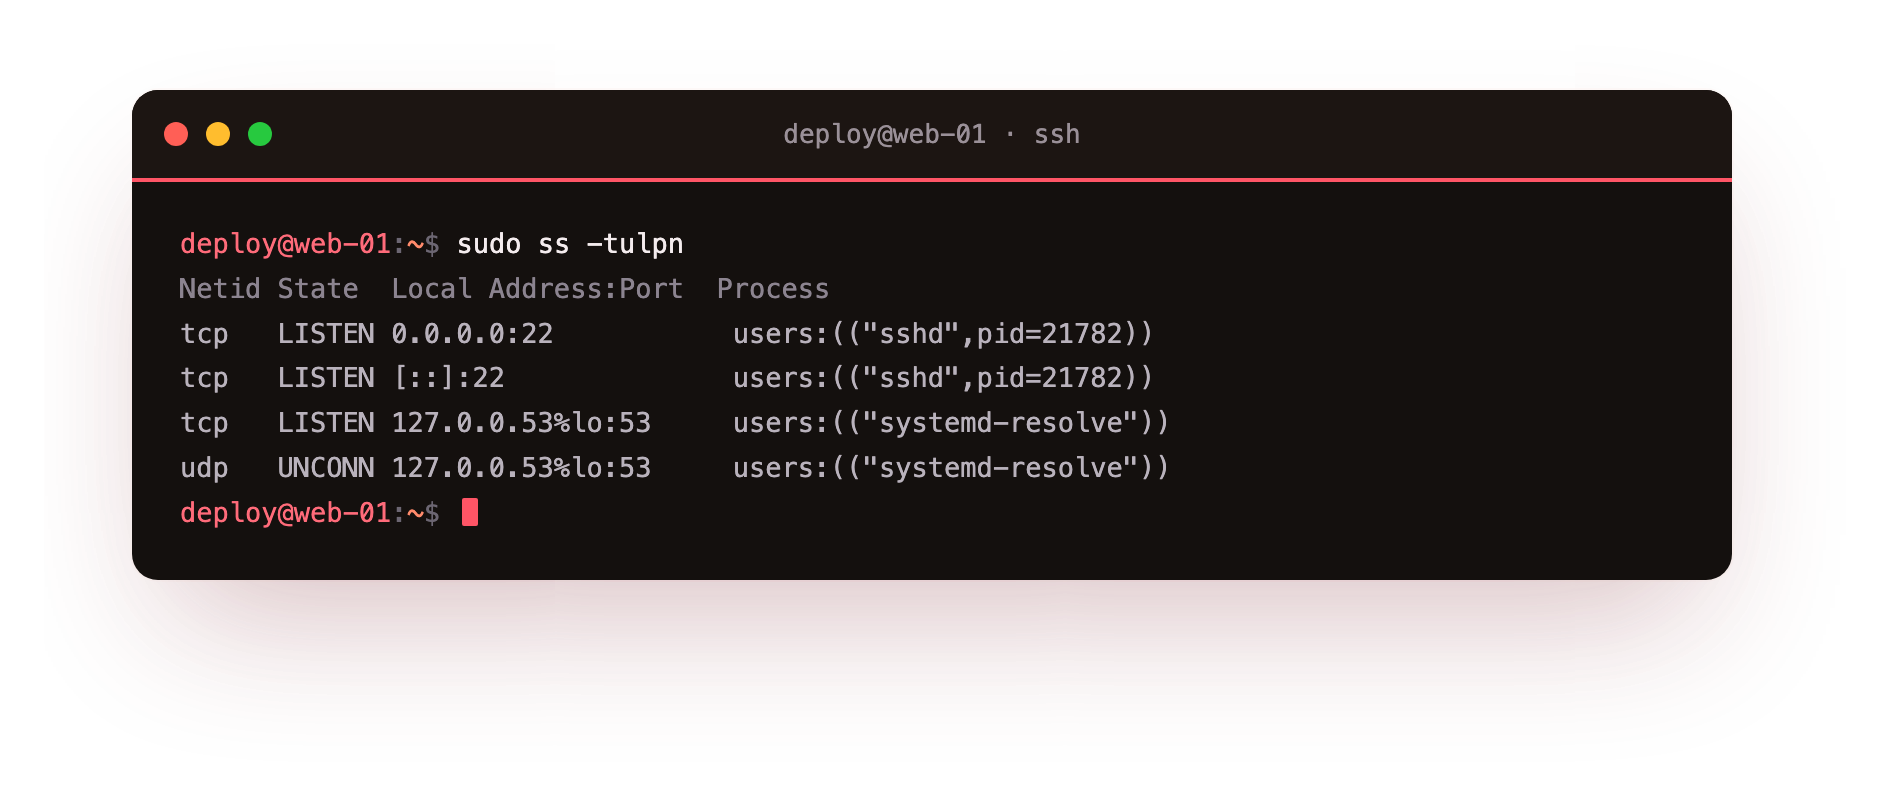
This lists every port with something listening behind it, and the program responsible. Read it line by line. SSH you expect. A web server, if you installed one, you expect. Anything you do not recognise, a database bound to a public address, a mail service, a leftover from the base image, is worth understanding and, usually, switching off or binding to localhost only.
sudo systemctl disable --now <service-name>
The principle is the smallest possible attack surface: if it does not need to be reachable, it should not be listening.
Going further, once the first hour is done
The eight steps above are the ones that matter most, in the order they matter. When you are ready to go deeper, two habits are worth building:
- Run an audit tool.
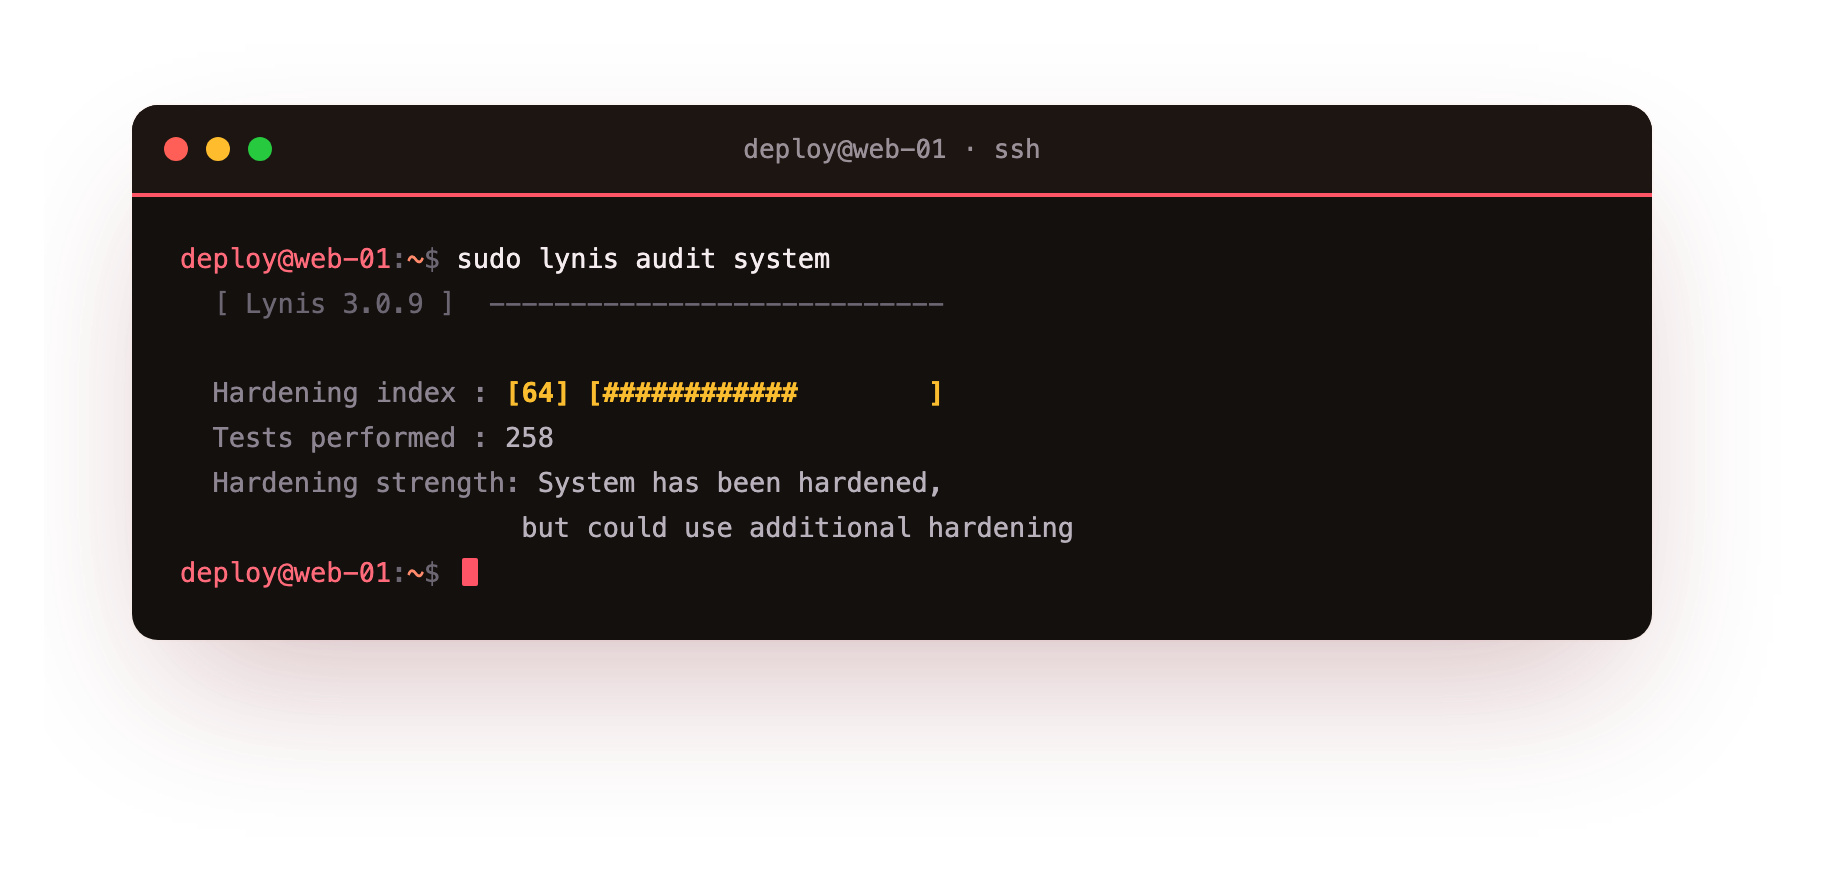
lynis(sudo apt install lynis, thensudo lynis audit system) scans your server against a long checklist of hardening recommendations and gives you a score with specific, prioritised fixes. It is a quick way to find the gaps you did not think of. - Watch your logs. Hardening keeps most attackers out; log monitoring tells you when something got through, or when something is trying hard. Even a simple habit of reading
/var/log/auth.logafter the fact turns your server from silent to observable.
Or run the whole thing at once
You have seen every step, why it matters, how to verify it. If you would rather not do them by hand, here is the same first hour as one script. It is assembled from the exact commands above and tested end to end on a live server before publishing, and it is safe to re-run.
Never pipe a script you did not write straight into a root shell. Download it, check it against the published checksum, read it, then run it:
curl -fsSL https://servercake.in/scripts/harden-first-hour.sh -o harden.sh
curl -fsSL https://servercake.in/scripts/harden-first-hour.sh.sha256 -o harden.sh.sha256
sha256sum -c harden.sh.sha256   # must print: harden.sh: OK
less harden.sh                  # read it, it is short on purpose
sudo bash harden.sh
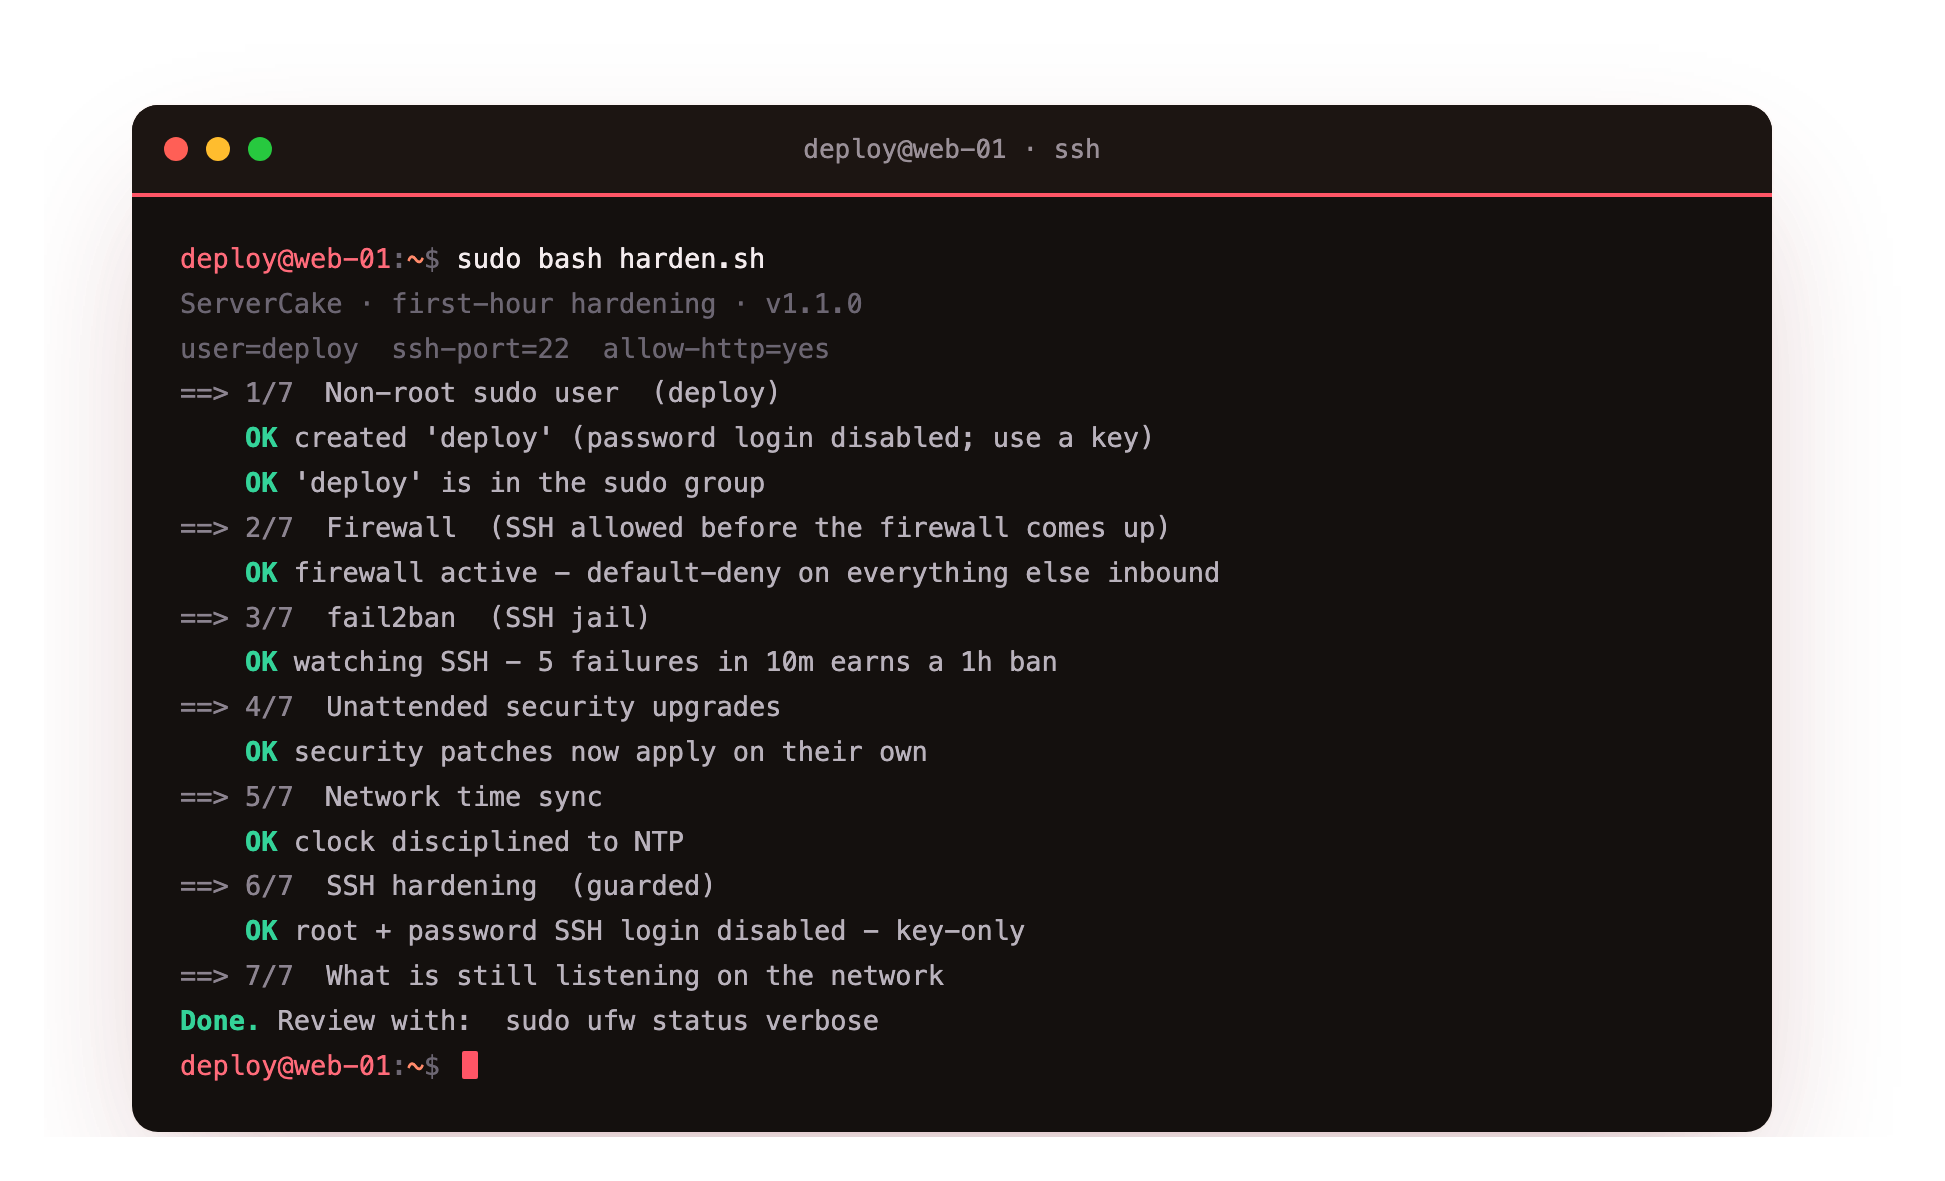
That sha256sum -c line is not ceremony. It is how you prove the file that reached your server is byte-for-byte the file we published, and not something a compromised mirror or a man-in-the-middle swapped in. If it prints anything other than OK, stop.
The script has one deliberate safety guard: it will not disable password login unless it finds an SSH key already in place for the deploy user, so it cannot lock you out. Set up your key (Step 2) first, then run it. Prefer to read before you run? The script is short and commented, read it here.
Troubleshooting the first hour
Locked out after turning off password login. Go back to the session you kept open in Step 3, revert the change in /etc/ssh/sshd_config.d/99-hardening.conf (or delete that file), run sudo sshd -t then sudo systemctl restart ssh, and confirm your key works before trying again. If every session is already closed, use your provider's web console (VNC or serial) or roll back to the snapshot you took at the start.
The firewall cut off your connection. This happens when ufw enable runs before SSH is allowed. From the provider's console run sudo ufw allow OpenSSH, then reconnect. Always allow SSH before enabling ufw, and confirm sudo ufw status lists OpenSSH before you close your working session.
fail2ban banned your own IP. A few mistyped logins from your own address can trip the jail. Check with sudo fail2ban-client status sshd, then clear it with sudo fail2ban-client set sshd unbanip YOUR.IP.ADDRESS. If you always connect from a static IP, add it to the ignoreip line in /etc/fail2ban/jail.local so it can never be banned.
sudo sshd -t reports a syntax error. SSH refuses to reload a broken config, which is exactly why you test before restarting. Read the file and line number it names, fix the typo, and re-run sudo sshd -t until it prints nothing. Never run systemctl restart ssh until the test is clean.
What the first hour does not solve
Here is the part most guides won't tell you.
Everything above is a one-time setup. You will do it in an hour and feel, correctly, much safer than you were. But security is not a state you reach. It is a thing that decays.
Tomorrow a new vulnerability is disclosed. Next month a package you rely on ships a fix you have to apply and verify. A config drifts. A port gets opened "just for testing" and never closed. A certificate quietly expires. The eight steps protect you at 3pm today; they say nothing about 3am next Tuesday, when a patch lands and no one is watching the machine.
This is the honest gap between hardening a server and running a secure server. The first is a checklist. The second is a discipline, patch cadence, drift detection, log monitoring, and someone whose problem it is when something breaks at an hour you would rather be asleep.
I learned this running two businesses at once, a physiotherapy clinic and, in the same years, what became ServerCake. Both taught me the same thing: people don't actually want the procedure. They want to know that when it matters, someone competent has already handled it. A patient doesn't want a lecture on anatomy. A business doesn't want a lecture on fail2ban. They want to not have to think about it.
We had a client call us once, furious that their server had a two-minute hiccup. My team explained the uptime numbers, the automatic failover, the zero data loss. He was still angry. So I called back and asked one question: did any of your customers notice? Long pause. No, the backup systems had held everything. The sale kept running. The revenue kept flowing.
That was the day it clicked for us. We were never really selling uptime. We were selling the fact that he didn't have to think about it. That is the difference between hosting a server and being responsible for one.
You can absolutely run your own hardened server. This guide gives you a real, working start, and for a side project or a machine you enjoy tending, that may be all you ever need.
But the day the machine matters more than the time you have to watch it, the day "is it patched?" becomes a question you cannot afford to guess on, that is the day it stops being about knowing the eight steps, and starts being about who runs them, keeps running them, and answers the phone when something breaks.
At ServerCake, that is the part we take off your desk. Not the checklist. The 3am.
The first hour, in one screen
- Non-root user with sudo, stop operating as root; one wrong command shouldn't be an incident.
- SSH keys, remove the single most common break-in path: guessable passwords.
- No password / no root over SSH, an attacker now needs a key they don't have.
- Firewall (ufw), deny everything, allow only what you serve.
- fail2ban, automatically ban repeat failed logins.
- Automatic security updates, close the patch gap attackers actually use.
- Correct time, trustworthy logs and valid certificates.
- Audit listening services, the smallest possible attack surface.
Every one of these is reversible, takes minutes, and matters most in the first hour, before your server is doing anything worth attacking.
Frequently asked questions
Do I need to do this on a server I'm only testing with?
Yes. Scanners do not check whether your server is "just a test." An open port with a default password is found within minutes of the IP going live, test box or not. The first hour applies to every server that touches the public internet.
Is turning off root login over SSH enough on its own?
No. It removes one target, but a weak password on any other account is still an open door. The combination that matters is key-based login plus a firewall; no single step is sufficient on its own.
Will any of this break what I'm already running?
Only if something depends on password SSH or on a port you didn't realise was open. That is exactly why every step here includes a verification, and why Step 2 has you confirm your key works before Step 3 closes password login. Prove each change before you rely on it.
How long does this stay secure?
The setup stays in place, but "secure" is not permanent; new vulnerabilities appear constantly. Automatic updates (Step 6) handle the routine ones; the rest is ongoing attention. That gap between one-time setup and continuous care is exactly what a managed provider exists to cover.
Ubuntu or Debian, does this guide work for both?
Yes. The commands here are for Ubuntu 24.04 and work the same on Debian 12. The only real difference is that Debian doesn't ship with sudo configured for the first user by default, which Step 1 sets up anyway.
The maintained, current version of this guide lives at servercake.in, updated as the tooling and best practices change.