Install the WireGuard server on your slice
This chapter installs the WireGuard server on a slice from nothing: a bare Ubuntu 24.04 box with SSH and a public IP. You install the package, generate the server keypair, write a short wg0.conf, bring the interface up under systemd, and open the firewall to the single UDP port WireGuard uses. By the end the server is listening and waiting for its first client. Nothing here assumes tools are already present, because the point is to start from zero.
apt install wireguard wireguard-tools qrencodegives you everything the server needs.- The server keypair is generated once; the public key goes to every client.
wg0.confis a short[Interface]block with an address, a port and the private key.- The firewall opens exactly one UDP port, 51820, and nothing else new.
Install WireGuard from a bare box
WireGuard is in the kernel on Ubuntu 24.04, so you only need the userspace tools. Install the package, the wg/wg-quick tools, and qrencode, which you use in a later chapter to hand a config to your phone.
sudo apt update && sudo apt install -y wireguard wireguard-tools qrencode
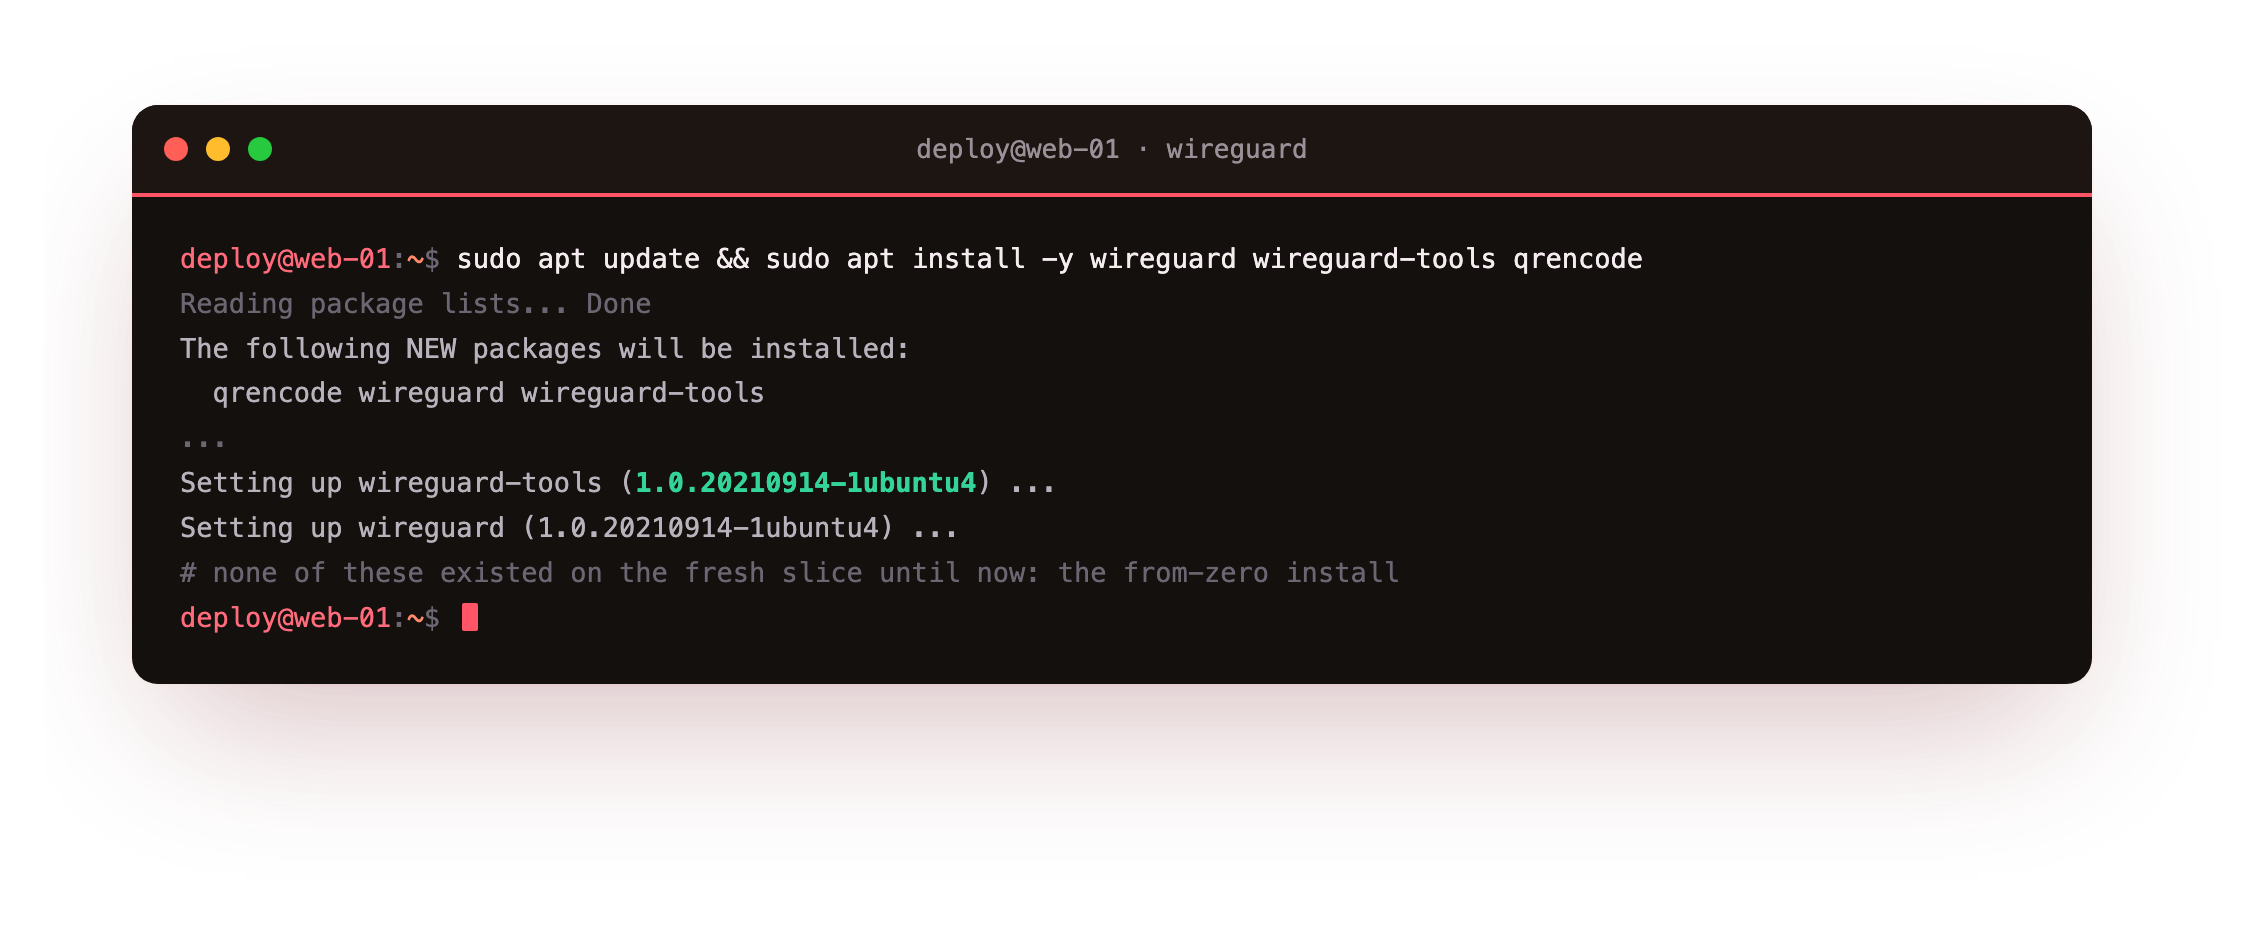
The install pulls in wireguard-tools, reporting version 1.0.20210914-1ubuntu4. That is the from-zero step the reader most often finds skipped: on a fresh slice, none of these commands exist until you run this.
Run wg --version. You should see wireguard-tools v1.0.20210914. If the command is not found, the install did not complete, so re-run it before continuing.
Generate the server keypair
The server needs one keypair. Generate the private key, derive the public key from it, and store both under /etc/wireguard with tight permissions so only root can read the secret.
wg genkey | sudo tee /etc/wireguard/server_private.key | wg pubkey | sudo tee /etc/wireguard/server_public.key
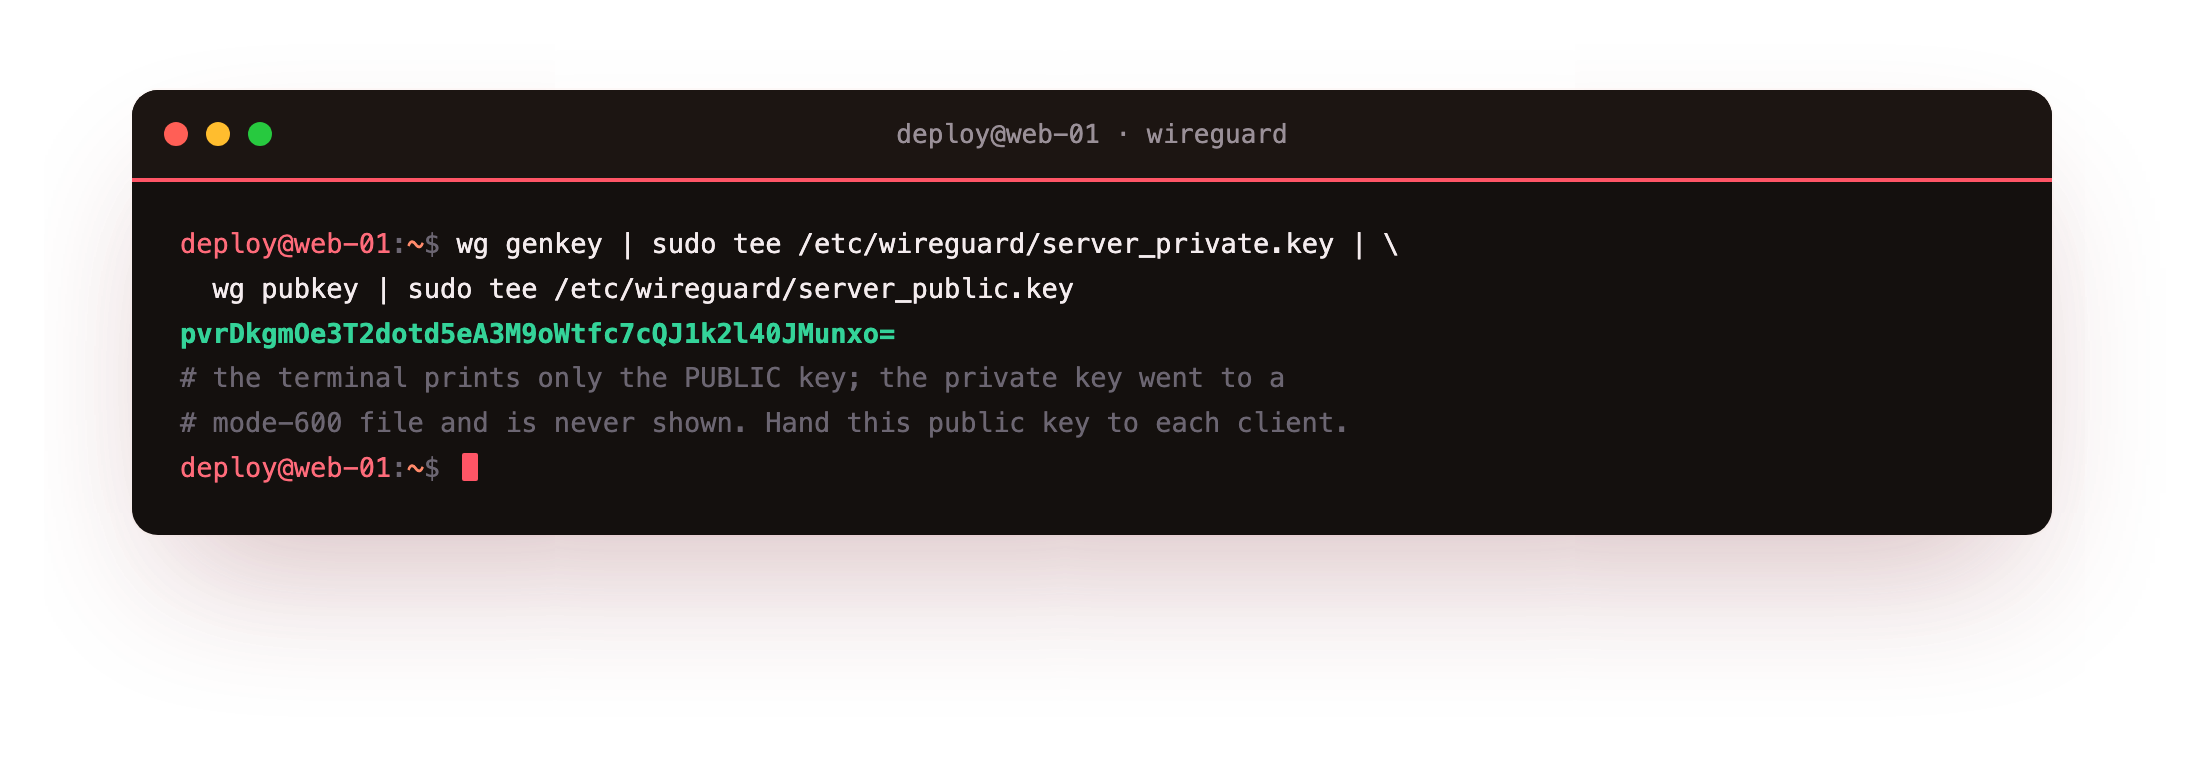
The private key stays on the slice and never leaves it. The public key, here pvrDkgmOe3T2dotd5eA3M9oWtfc7cQJ1k2l40JMunxo=, is the one you give to each client so it can identify the server. Set the private key file to mode 600 so it is not world readable.
Write /etc/wireguard/wg0.conf
The server config is short. It gives the tunnel interface its address on the 10.99.0.0/24 range, sets the listen port, and points at the private key you just made. Create /etc/wireguard/wg0.conf with this content.
[Interface]
Address = 10.99.0.1/24
ListenPort = 51820
PrivateKey = <contents of server_private.key>
The server takes 10.99.0.1, the first address in the tunnel subnet, and every client gets its own address later. There are no peers yet, and that is correct: you add each device as a [Peer] in the chapters that follow. Pick a tunnel range like 10.99.0.0/24 that is unlikely to clash with the home or office networks your clients already use.
Bring the tunnel up and verify
Bring the interface up with wg-quick, which reads wg0.conf and creates wg0 for you, then enable it so it returns after a reboot.
sudo wg-quick up wg0
sudo systemctl enable wg-quick@wg0
Now confirm the server is actually listening. wg show reports the interface, its public key, and the listen port, with no peers yet.
sudo wg show wg0
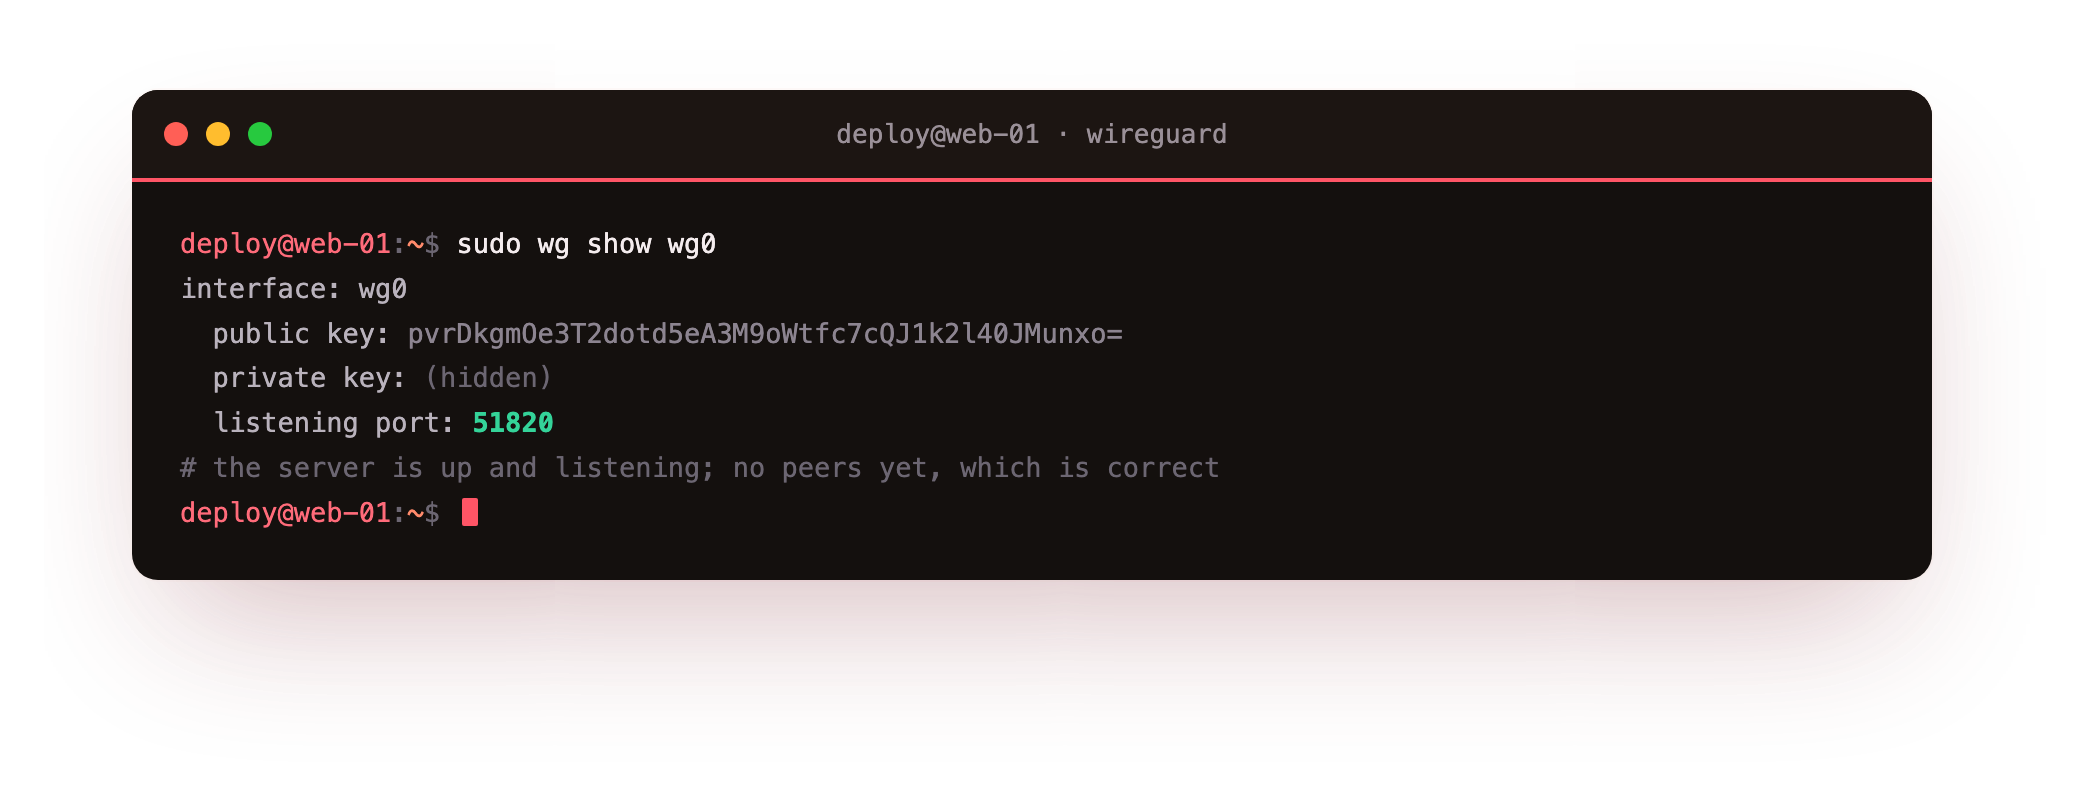
You should now see interface wg0 with a public key and listening port: 51820. That means your server is up and waiting. Peers appear here once you add your laptop in the next chapter.
Open the firewall to one UDP port
WireGuard listens on a single UDP port, so the firewall change is one line. Allow 51820/udp and leave everything else as it was.
sudo ufw allow 51820/udp
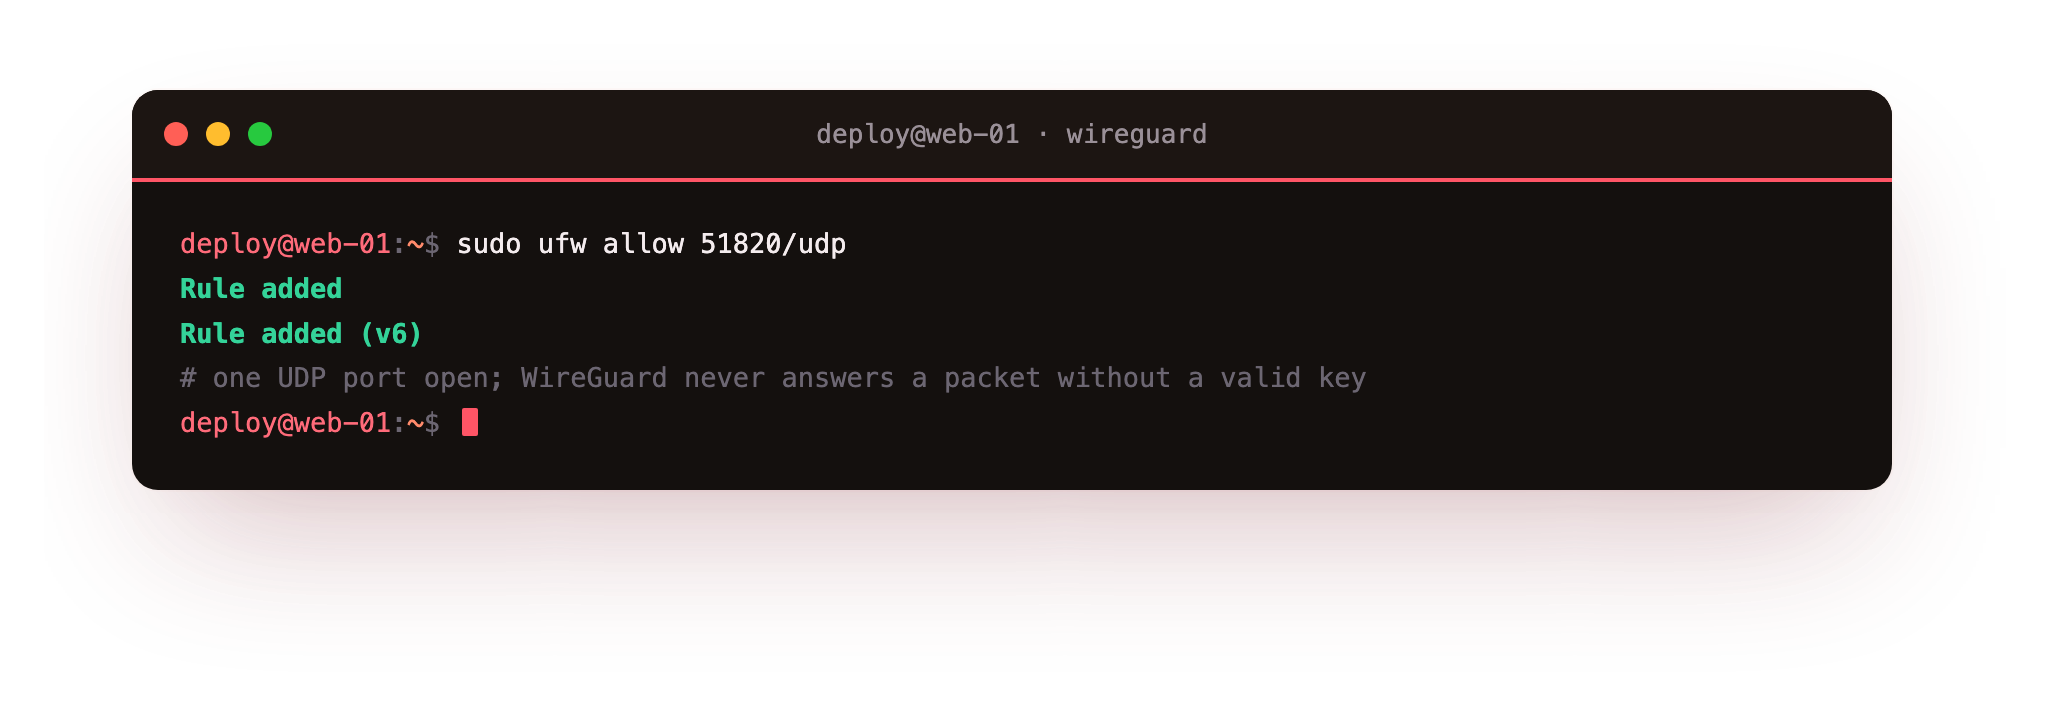
That rule lets a client's first handshake packet reach the slice. Because WireGuard never answers a packet that lacks a valid key, this open UDP port stays invisible to a scanner: there is no banner and no response to probe. Do not open TCP 51820; WireGuard is UDP only.
Run sudo ufw status and confirm a line reading 51820/udp ALLOW. Your server is now installed, listening, and reachable on its one port.
Frequently asked questions
Do I need to install a kernel module for WireGuard?
No. WireGuard has been in mainline Linux since kernel 5.6 and ships with Ubuntu 24.04, so the module is already present. You only install the userspace tools with apt install wireguard wireguard-tools. On very old kernels you would need the DKMS module, but on a current slice the kernel side is done for you.
Why put the server on 10.99.0.1 and a /24?
The server takes the first address in the tunnel subnet by convention, and a /24 gives you 254 addresses, plenty for a personal fleet. A range like 10.99.0.0/24 is chosen to avoid clashing with the common 192.168.x home and office networks your clients sit on. If two ends share a subnet, routing becomes ambiguous.
What does wg-quick do that plain wg does not?
wg configures WireGuard parameters on an existing interface. wg-quick is a wrapper that also creates wg0, applies the address, adds routes from each AllowedIPs, and reverses all of it on down. It reads a single config file, which is what the wg-quick@wg0 systemd unit uses to bring the tunnel up at boot.
Is opening UDP 51820 a risk on the firewall?
It is the minimum you can open and still receive handshakes. WireGuard does not respond to any packet without a valid key, so the port does not reveal a service to a scan. Keep every other inbound port closed, and once the tunnel is up you can even move SSH to be reachable only over WireGuard, shrinking the public surface to that one UDP port.
Recap and what is next
You installed WireGuard on a bare Ubuntu 24.04 slice, generated the server keypair, wrote a short wg0.conf with the server on 10.99.0.1 and port 51820, brought the interface up under systemd, and opened one UDP port. The wg show wg0 output proves the server is listening. This is the from-zero install the rest of the series builds on.
The next chapter connects your first real device: you add the laptop as a peer, write its client config, bring the tunnel up, and prove a live handshake and a ping over the internet.
These steps run on any always-on Ubuntu box with a public IP. Launch a slice and run your own WireGuard VPN server, installed from bare metal in a few minutes, then connect your devices in the chapters that follow.