Reach a private service from your phone
This is the payoff. You add your phone to the VPN with a QR scan, stand up a small private service on the slice that listens only on the tunnel, and reach it from the phone over WireGuard. The service answers on 10.99.0.1 and is refused on the public IP, so it exists only for connected devices.
Reaching a private service this way, from a phone, over a link no one else can see, is the point of the whole build on Ubuntu 24.04. You also meet the one firewall pitfall that blocks almost everyone here.
qrencodeturns a phone config into a QR the WireGuard app scans in one step.- A private service binds to the tunnel address
10.99.0.1, never to the public IP. - The pitfall: ping works but the service is blocked until you allow its port on
wg0. - Fetching the same page on the public IP is refused, which proves it is private.
Add your phone and build its config
Register the phone on the server the same way you did the laptop, giving it the next free address, 10.99.0.3.
sudo wg set wg0 peer UIoYdw35eEBudb6vPtipfjXlWYEafMgyseC0kWyrix8= allowed-ips 10.99.0.3/32
Then write a phone.conf for it. It matches the laptop config but adds a DNS line so name lookups on the phone resolve through the tunnel while it is connected.
[Interface]
PrivateKey = <contents of phone_private.key>
Address = 10.99.0.3/24
DNS = 10.99.0.1

[Peer]
PublicKey = pvrDkgmOe3T2dotd5eA3M9oWtfc7cQJ1k2l40JMunxo=
Endpoint = 203.0.113.10:51820
AllowedIPs = 10.99.0.0/24
PersistentKeepalive = 25
Turn the config into a QR
Typing a config on a phone is painful, so WireGuard's phone apps import from a QR. Render phone.conf as a QR right in the terminal with qrencode.
qrencode -t ansiutf8 < phone.conf
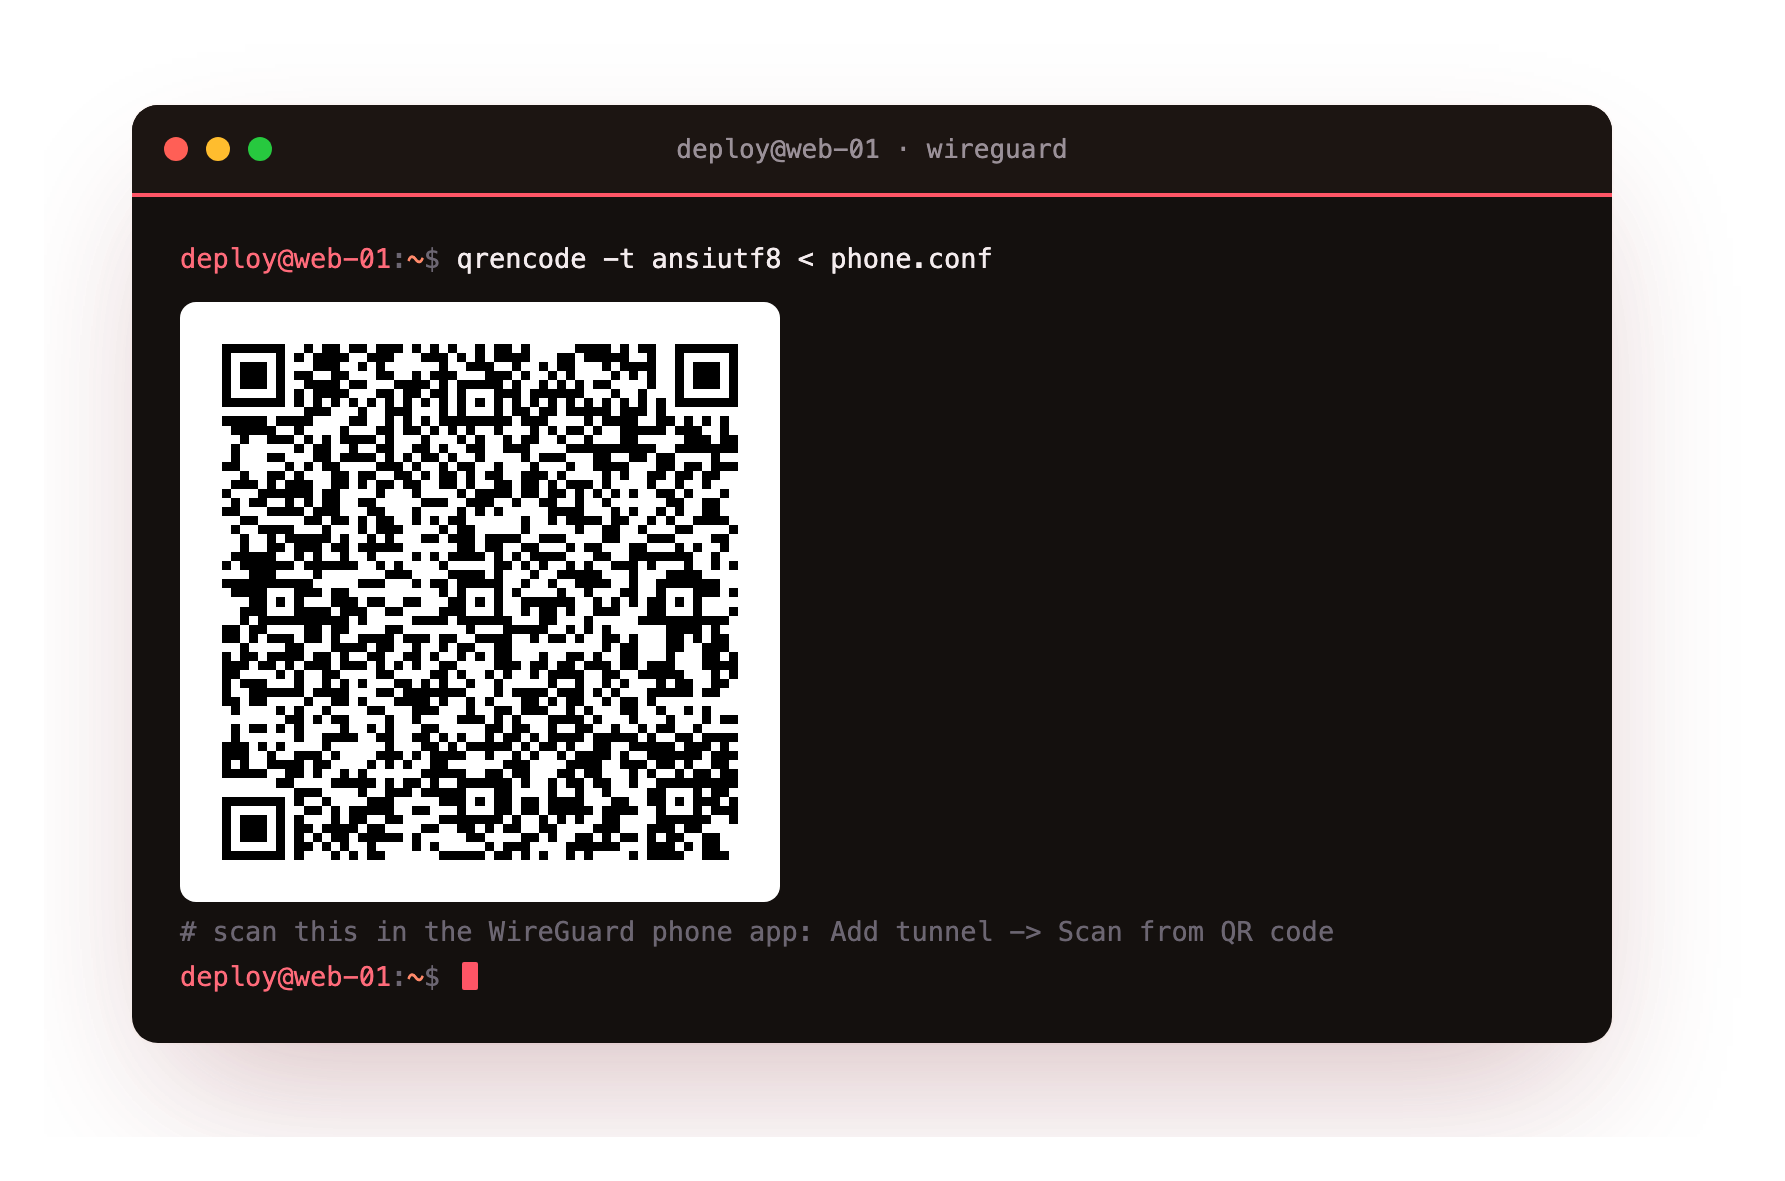
Install the WireGuard app from the Play Store on Android or the App Store on iOS, choose "Add tunnel", then "Scan from QR code", and point the camera at the terminal. The tunnel imports in one step, with no typing.
After scanning, toggle the tunnel on in the phone app. It should flip to a connected state, and sudo wg show wg0 on the server should list the phone's peer with a fresh handshake. Your phone is now on the VPN.
Stand up a private service on the tunnel
Now give the phone something private to reach. Serve a small page bound to the tunnel address only, so it never listens on the public interface. A one-line Python server is enough for the demo.
sudo python3 -m http.server 8080 --bind 10.99.0.1 --directory /opt/wg-private
The --bind 10.99.0.1 is the important part: the service accepts connections on the tunnel address alone, not on the slice's public IP. The page it serves says, plainly, You reached this over the WireGuard tunnel, and that it is served only on 10.99.0.1. In a real setup this stands in for an admin panel, a database UI, or a home dashboard you never want on the open internet.
The firewall pitfall: ping works, the service does not
Here is the pitfall to expect. With the tunnel up, ping the server and it answers, so the link looks fine. But fetch the service and it hangs.
curl -m 5 http://10.99.0.1:8080
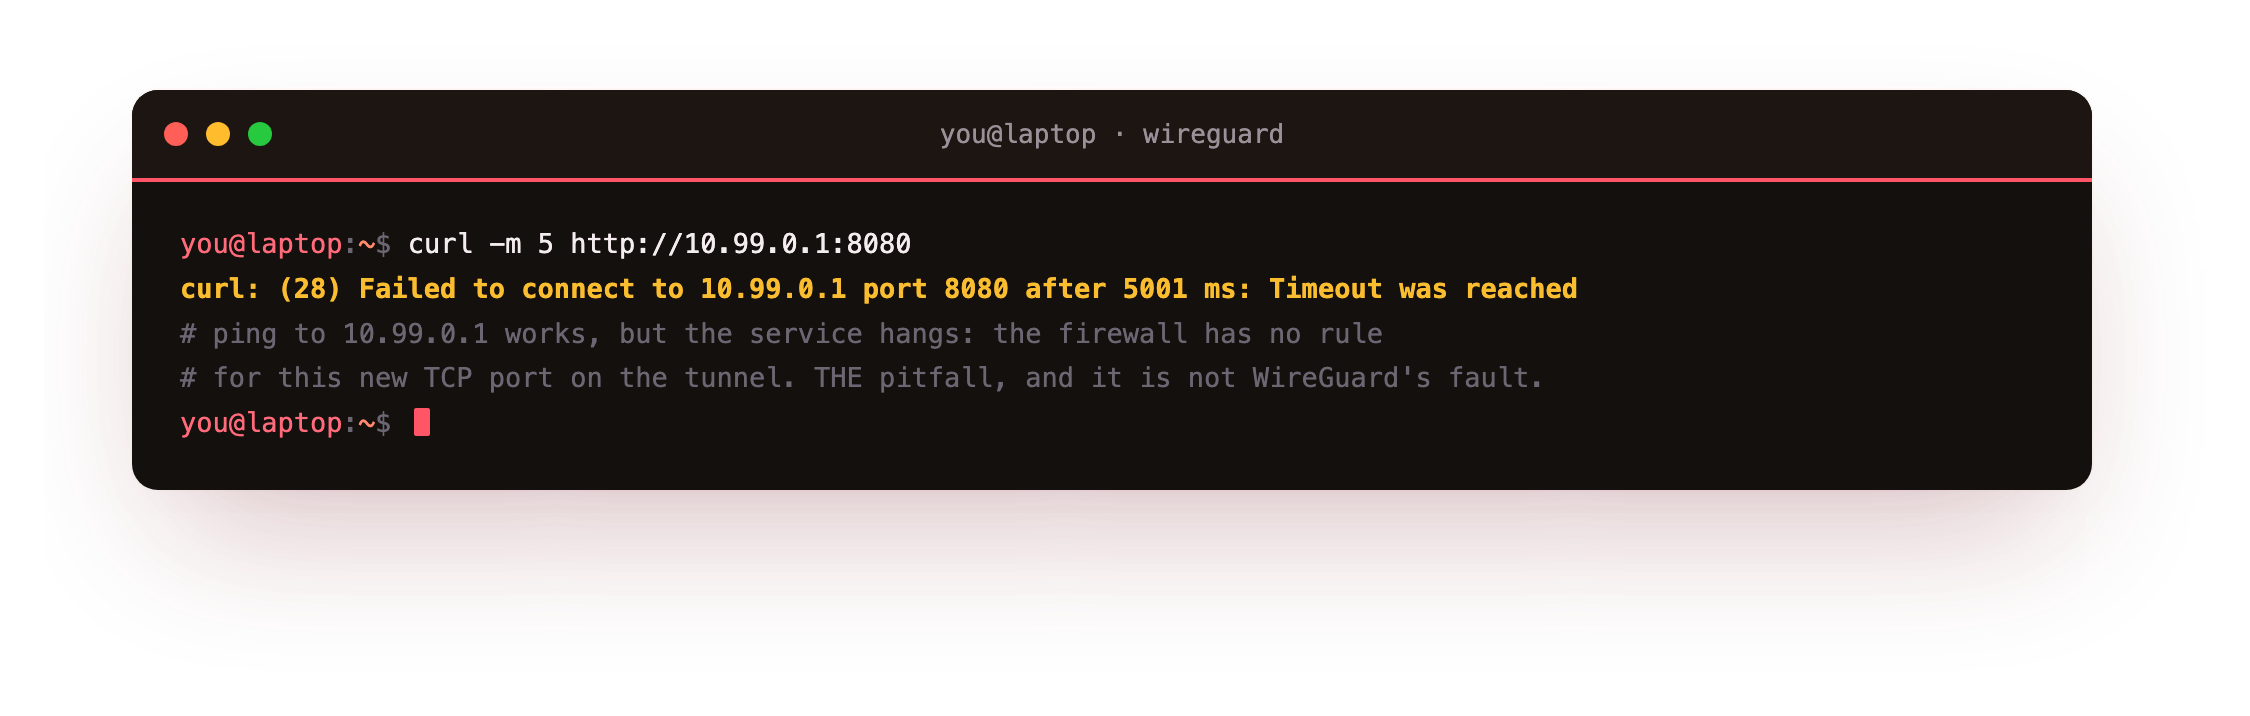
The request times out after five seconds, even though ping to 10.99.0.1 succeeds. This is the real trap: the firewall permits ICMP but has no rule for the new TCP port arriving on the tunnel interface, so the service is silently blocked. It is not a WireGuard fault.
The tunnel is carrying packets, proven by ping, but the host firewall drops the connection to port 8080 on the wg0 interface. Ping uses ICMP, which ufw allows by default, while your new service is a TCP port that nothing has opened yet.
Open the tunnel to the service port
The fix is one rule: allow inbound traffic on the wg0 interface to the service port. This keeps the port open only on the tunnel, never on the public side.
sudo ufw allow in on wg0 to any port 8080 proto tcp
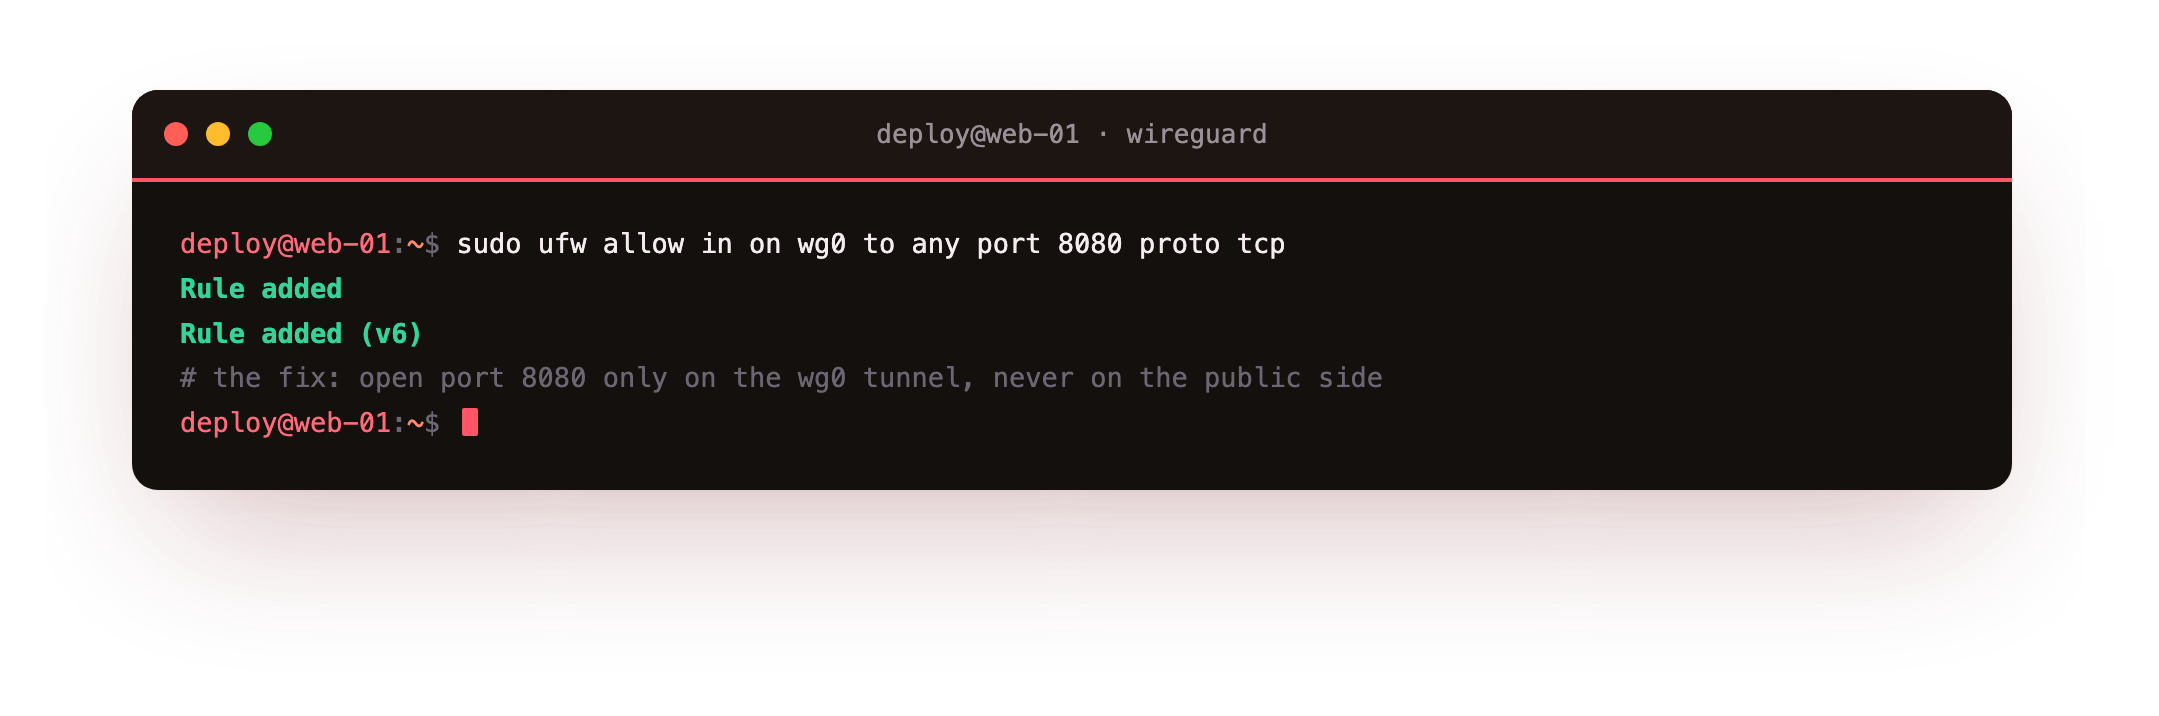
Scoping the rule to on wg0 matters. It permits the service for connected VPN peers and no one else, so the public interface stays closed. Reach for this pattern for every private service you add later.
sudo ufw status should now show 8080/tcp on wg0 ALLOW. The service is reachable to tunnel peers and still invisible on the public IP.
Reach the private page
Fetch the service again over the tunnel, this time asking curl to show the response headers.
curl -i http://10.99.0.1:8080
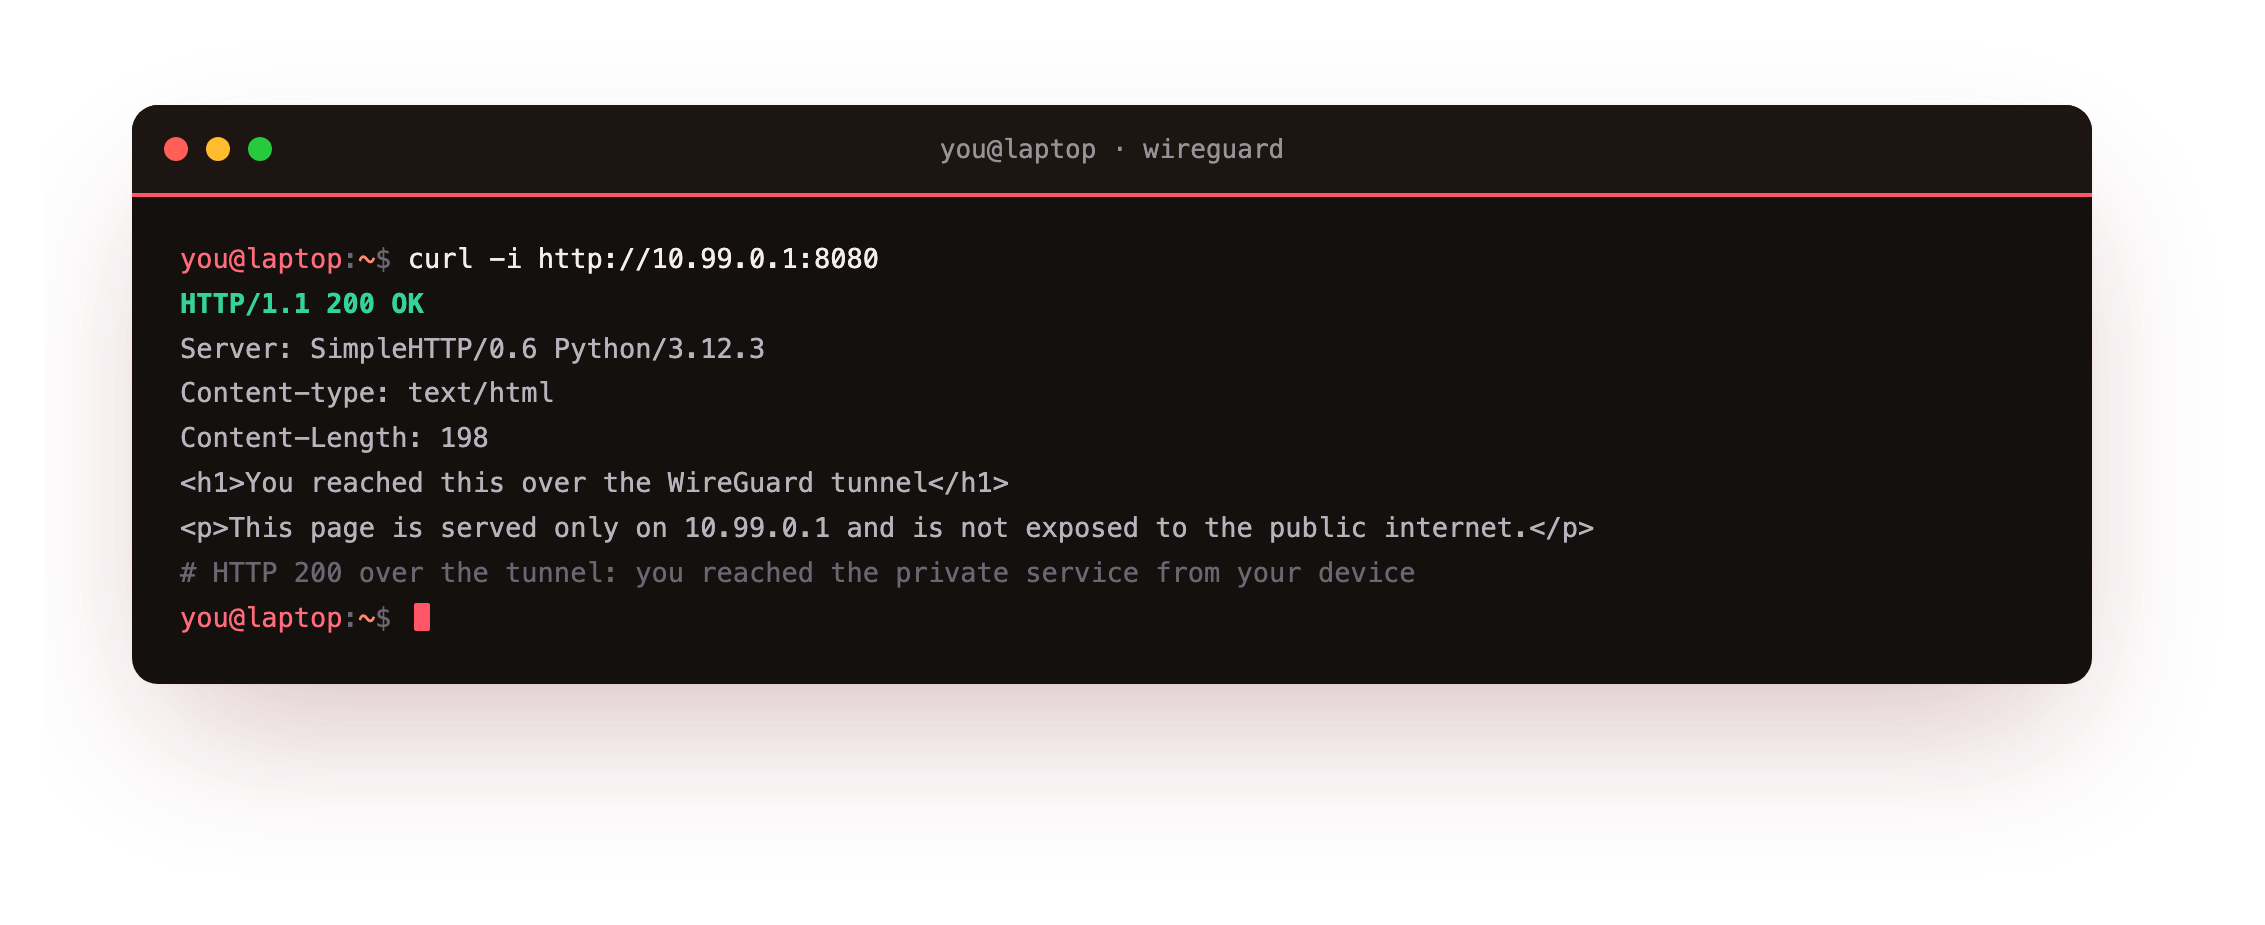
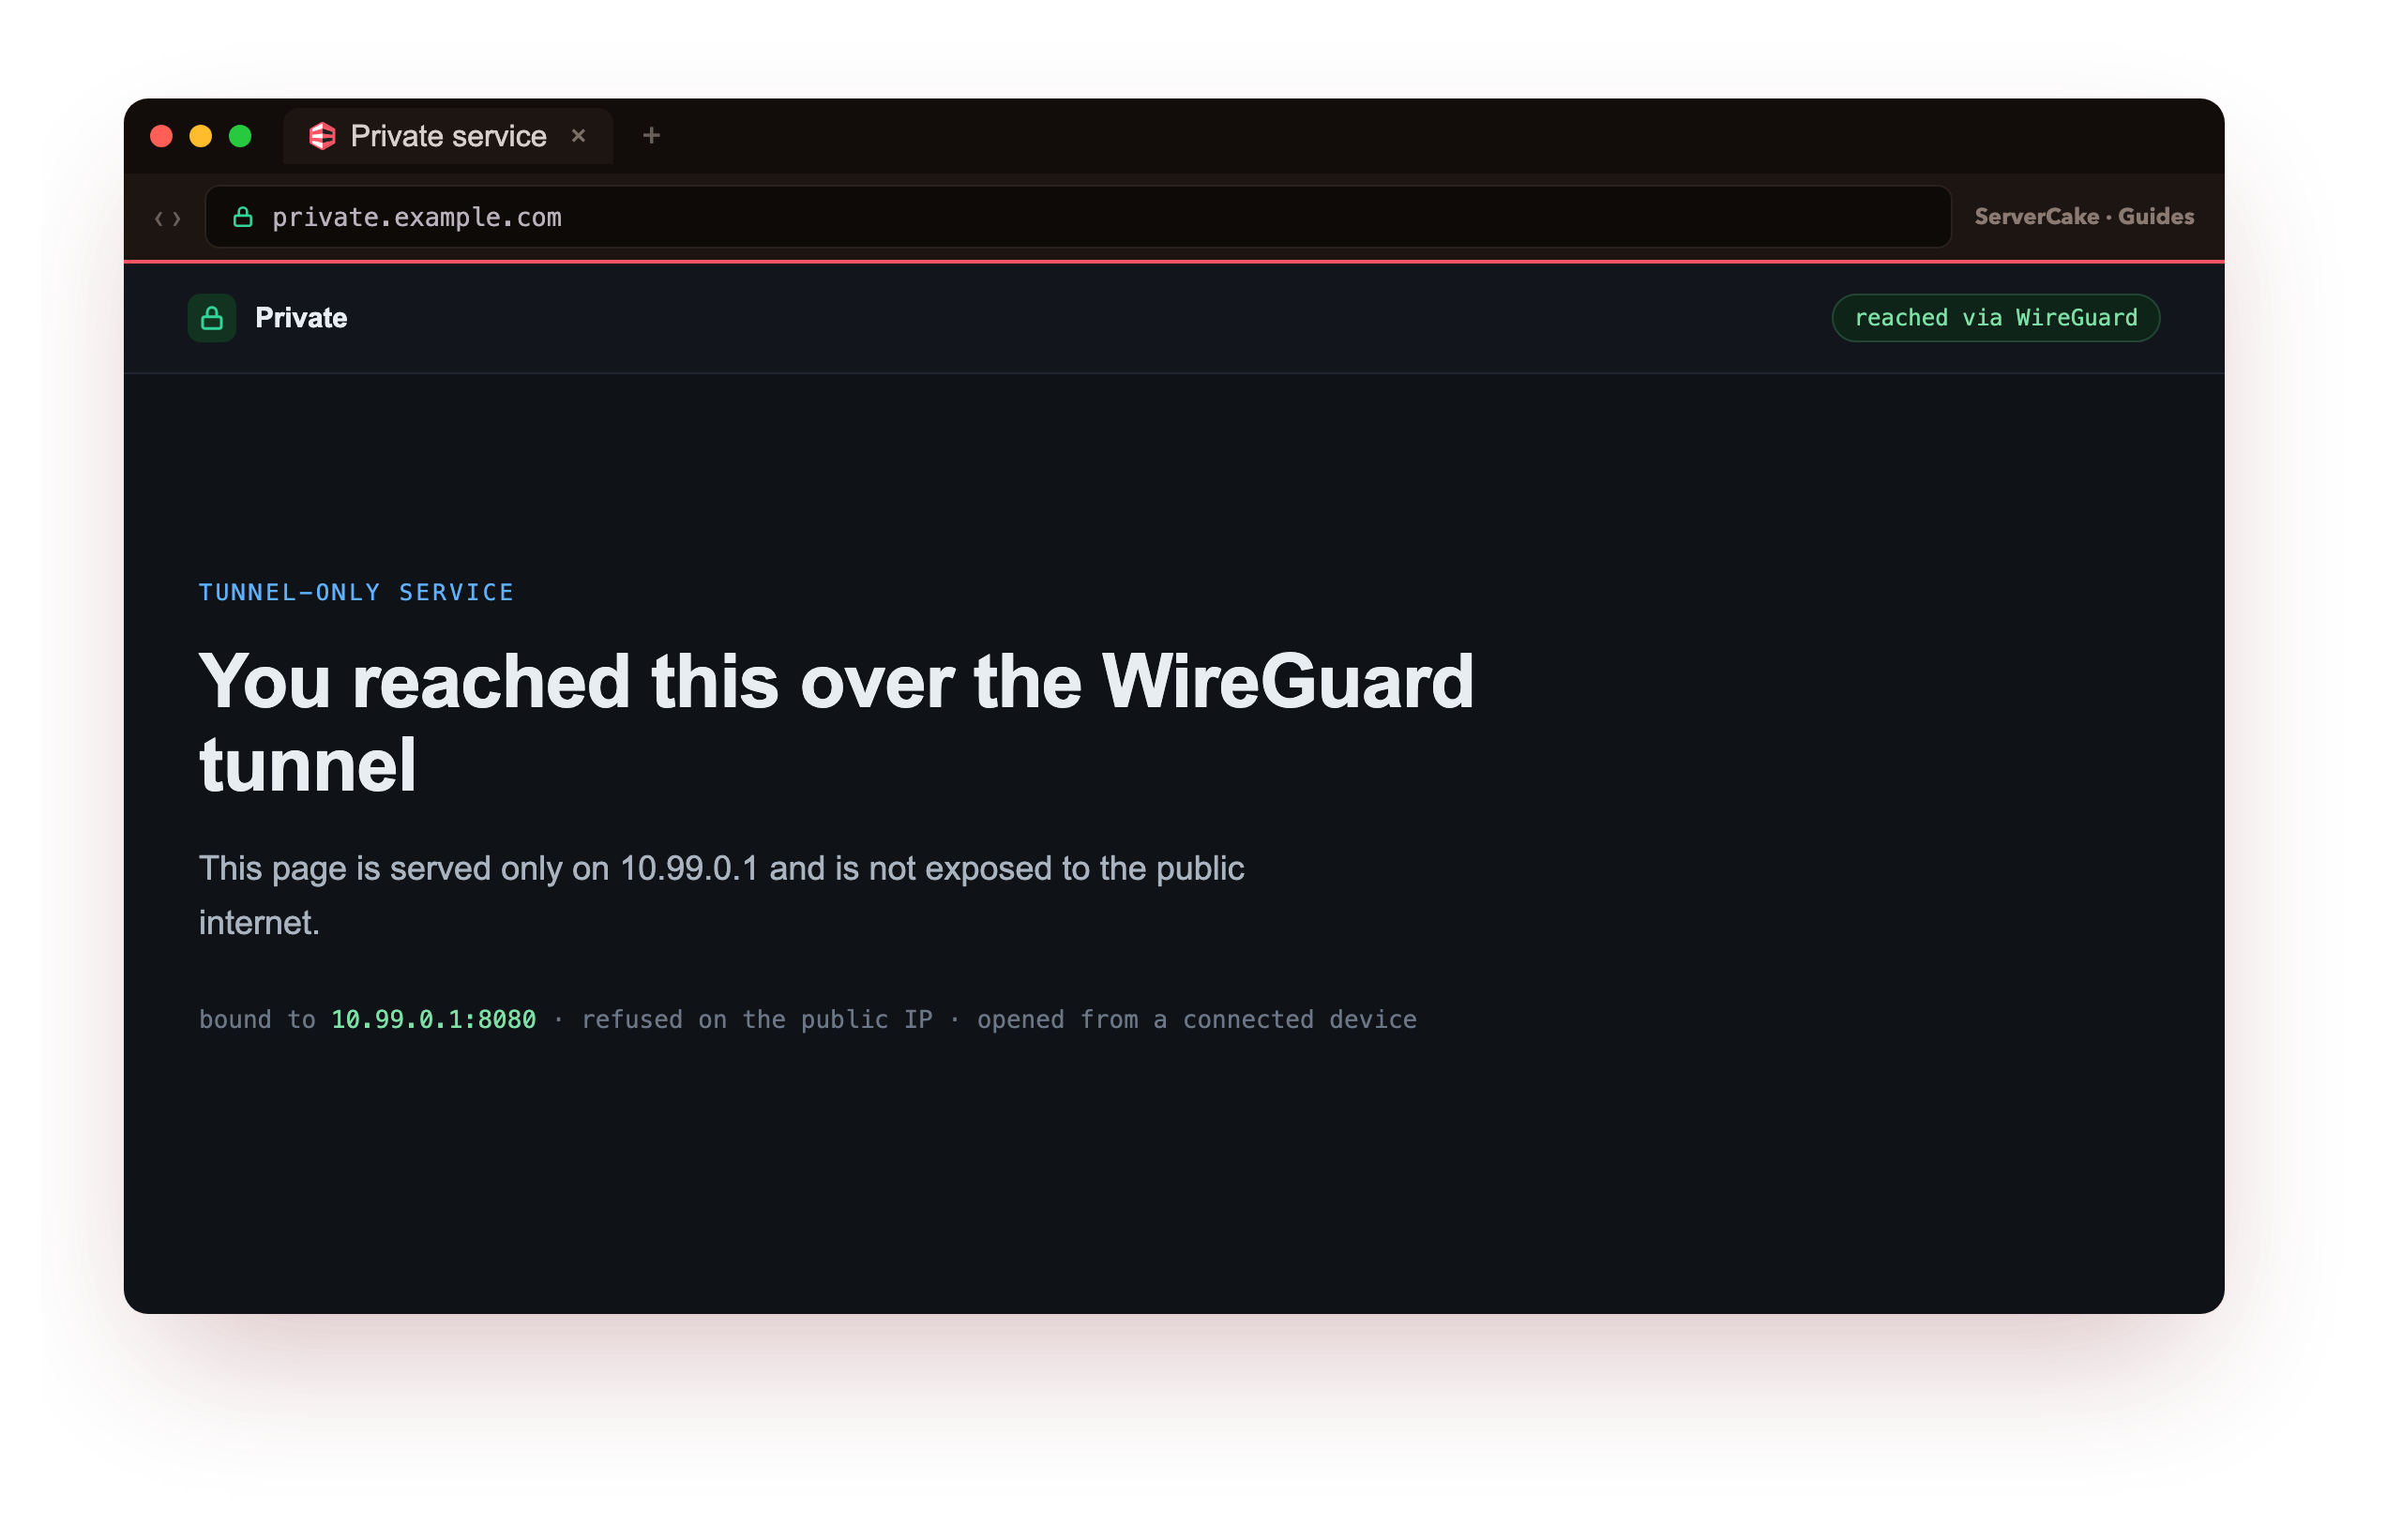
You get HTTP/1.1 200 OK and the page body in well under a second. Open http://10.99.0.1:8080 in the browser on your connected phone or laptop and the same private page loads. You have reached something private, from your phone, that the public internet cannot see.
Prove it is private
The claim is that this page exists only on the tunnel. Test it by asking for the same port on the slice's public IP, from outside the VPN.
curl -m 5 http://203.0.113.10:8080
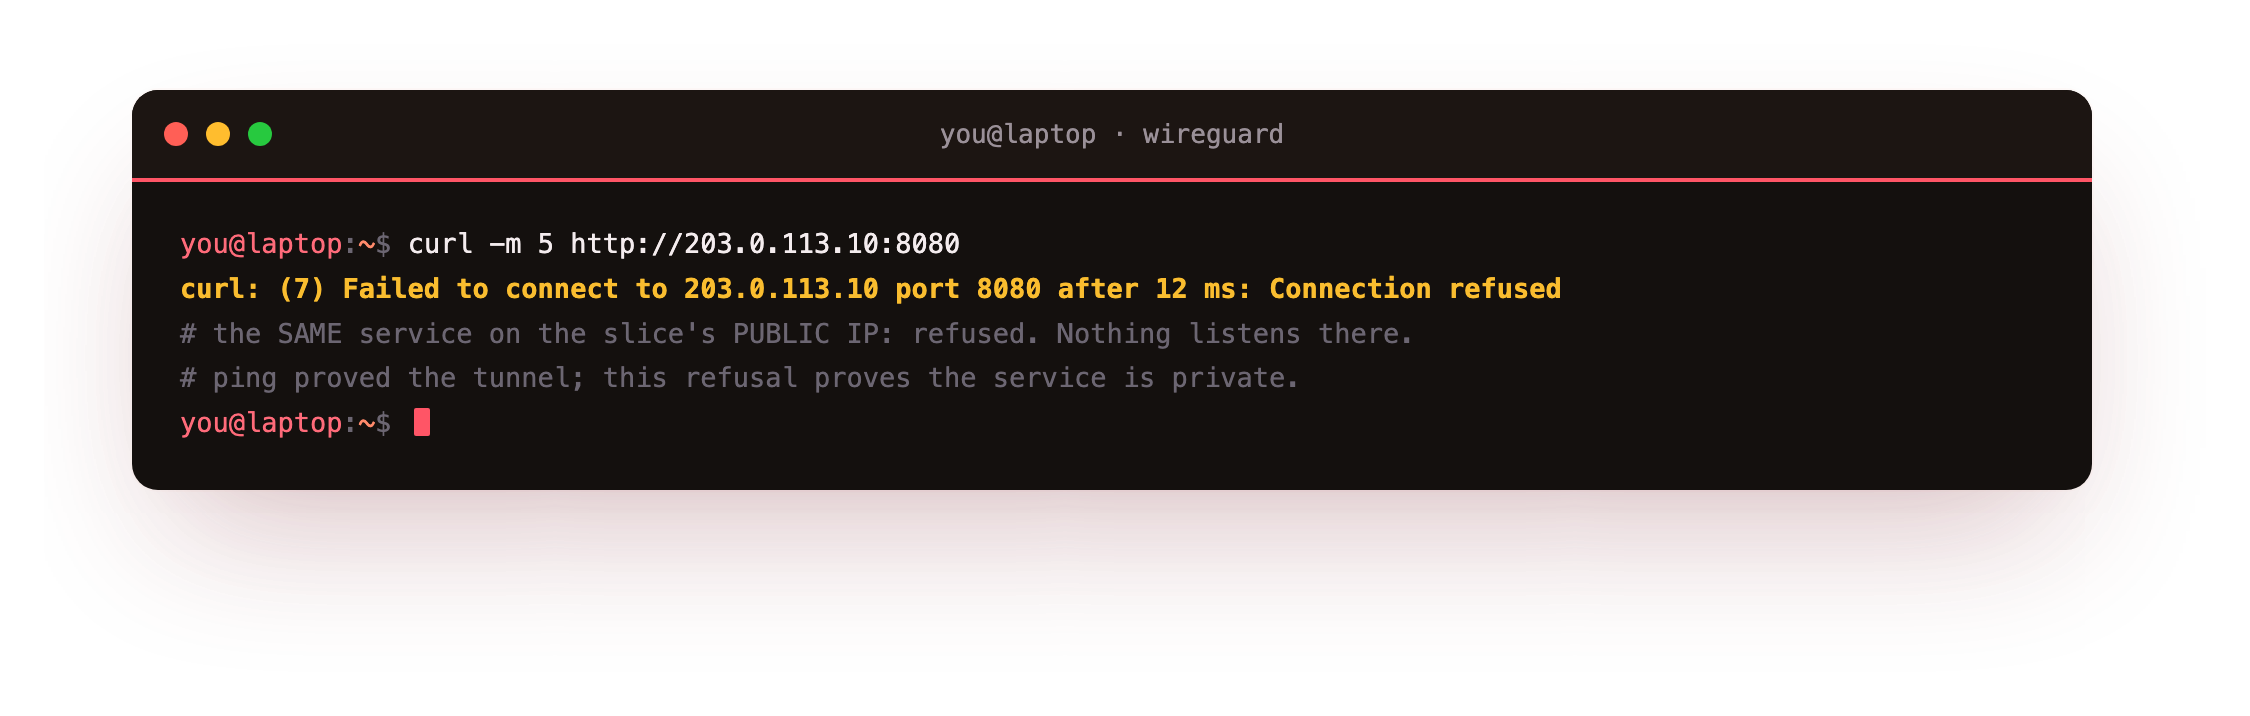
The connection is refused with no response at all. Because the service bound to 10.99.0.1 and the firewall only opened the port on wg0, there is nothing listening for the public internet to reach. Ping proved the tunnel; this refusal proves the privacy.
Frequently asked questions
Why did ping work but the service time out?
ufw permits ICMP echo by default, so ping to the tunnel address answers as soon as the tunnel is up. Your new service is a TCP port, and nothing has opened it, so the firewall drops the connection on the wg0 interface. Adding ufw allow in on wg0 to any port 8080 proto tcp opens it for tunnel peers only, which fixes the hang.
How does the phone import a config from a QR?
The WireGuard apps for Android and iOS read a QR that encodes the full config text. You run qrencode -t ansiutf8 < phone.conf, choose "Scan from QR code" in the app, and point the camera at the terminal. The tunnel imports with its keys and peer in one step, avoiding error-prone typing of a private key on a phone keyboard.
Why bind the service to 10.99.0.1 instead of all interfaces?
Binding to the tunnel address means the service accepts connections only from inside the VPN. If you bound it to 0.0.0.0, it would also listen on the public IP, and only the firewall would stand between it and the internet. Binding to 10.99.0.1 plus the wg0-scoped firewall rule gives two independent reasons it stays private.
Can I reach the service by a name instead of an IP?
Yes. Because the phone config sets DNS = 10.99.0.1, you can run a small resolver on the server that maps a name like private.internal to the tunnel address, or add a hosts entry on each device. The service itself does not change; you are only giving 10.99.0.1 a friendlier name for the browser.
Recap and what is next
You added your phone with a QR scan, stood up a service bound to 10.99.0.1, hit the firewall pitfall where ping works but the service is blocked, fixed it with a single wg0-scoped ufw rule, and loaded the private page from the connected device. The refused fetch on the public IP proved the service is private. That is a working personal VPN reaching a real private service.
The final chapter makes it durable: the tunnel survives reboots under systemd, a preshared key adds a layer, you add more devices as a hub-and-spoke, and a deep-dive tail covers full-tunnel routing, NAT and DNS.
A slice gives your phone a fixed public IP to dial and a place to host services no one else can see. Launch a slice and run your own WireGuard VPN, then put an admin page or dashboard behind the tunnel.