Nginx hardening: the difference between working and safe
This is the last piece of the destination from chapter one: the hardened response. A default nginx serves pages, but it also announces its version, omits the headers that protect your users, and logs in a way you will regret during an incident. nginx hardening closes those gaps: hide what attackers can use, add the headers browsers enforce on your behalf, and log so you can answer questions later. This chapter applies each on a live server and verifies it.
- server_tokens off stops Nginx from advertising its exact version, removing a free hint for anyone matching servers to known exploits.
- A handful of security headers, HSTS, X-Frame-Options, X-Content-Type-Options, Referrer-Policy, and a Content-Security-Policy, let the browser enforce protections you cannot enforce alone.
- The always flag on add_header is essential, or the headers vanish on error responses, exactly when they matter.
- Access and error logs plus logrotate are what let you investigate an incident instead of guessing; a fail2ban jail turns those logs into automatic blocking.
Your Nginx works. It serves your app, over HTTP/2, compressed, cached, load-balanced. But working is not the same as safe, and the gap between them is a short list of settings that almost no default turns on. None of these change what your users see. All of them change what an attacker sees, what a browser will enforce, and what you can find out when something goes wrong. This is the chapter that makes the server one you would run in production without wincing.
Stop advertising your version
By default Nginx puts its exact version in the Server response header and on its error pages. That is a free gift to anyone scanning for servers running a version with a known vulnerability. Turn it off:
server_tokens off;
Set it once in the http context and it applies everywhere. Verify it:
curl -I https://your-domain
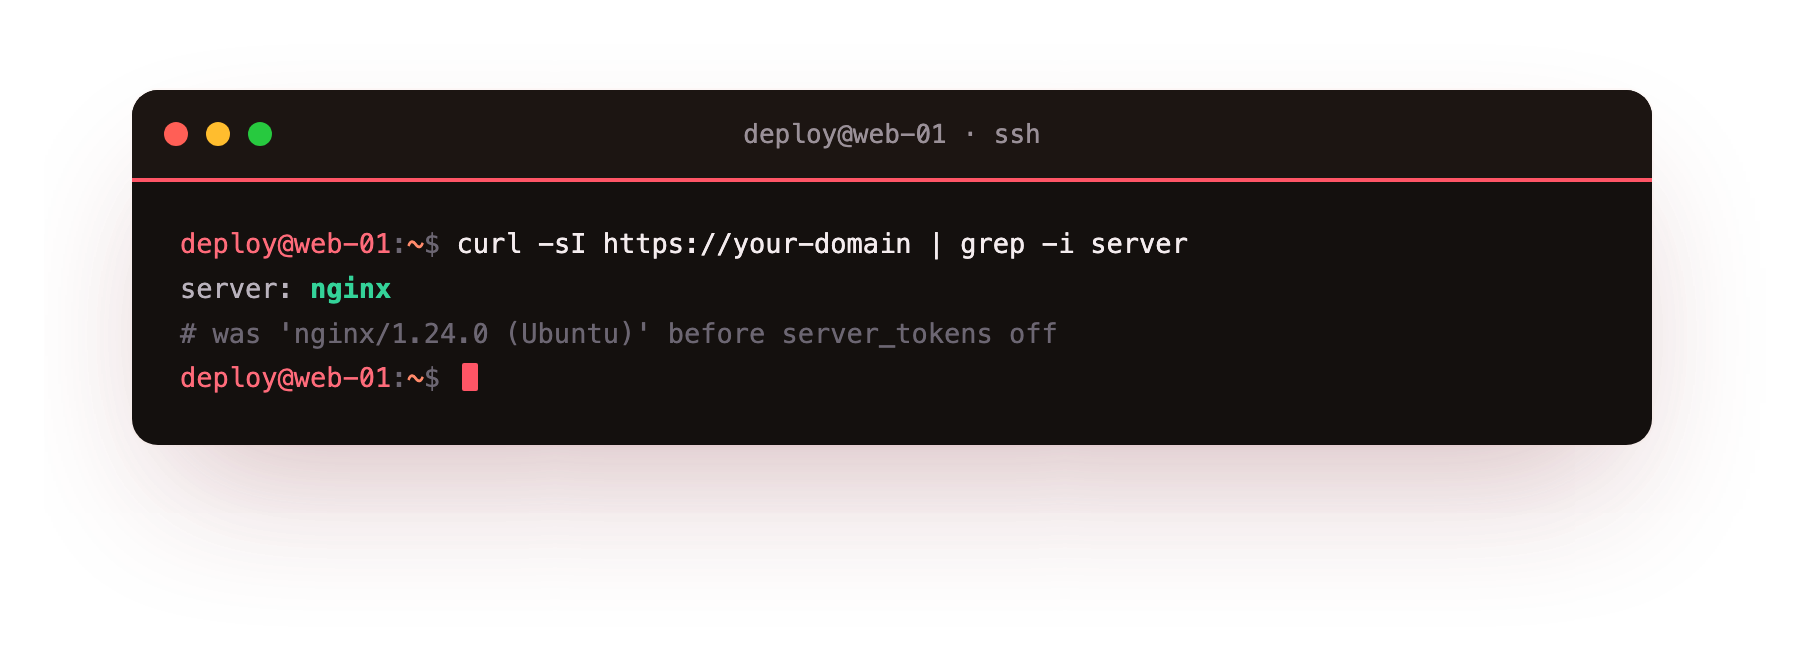
The Server header now reads just nginx, with no version. It is a small thing, but security is largely the accumulation of small things that each remove an attacker's shortcut. This removes one.
The Server header should read nginx with no version, exactly like the destination response in chapter one. If it still shows nginx/1.24.0 (Ubuntu), server_tokens off is not in the http context or the reload did not happen.
Headers the browser enforces for you
Some protections can only happen in the browser, and you switch them on by sending headers. A few are worth setting on every site:
add_header Strict-Transport-Security "max-age=63072000; includeSubDomains" always;
add_header X-Frame-Options "SAMEORIGIN" always;
add_header X-Content-Type-Options "nosniff" always;
add_header Referrer-Policy "strict-origin-when-cross-origin" always;
add_header Content-Security-Policy "default-src 'self'" always;
Strict-Transport-Security tells the browser to only ever use HTTPS for your domain, closing the window where a first plain request could be intercepted. X-Frame-Options: SAMEORIGIN stops other sites from embedding yours in a frame to trick your users, the clickjacking defence. X-Content-Type-Options: nosniff stops the browser from guessing content types and running something it should not.
Referrer-Policy controls how much of your URL leaks to other sites when a user clicks away. And Content-Security-Policy is the strong one: it tells the browser exactly which sources of scripts, styles, and images to trust, which is the single most effective defence against cross-site scripting.
Confirm they arrive:
curl -I https://your-domain
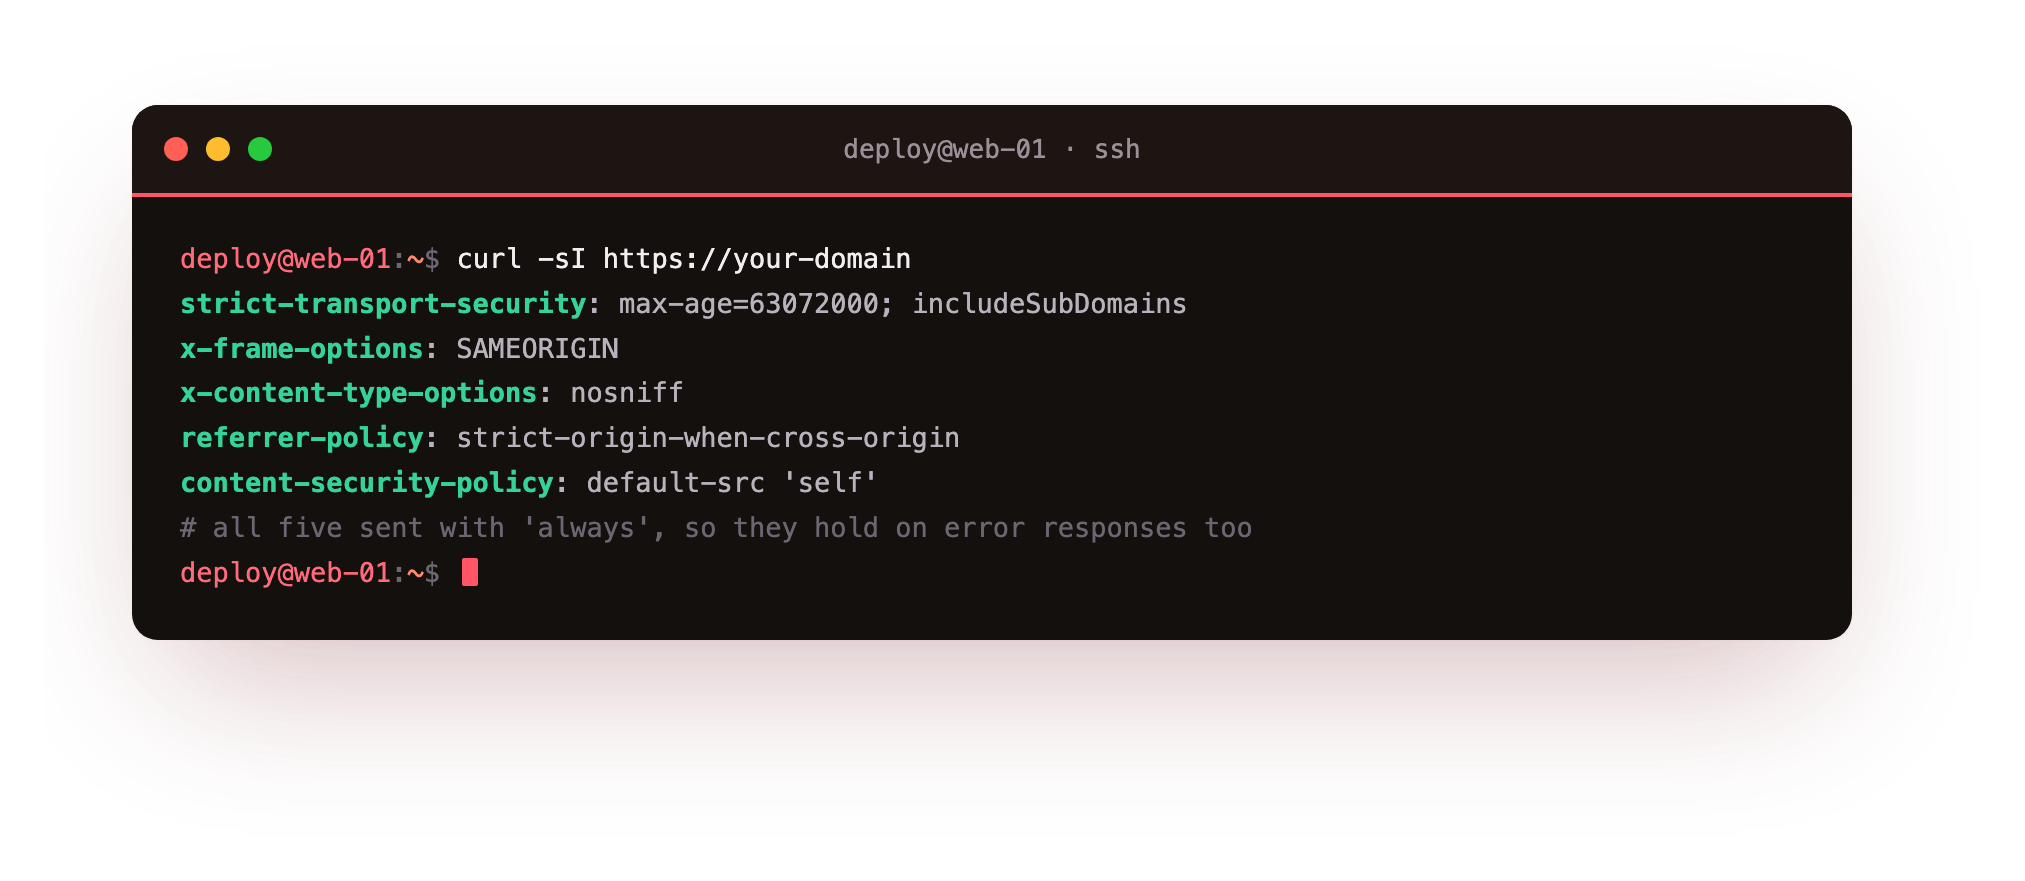
All five appear in the response. Note the always flag on each line, and do not drop it. Without always, nginx omits these headers on error responses like 404s and 500s, which are exactly the responses an attacker probes. always sends them on every response, which is what you want.
Your response should now carry all five headers: HSTS, X-Frame-Options, nosniff, Referrer-Policy and a Content-Security-Policy. That is the full hardened response you were shown at the very start of this series, now served by your own server. Request a missing URL too; with always, the headers hold on the 404.
A word on Content-Security-Policy: default-src 'self' is a strict starting point that only allows resources from your own domain. Real apps usually load a few third-party scripts and will need those sources added, so build the policy up from strict rather than starting permissive. It is the one header worth spending real time on, because a good CSP defangs most XSS.
Logs you can actually use
When something goes wrong at 2 am, your logs are the difference between an answer and a guess. Nginx writes an access log of every request and an error log of every problem, and the defaults are decent. The two things to add are enough detail and rotation.
A custom log format that records the real client IP, the response time, and the upstream that served it makes incidents tractable:
log_format detailed '$remote_addr - $status "$request" '
                    '${request_time}s upstream=$upstream_addr';
access_log /var/log/nginx/access.log detailed;
Now every line tells you who, what, how it ended, how long it took, and which backend handled it. That is what you grep during a slowdown or a probe.
Logs grow, so rotate them. Ubuntu ships a logrotate config for Nginx already, which compresses and ages out old logs daily, so you do not fill the disk. Confirm it is active and understand it rather than reinventing it; the machinery is already there.
Going further: turn logs into automatic blocking
Logs are more than a record. fail2ban watches them and bans IPs that misbehave, the same tool you met hardening SSH, pointed at Nginx. A jail that watches for repeated 4xx probing or auth failures turns a noisy attacker into a blocked one without you lifting a finger:
[nginx-badbots]
enabled  = true
filter   = nginx-badbots
logpath  = /var/log/nginx/access.log
maxretry = 5
Now a client that trips the filter enough times is dropped at the firewall for a while, automatically. Your logs stopped being a passive record and became an active defence.
Frequently asked questions
Why do my security headers disappear on error pages?
Because add_header without the always flag only applies to successful responses. Add always to each header so they are sent on 404s and 500s too, which are exactly the responses an attacker tends to probe.
What does server_tokens off actually hide?
It stops Nginx from printing its exact version in the Server response header and on error pages. That removes a free hint for anyone scanning for a version with a known vulnerability, so the Server header just reads nginx.
Which security header should I spend the most time on?
Content-Security-Policy does the most work, because a good policy tells the browser exactly which script, style, and image sources to trust and defangs most cross-site scripting. Start from default-src 'self' and add only the sources your app genuinely needs.
How does fail2ban block abuse using Nginx logs?
fail2ban watches the access log with a filter, and when an IP trips it enough times, such as repeated 4xx probing, it bans that IP at the firewall for a while. Your logs stop being a passive record and start blocking attackers automatically.
Recap: the front door is built
You can run nginx the way you would in production: version hidden, the browser enforcing HTTPS, framing rules, and a content policy on your behalf, with the always flag so those protections hold on every response. You can log enough to investigate an incident and rotate so you never run out of disk, and you can point fail2ban at those logs to block abuse automatically.
That closes the series. You started with a bare slice and nothing installed, ran apt install nginx, saw the default page in a browser, then served your own site, put your app behind the proxy, and made it fast with HTTP/2 and compression, quiet with caching, safe under load with rate limiting, resilient with load balancing, and finally hardened. The response you were shown in chapter one, HTTP/2, version hidden, security headers and all, is now the one your own server returns. That is a production-shaped front door for anything you run.
Every block in this series lives in one nginx config on one box with a public IP. Launch a slice and stand up the fast, hardened front door you just built, end to end.