Reaching a service that is not meant to be public
Some services should never listen on a public address. A Postgres database, an internal admin panel, a metrics dashboard: you bind these to 127.0.0.1 on the server so nothing on the internet can touch them. Then one day you need to reach one from your laptop, and the wrong fix is to open its port to the world. SSH tunnel port forwarding is the right fix.
- An SSH tunnel carries a connection through your existing login to a service bound privately on the server.
- Nothing new is exposed to the internet, and the tunnel closes when the SSH session does.
- `-L localport:desthost:destport` defines a local forward; `-f` backgrounds it and `-N` runs no remote command.
- Aiming -L at another private address relays through the server to reach an internal machine you cannot dial directly.
It carries a connection from a port on your own machine, through the encrypted SSH session you already trust, to a service on the far side, without that service ever being exposed. You are logged in as deploy, and this rides on the same SSH access you use every day.
Why the SSH session is the vehicle
You already hold an authenticated, encrypted channel to the server: your SSH login. A tunnel reuses that channel to carry other traffic. Nothing new is opened to the internet, no firewall rule is added, and the forwarded traffic inherits the same encryption and key-based authentication that protect your shell. Close the SSH session and the tunnel closes with it. That property is what makes ssh tunnel port forwarding safer than punching a hole in the firewall for a database port.
Prerequisites
- Working SSH access to the server, the same login you use for a normal shell.
- A free local port to open on your machine (8080 in the examples); pick another if that one is in use.
- The server able to reach the target service, whether that is the server itself on 127.0.0.1 or another host on its private network.
How ssh tunnel port forwarding works with -L
The workhorse is a local forward, set up with the -L flag. Its argument has three parts joined by colons: the local port to open on your machine, the destination host, and the destination port. The command below opens port 8080 on your laptop and forwards whatever connects to it across to port 80 as the server sees it:
ssh -fNL 8080:127.0.0.1:80 deploy@web-01
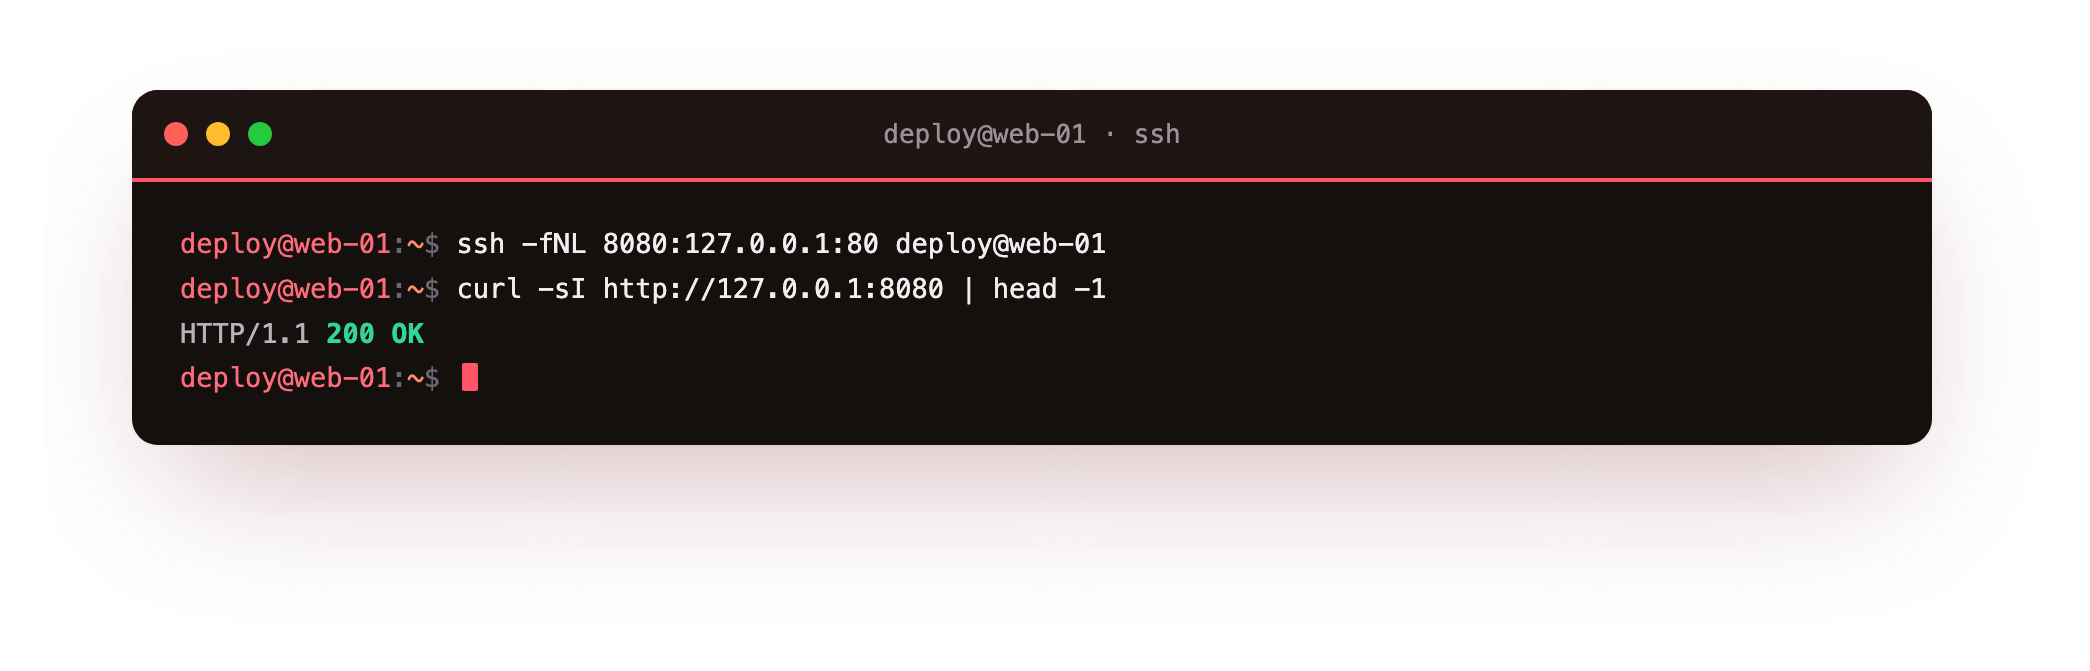
Take the flags one at a time:
- -L 8080:127.0.0.1:80 is the forward. 8080 is the port opened on your local machine. 127.0.0.1:80 is where the server should deliver the traffic, and since 127.0.0.1 means "this same server", the packets land on port 80 of web-01 itself.
- -f sends ssh into the background just before it would run a command, so you get your prompt back instead of a live shell.
- -N tells ssh to run no remote command at all. You want the tunnel, not a login, and -N holds the connection open purely to carry forwarded traffic.
- deploy@web-01 is the ordinary SSH target: log in as deploy to the host named web-01.
With that running, point your browser or client at localhost:8080 and you are talking to port 80 on the server, wrapped inside SSH.
The destination does not have to be the server itself
The middle part of -L is a destination as the server sees it, which is more useful than it first looks. If the server can reach another machine on its private network that you cannot, you forward to that machine through the server.
Suppose a database runs on 10.0.2.15 and only the server may connect to it. Running ssh -fNL 5432:10.0.2.15:5432 deploy@web-01 makes a Postgres client on your laptop connect to localhost:5432 and land on the database at 10.0.2.15, with the server acting as the relay. The database never sees your laptop and never needs a public port. This is the everyday reason to build a tunnel: get a local client onto an internal service without changing what that service exposes.
Local versus remote forwarding
Everything so far is a local forward with -L, which pulls a remote service towards you. The mirror image is a remote forward with -R, which pushes a local service out to the server. -R opens a port on the server that forwards back to a port on your machine, and its argument reads serverport:desthost:destport. You use it far less often, mainly to let something on the server reach a service running on your laptop, such as showing a colleague a site you are developing locally.
A short comparison:
| Flag | Port opens on | Traffic flows | Typical use |
|---|---|---|---|
| -L | your local machine | from you towards the server side | reach a remote database or admin panel |
| -R | the remote server | from the server side back to you | expose a local service to the remote host |
Two habits save you trouble. First, make sure nothing already uses your chosen local port, or ssh refuses with "address already in use". Second, a backgrounded -fN tunnel keeps running with no window to close, so end it by killing its process, which you can find with pgrep -f 8080:127.0.0.1:80 and stop with kill.
Troubleshooting SSH tunnels
bind: Address already in use. Another process already holds the local port you chose. Pick a different local port, or find and stop whatever is using it. A leftover backgrounded tunnel is a common culprit.
channel N: open failed: administratively prohibited. The server refuses forwarding because AllowTcpForwarding is disabled in its sshd config. Forwarding has to be permitted on the server side; enable it in /etc/ssh/sshd_config and reload sshd, if policy allows.
The backgrounded tunnel will not stop. A -fN tunnel has no window to close. Find its process with pgrep -f 8080:127.0.0.1:80, matching the forward string you used, and end it with kill.
Frequently asked questions
What is the difference between -L and -R?
-L is a local forward: it opens a port on your machine and pulls a remote service towards you. -R is a remote forward: it opens a port on the server that pushes back to a service on your machine. You use -L far more often; -R mainly to expose something local to the remote host.
Do I need to open a firewall port for a tunnel?
No, and that is the point. The traffic rides inside your existing SSH connection, so no new port is exposed and no firewall rule changes. The private service stays private.
Can I reach a database on the server's private network?
Yes. Point the forward at that machine's address, for example ssh -fNL 5432:10.0.2.15:5432 deploy@web-01, and your local client connects to localhost:5432 while the server relays to the database. The database never sees your machine.
Why use -f and -N together?
-N tells ssh to run no remote command, since you want the tunnel and not a shell, and -f sends ssh to the background so you get your prompt back. Together they leave a quiet tunnel running with nothing else attached.
Recap
SSH tunnel port forwarding carries a connection through your existing SSH session so you can reach a service that is bound privately on the server, without exposing it. The -L flag defines a local forward as localport:desthost:destport, -f backgrounds the process, and -N runs no remote command, which leaves you a quiet tunnel and your prompt.
Aim -L at 127.0.0.1 to reach the server itself, or at another private address such as 10.0.2.15 to relay through the server to a database on port 5432. -R does the reverse, opening a port on the server that forwards back to you. On Ubuntu 24.04 this needs nothing beyond the ssh client you already have.